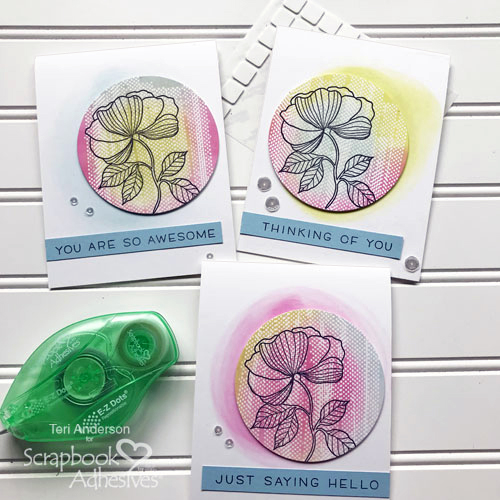
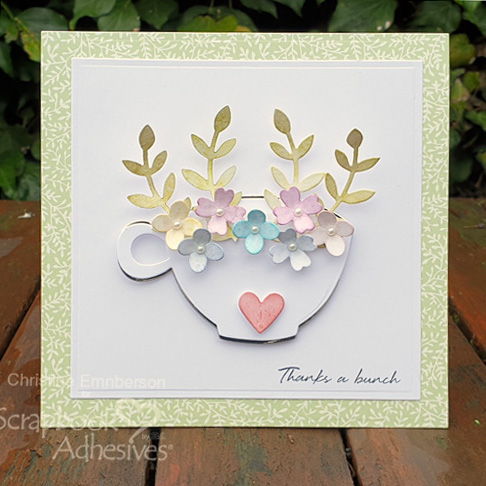
Who can resist a spot of tea especially when you have a bouquet of flowers! Christine Emberson walks us through how she created this lovely Thanks a Bunch card for the Coffee Lovers Blog Hop today. 🙂
We are excited to be a participant and a SUPER SPONSOR too! The Coffee Lovers community is a coffee-loving (or tea or cocoa) group of card makers open to everyone. Their blog offers inspirational coffee-related posts and bi-annual coffee blog hops that YOU can join. You get a chance to win the giveaways as a blogger, details are below.
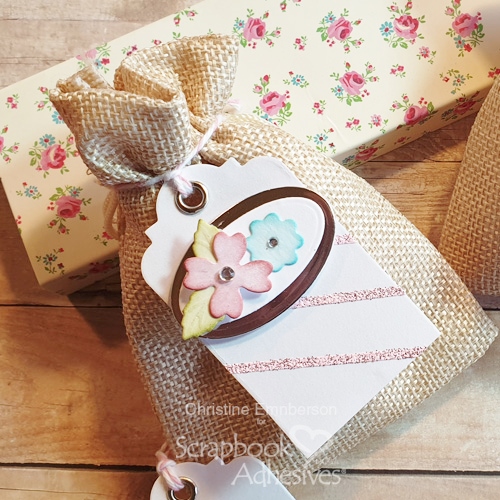
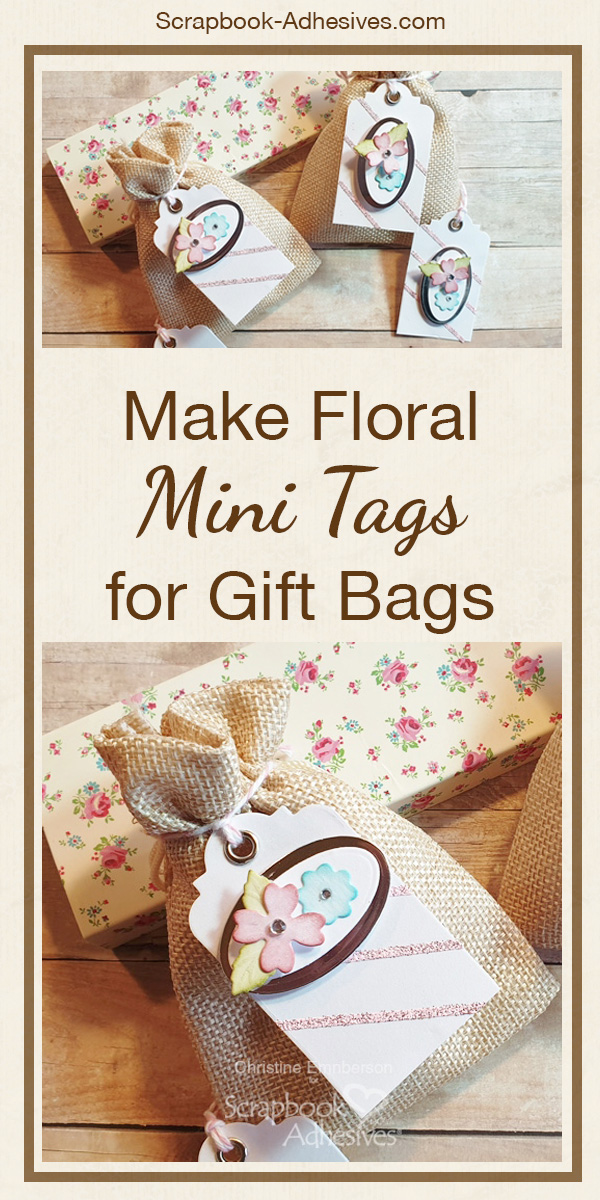
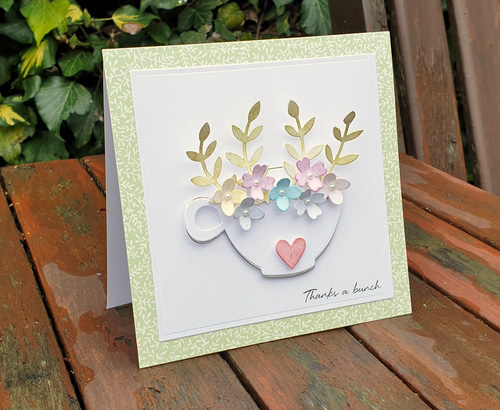
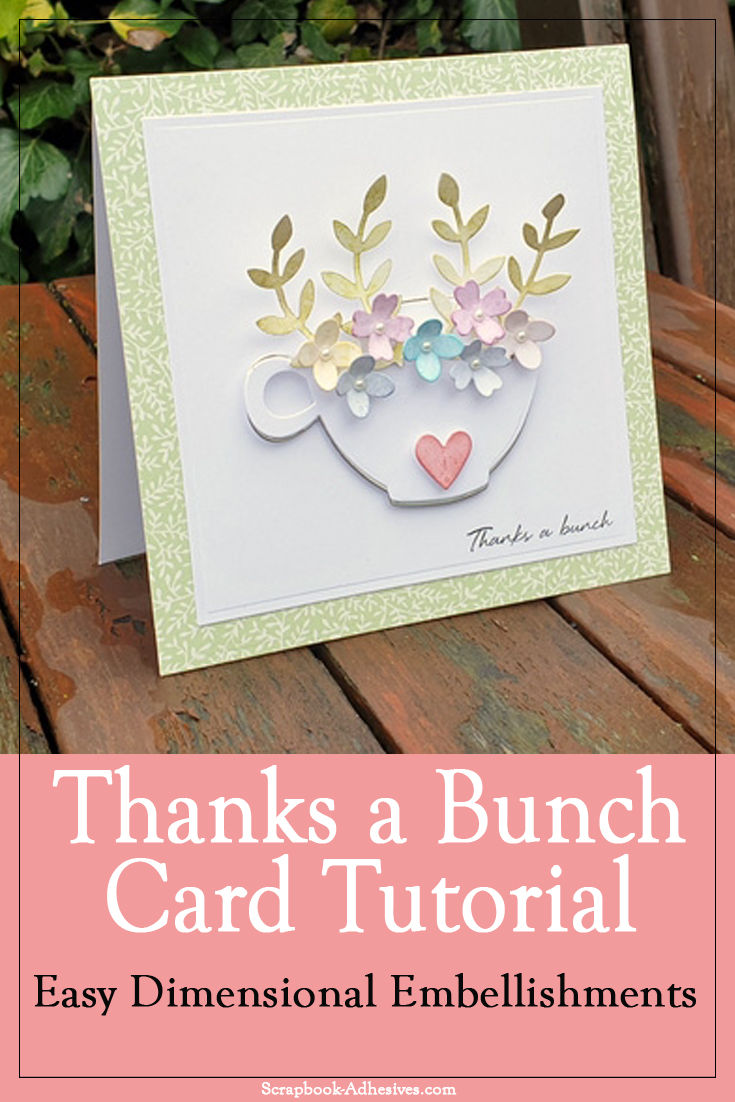
Floral Tea Cup by Christine Emberson
Hi everyone, Christine here today – fancy a cuppa? Here’s my tutorial for a thank you card featuring a cup over-spilling with floral tea! It’s so easy to make using the brilliant Scrapbook Adhesives by 3L® products.
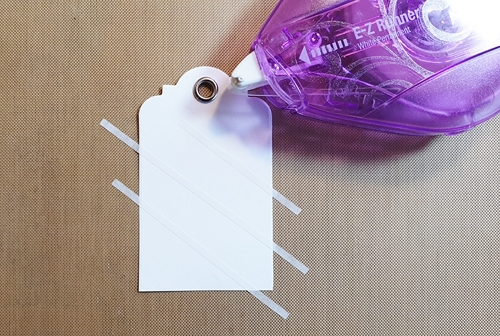
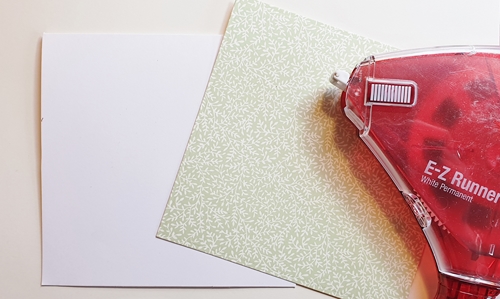
To start, mat a piece of patterned paper onto a card base using E-Z Runner® Grand Refillable Dispenser.
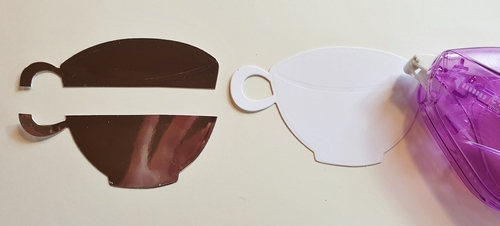
Tea Cup Details
Die cut a tea cup from both silver foil card and white card. Slice the foil card die cut in half horizontally and place behind the white die cut slightly misaligned to create a drop shadow.
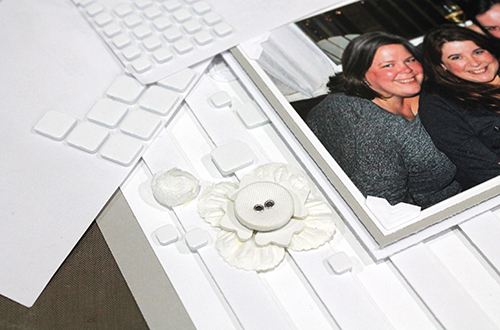
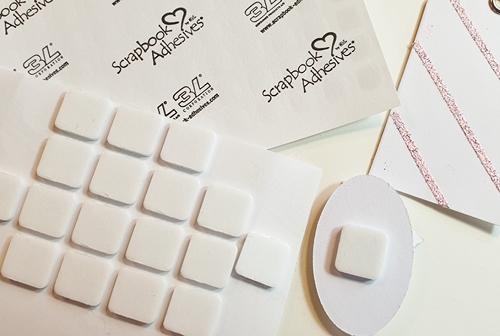
Position 3D Foam Squares Regular onto the reverse.
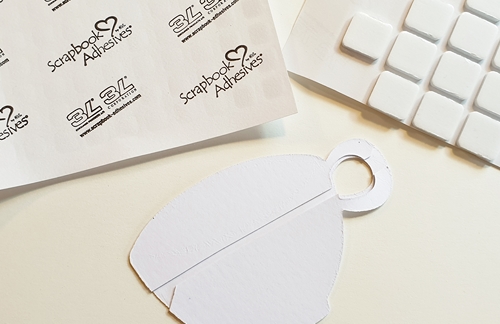
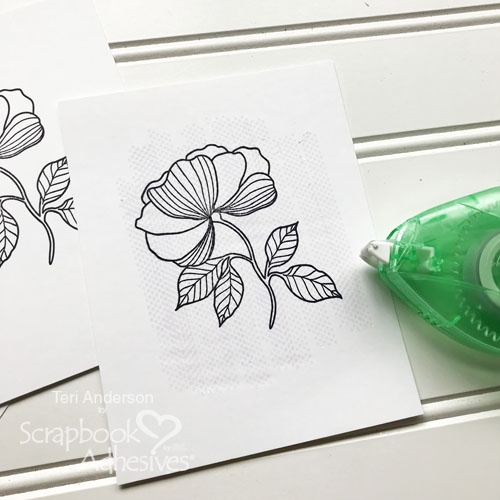
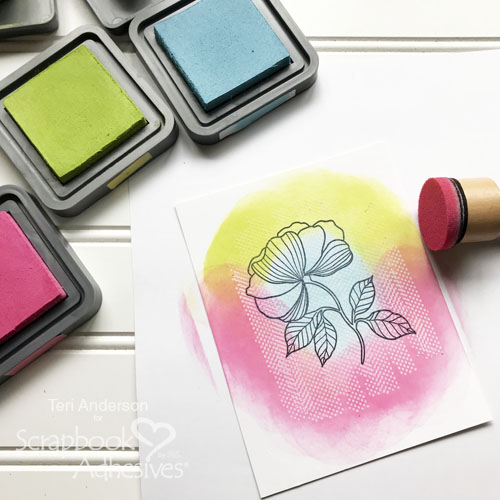
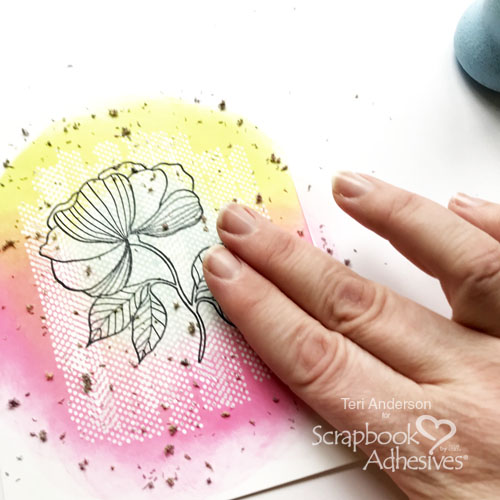
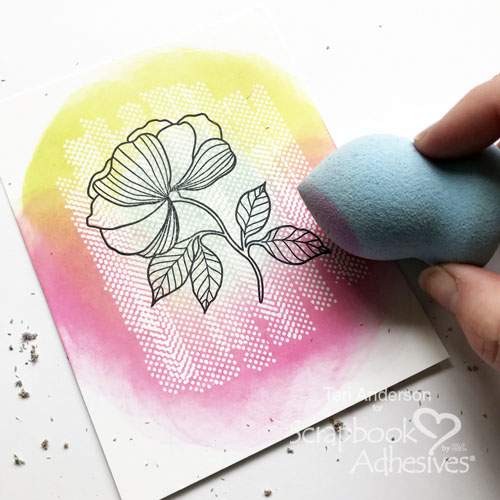
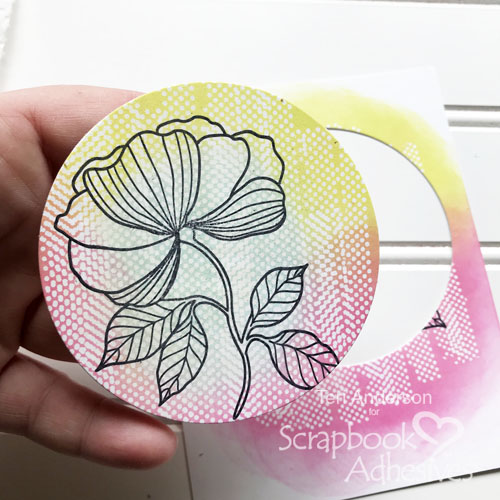
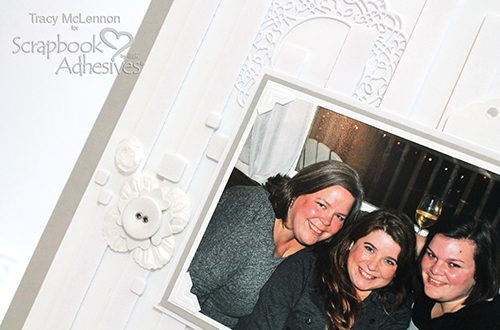
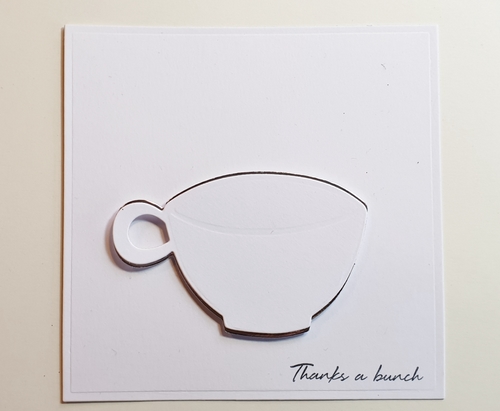
Position and affix onto a stamped white card mat.
Floral Fun
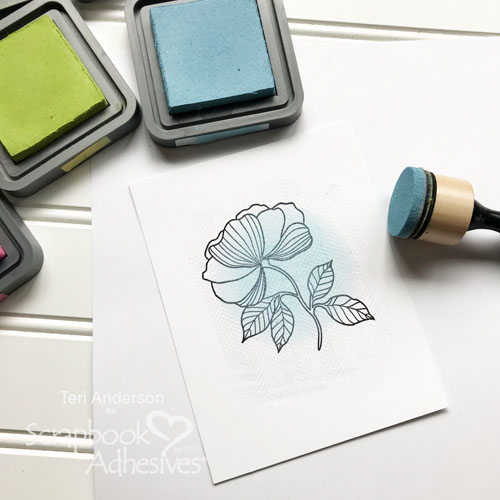
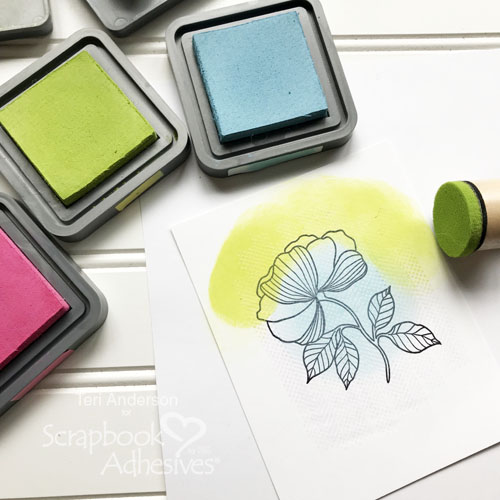
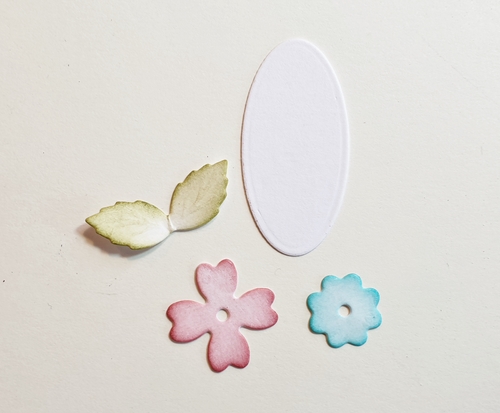
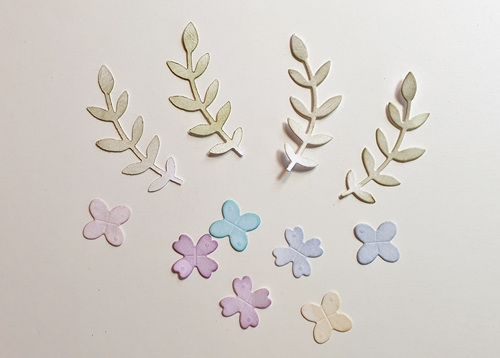
Next, select some die cut leaves and flowers and color with various inks.
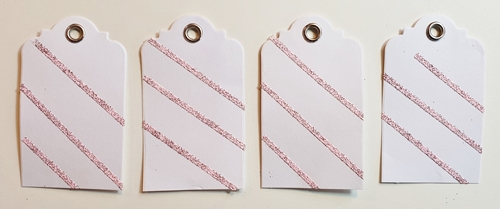
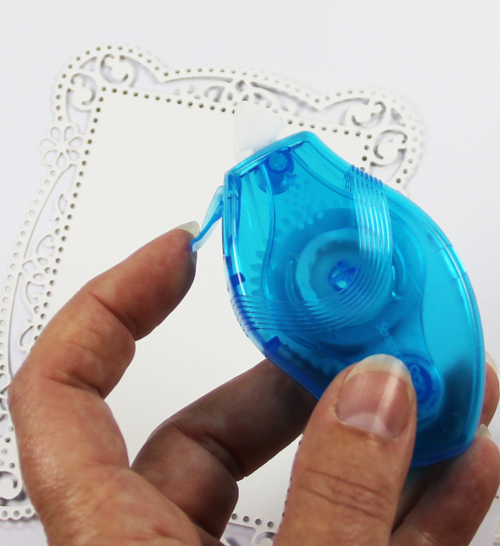
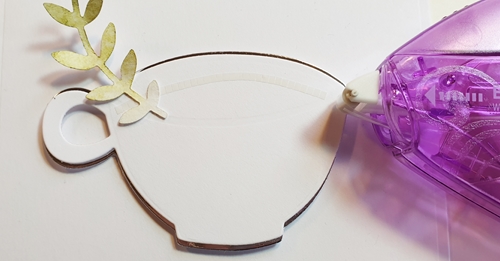
Using E-Z Runner Micro Refillable Dispenser apply a strip mirroring the curve of the tea cup rim. This dispenser applies strips that are only 1/8″ wide and it is centered on the liner for easy application. Begin to attach the leaf die cuts.
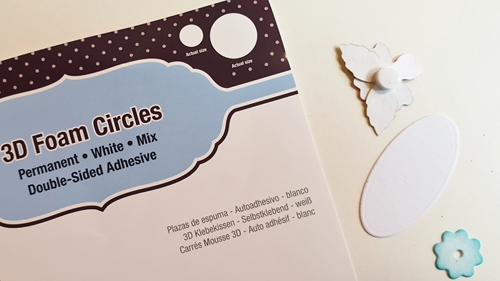
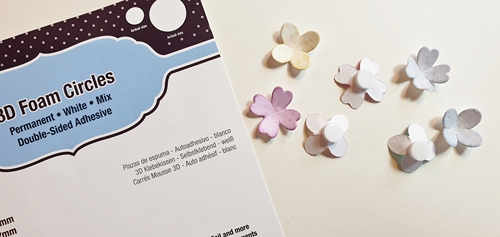
Attach 3D Foam Circles White to the reverse of the flowers. Two sizes in each pack you are ready for all sized embellishments.
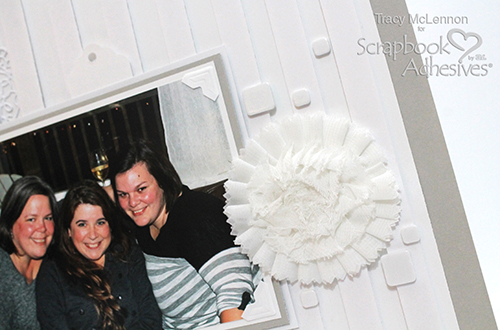
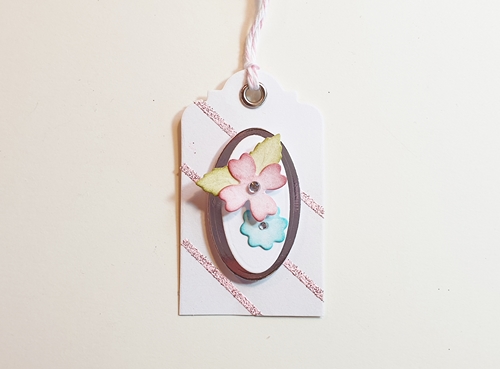
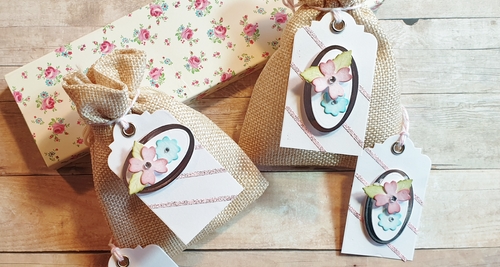
Position and cluster around the top of the tea cup. Affix to the card base.
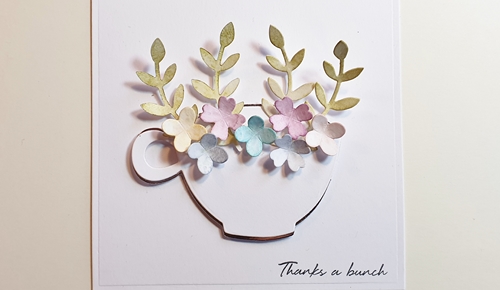
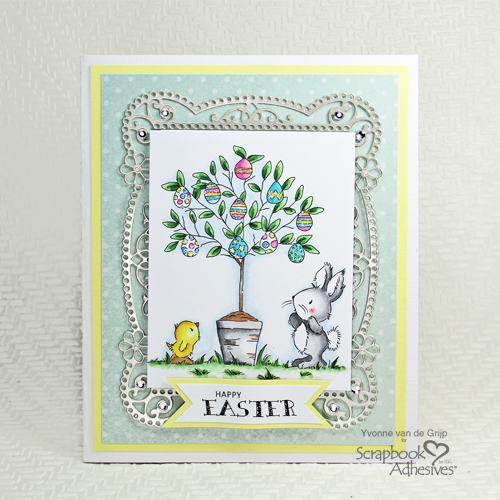
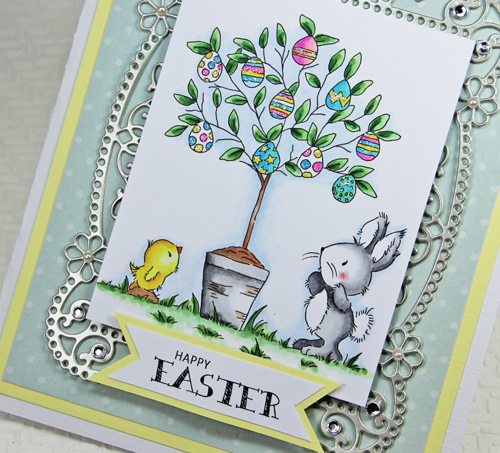
The finished card with the addition of pearls to the flower centers and a little heart.
Thanks for stopping by and don’t forget to check out the great products on the website.
Christine
Creative Time: 25 Minutes
Skill Level: Beginner
Materials Needed
Scrapbook Adhesives by 3L®
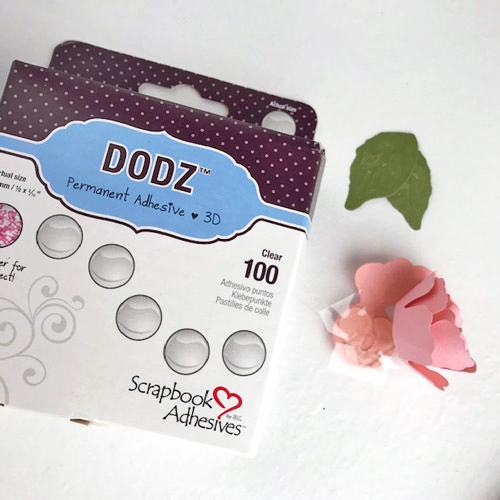
3D Foam Circles White
3D Foam Squares White Regular
E-Z Runner Grand Refillable Dispenser
E-Z Runner Micro Refillable Dispenser
Other
Craft Dies: Spellbinders® Paper Arts (Cuppa Love); Paper: Anna Griffin; White Card Base; Watercolor Card; Silver Foil Card; Distress Inks; Pearls
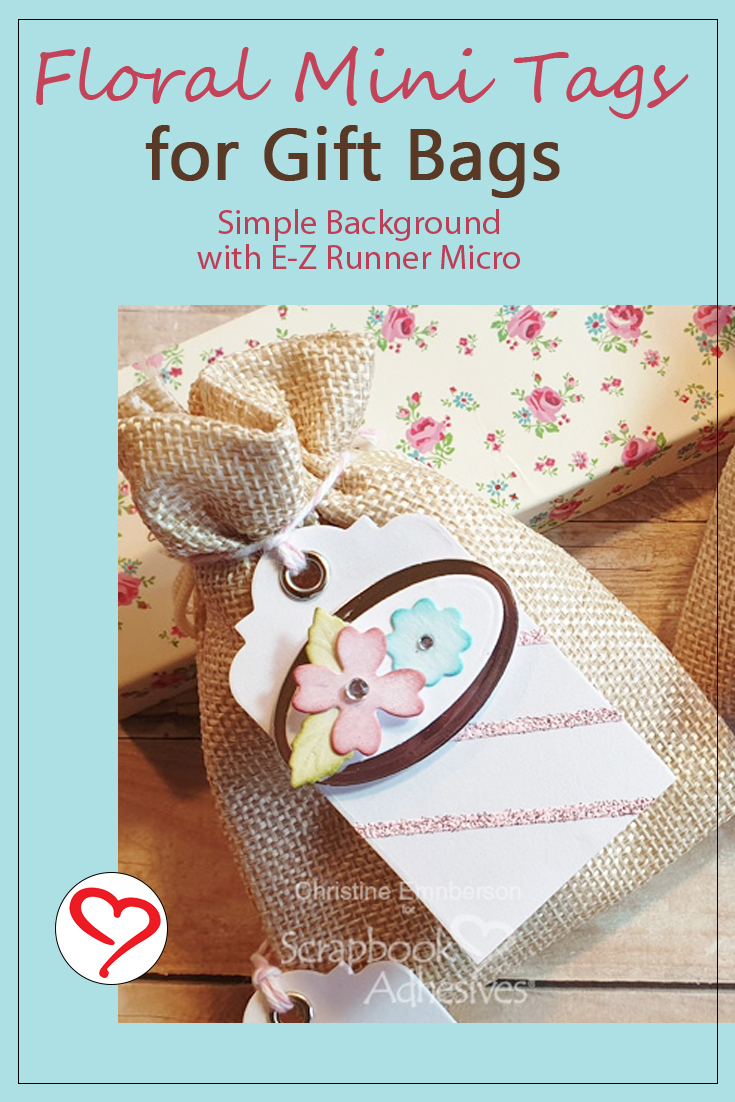
Pin It!
To participate, and/or see more ideas and inspiration, click:
Coffee Lovers Spring/Summer 2019 Blog Hop

If you can’t find the comment section (at the bottom of this post), please CLICK: A Cup of Floral Tea Tutorial with Coffee Lovers and scroll down to the bottom of the post.
Connect and Stick with 3L!
Visit our Website and Bookmark our Blog!
Sign up for our Newsletter so you never miss a contest or giveaway!