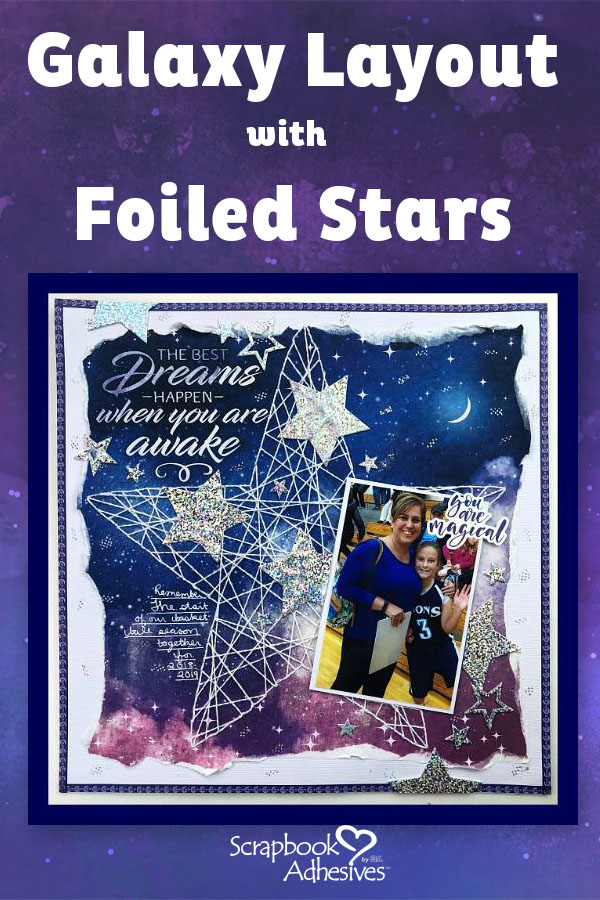
Have you jumped in on the galaxy trend? The more I dabble in it, the more I want to do with it. Knowing that my adhesives can enhance that trend even further makes it even more appealing. Hi, it’s Christine joining you today with ideas on how to make those stars twinkle on your galaxy style projects!
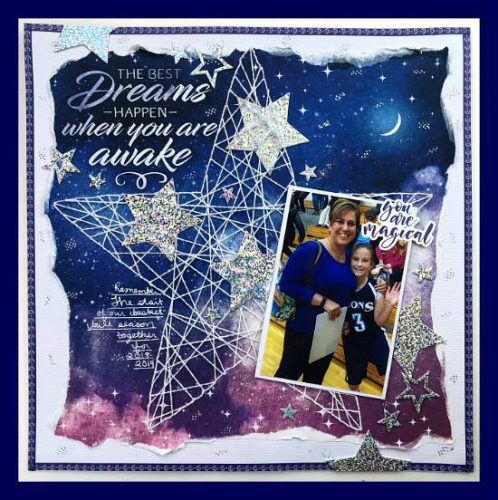
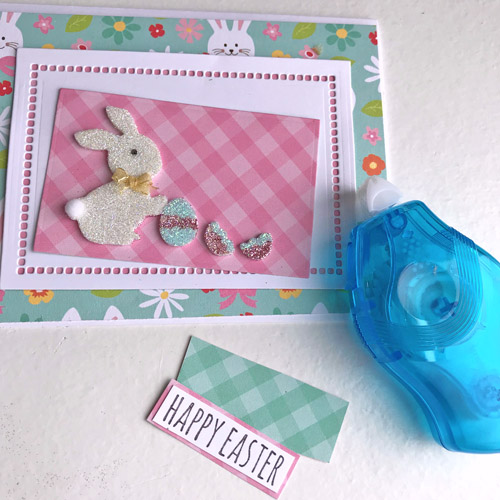
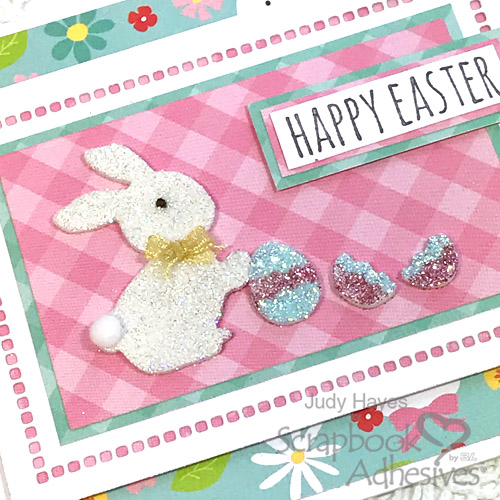
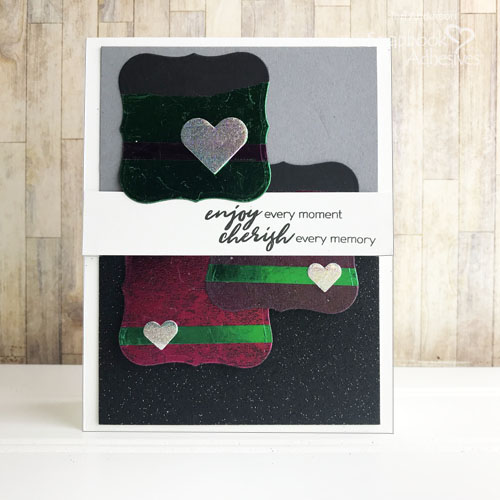
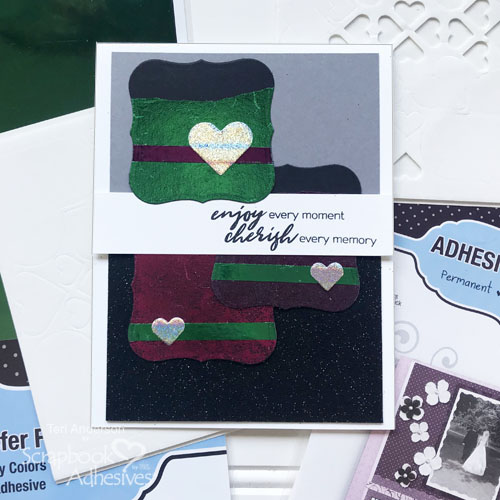
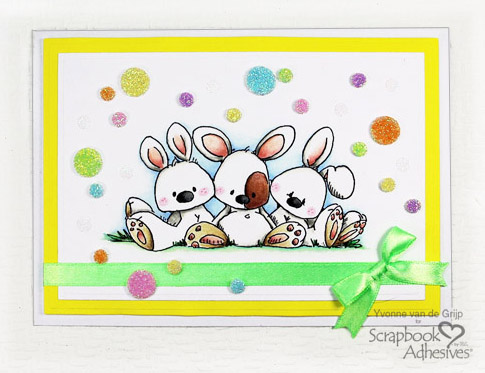
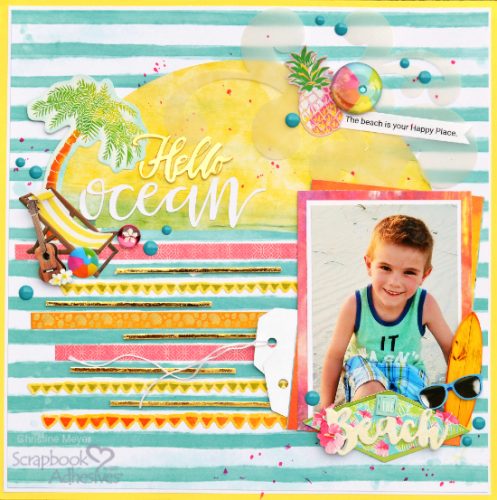
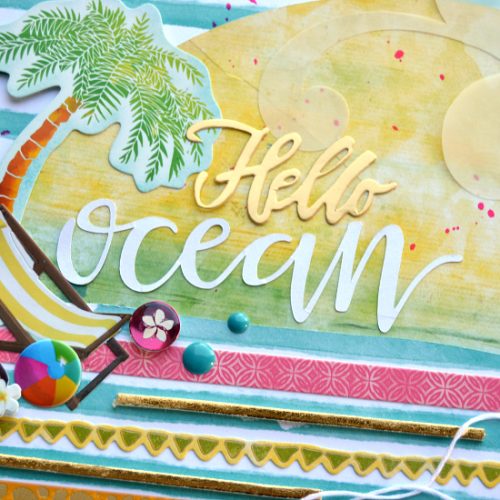
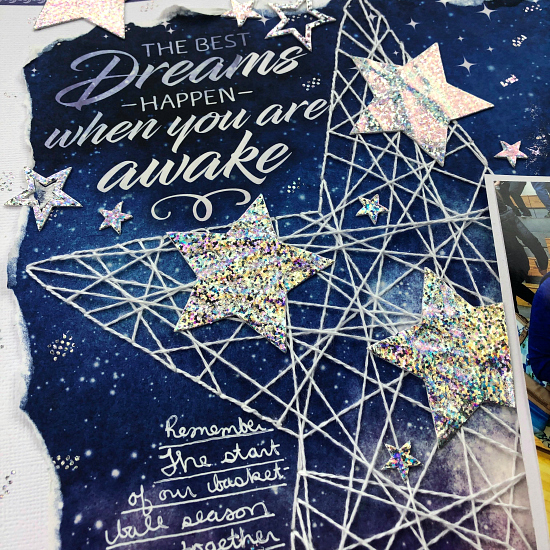
This layout showcases A LOT of stars! The patterned paper in the background has stars printed on it. Then I added a string art star. Next, we have “stars” created with the E-Z Runner Grand Permanent Dots. Finally, we have stars using the 3D Foam Stars and 3D Foam Creative Sheets! Let’s take a closer look at how I added all these!
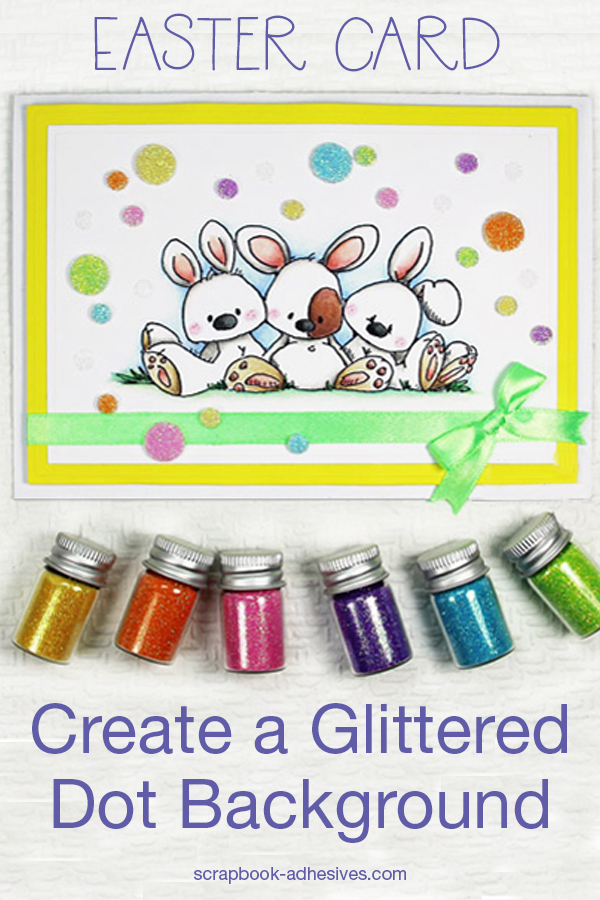
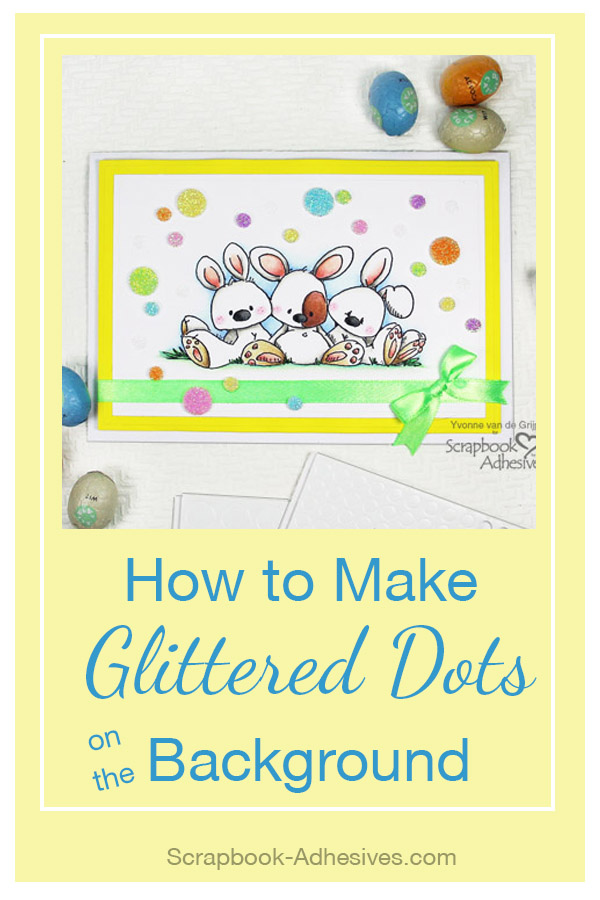
Permanent Dots Twinkle Stars
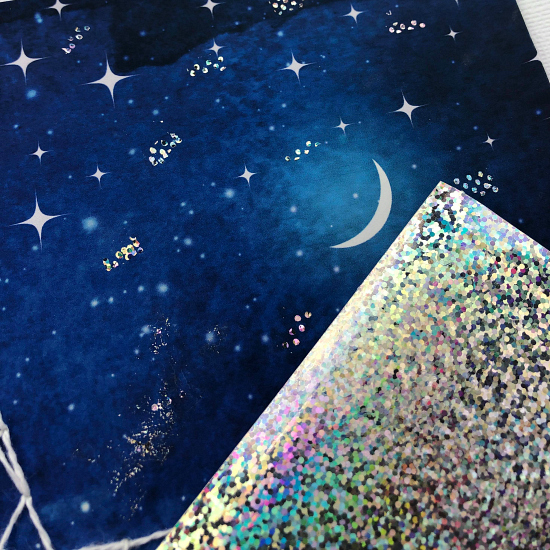
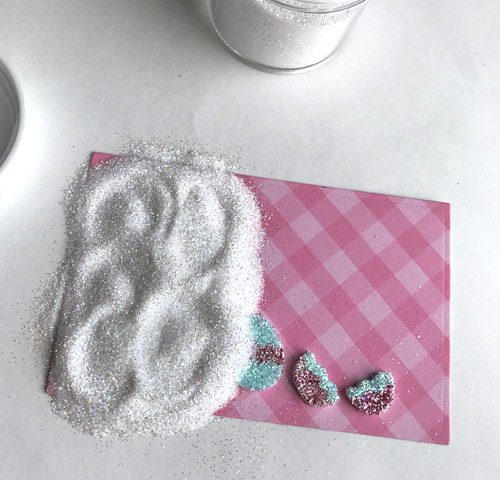
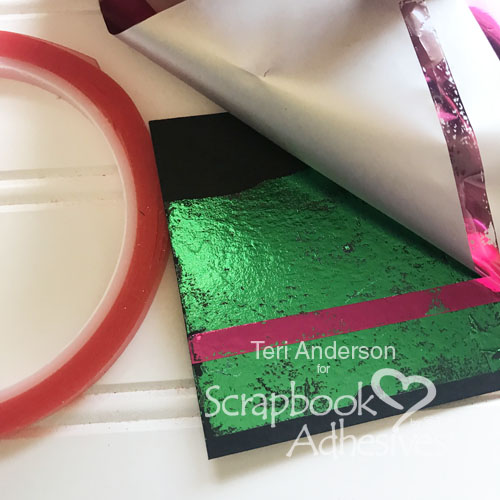
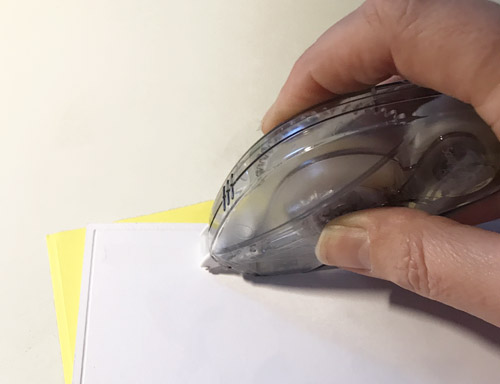
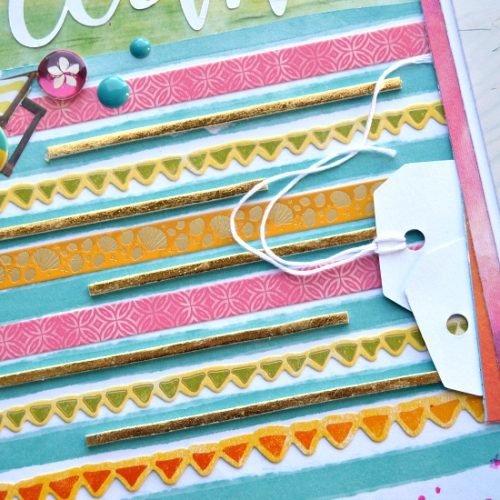
This was a really easy look to achieve. I just ran my E-Z Runner® Grand with the Permanent Dots Refill really quickly over the paper – it was almost more of a dab than an actual run. Sometimes that resulted in a chunk of dots and sometimes very little. Then I took my Metallic Transfer Foil Holographic Silver and rubbed it over the areas. I did this along the inside and outside borders of the layout.
Because I knew this layout was going to be more “messy” than precise, I knew this technique could work. Additionally, I continued that approach by adding my washi tape border without concern for straightness and tearing my patterned paper edges.
3D Foil Twinkle Stars
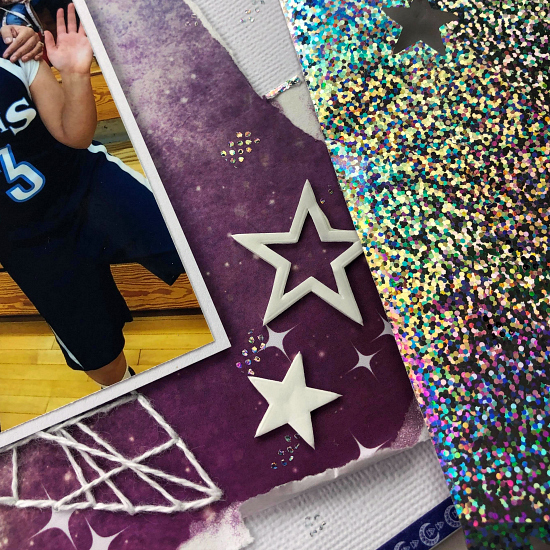
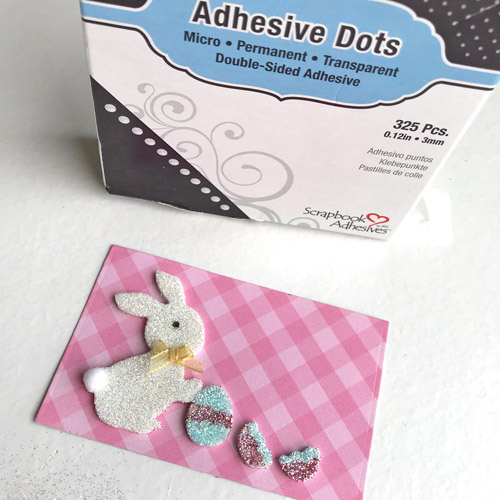
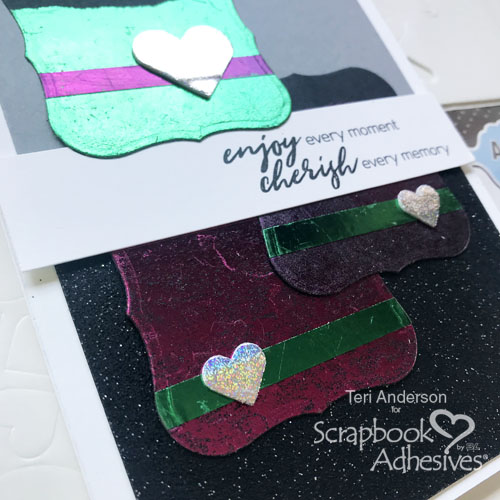
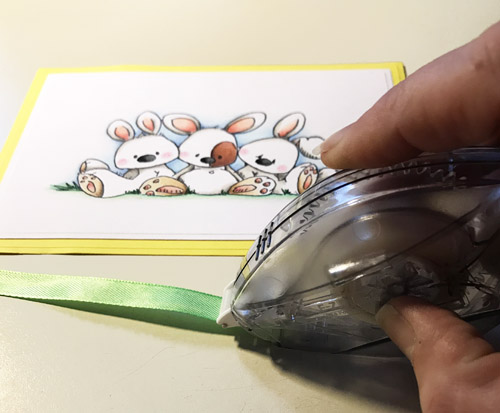
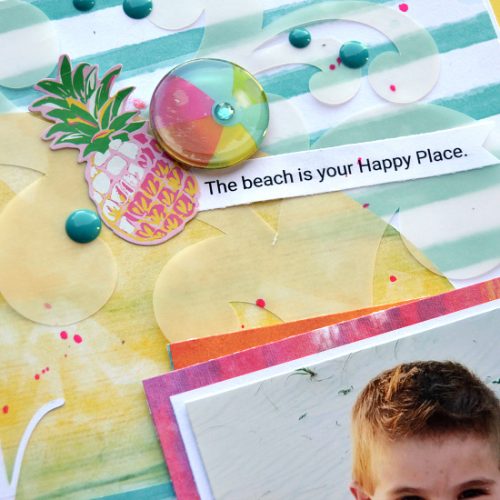
3D Foam products are a standby embellishment for me! They allow you to personalize the embellishment and “Wear Your Adhesive on the Outside.” I added stars from the 3D Foam Stars in both the top and bottom corners.
Once you remove the top liner, they are exceptionally easy to add foil! Just a quick rub with the foil side UP and it’s on there!
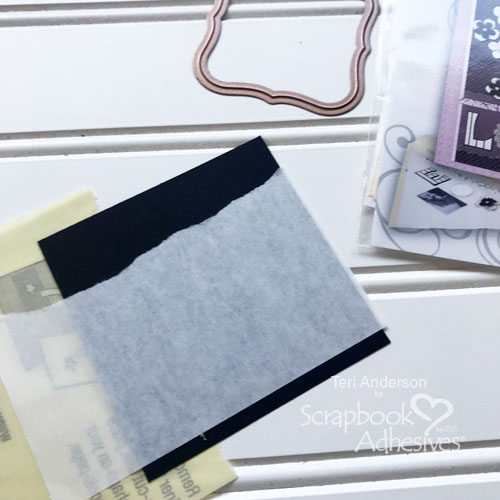
3D Foam Creative Sheets Stars
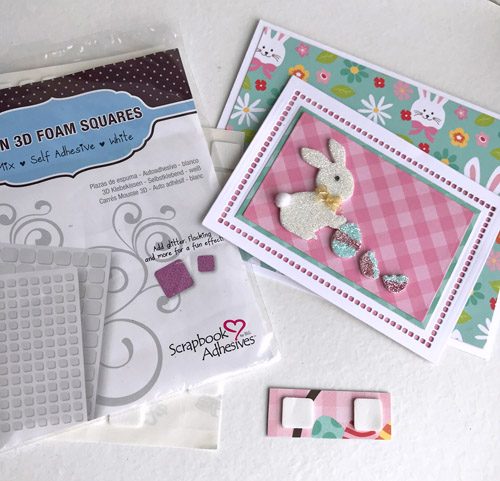
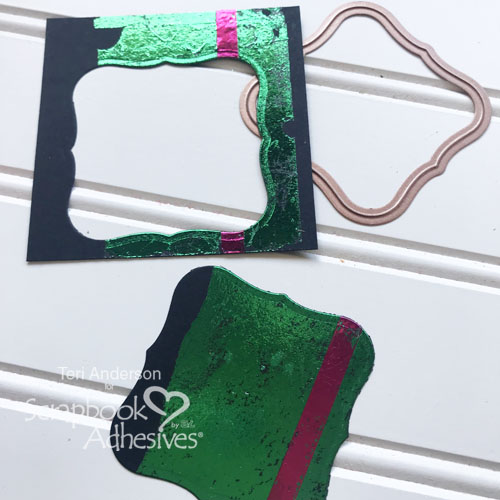
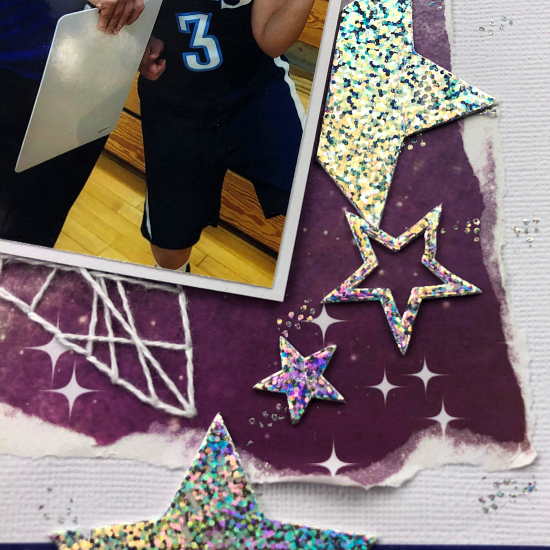
As I finished off my layout I knew I wanted a few more big stars. But I didn’t have quite what I needed. In light of that, I pulled out the 3D Foam Creative Sheets and a star punch. I punched a few out and applied foil in the exact same way as above. I wasn’t sure if the 3D Foam Creative Sheet was going to be too thick for my punch but it wasn’t!
Thanks so much for joining me today!
-Christine Meyer
Creative Time: 90 Minutes
Skill Level: Advanced
Materials Needed
Scrapbook Adhesives by 3L®
E-Z Runner® Grand Refillable Dispenser
E-Z Runner Grand Permanent Dots Refill
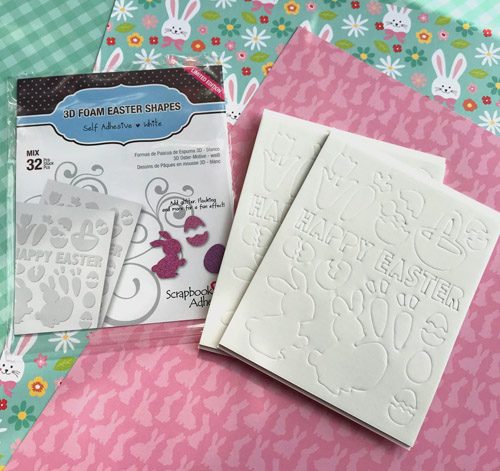
3D Foam Creative Sheets Small White
3D Foam Stars
Metallic Transfer Foil Sheets Holographic Colors
Other
Patterned Paper & Stickers from Paper House Productions
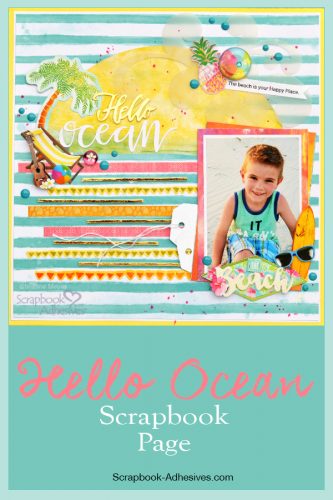
Pin It!