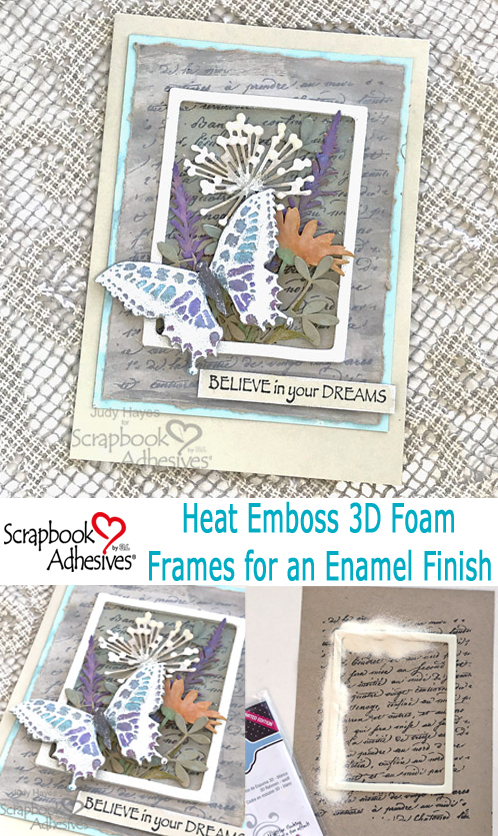
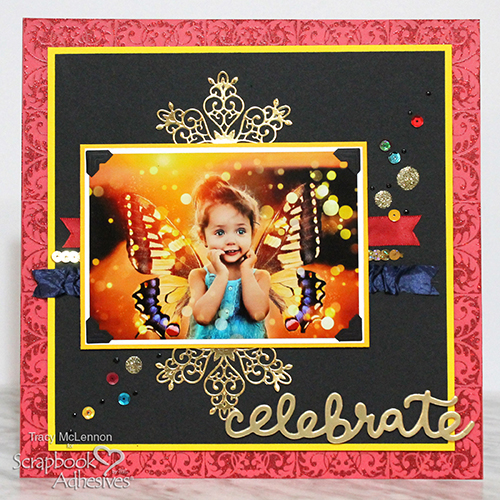
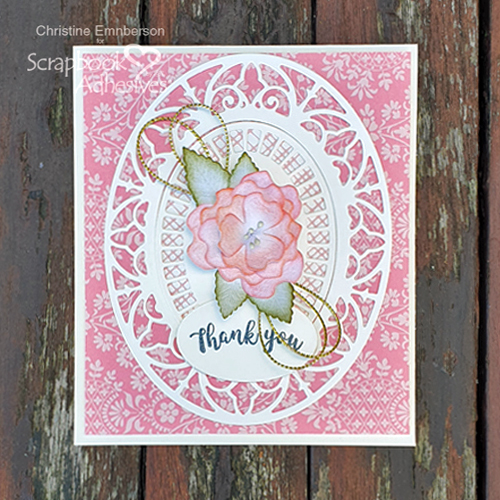
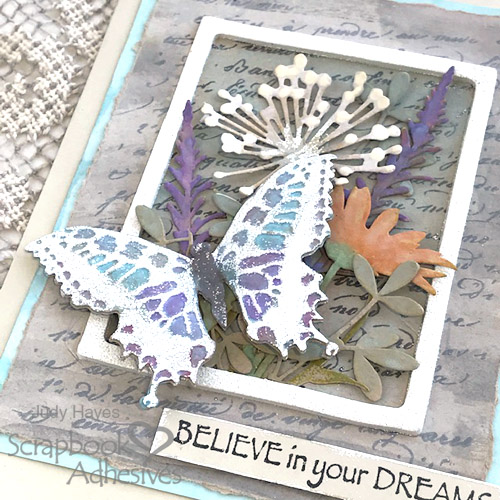
Hello everyone! It’s Judy here today. I have a card with a Framed Butterfly and Flowers using 3D Foam Frames. It’s a quick way to add a dimensional frame to a card.
Create the Background
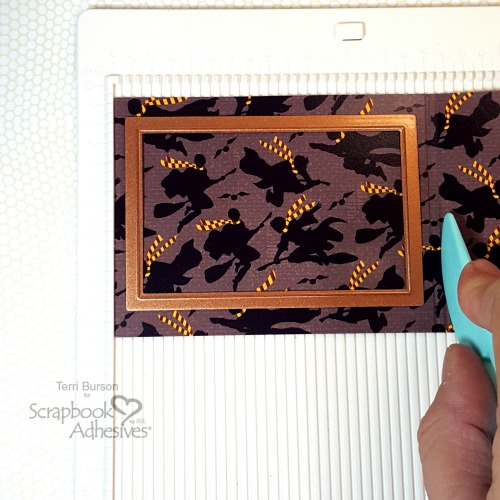
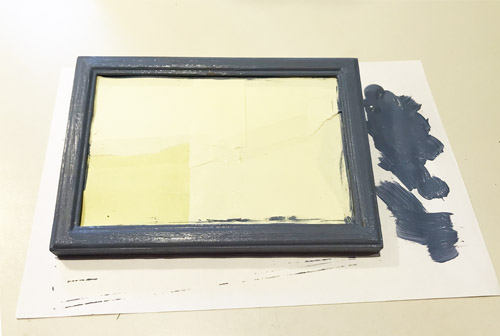
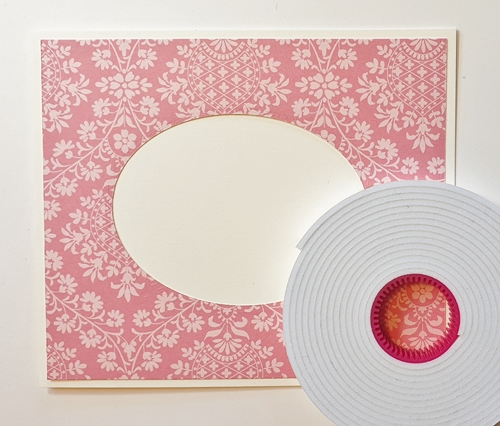
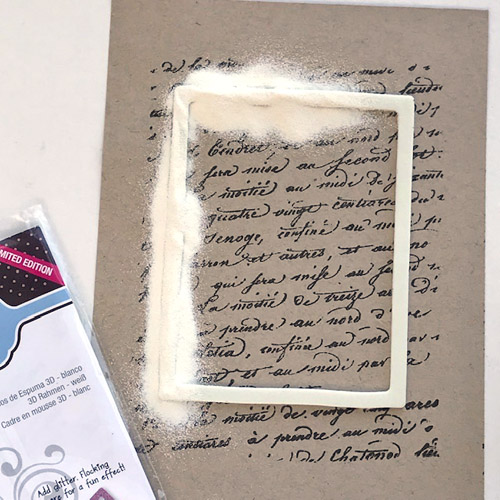
For the background, stamp a script across tan cardstock. Then place a 3D Foam Frame over it.
I used a ruler to align it straight. Lightly position the frame over the image, then center it and adjust spacing at top, sides and finish at the bottom. Be careful not to stretch it as the paper may curl.
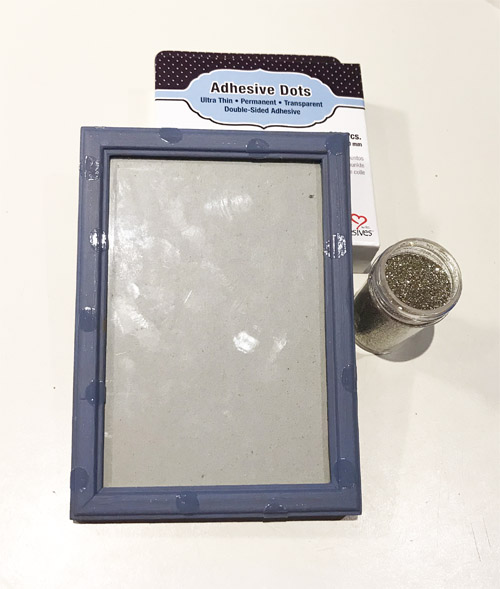
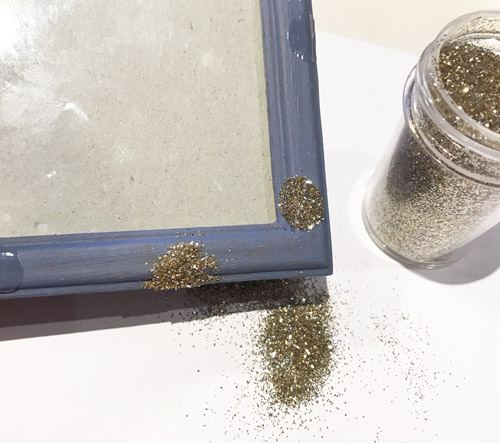
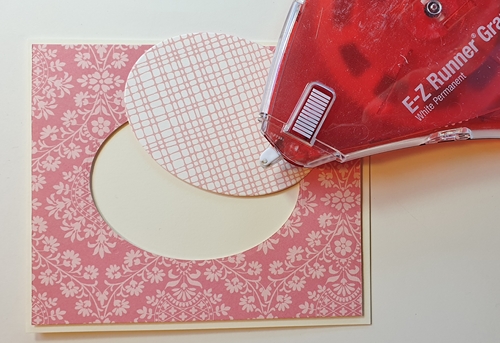
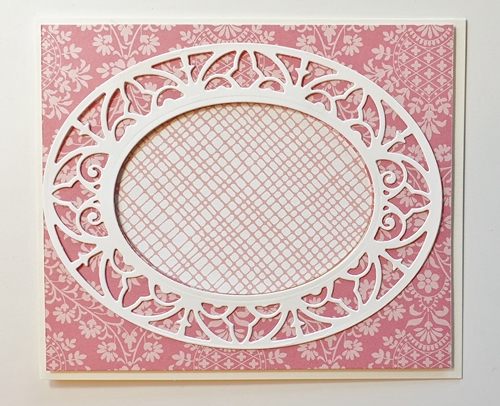
After removing the top liner, cover the 3D Foam Frame with white embossing powder and heat emboss it. I really like the enamel-like finish it creates!
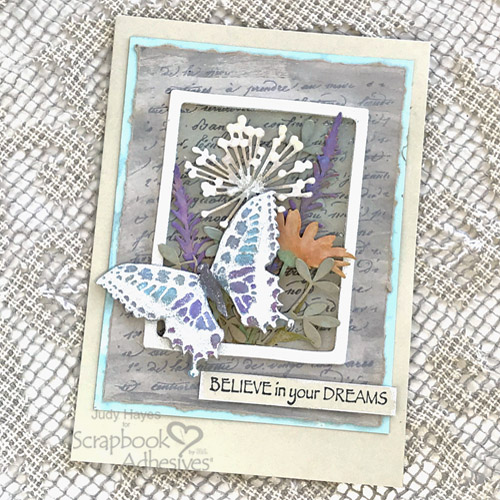
Blue Distress Oxide ink works great as a watercolor inside the frame. Around the outside, I brushed on white gesso mixed with water for a wash of color but not opaque coverage. I placed a ruler along each edge and tore some paper off.
Die Cut the Butterfly and Flowers
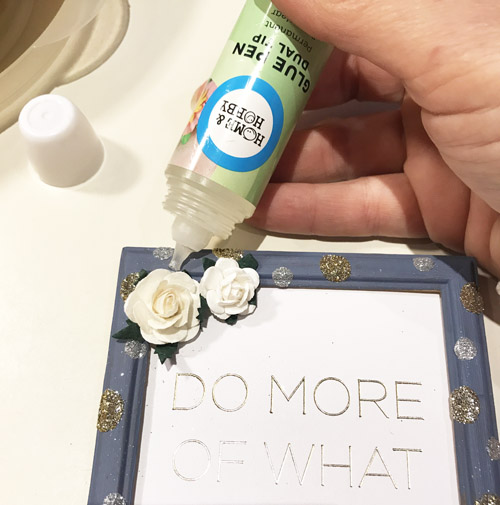
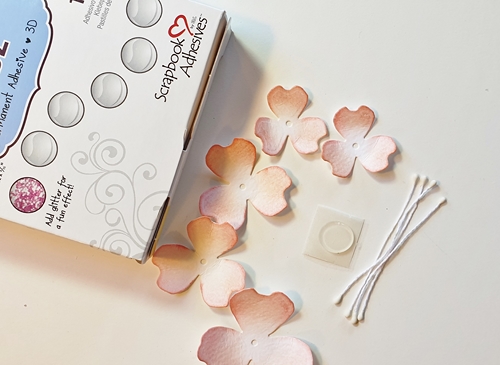
The flowers are all die cut from tan paper and colored with Distress Oxide inks. Arrange them in the frame and snip the stems to fit. All except orange flower are fastened with the Dual Tip Glue Pen. The orange flower has a 3D Foam Square under it to pop it up with stems glued at the bottom.
Now you can cut and emboss the butterfly from same tan cardstock. I rubbed embossing ink over the raised areas, added white embossing powder, and heat embossed it. Then I added color with Distress Oxide inks used as watercolor. It’s popped up on the card with 3D Foam Squares. I stacked one under the body and two under the wings.
Assembling the Card
Finally, assemble the framed butterfly layer onto an aqua mat using E-Z Runner® Ultra Strong Refillable Dispenser. I use Ultra Strong because the paper was warped a bit from painting it. The E-Z Runner® Ultra Strong adhesive is a super strong and immediately tacky adhesive, and it holds the paper in place! That layer is fastened to a 5 x 7-inch card with E-Z Dots® Permanent Refillable Dispenser with a bit of Ultra adhesive at the corners. I like to do that to be sure the corners stay in place! Fasten the verse strip with Thin 3D Foam Squares for just a bit of dimension.
Thanks for visiting and Happy Crafting!
Judy
Creative Time: 45 minutes
Skill Level: Intermediate
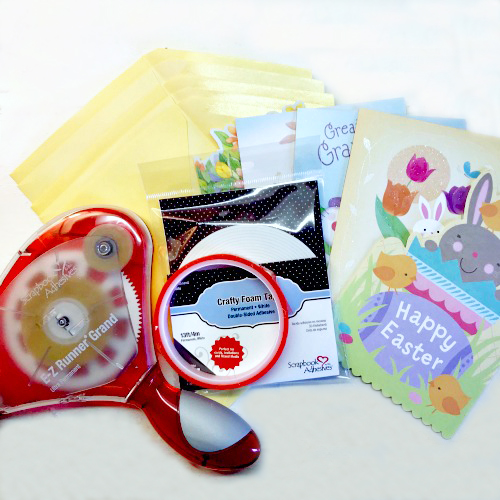
Materials Needed
Scrapbook Adhesives by 3L®
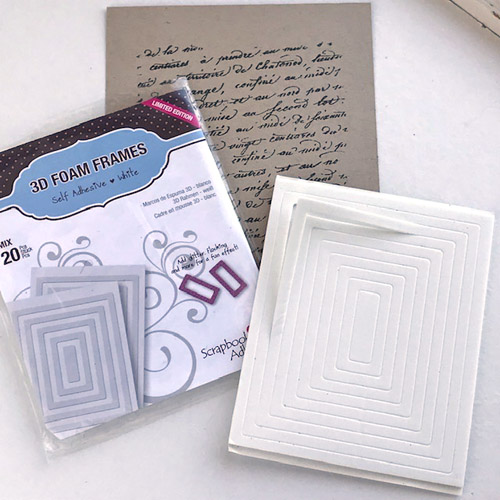
3D Foam Frames
3D Foam Squares White Mix
Thin 3D Foam Squares White Mix
E-Z Runner® Ultra Refillable Dispenser
E-Z Dots® Permanent Refillable Dispenser
HomeHobby by 3L®
Dual Tip Glue Pen
Other
Imagine Crafts/Tsukineko Versafine Clair Fallen Leaves ink, Versamark Ink; KaiserCraft Life Stamp; Ranger White Embossing Powder; Ranger Distress Oxide Inks; Sizzix Tim Holtz Butterfly Duo Die; Sizzix Tim Holtz Wildflower Stems #2 dies; Penny Black script stamp; Liquitex White Gesso; Cardstock: Aqua, Desert Storm
Pin It!