Look for COLOR FULL of inspiration this week as we have a Blog Swap and Giveaway with Jillibean Soup! We’re excited to have both design teams partnering up to show off creativity. The celebration starts on both companies’ blogs and ends on both companies’ Instagram pages. See the giveaway details at the end of this post!
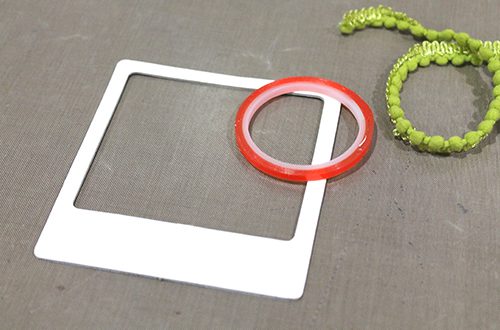
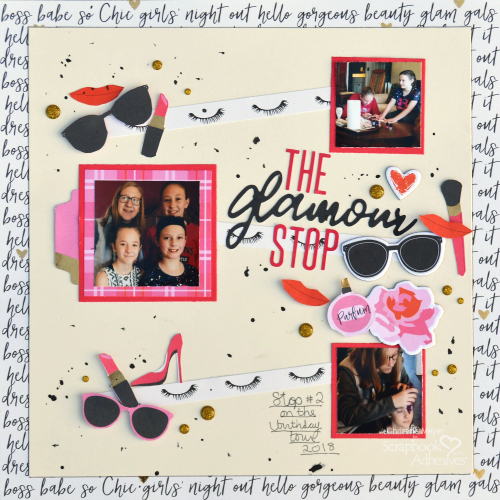
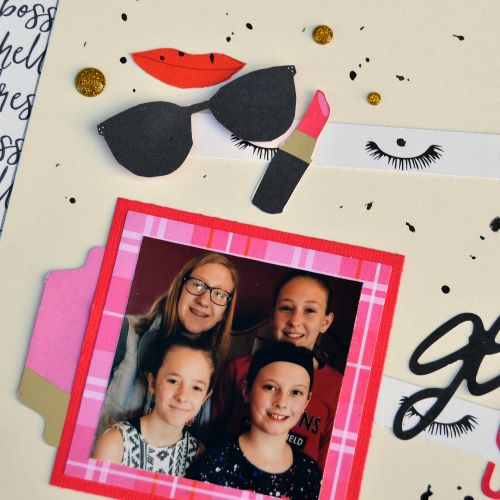
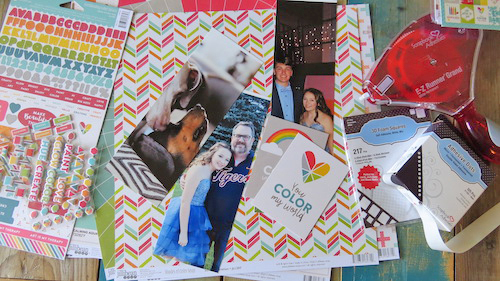
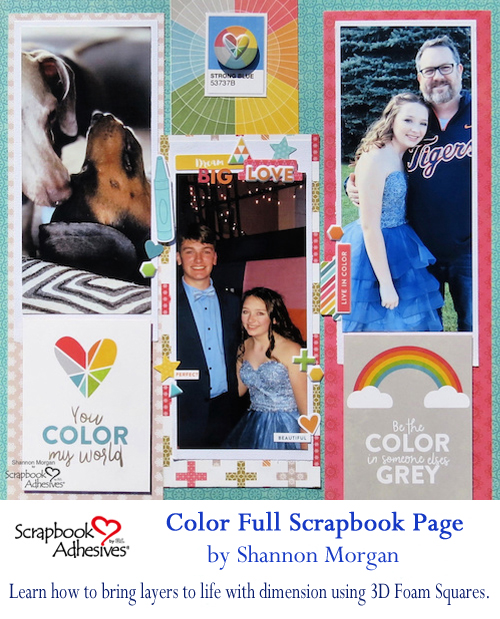
Today, Shannon Morgan uses Shades of Color Collection to create a wonderful scrapbook page and assembles it with E-Z Runner® Grand Refillable Dispenser and 3D Foam Squares White Small. Let’s take a look!
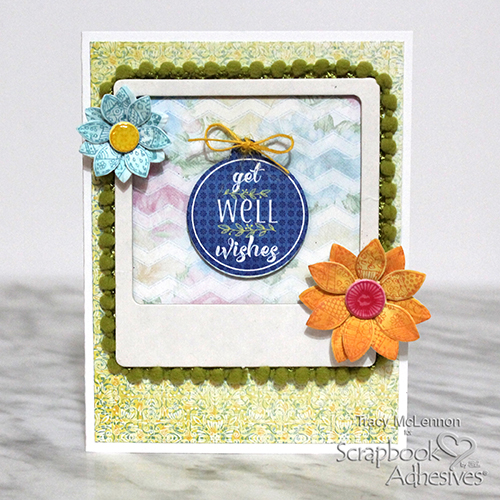
Color Full Scrapbook Page by Shannon Morgan
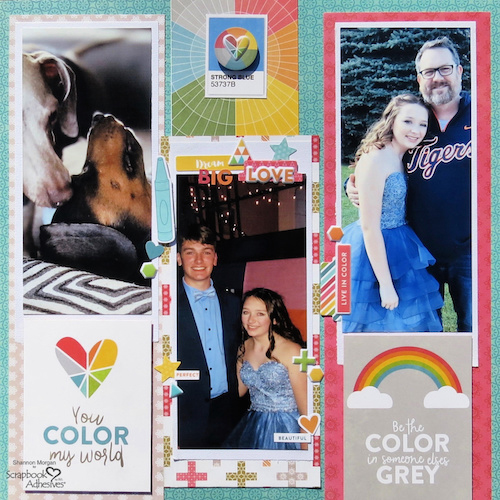
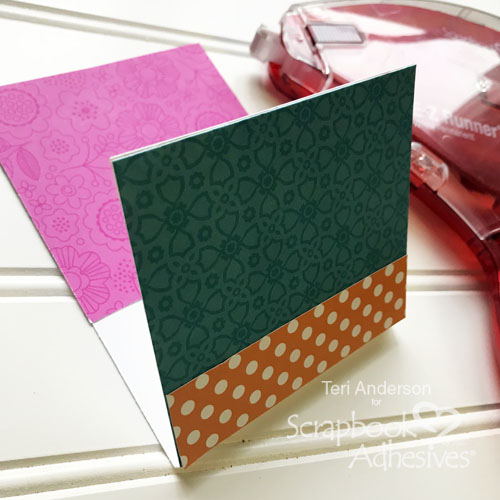
This collection is outstanding! It’s full of color and uplifting sentiments. Instantly I knew which photos I wanted to use, they feature my family, who colors my world (mushy sentiment tie-in intended!)
You can see that my photos are odd sizes, I’m not too ashamed to tell you, I ran out of photo paper, and I used “cut offs” from letter-sized photo paper sheets! I love that the photos printed out in a non-traditional size. They worked perfectly for the idea I had for this layout. Don’t be afraid of adding multiple photos to your layouts, that’s what scrapbooking memories is intended for!
This collection has so many fun patterns and colors, I wanted to try to incorporate as many as possible on my layout. Let’s look at how I accomplished this by adding layers.
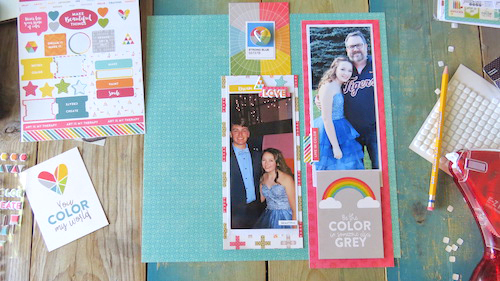
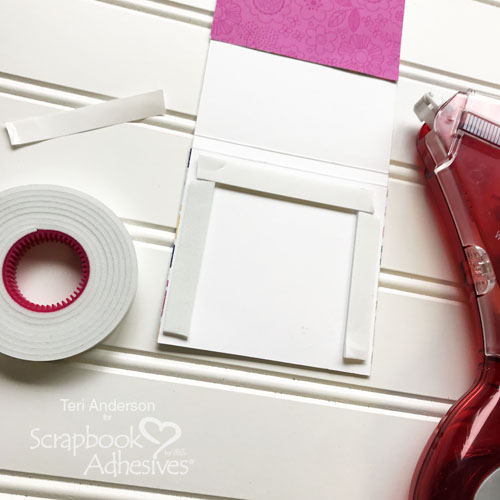
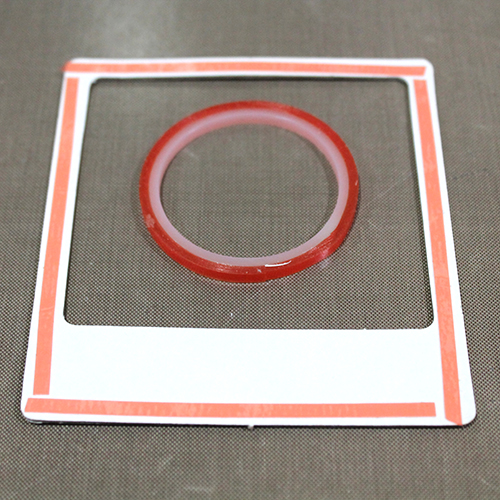
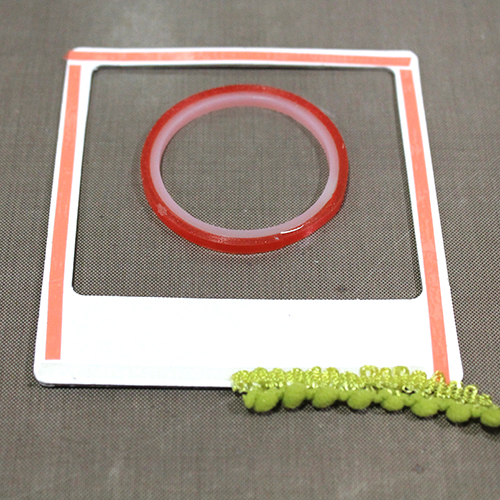
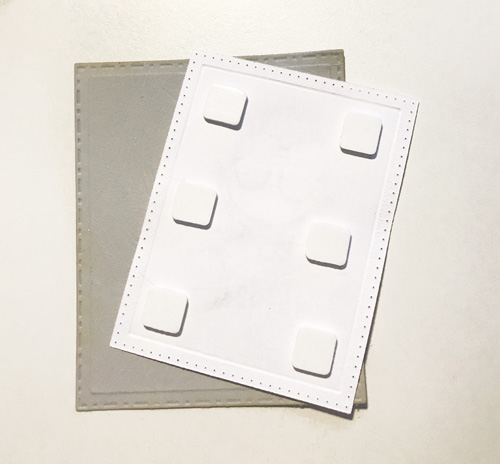
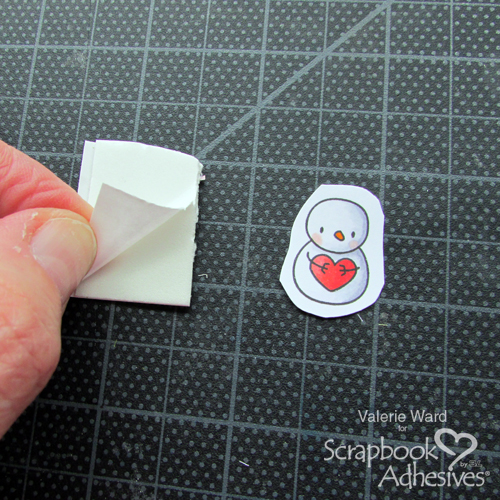
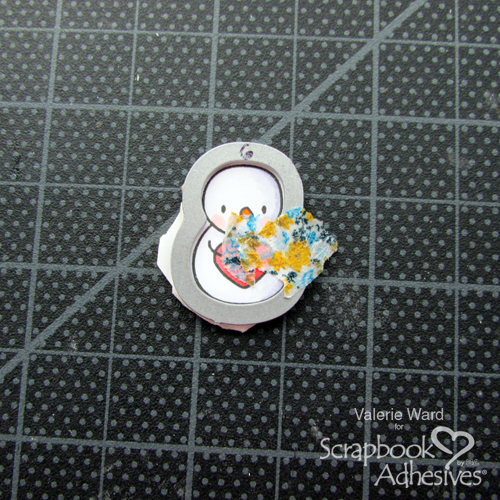
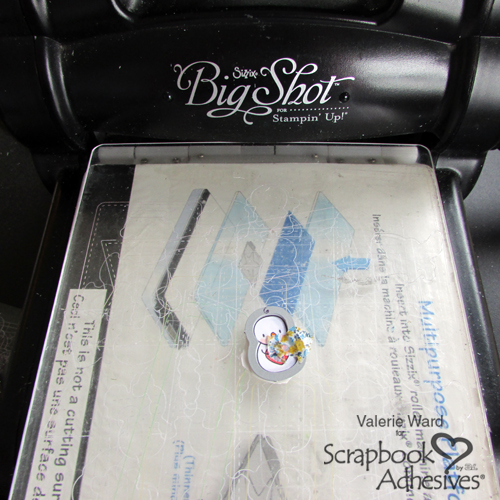
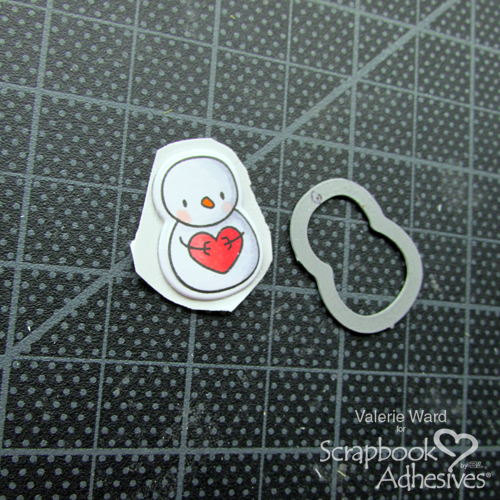
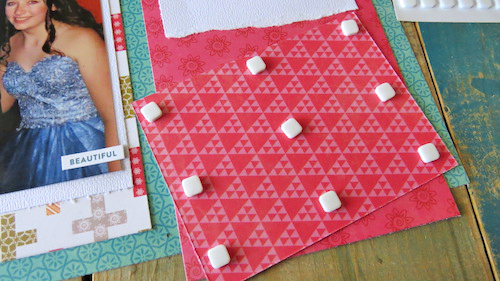
I like to add dimension to all of my layouts and cards. It is easily achievable with 3D Foam Squares!
Thanks for letting me share this creation with you today! I hope I inspire you to create some great stuff! Make sure you’re checking back all week long!
~Shannon
Creative Time: 45 minutes
Skill Level: Beginner
Material Needed:
Scrapbook Adhesives by 3L®
3D Foam Squares White Small
E-Z Runner® Grand Refillable Dispenser
Jillibean Soup Designs
Shades of Color Collection Pack JB1403
Looking for Day 2?
For Day 2, click: Creative Bohemian Vibe and Jillibean Soup.
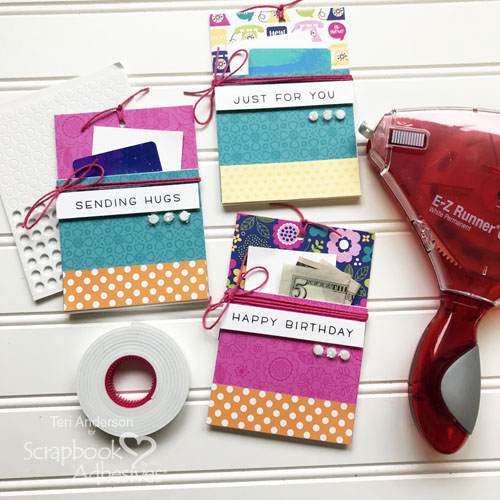
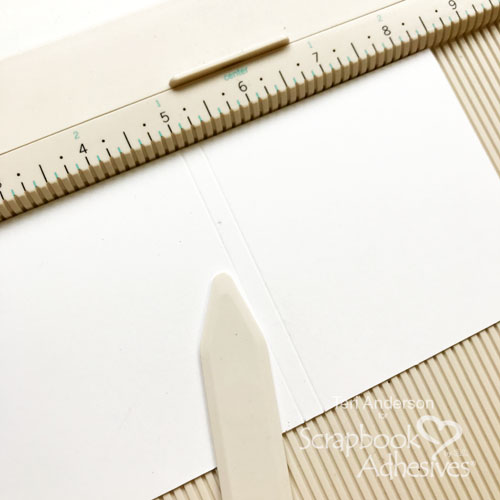
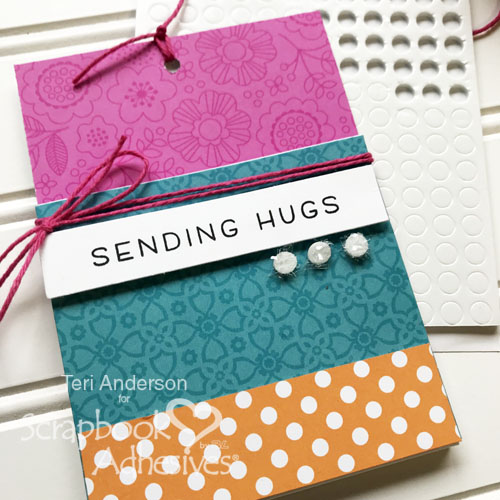
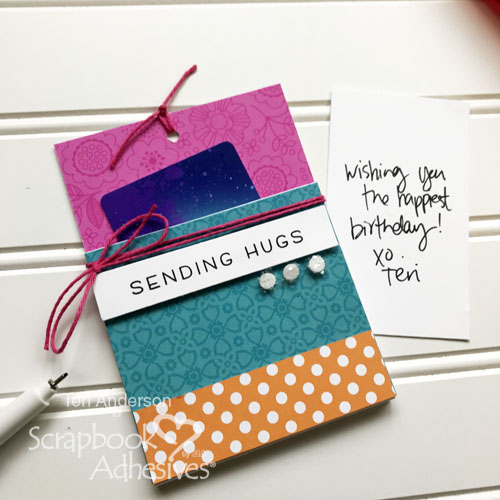
Day 3, visit: Notepad Gift-ables and Jillibean Soup.
Pin It!
Visit our friends at Jillibean Soup Designs by clicking:
Blog Swap Week with Jillibean Soup Designs – Day 1.
Blog Swap Week Prize Details
To enter to win our Giveaway visit our Instagram account and follow the prompts, CLICK: Scrapbook Adhesives by 3L Instagram Account (@sbadhesivesby3l)
Winners will be randomly picked. International Entries are welcome.
Per Instagram rules, this promotion is in no way sponsored, administered, or associated with Instagram, Inc. By entering, entrants confirm that they are 13+ years of age, release Instagram of responsibility, and agree to Instagram’s terms of use.
Connect and Stick with 3L!
Visit our Website and Bookmark our Blog!
Sign up for our Newsletter so you never miss a contest or giveaway!