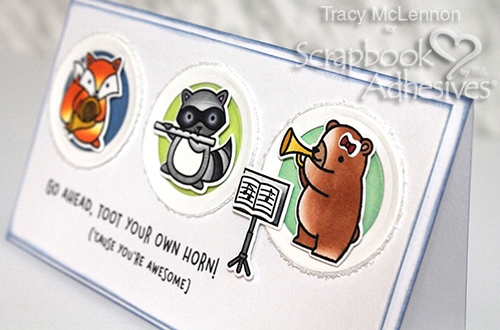
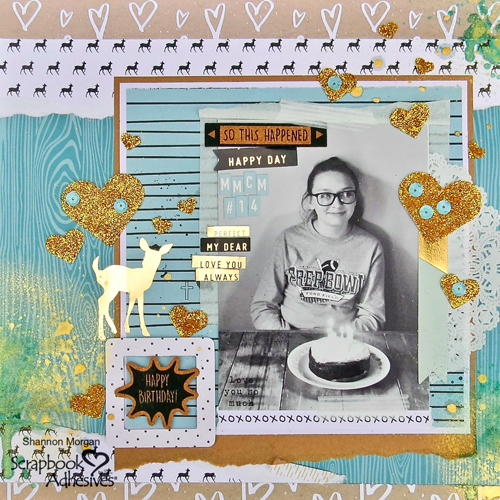
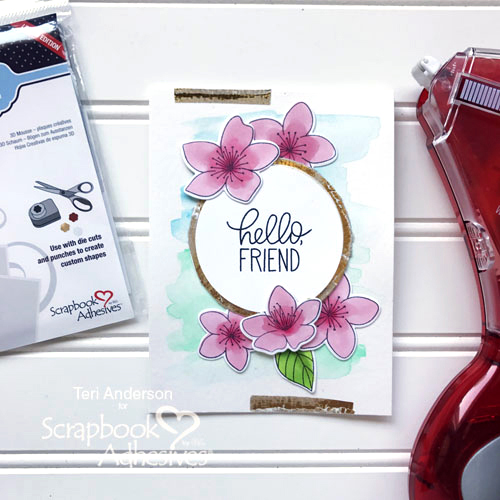
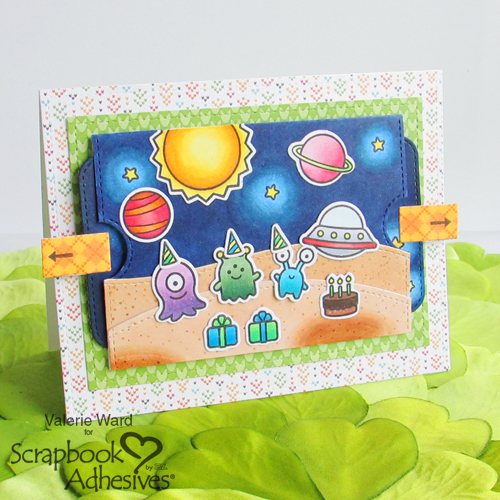
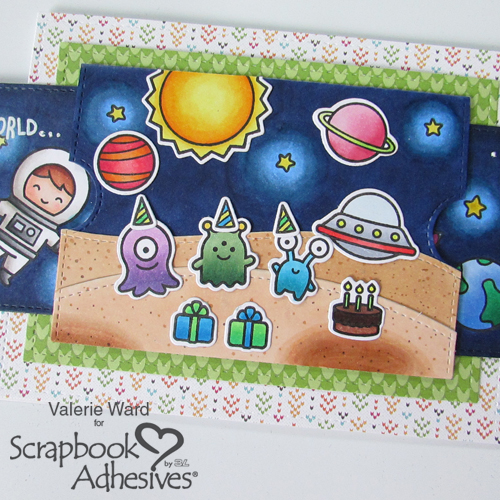
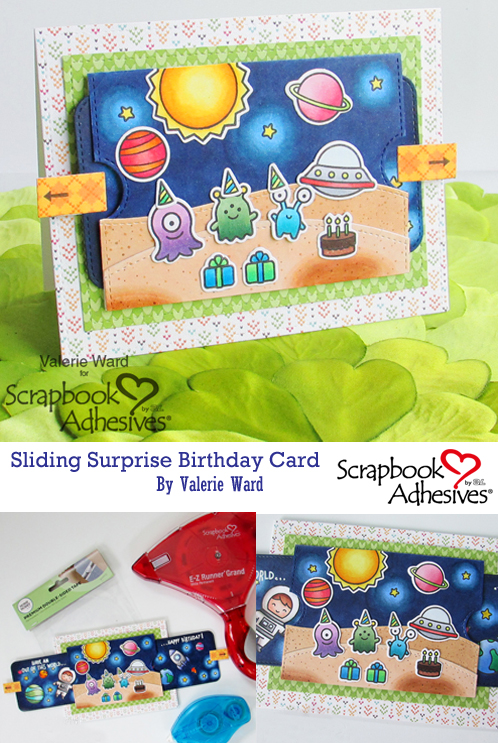
Hi there! Valerie here today with an interactive card that slides open on two sides and reveals more to the scene than what you see just on the front! See what happens when you pull those two tabs – eek!
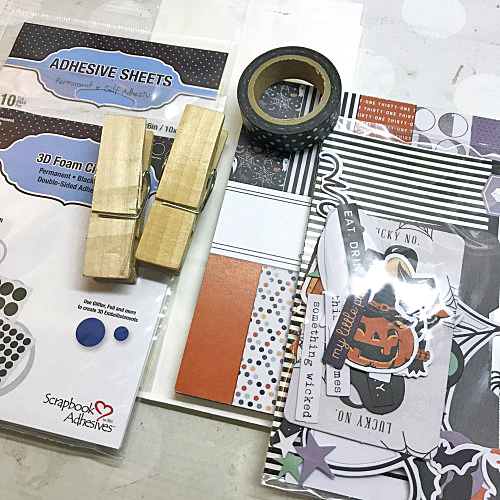
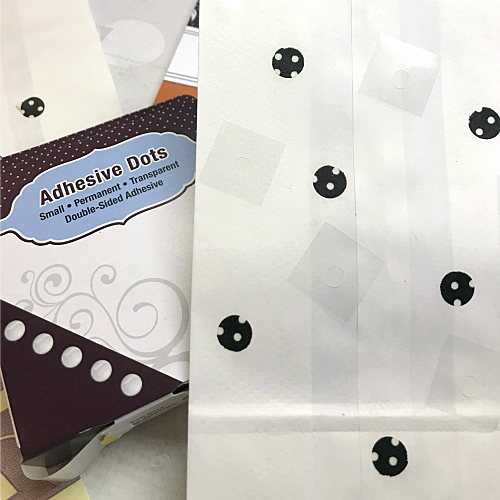
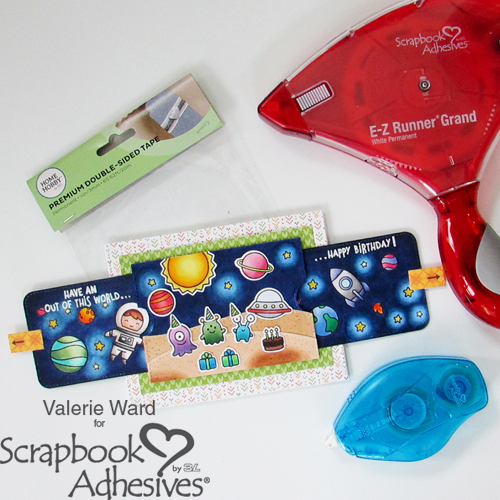
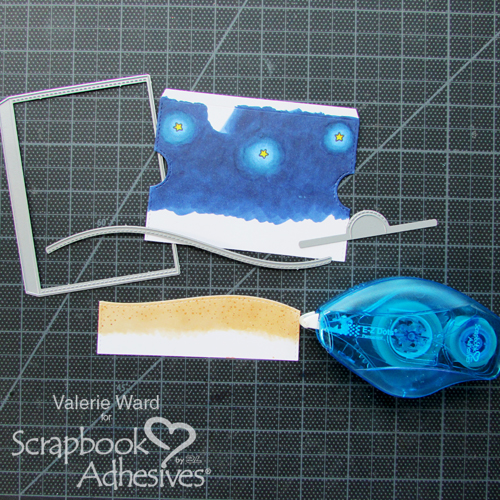
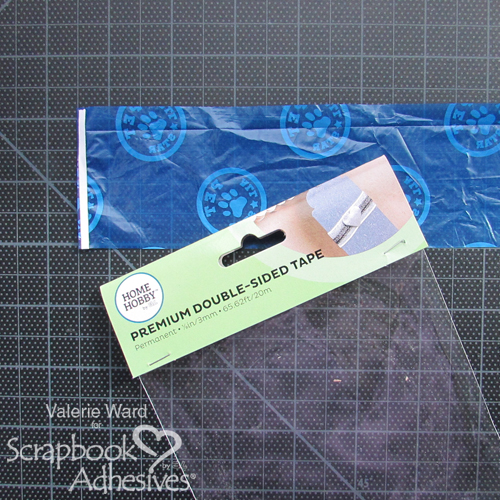
To put it all together, I needed the awesome E-Z Runner® Grand, the fun E-Z Dots® Permanent Refillable Dispenser, and the trusty Premium Double-Sided Tape 1/8 inch.
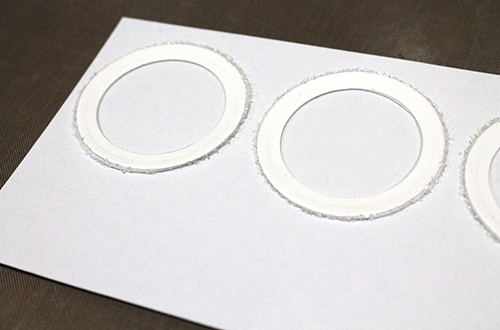
Center Sliding Card Panel Scene
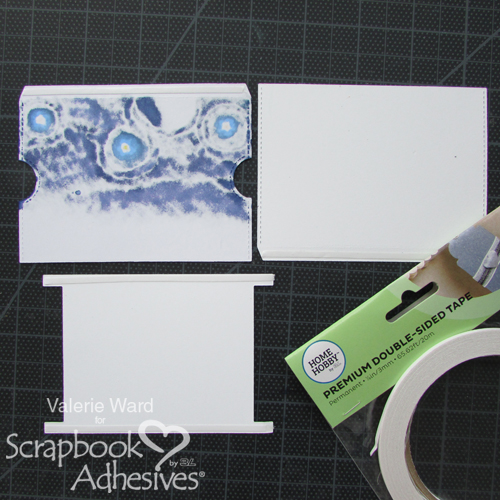
Also known as the Main Pocket Piece, I die-cut two pieces.
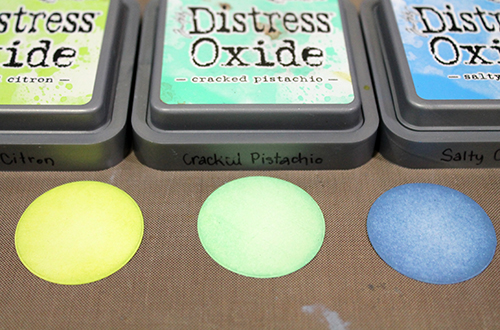
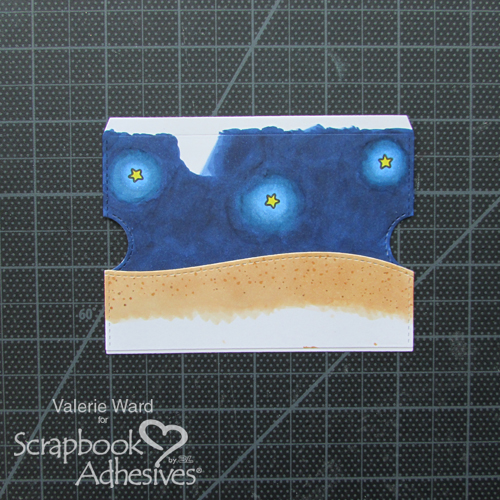
One will be the center card panel. I colored my background with Copic markers. It took a little time, but it was worth it because I got the effect I wanted around those tiny glowing stars! Then I cut a notch on each side.
The other Main Pocket Piece I left blank as it will not be shown on the card and will serve to hold the Sliding Track Mechanism.
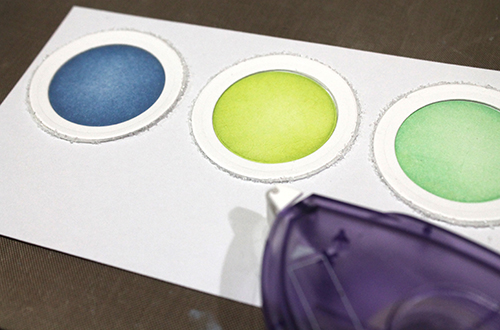
I have a couple of ground layers to add to the scene that was attached using my E-Z Dots® Permanent Refillable Dispenser.
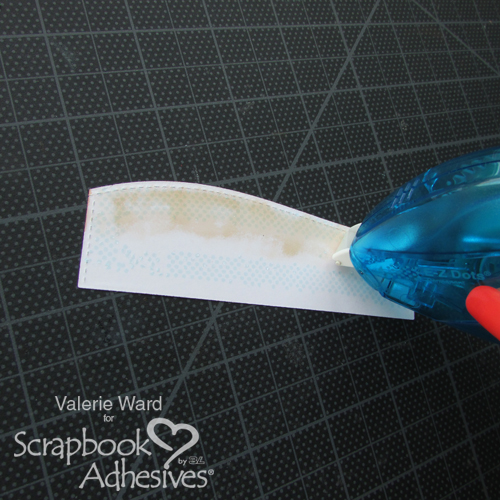
Note the bottom section is not colored as there will be one more layer added to cover that bare spot 🙂
Slider Track Mechanism
Referring to the image below, the bottom piece (next to the Premium Double-Sided Tape 1/8 inch) is the Slider Track Mechanism. On the top and bottom part of the track, apply Premium Double-Sided Tape 1/8 inch on both the front and back sides.
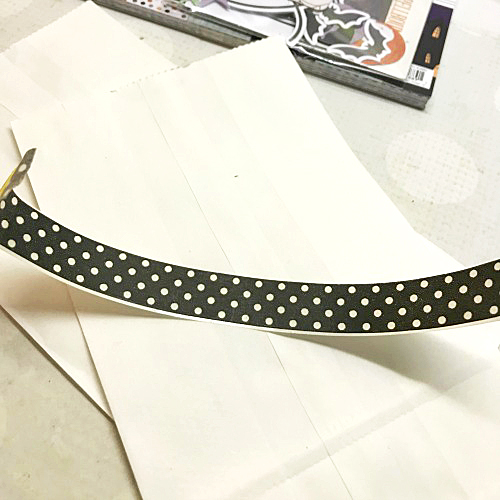
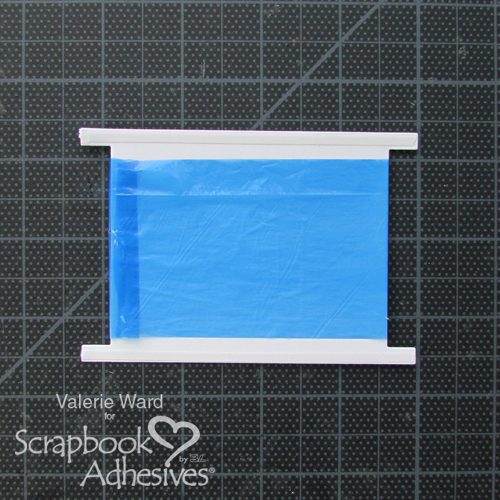
Grab a doggy poop bag (yes, it works wonderfully! lol!) or use a bag from a stamp or die packaging. Cut a single piece 2 1/4 inch wide. Place a strip of Premium Double-Sided Tape 1/8 inch onto one end.
Loosely wrap the plastic around (not too tight – you want it to be able to move freely), take off the liner from the tape and adhere it down. Trim excess. Slide it back and forth to test.
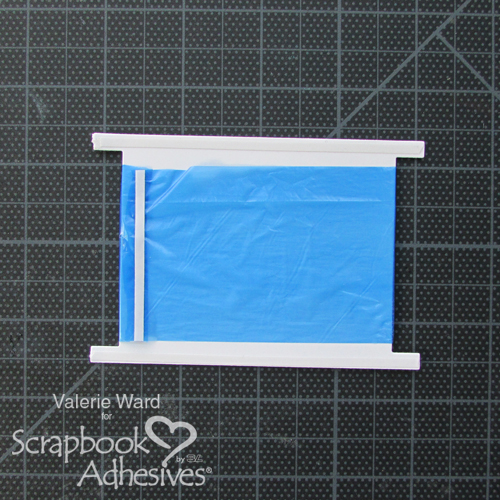
Move the seam to the LEFT END and place a strip of Premium Double-Sided Tape 1/8 inch over the seam as shown below. Consider this the front side. Flip over and apply another strip of the adhesive on the RIGHT END (opposite side/back side). Leave the Slider Track Mechanism as is.
Bringing in the Panels
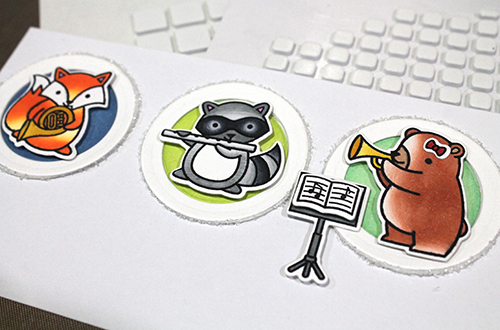
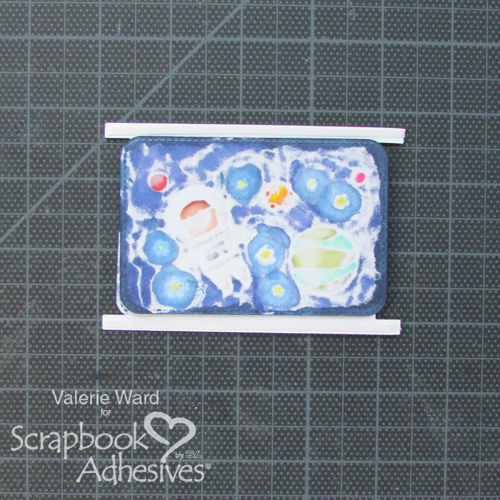
Cut two Panel Pieces (they will slide out from Pocket Piece). Stamp and color as desired on one side of each.
On the LEFT SIDE of the Slider Track Mechanism, peel off the tape liner and place one of the Panel Pieces (front side up). Make sure that its right edge is lined up with the outside edge of the Slider Track Mechanism. Press down to secure.
Flip over. Make sure the back side of the second Panel Piece is up and that the image is not upside down before peeling the tape liner on the RIGHT SIDE. With its left edge lined up with the outside edge of the Slider Track Mechanism. Press down to secure. See the image below.
Flip back (LEFT SIDE) and pull on both ends to see if both fronts are showing. If so, you did it correctly.
Assemble the Main Piece
Remember the Main Pocket Pieces? There is a score line on the top of each piece, fold and apply Premium Double-Sided Tape 1/8 inch to the outside of each tab. Take the liner off of one of the tabs and connect the two pieces. Leave it open to add the Slider Track piece.

With the front side of the Slide Track piece, take off the liner from the top and bottom of the track and place it into the Pocket piece. Make sure the front of the Pocket piece is facing the correct way…all decorated pieces should be facing the same side/way.
The back side should be facing up by now (see the image below). Peel off the top liner from the track and press the Pocket tab over to secure. Then take off the two tape liner and close up the Pocket piece. Add your other ground layer and stamped die cuts with my E-Z Dots® Permanent Refillable Dispenser. You’re done with the main feature of the card!
Just add two tabs on each side of the Panels and adhere the Slider Pocket to a layered card base with the E-Z Runner Grand Refillable Dispenser.

Finished Details
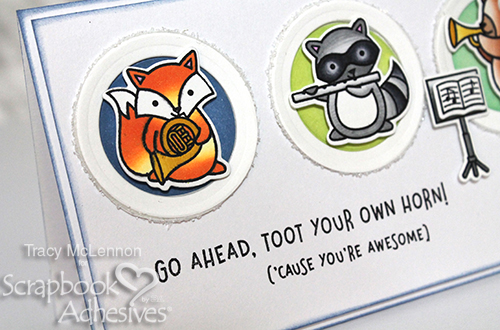
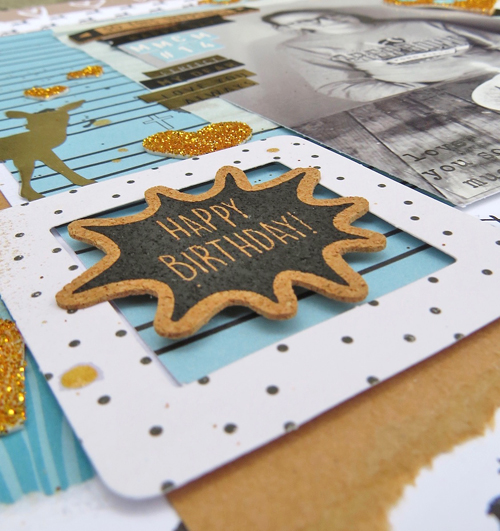
Here is a close-up of the center part of the card.
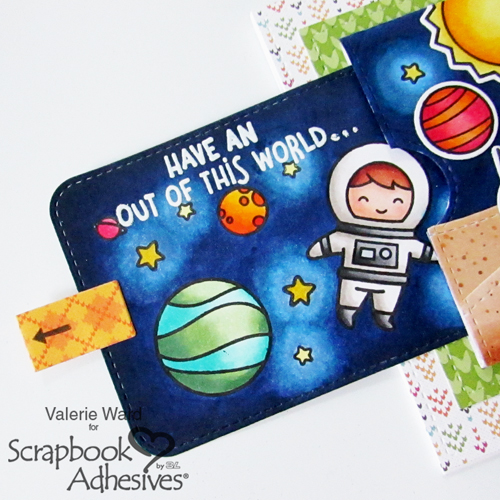
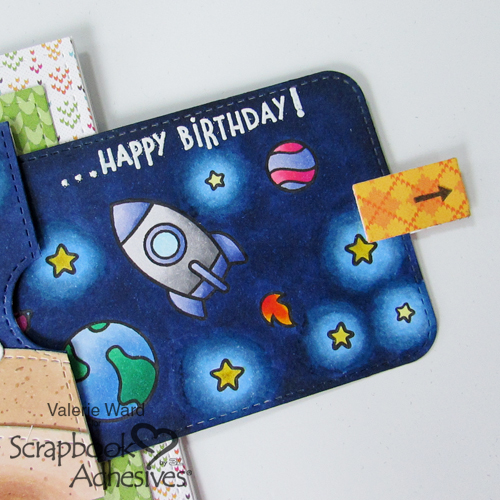
Close-ups of the two tabs pulled out.
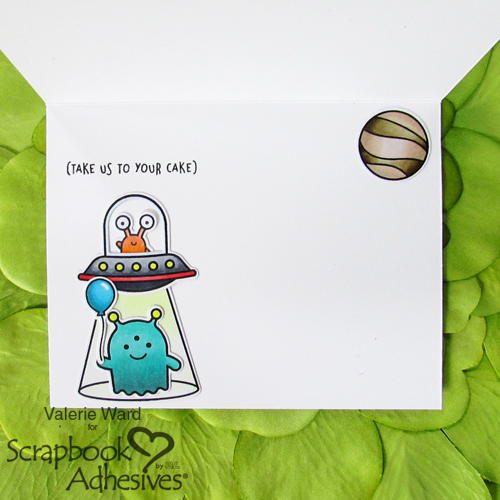
Don’t forget the inside! To secure all these pieces, I used my E-Z Dots Permanent Refillable Dispenser.
I hope you enjoyed this tutorial. It’s a great interactive card!
Creative Time: 1 hour
Skill Level: Intermediate
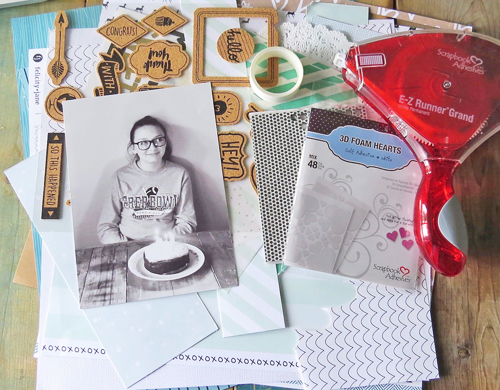
Materials Needed:
Scrapbook Adhesives by 3L:
E-Z Runner® Grand Refillable Dispenser
E-Z Dots® Permanent Refillable Dispenser
HomeHobby by 3L®:
Premium Double-Sided Tape 1/8″
Other products:
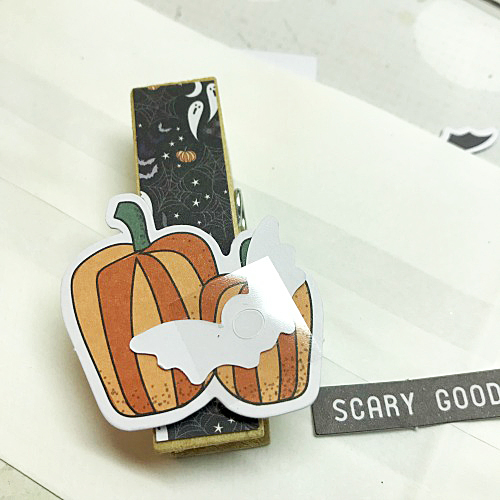
Birthday stamp set and coordinating die set, double slider die set, markers, decorative papers
Pin It!