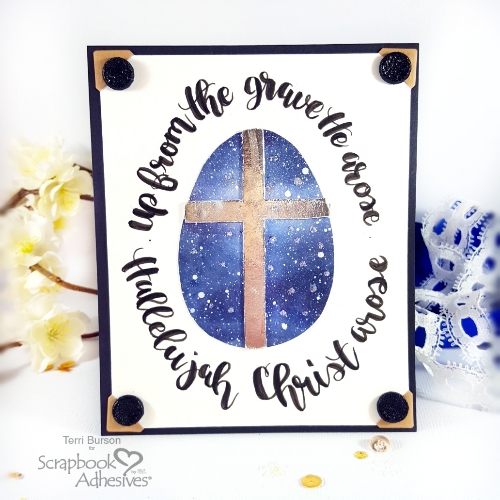
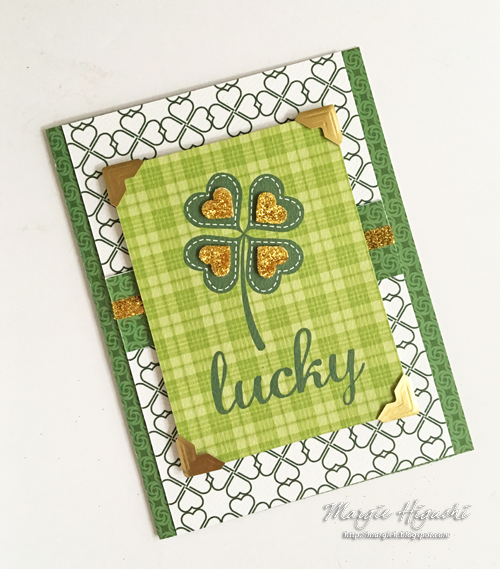
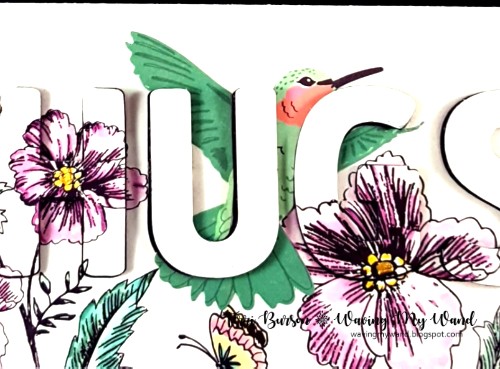
Eclipse cards are all the rage right now and I’ve been itching to try this technique. What is an eclipse card? It’s a card with a hidden word, which appears to seamlessly blend within stamped or patterned paper. Hello, Terri here, sharing easy steps so you create your own eclipse card!
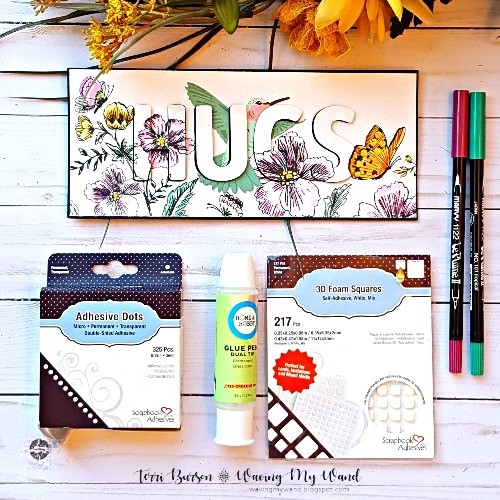
Making an Eclipse Card
The typical eclipse card requires large alphabet die cuts ranging from 1.5″ to 2.5″ on average. These alpha cuts are sized at 2″ and cut with my Cricut Explore. There are alternate cut options, including the use of stencils to trace and fussy cut your letters. There are various brands that will work with manual die-cutting machines. You’ll find more technical information on my blog regarding the creative die cutting process.
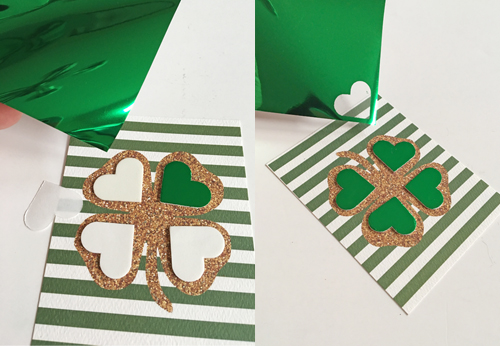
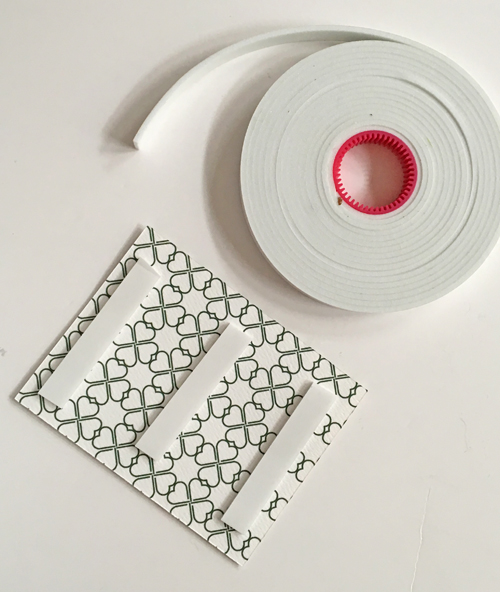
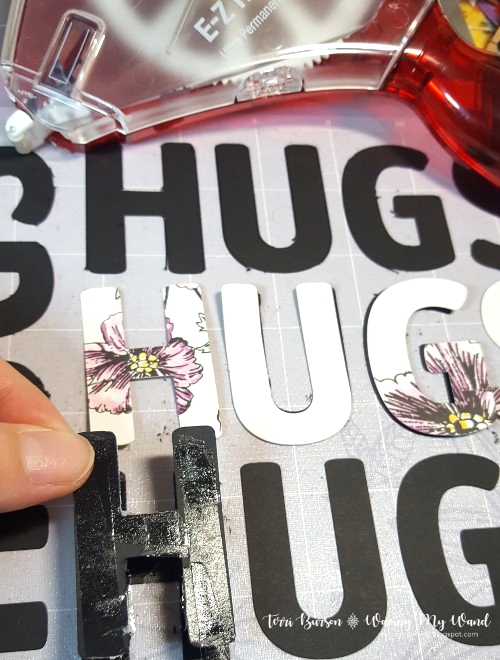
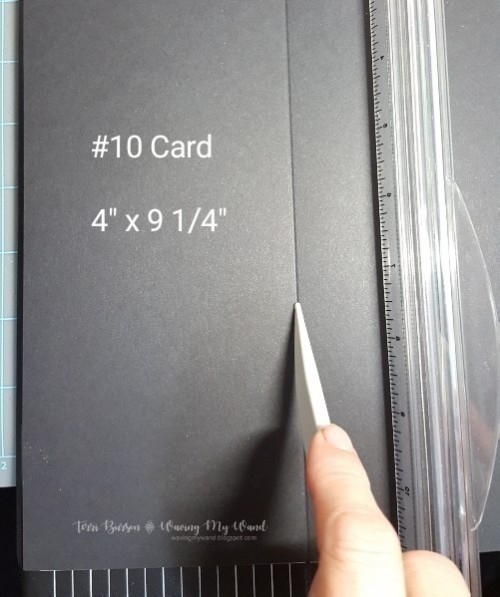
This black and white patterned paper was perfect to create my die cuts. Leave your die cuts in place when coloring your design and cut a duplicate set of words with black cardstock for the silhouette or “eclipse” effect. I am using #10 sized cards (4 x 9¼”) so cut two panels to fit the dimensions.
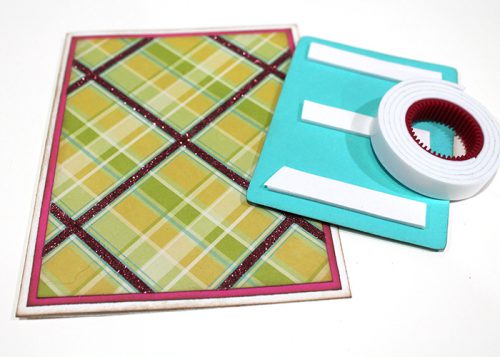
Deciding on Adhesive Options
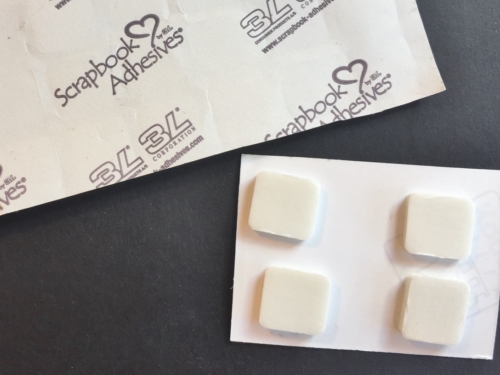
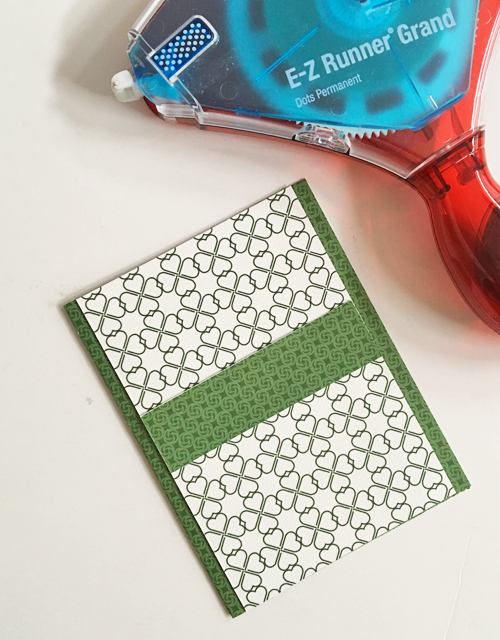
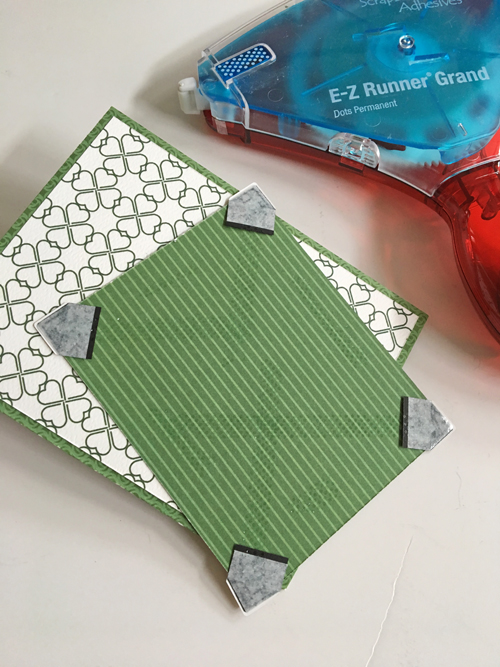
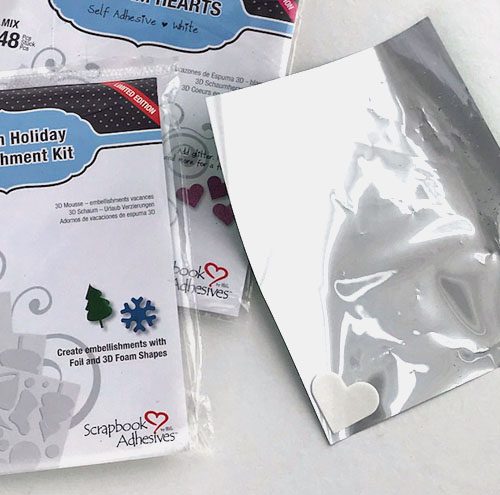
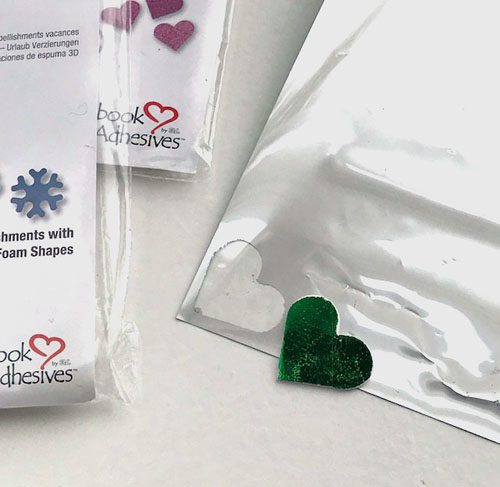
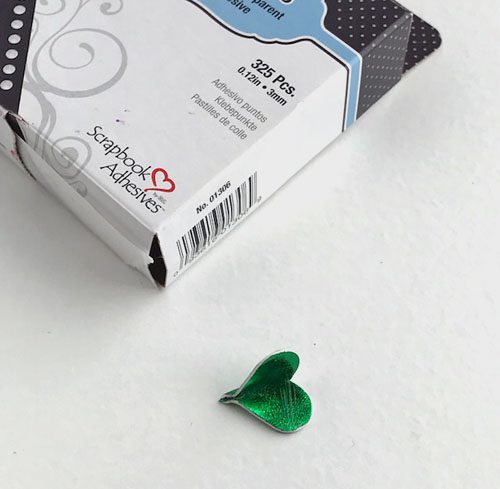
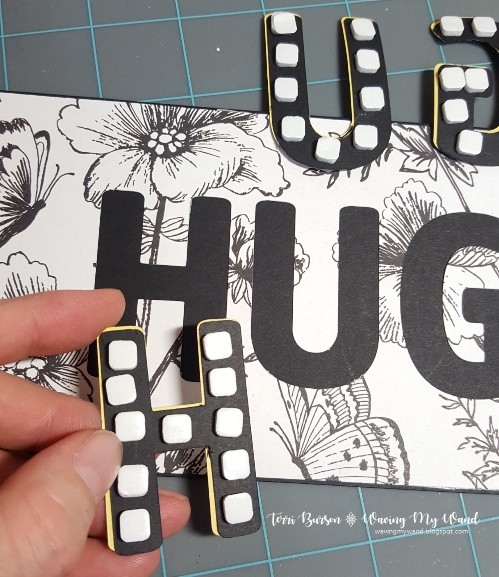
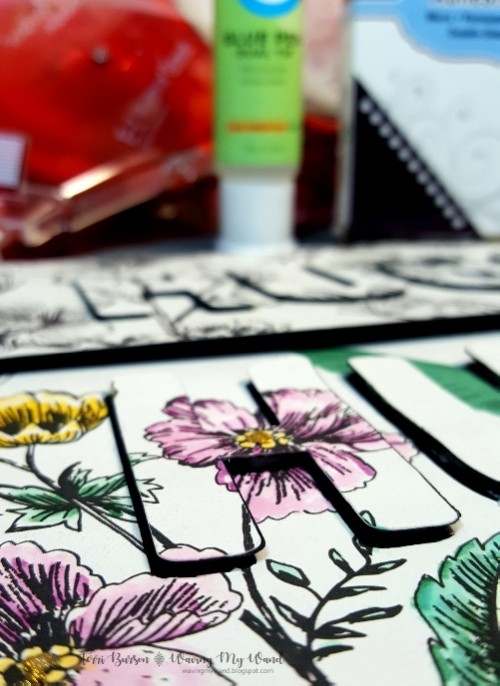
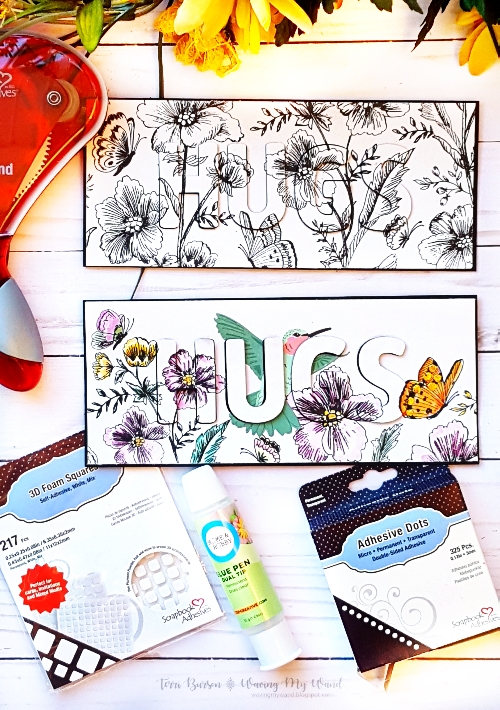
Creating an eclipse effect can be achieved in a variety of ways. For a more subtle appearance, adhere 2 to 3 layers of black alpha die cuts together, using the E-Z Runner® Grand Refillable Dispenser. Swap your cartridge for the E-Z Runner® Grand Ultra Strong Refill for that extra level of security. My preference is to pop out the hidden word by adhering just one black alpha cut to patterned/colored alpha cuts, then apply small foam squares from the 3D Foam Squares White Mix.
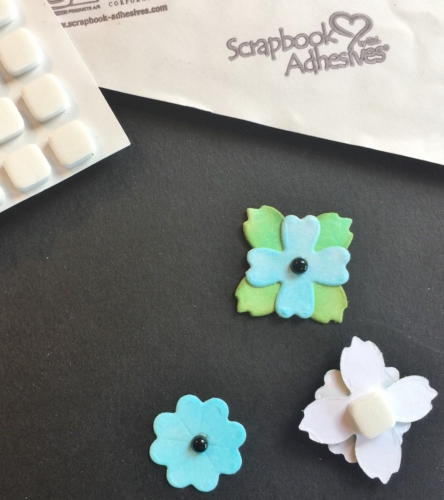
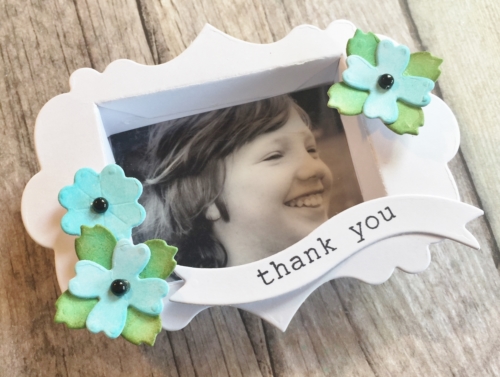
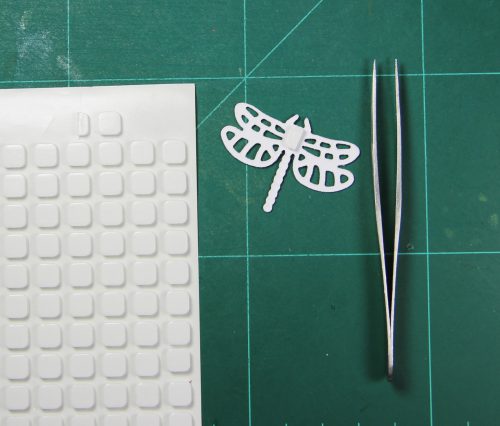
This pretty hummingbird was part of the paper collection that I’m working with today. You can find out more about incorporating die cuts as puzzle pieces on my blog post. These delicate cuts are easy to adhere, using the Dual Tip Glue Pen.
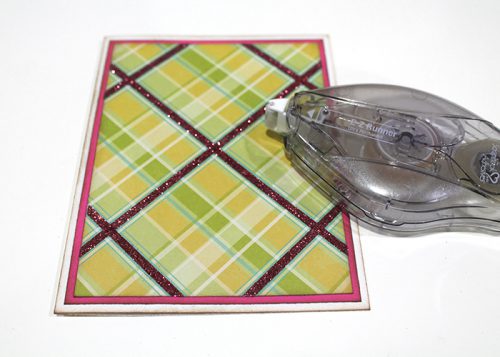
Working on a Card Base
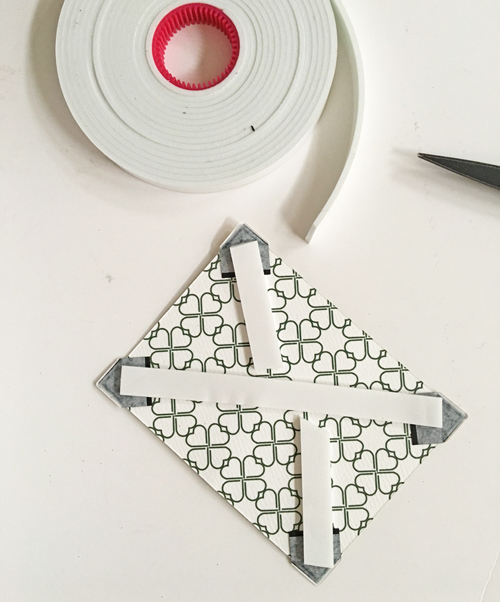
The standard #10 sized card is 4″ x 9 1/4″. Trim and score black cardstock to accommodate these dimensions. The card panels are approximately 1/8″ less in diameter with alpha words sized in the center 2″ H x 5.75″W. Adhere panels with the E-Z Runner® Grand Refillable Dispenser and E-Z Runner® Grand Ultra Strong Refill.
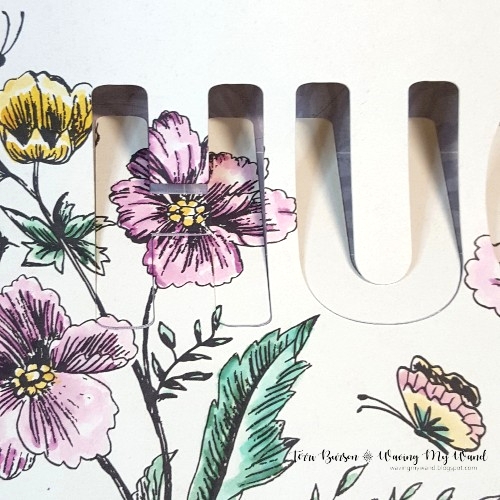
Now, add your alpha letters. This angle shows the silhouette, depth, and dimension.
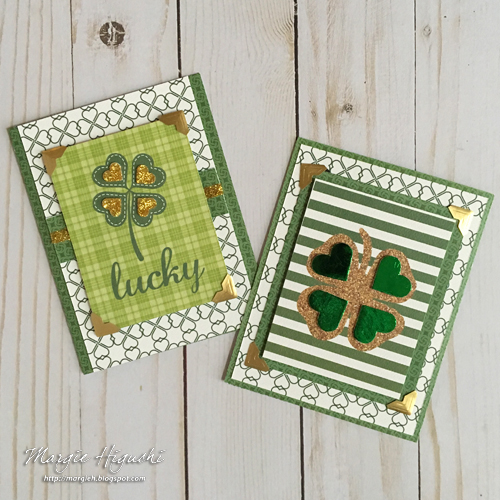
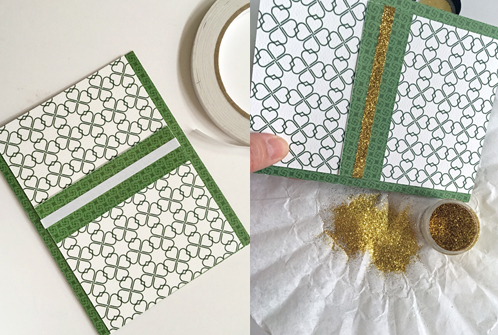
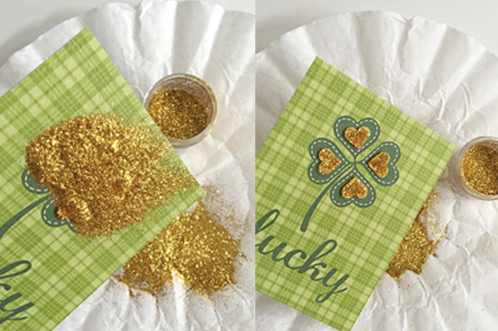
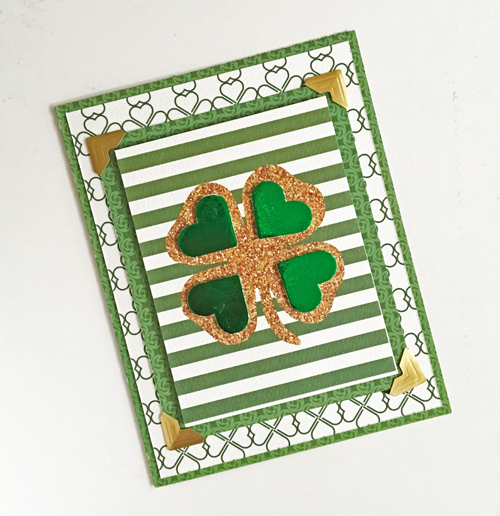
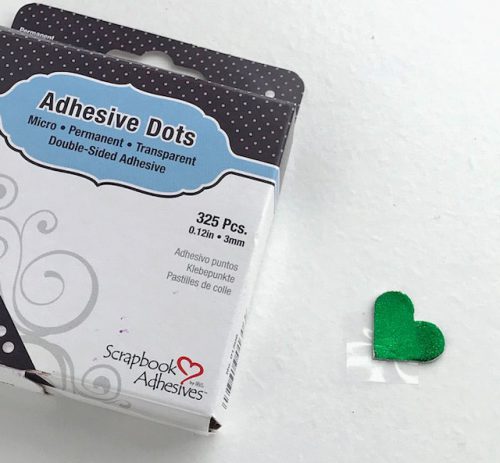
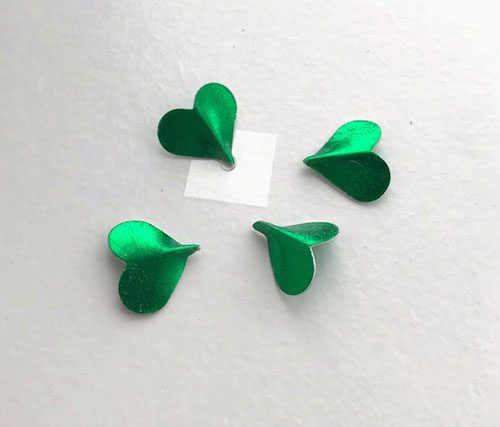
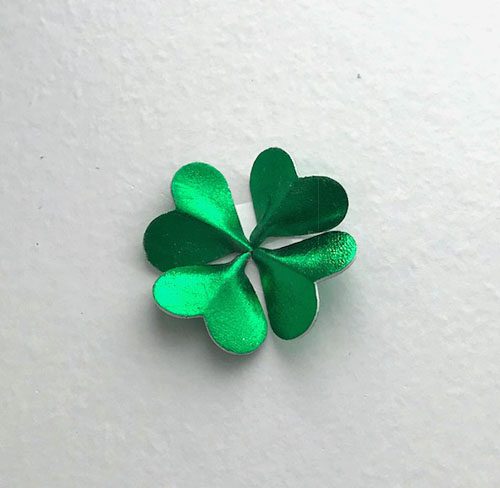
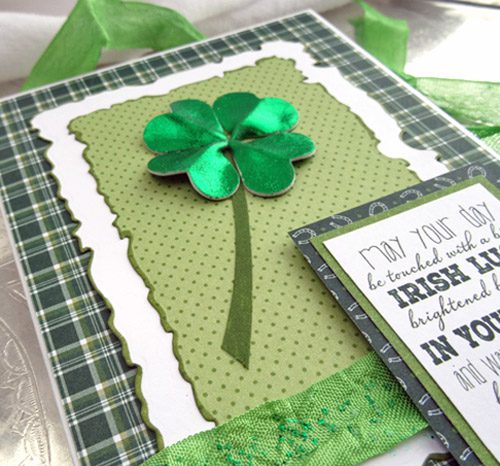
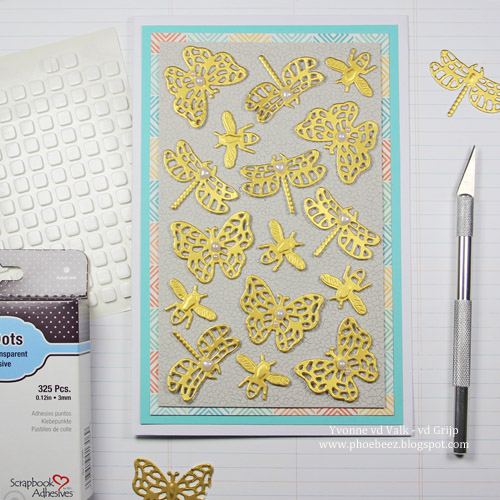
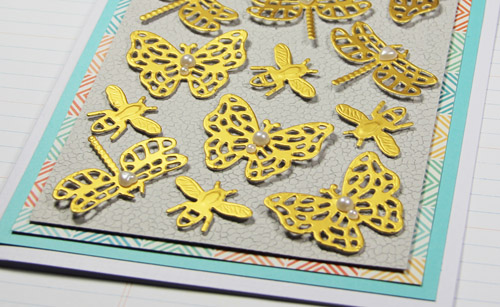
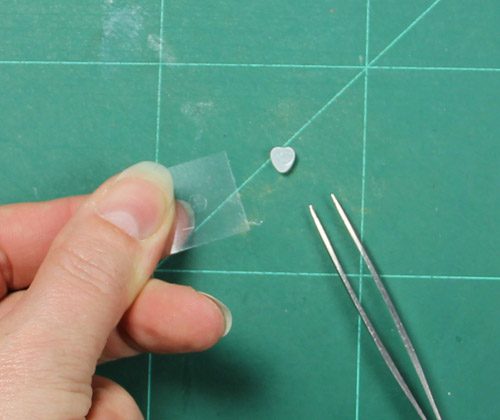
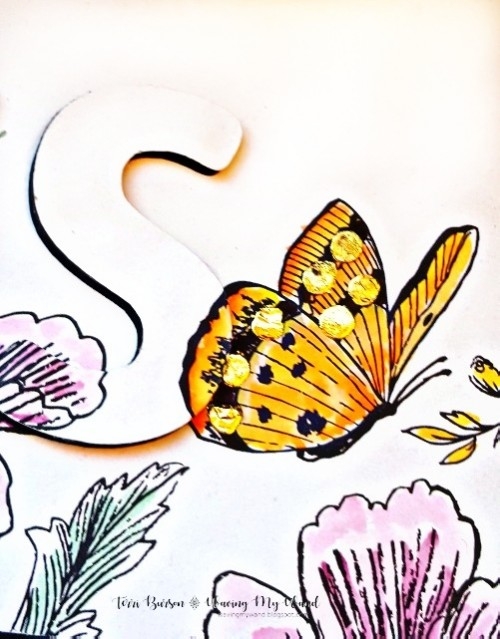
Add some gold foil accents for added sparkle and shine. Simply apply the Dodz Adhesive Dots Micro and rub the foil from the 3D Foam Creative Embellishment Kit, shiny side up, onto the dots. A lovely and easy way to Wear Your Adhesive On The Outside!
Creating two different cards using the same black and white card stock is a great way to stretch your supplies. Having more options is always a good thing!
You can get additional technical detail on my blog regarding my die cutting process and a full product list as well.
See you next time!
Terri
Scrapbook Adhesives by 3L®:
3D Foam Creative Embellishment Kit
3D Foam Squares White Mix
Dodz Adhesive Dots Micro
E-Z Runner® Grand Refillable Dispenser
E-Z Runner® Grand Ultra Strong Refill
HomeHobby by 3L®:
Dual Tip Glue Pen
Other:
Black cardstock, patterned paper, brush markers, dies, die cut machine, scissors, trimmer, score board/tool, pen to trace