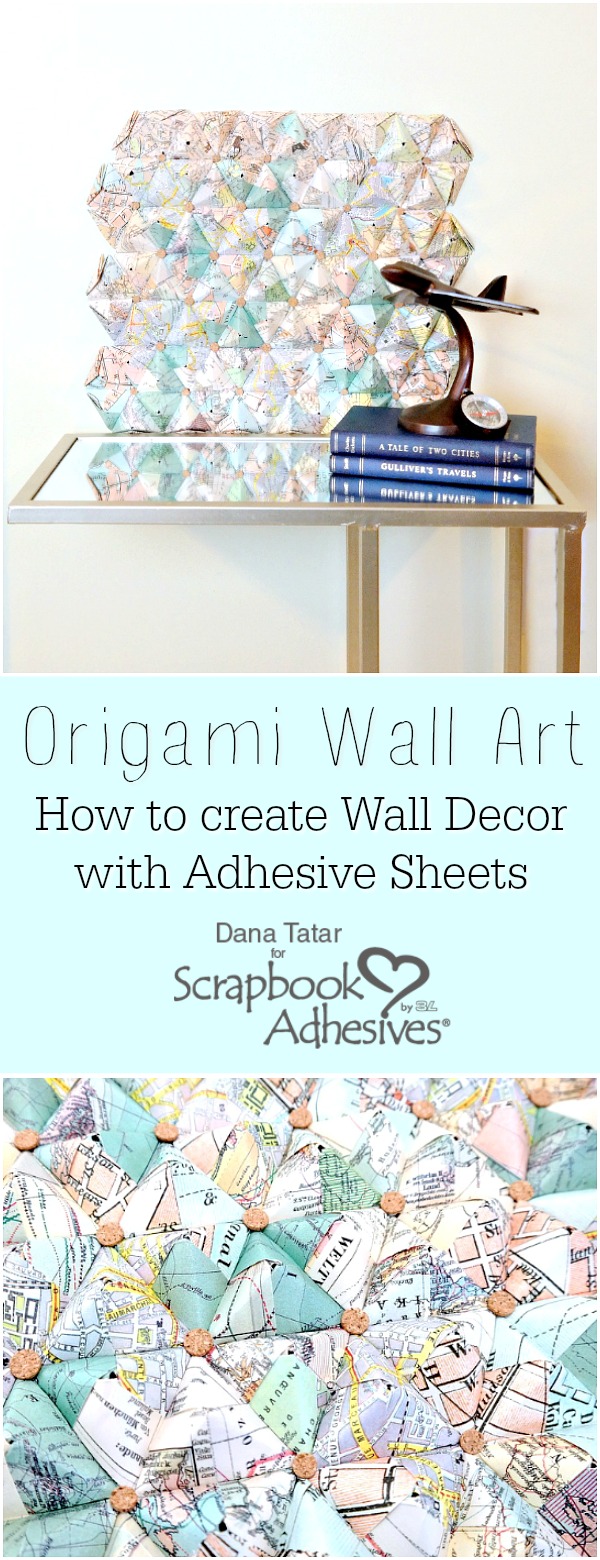
Hi! Dana here today sharing how to create a piece of 3D origami wall art for the home. Did you know that Adhesive Sheets come in 3 sizes? Strong, clear, permanent edge-to-edge adhesive coverage is available in 4×6-inch, 6×12-inch, and 12×12-inch sheets! I went big with this project and created artwork using an entire 12×12 Adhesive Sheet.
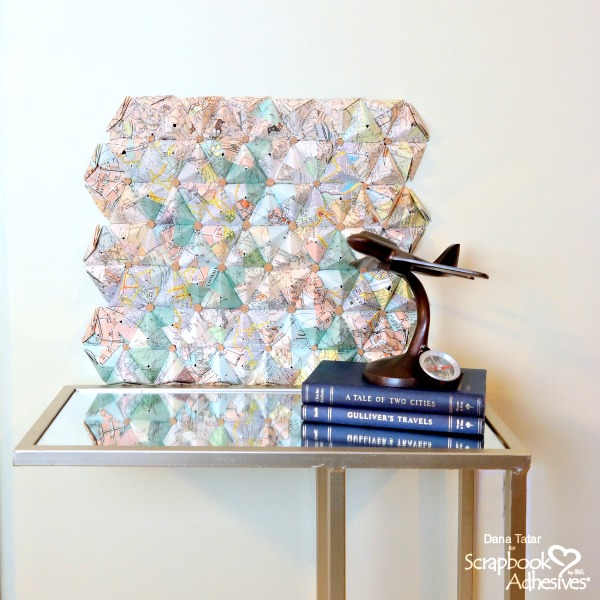
I chose map print patterned papers for this project. While these papers were purely decorative, I think it would be a fun way to remember a great vacation and use maps from a favorite travel destination. I folded up 132 4×4-inch pieces of patterned paper for this piece of wall art that measures just over 12×12 inches.
How to Create 3D Origami Wall Art
I find that I can learn new techniques much faster visually, so I created a process video.
Not all of my paper folds were perfect, and as a result, my finished piece did not fit together as tightly as I would have liked. If you have a similar problem, it is OK!
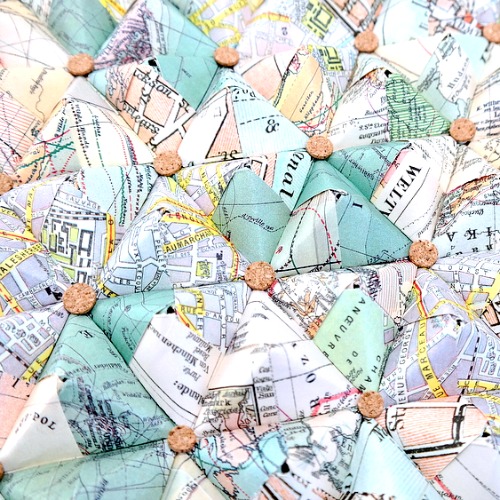
I fixed this problem with embellishments. The new 3D Foam Circles were the perfect way to secure small cork circles to the center of each hexagon shape.
I hope I have inspired you to use paper to create a fun home décor piece! If you would like to see how to use Scrapbook Adhesives by 3L products to create 3D home décor that can sit on a shelf, click over to my previous post about how to create a 3D Paper Cactus Trio.
Thanks for stopping by today!
~Dana Tatar
Creative Time: 120 minutes
Skill Level: Intermediate
Materials Needed
Scrapbook Adhesives by 3L®
Adhesive Sheets 12×12 Inch
3D Foam Circles White Mix
Adhesive Dots Medium Ultra Thin
Other
Map Print Patterned Paper (Pepin van Roojen); Cork Circles (Recollections); Cardboard
Find more Wall Art inspiration on our blog, click the links below, or on our Home Decor Pinterest Board
Pin It!

 It is important to select the right adhesives when creating cards with movable parts or small books. My two favorites, and what I chose for this project, are the