Glittered hearts are the perfect embellishments for Valentine’s Day using 3D Foam Hearts and glitter to “Wear Your Adhesives on the Outside!” Show your loved one how much you care this Valentine’s Day with this sparkly handmade card <3 Christine here today with a tutorial with this LOVEly card – life is always better with glitter!

Hearts A-Glittered!
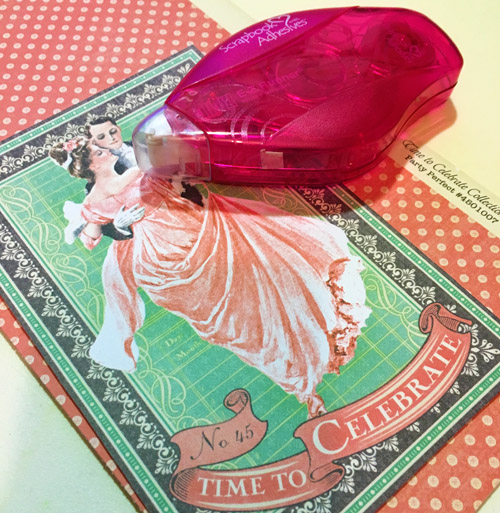
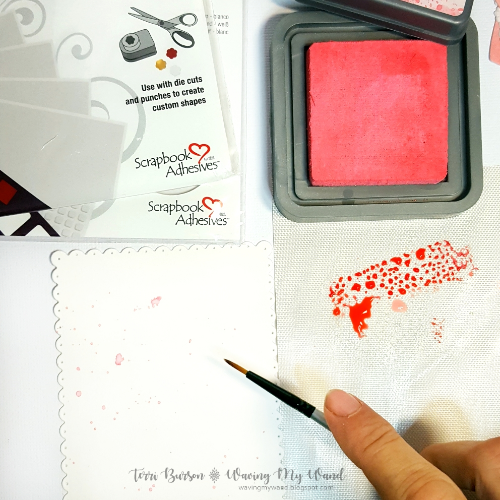
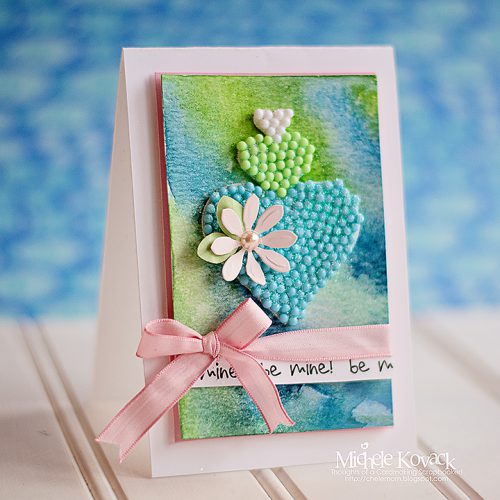
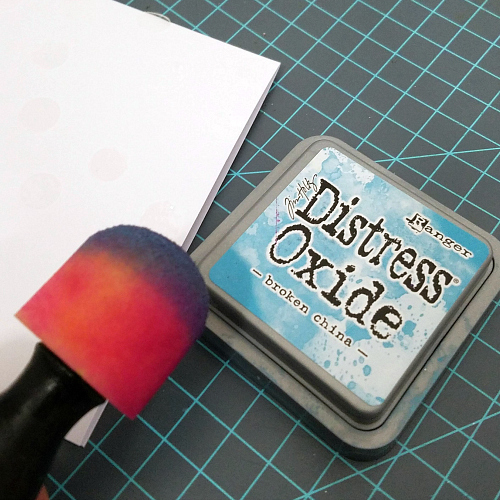
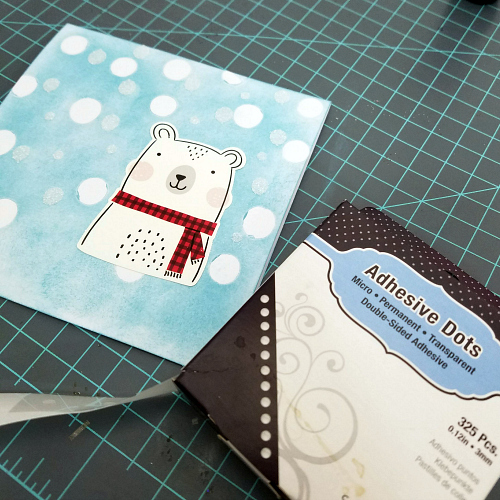
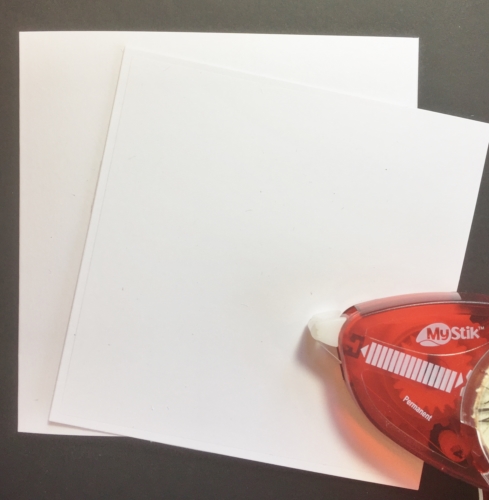
Let’s mat a white card square onto your card base using MyStik® Permanent Strips.
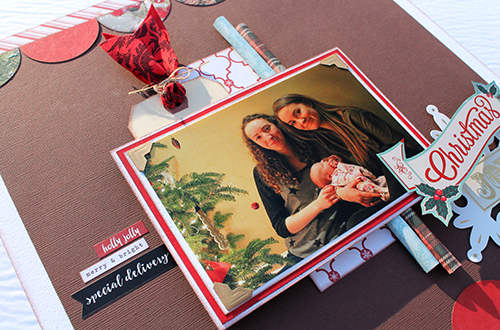
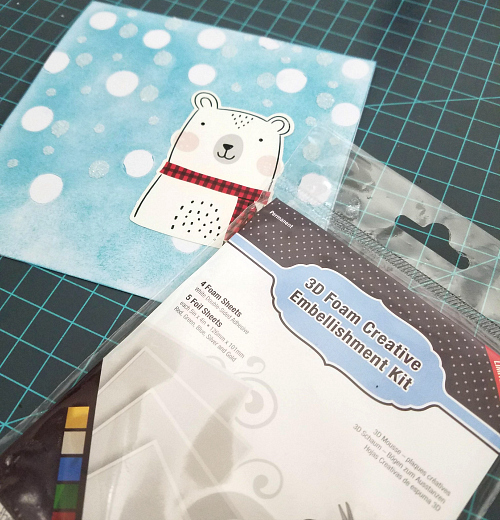
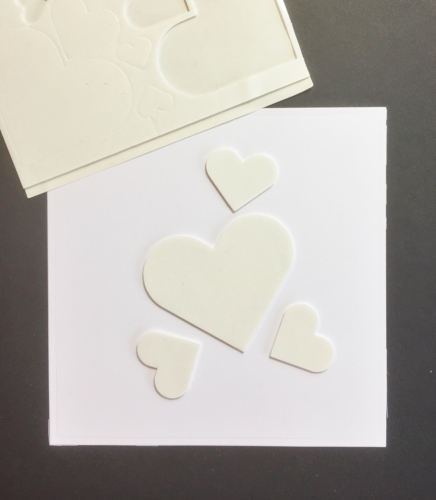
On the third piece of square card panel, position 3D Foam Hearts randomly, truly randomly, doesn’t matter where you place them!
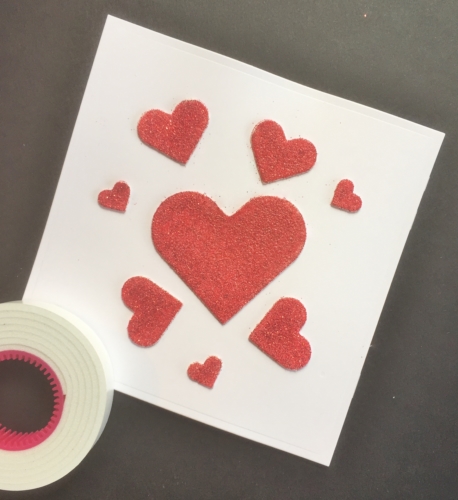
Remove the top lining paper of the 3D Foam Hearts and sprinkle with red embossing powder. Set with a heat gun. Yes, they are heat resistant so melt away!

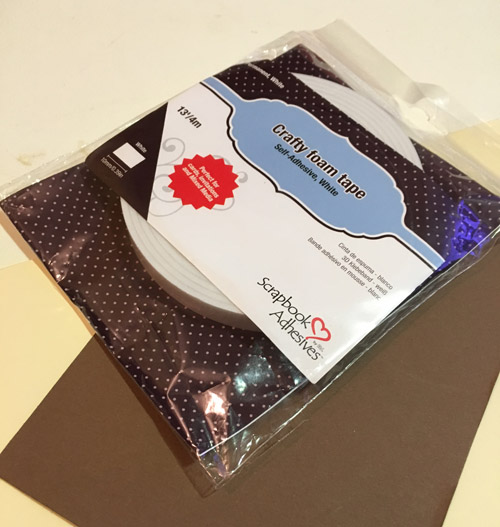
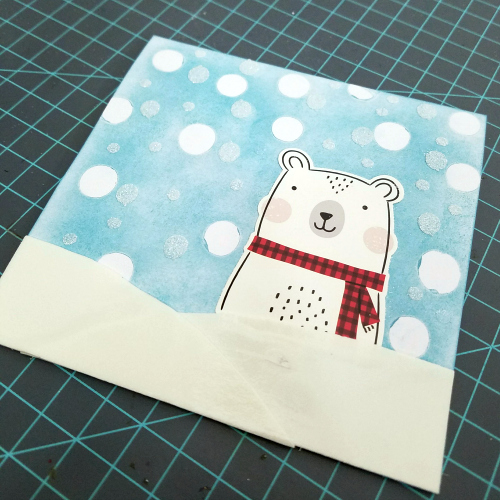
Affix to card front with Crafty Foam Tape White.
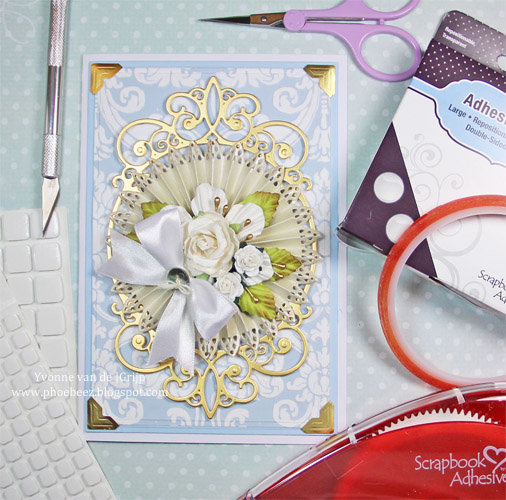
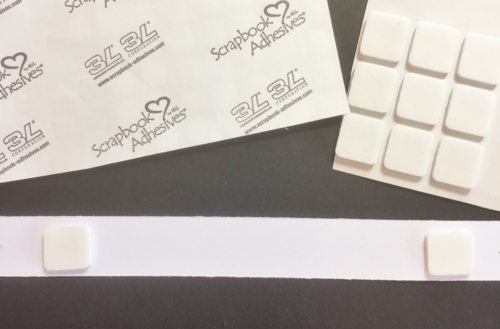
The sentiment is affixed with 3D Foam Squares Regular.
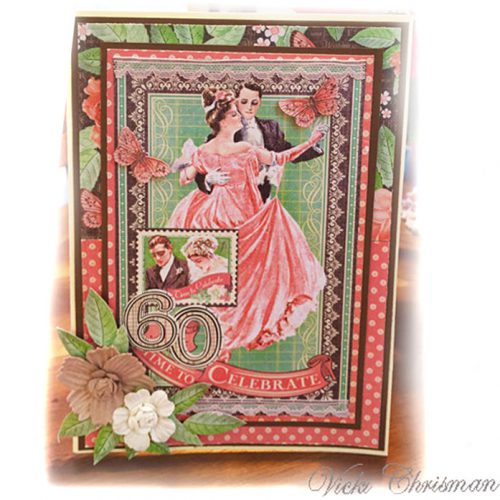
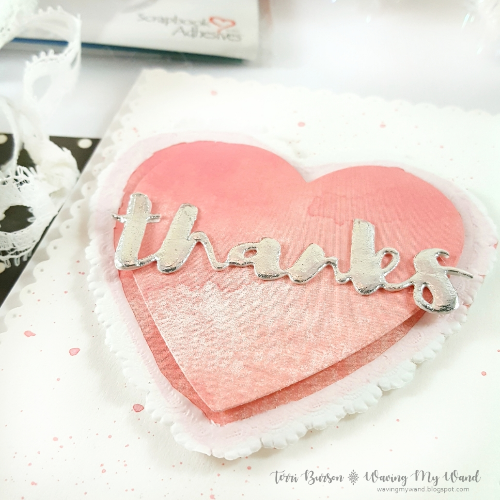
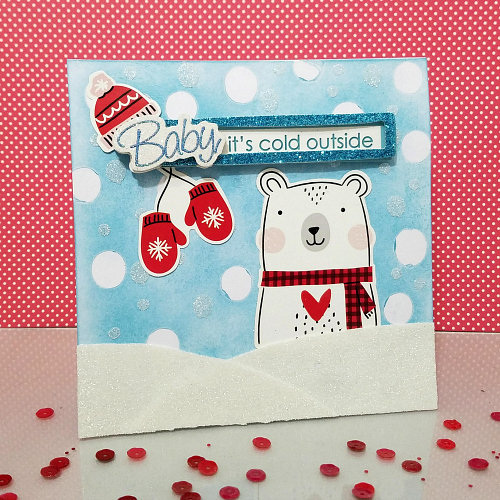
The finished card – simple, bold and perfect for the special someone in your life!


Thanks for stopping by today and don’t forget to check out all the great products on the website.
Scrapbook Adhesives by 3L®:
MyStik® Permanent Strips
3D Foam Squares White Regular
3D Foam Hearts
Crafty Foam Tape White
Others:
Dies: Spellbinders® Paper Arts (6×6 Matting Basics)
White cardstock; Red Glitter; Embossing Powder; Printed Sentiment
Visit our Website and Blog!
Sign up for our Newsletter so you never miss a contest or giveaway!