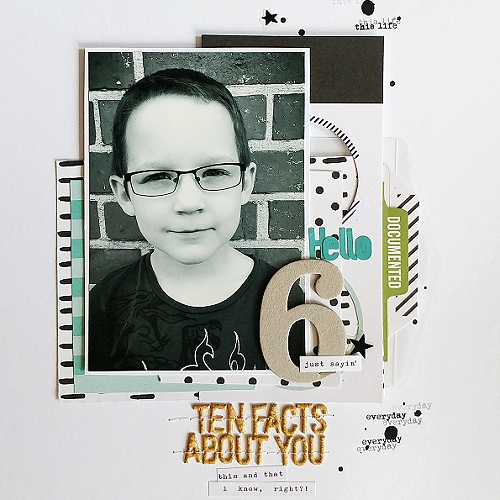
With the unofficial start of summer well under way, it seemed time to dive into some beach photos and capture those memories on a scrapbook layout. It’s Christine, joining you today to showcase how I use a wide variety of adhesives on a layout.
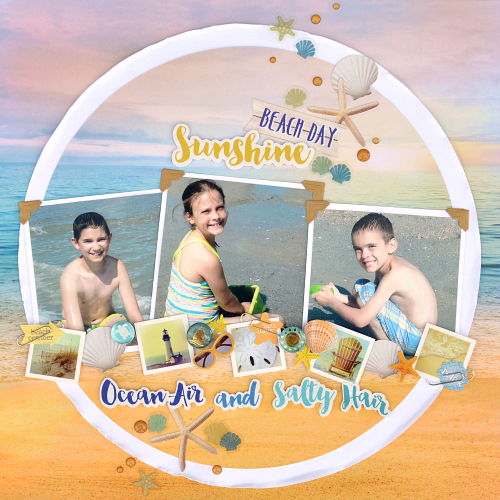
Creating the Beach Day Layout
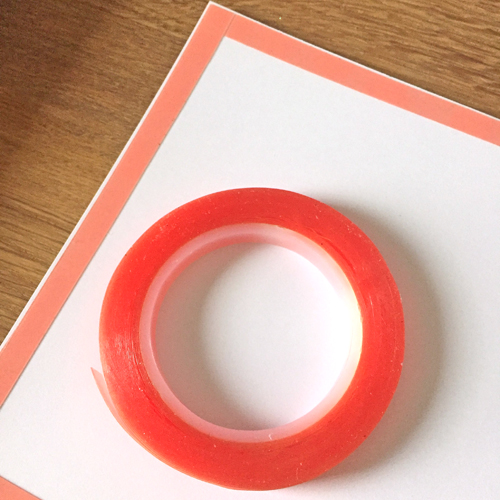
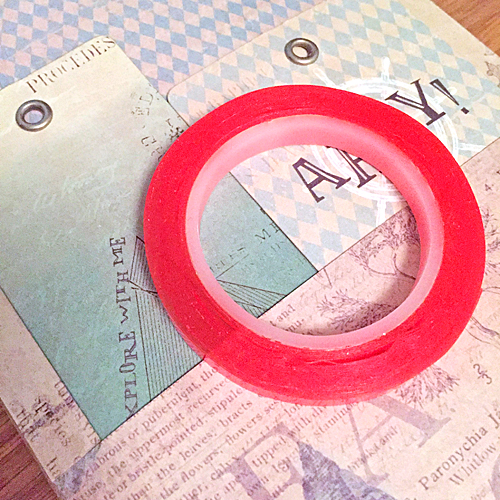
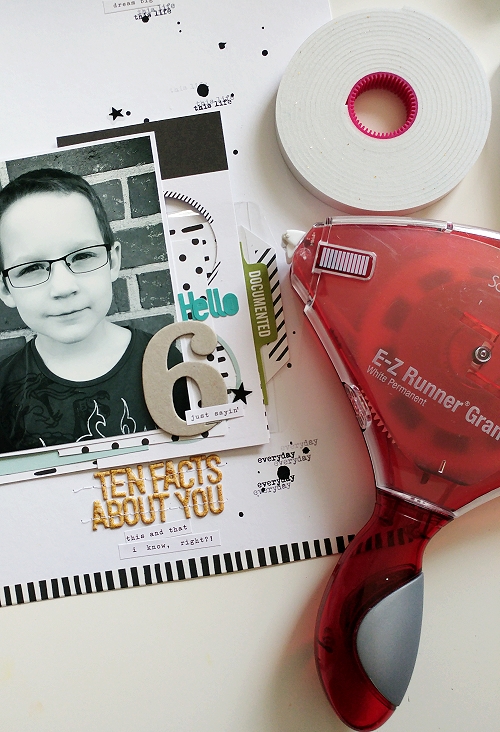
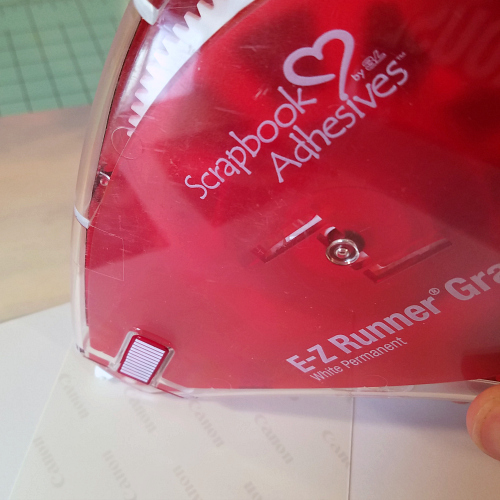
I love how a layout comes together when you combine a variety of adhesives. My first go to the E-Z Runner® Grand Refillable Dispenser. I use this ALL the time for just simple things like matting my photos.
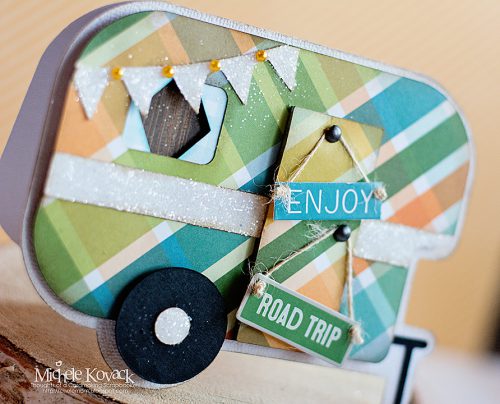
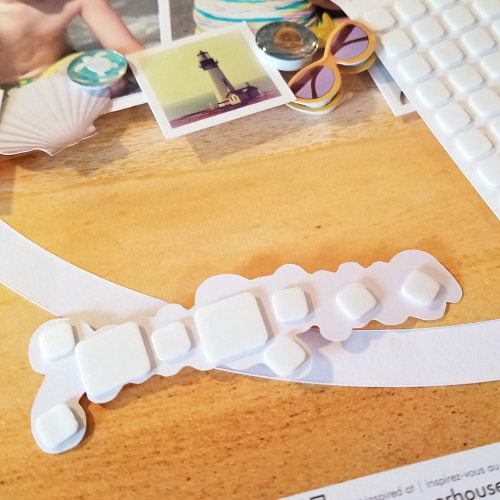
Then comes adding dimension. A lot of the stickers I was working with already had dimension so I knew I needed to add it to my title. But I didn’t want too much dimension – because I thought that would just make things too bulky. Here’s the answer to that dilemma: Thin 3D Foam Squares!
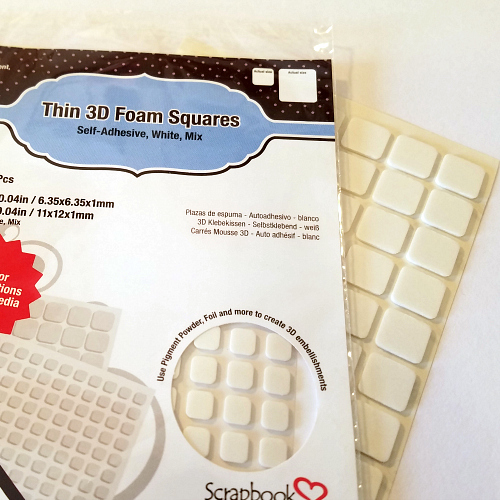
These were absolutely perfect because they are thinner – 1 mm -than other foam adhesives, which are 2mm. They added just enough to make things work!
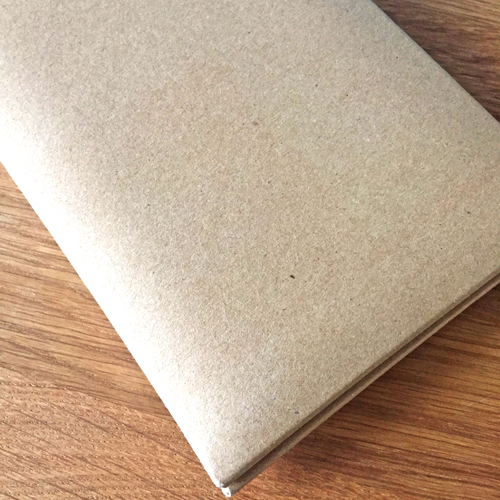
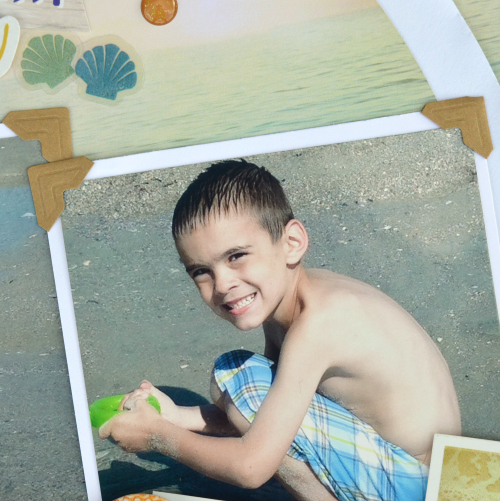
Working with a sand color left me craving a little more for my photographs. I knew i didn’t want to mat them further and I knew i didn’t want to add stickers. In come the Creative Photo Corners Mix Pack to jazz things up!
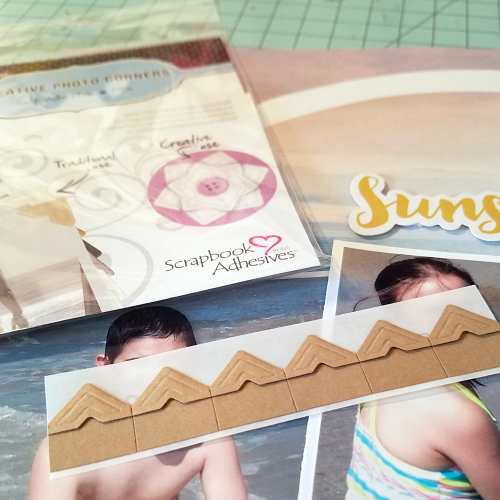
There are several color options and this kraft color was a great match for my sandy background!
So there you have it, all the adhesives you need to create a basic layout! Although let’s be honest there’s about a dozen more that you need for all the other embellishments and products out there right!?!
Supplies
Scrapbook Adhesives by 3L®:
E-Z Runner® Grand Refillable Dispenser
Thin 3D Foam Squares Mix White
Creative Photo Corners Mix Pack
Others:
Patterned Paper & Stickers from Paper House Productions
Enamel Dots from Doodlebug Design