Hi there, it’s Stephanie here today with a layout.
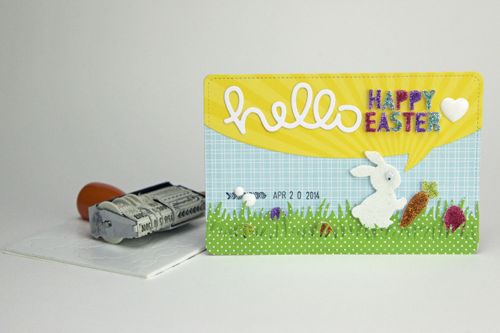
It’s about the third birthday of my daughter, where she is riding a pony for the first time. She was so happy about it. We spent a really gorgeous day at a children’s zoo.
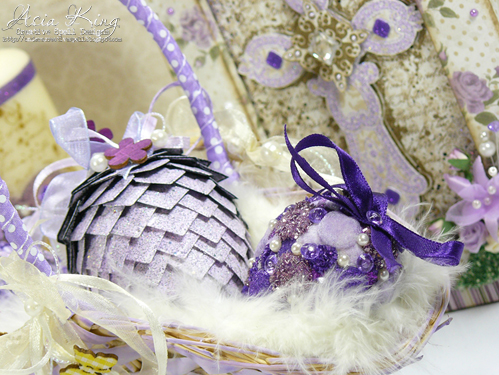
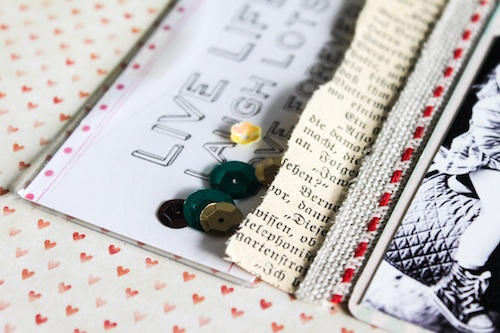
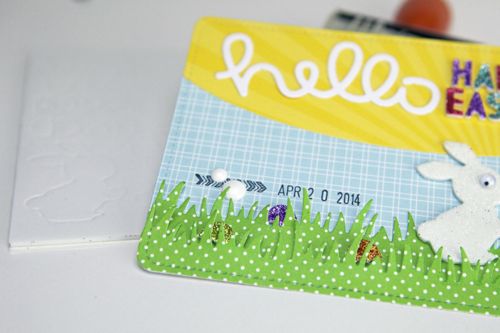
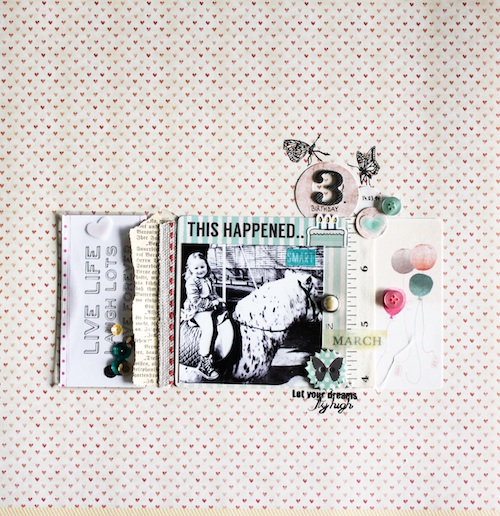 My Journaling is behind the little card on the left side and this card is in Keepsake Envelope from Scrapbook Adhesives by 3L®. I put also some lovely sequins in it.
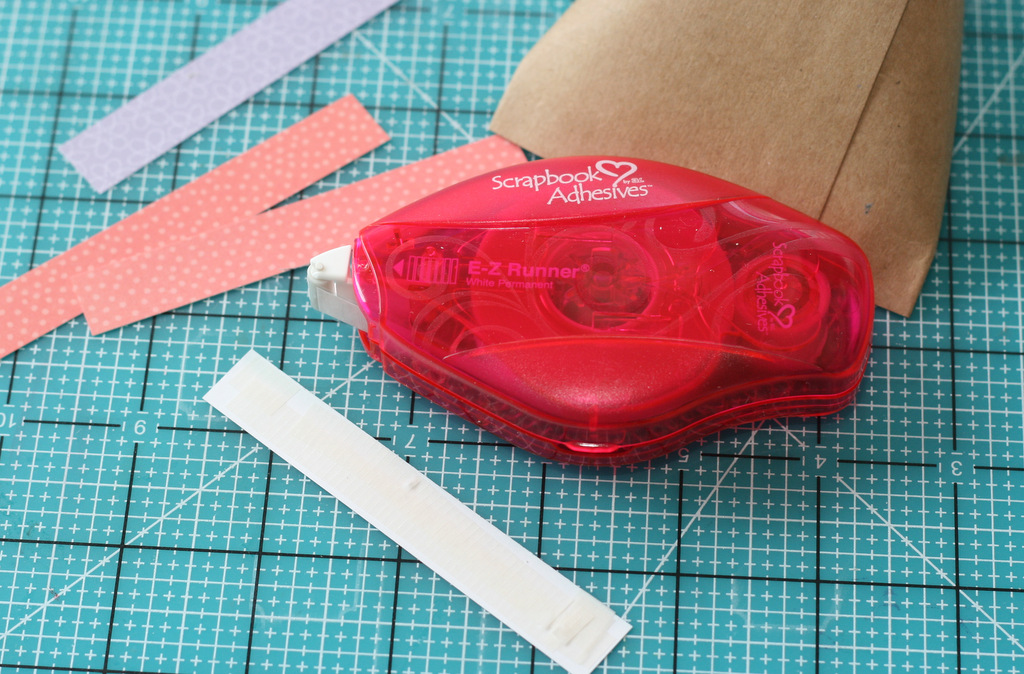
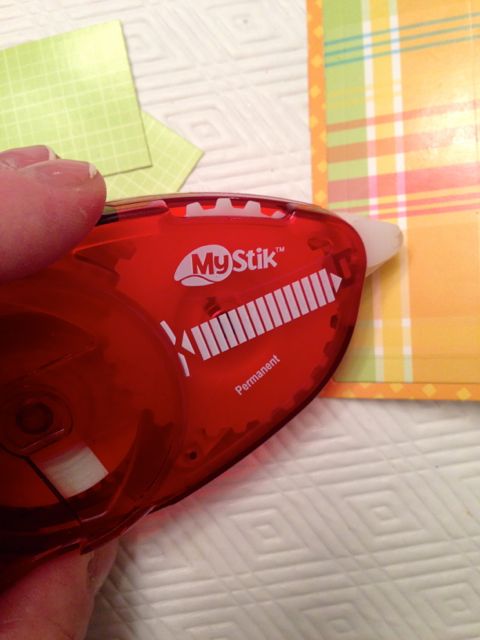
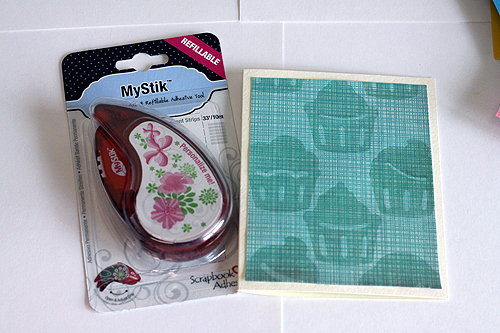
 To adhere the papers, cards and ribbons I used the E-Z Dots® Permanent – Refillable
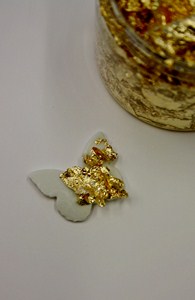
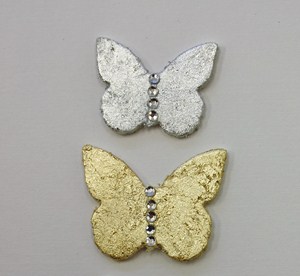
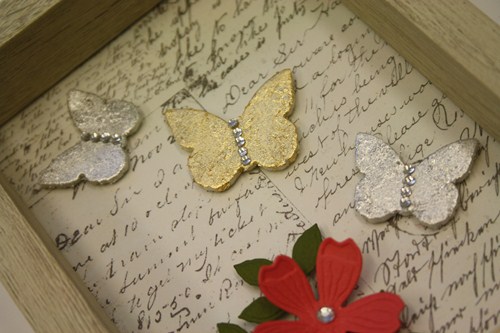
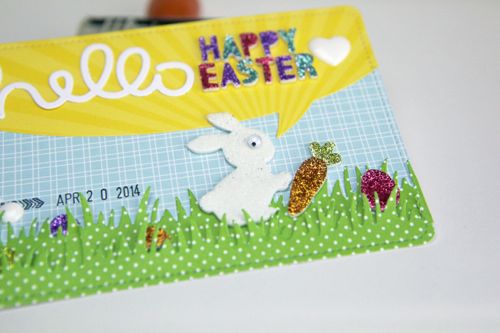
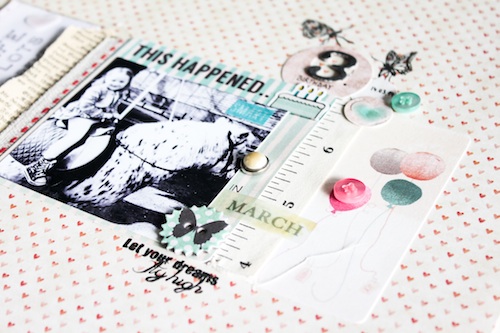 The little Butterflies and the sentiment are stamps from the new spring stamp set “Let your dreams fly high” I designed for Whiff of Joy.
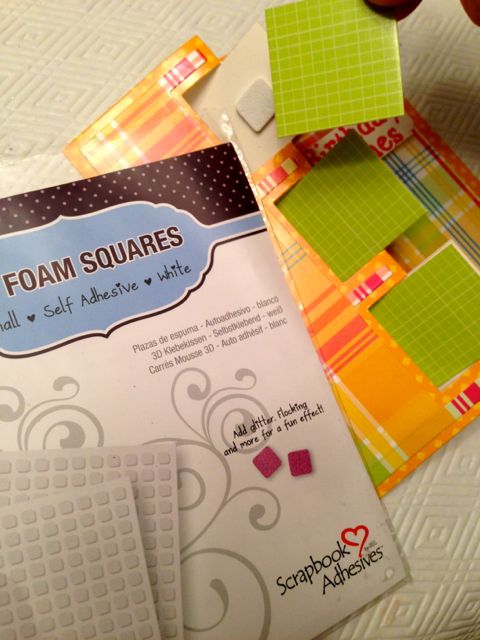
Supplies from Scrapbook Adhesives by 3L®
E-Z Dots® Permanent – Refillable
Other Supplies I used:
Stamps “Let your dreams fly high” Stephanie Schütze Design from Whiff of Joy
All about me Paper “Celebrate with me” from Prima Marketing
ATC Cards “Insta Scraps” from Leeza Gibbons Prima Marketing
Ribbons from Maya Roads
Embellishments Decorative Buttons “Daily Stories” from Teresa Collins
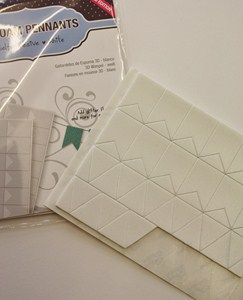
Vellum Shapes “Oh Darling” from Crate Paper
Thanks for visiting today!
Stephanie
Visit our Website and Blog!
Sign up for our Newsletter so you never miss a contest or giveaway!


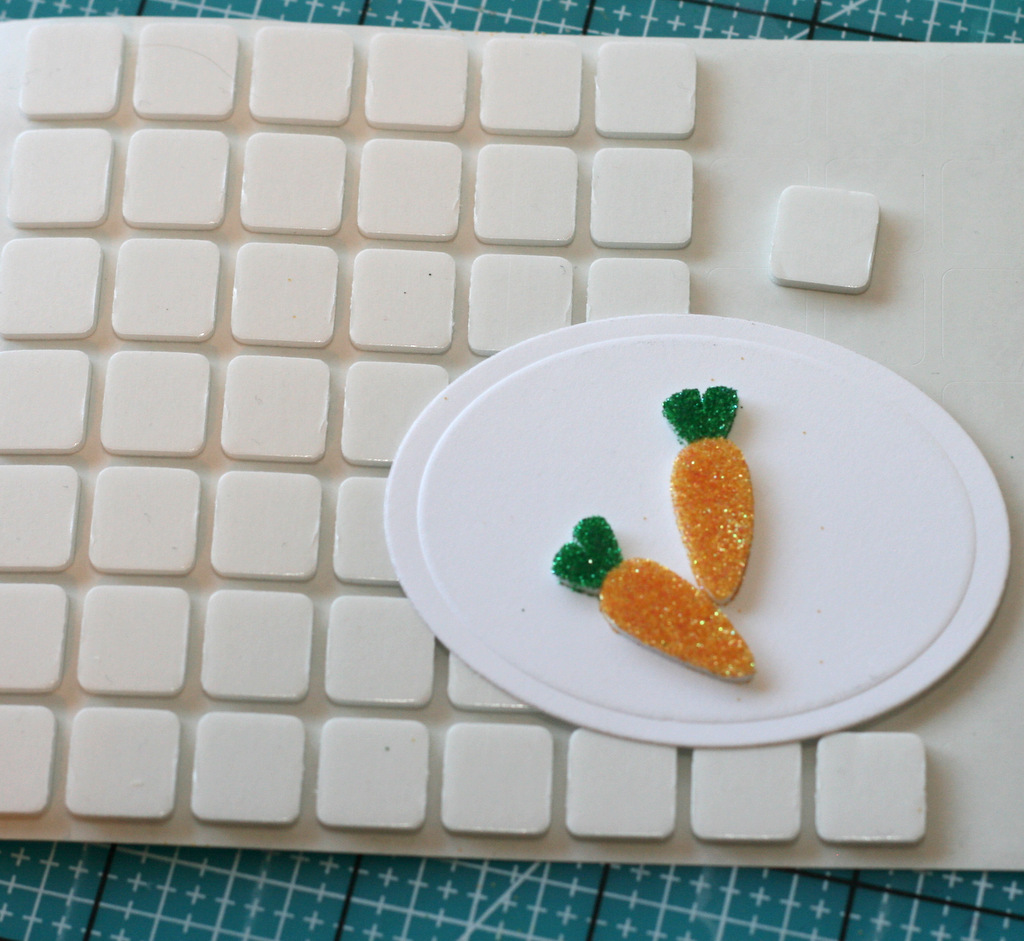
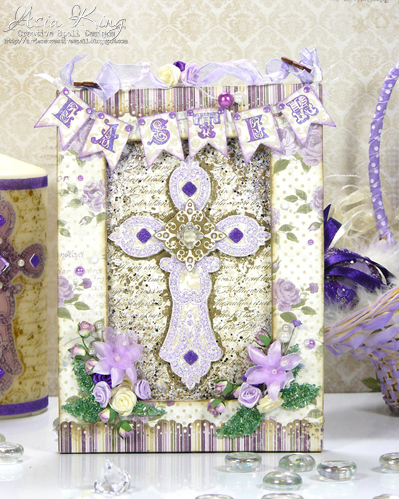
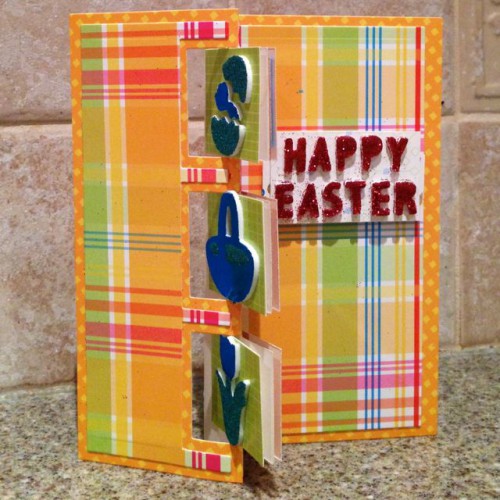
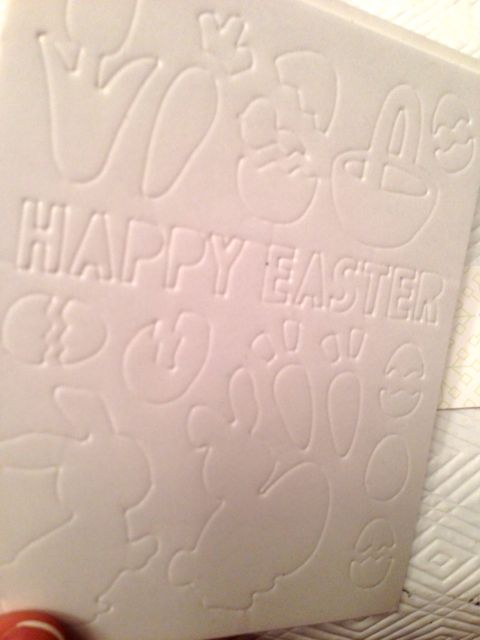
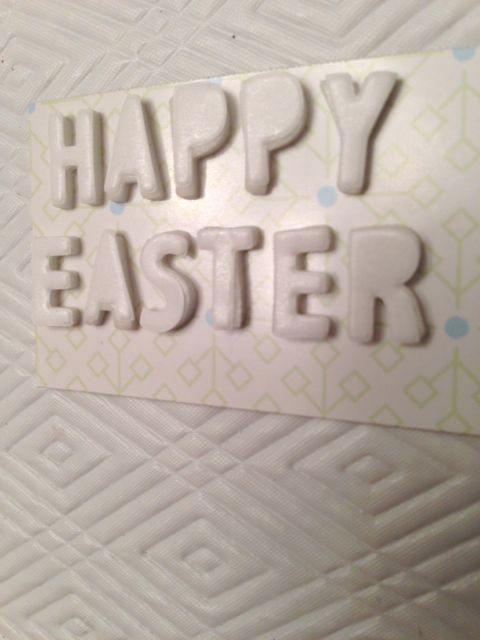
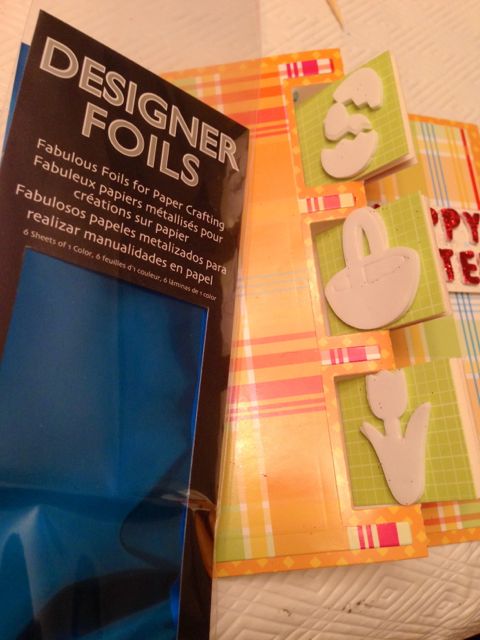
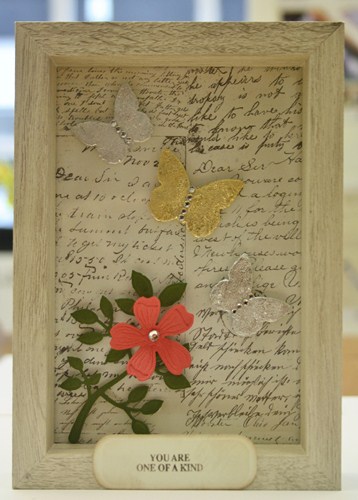
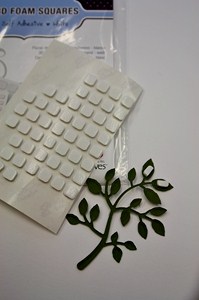
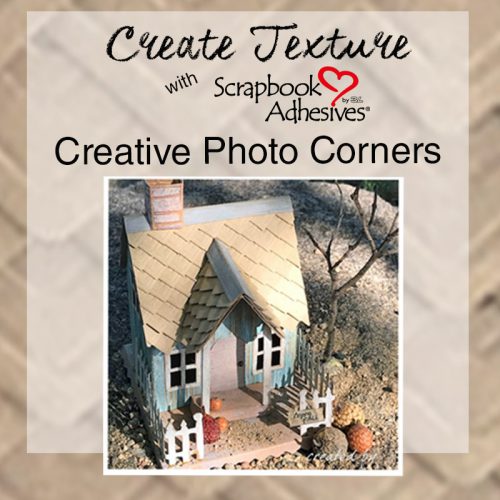
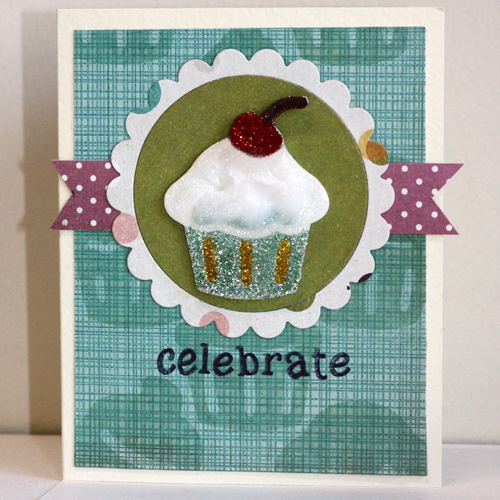 Can you see how I used the shape in 2 different ways? One is the focal point and the other is the clear embossed image in the background. Let me show you how I did both!
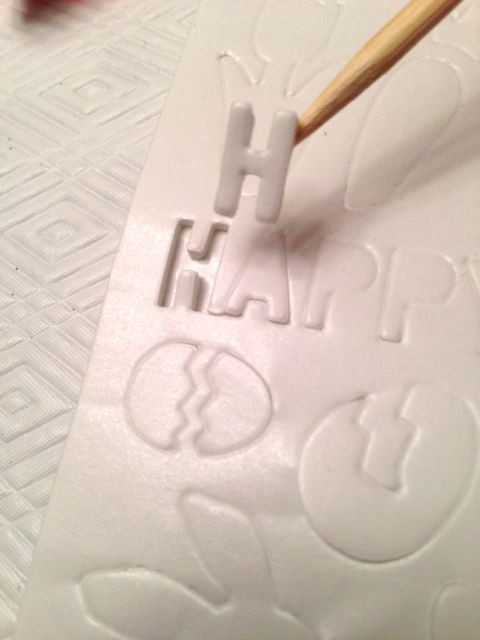
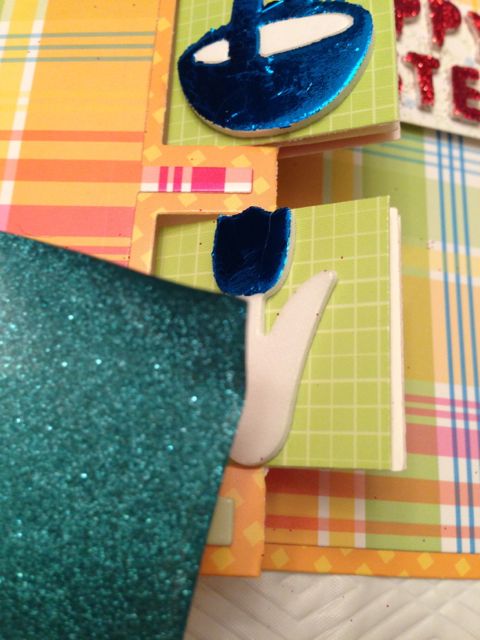
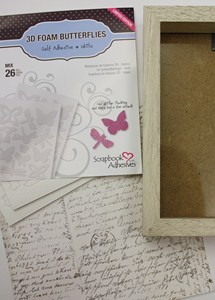
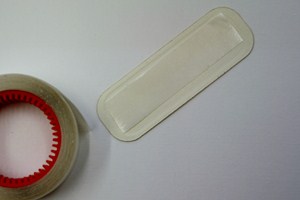
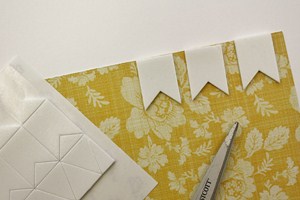
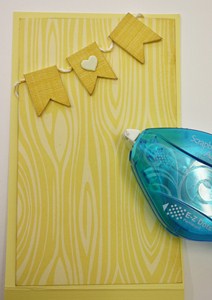
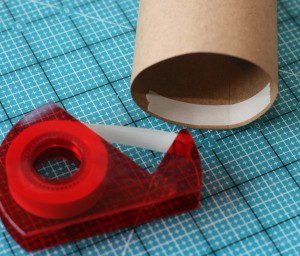
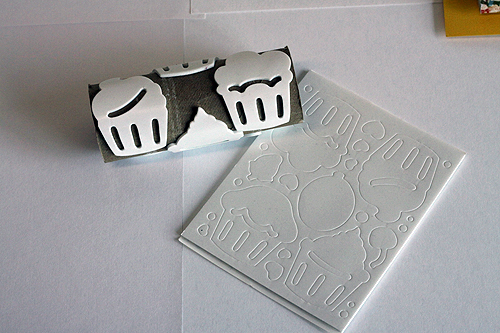 2. Remove the protective backing from the shapes and ink them with an embossing ink. Insert a wooden dowel into the toilet paper roll and use it to apply the custom roller stamp to the patterned paper.
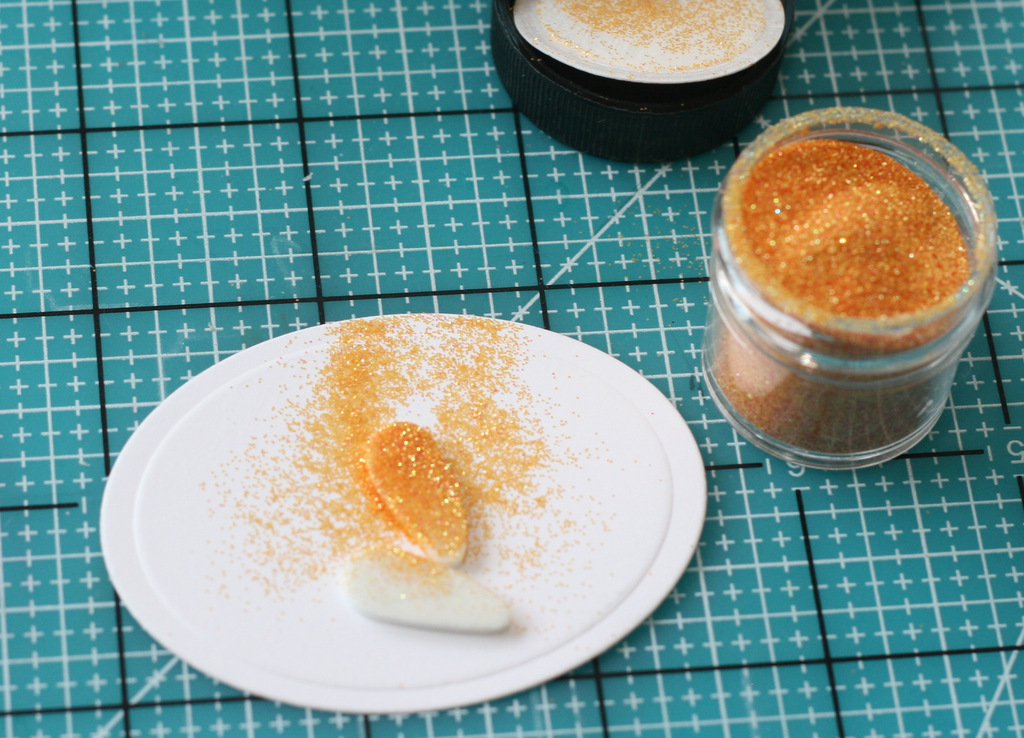
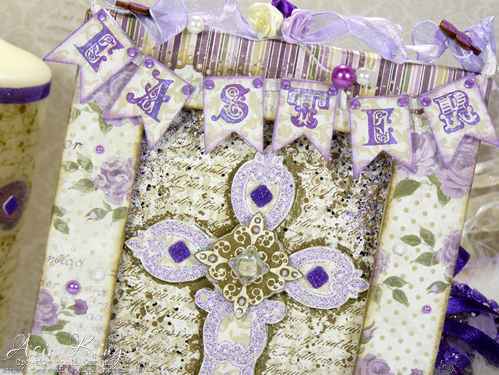
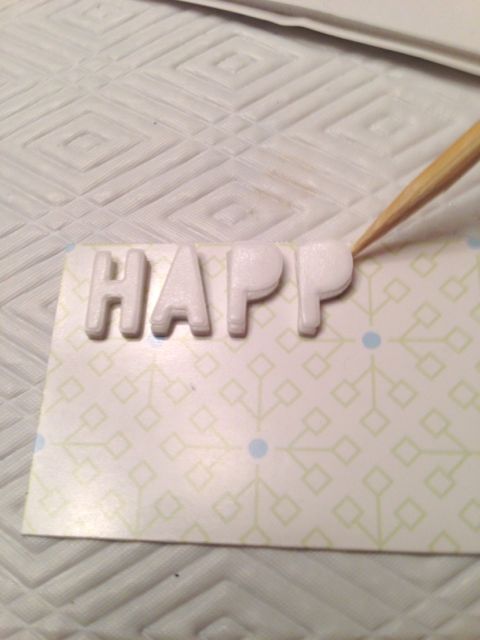
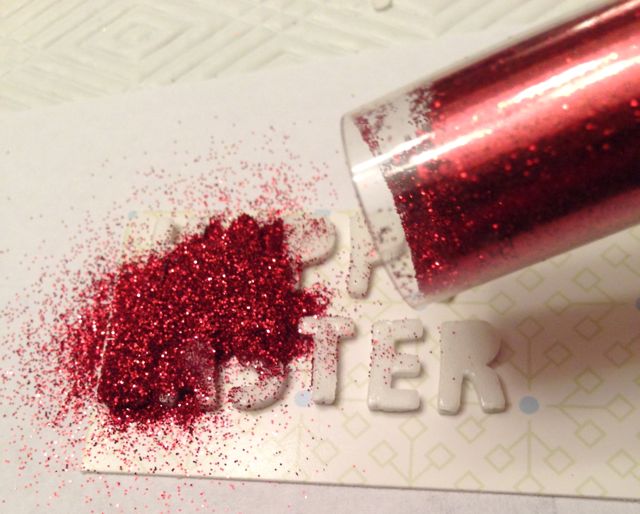
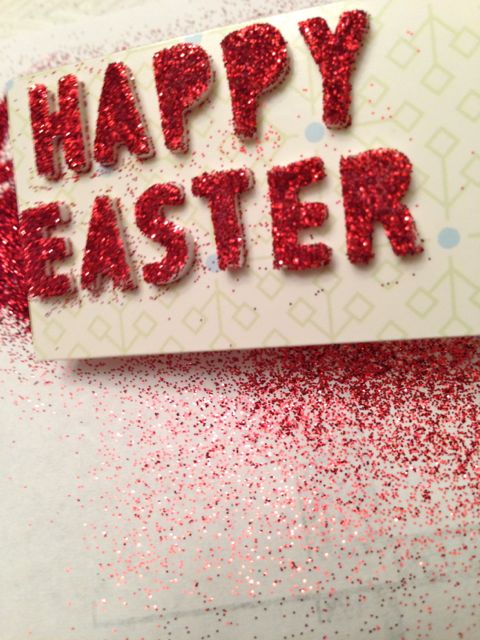
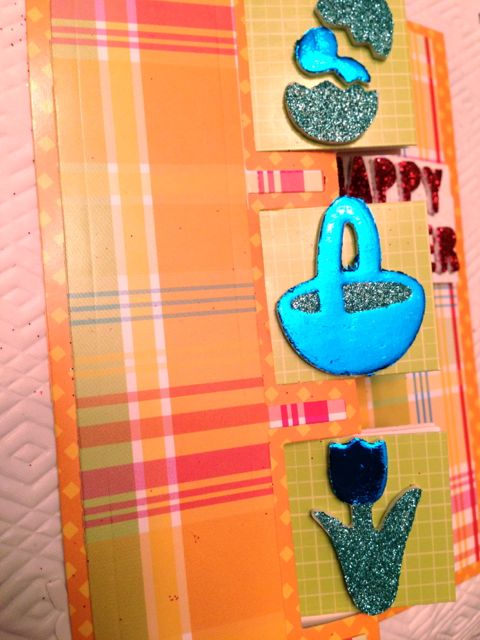
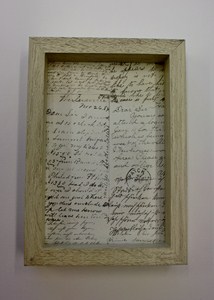
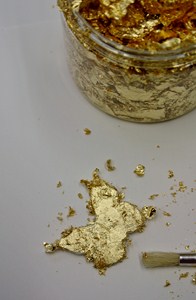
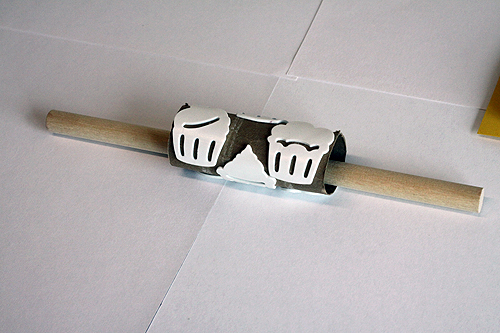 3. Sprinkle with clear embossing powder, shake off excess and heat to set.
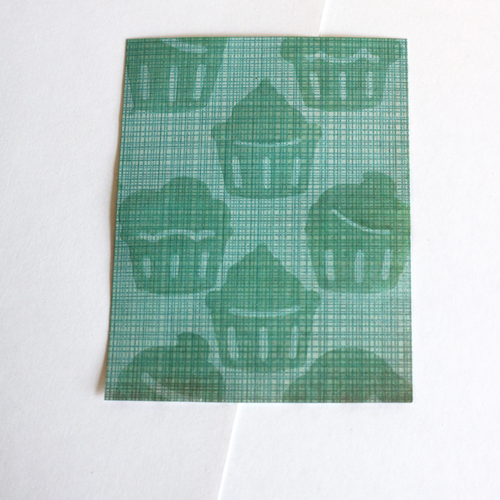

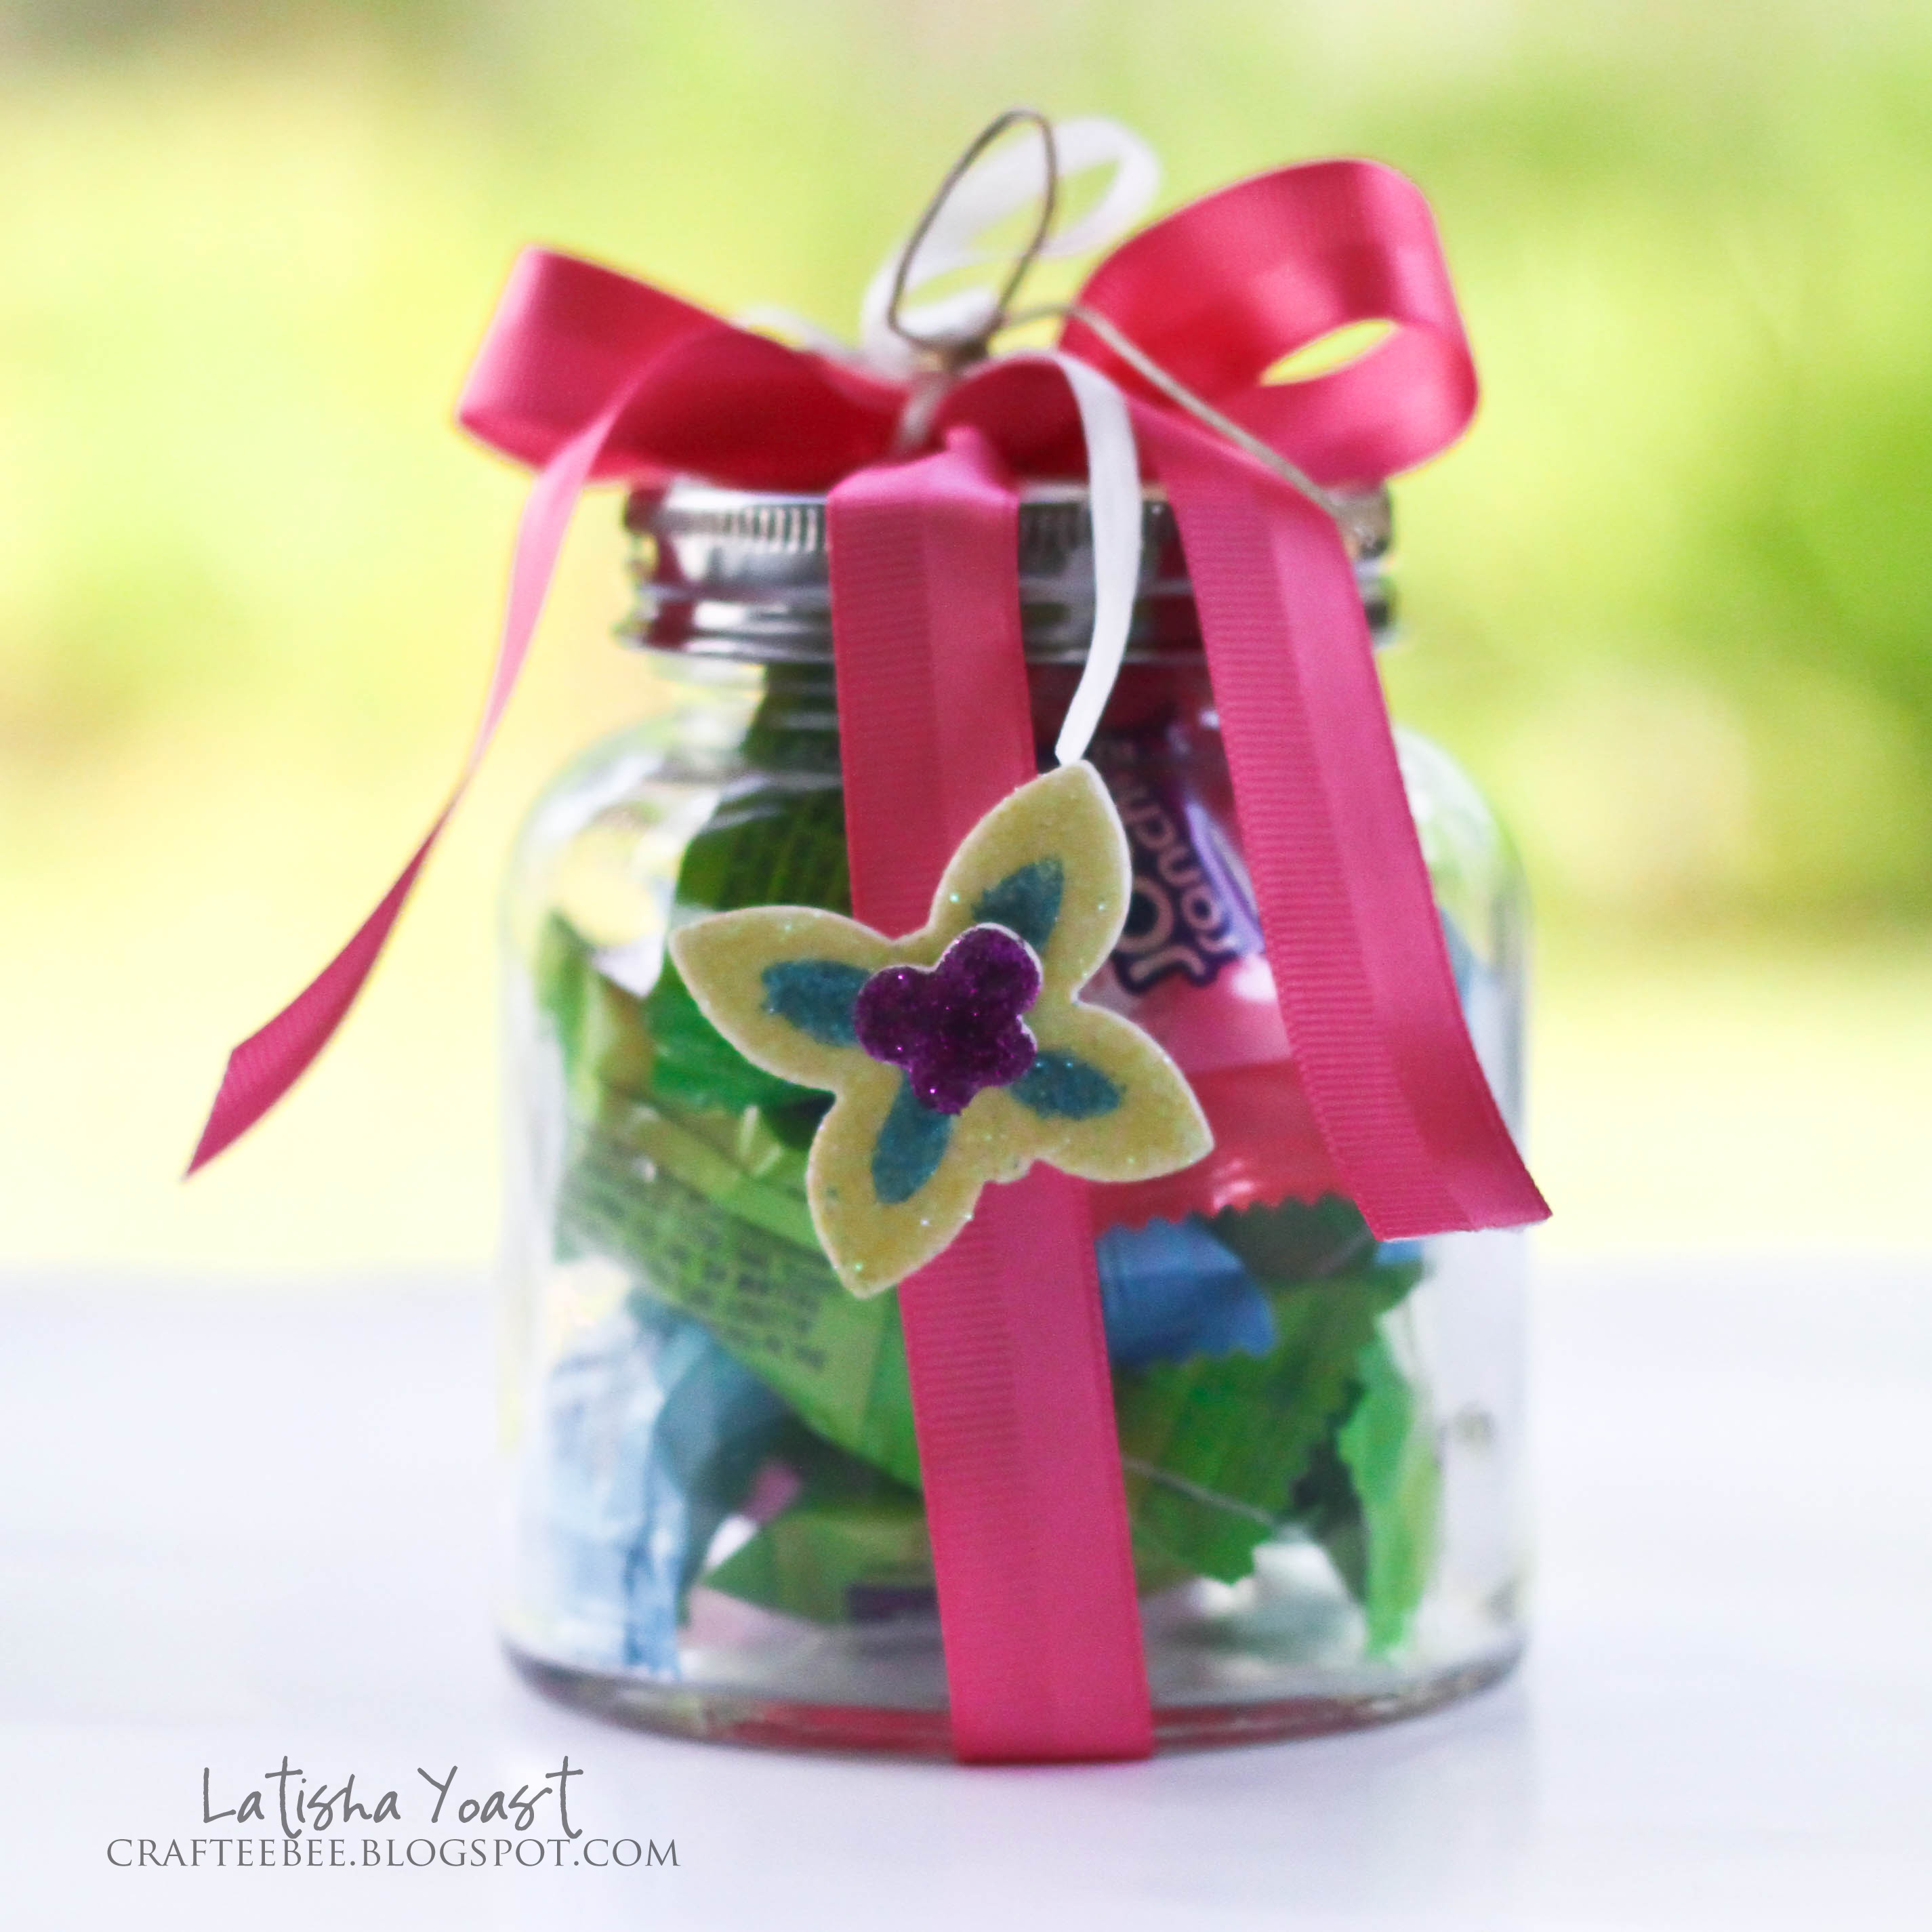
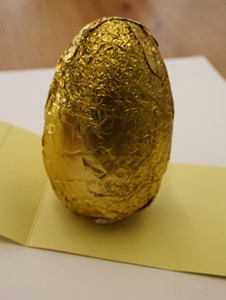
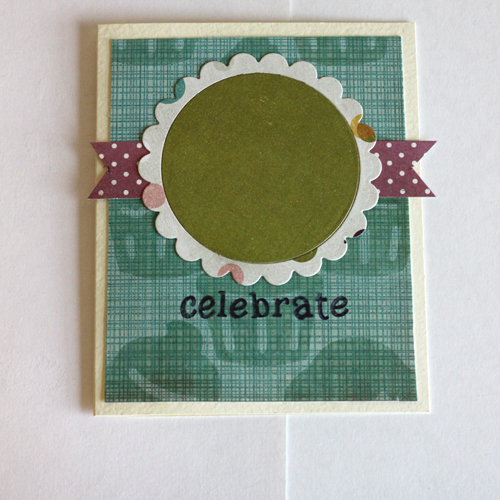 7. Remove the backing and cover the bottom of the
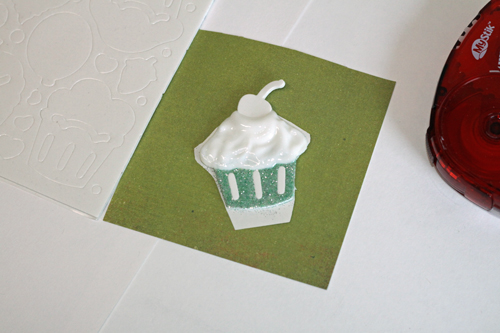
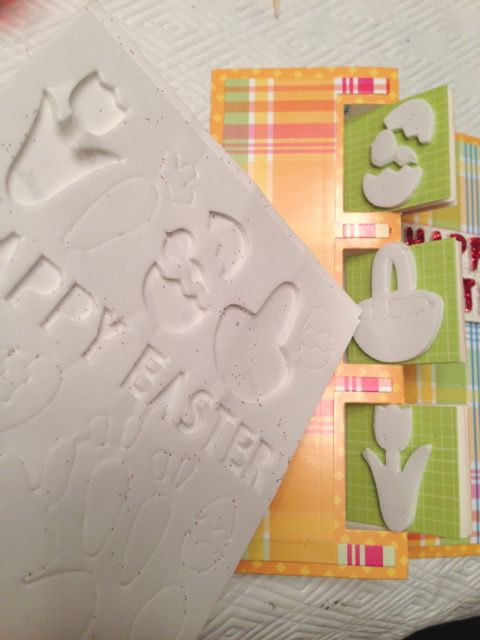
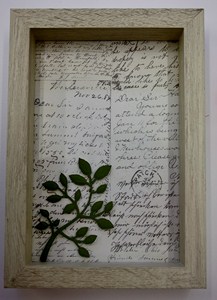
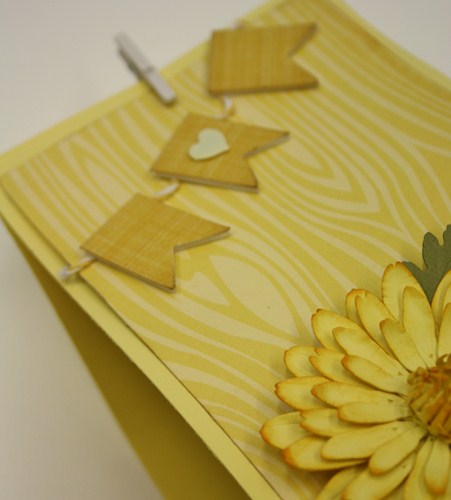
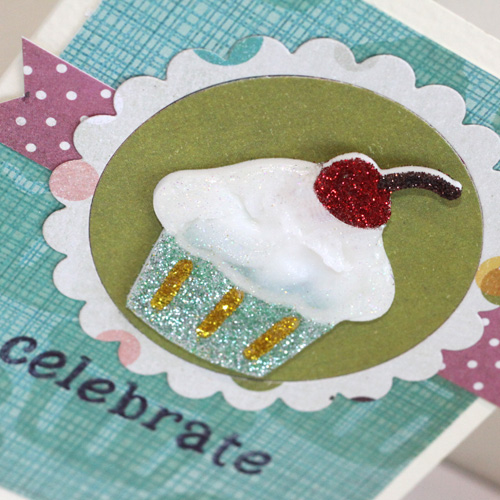 I love it when an idea comes together!
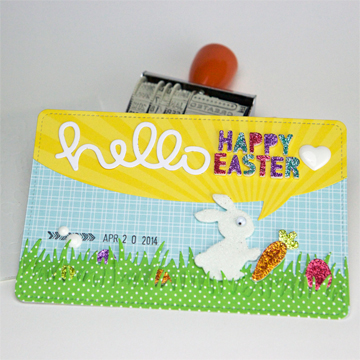

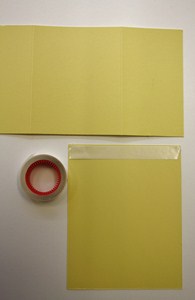
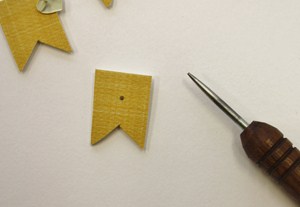
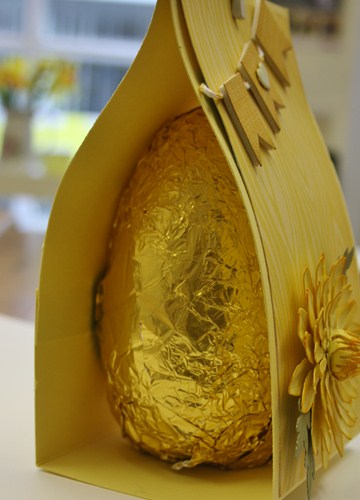

 Now, on the short end, again add