Hello there, Latisha with you today!
It seems like once warm weather comes, it means the arrival of parties and get togethers. The great thing about being a Paper Crafter, is that you have all of the tools (well most of them), to create little touches to make your next get together that much more special. Whether its making name tags, food tags, or like today decorative straws. These touches make your guest feel special, and you get the satisfaction of making something really really cute!
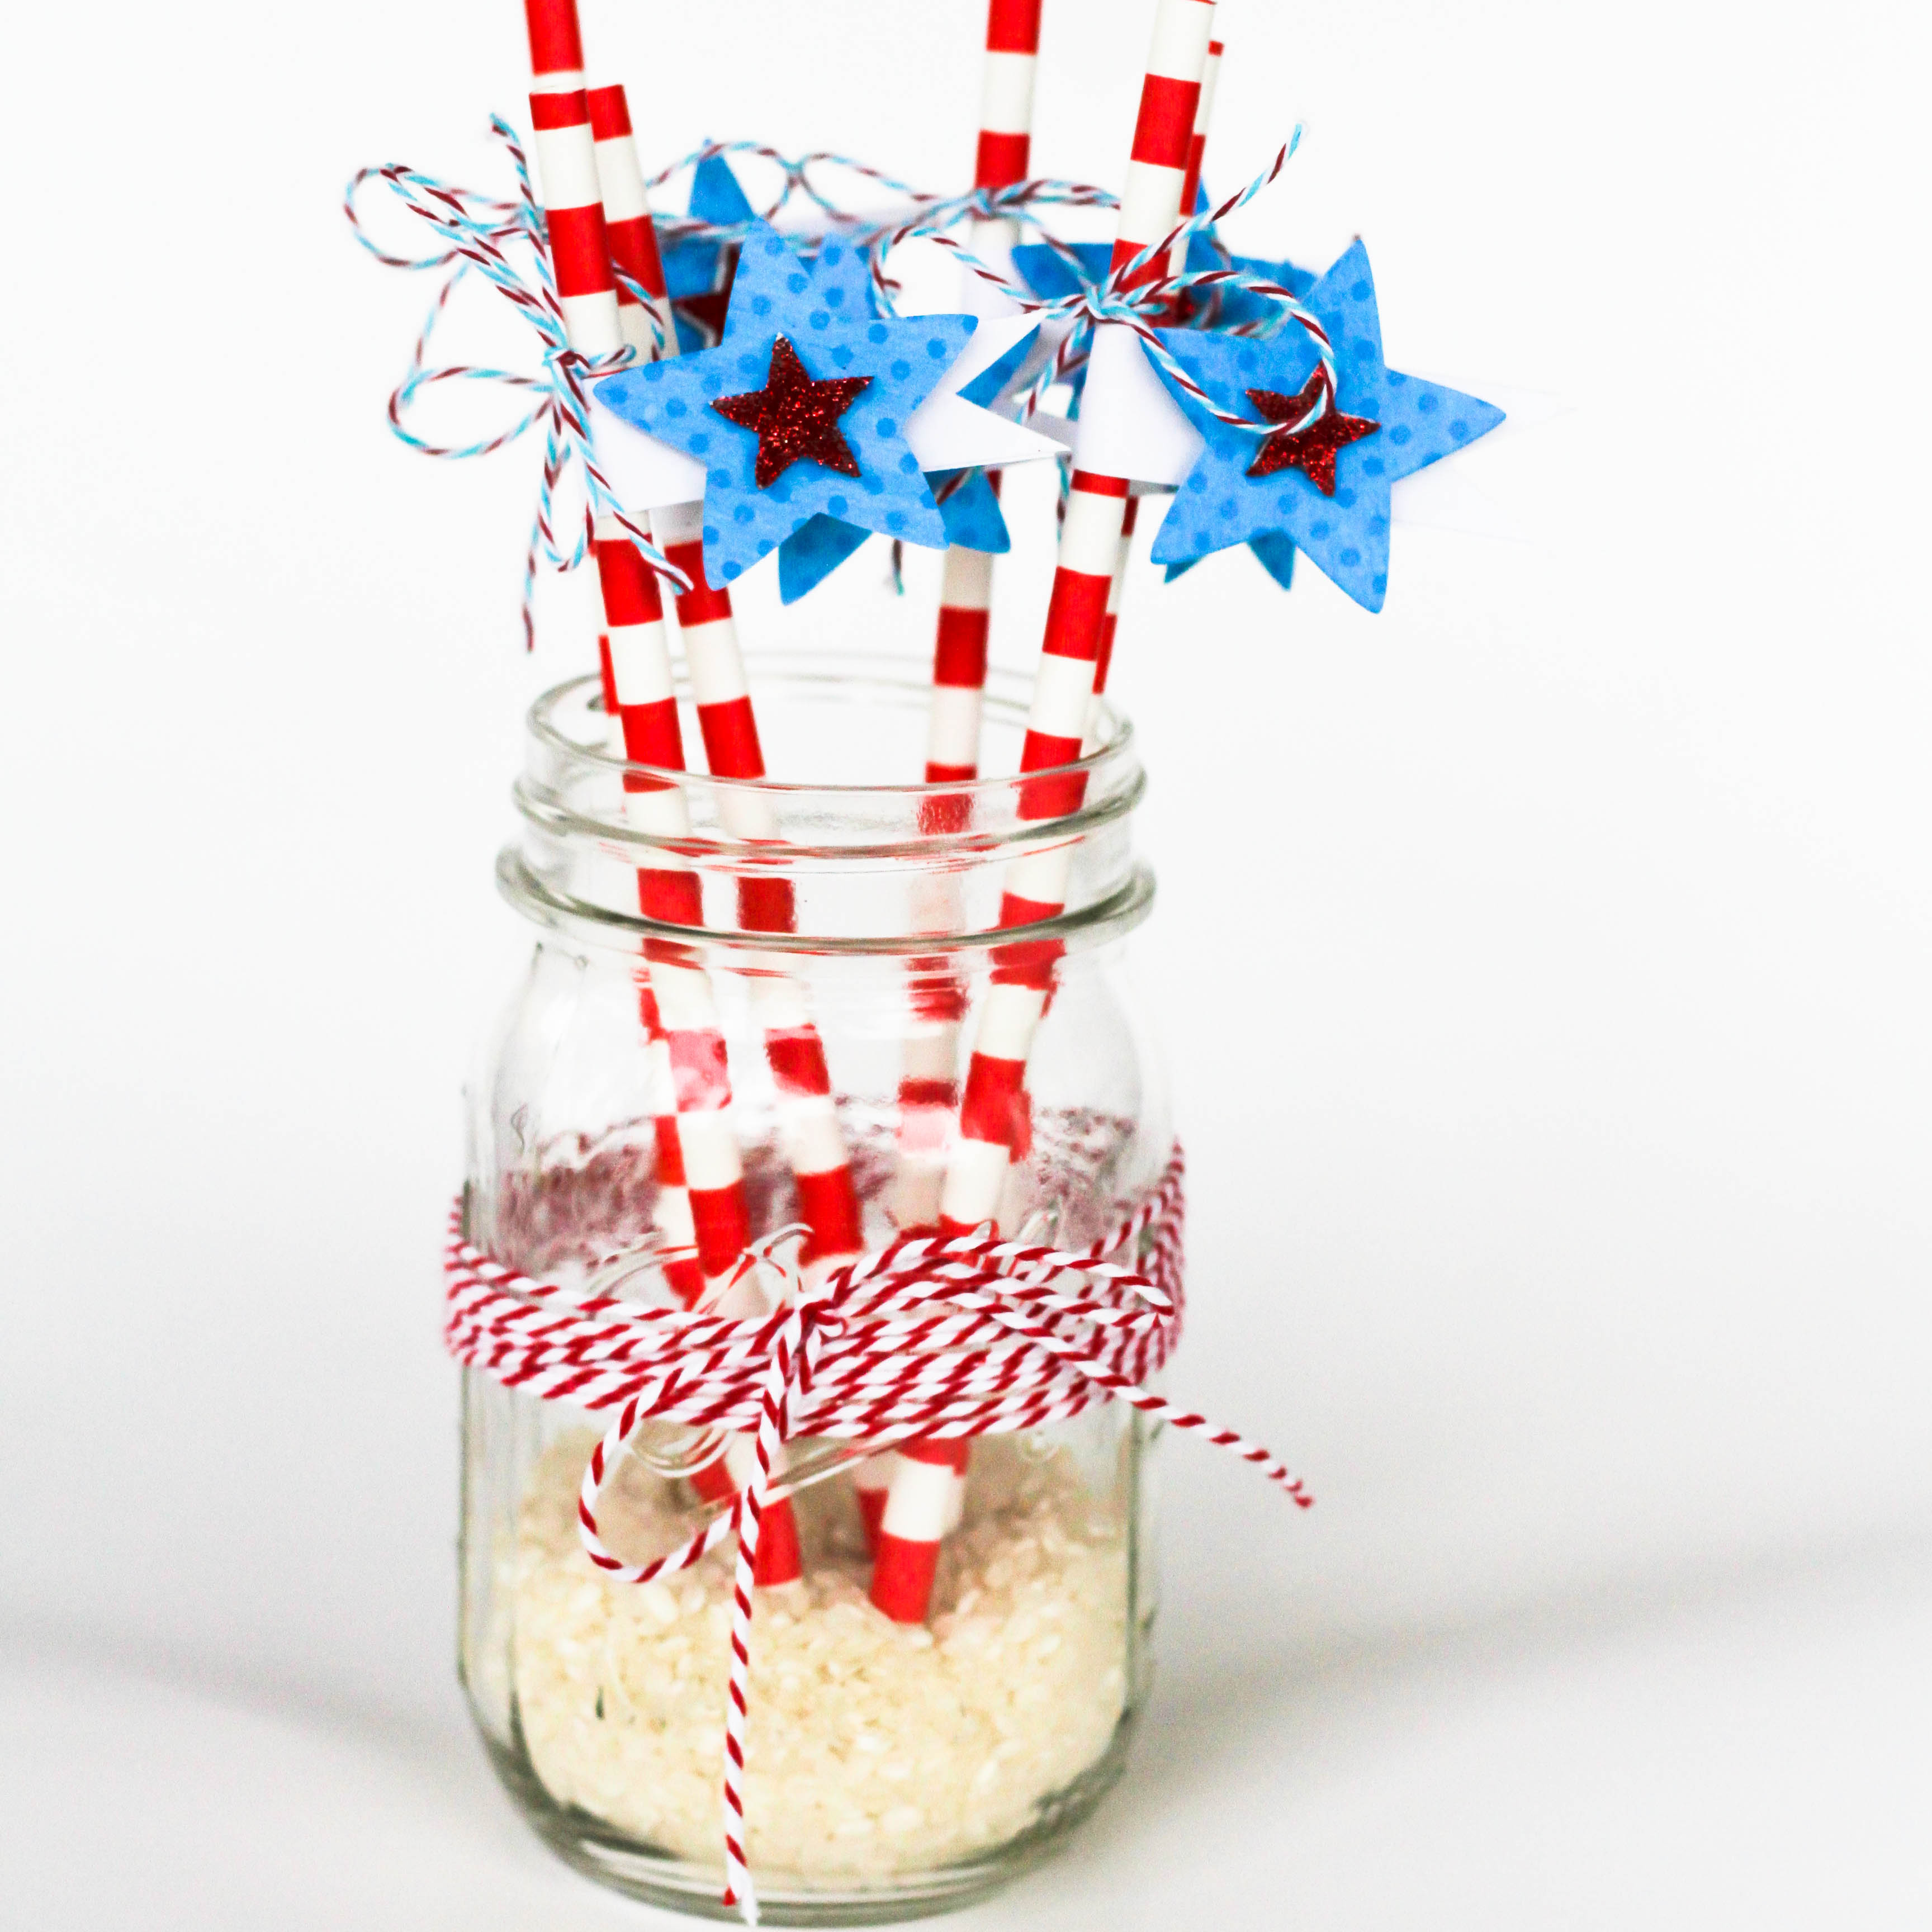
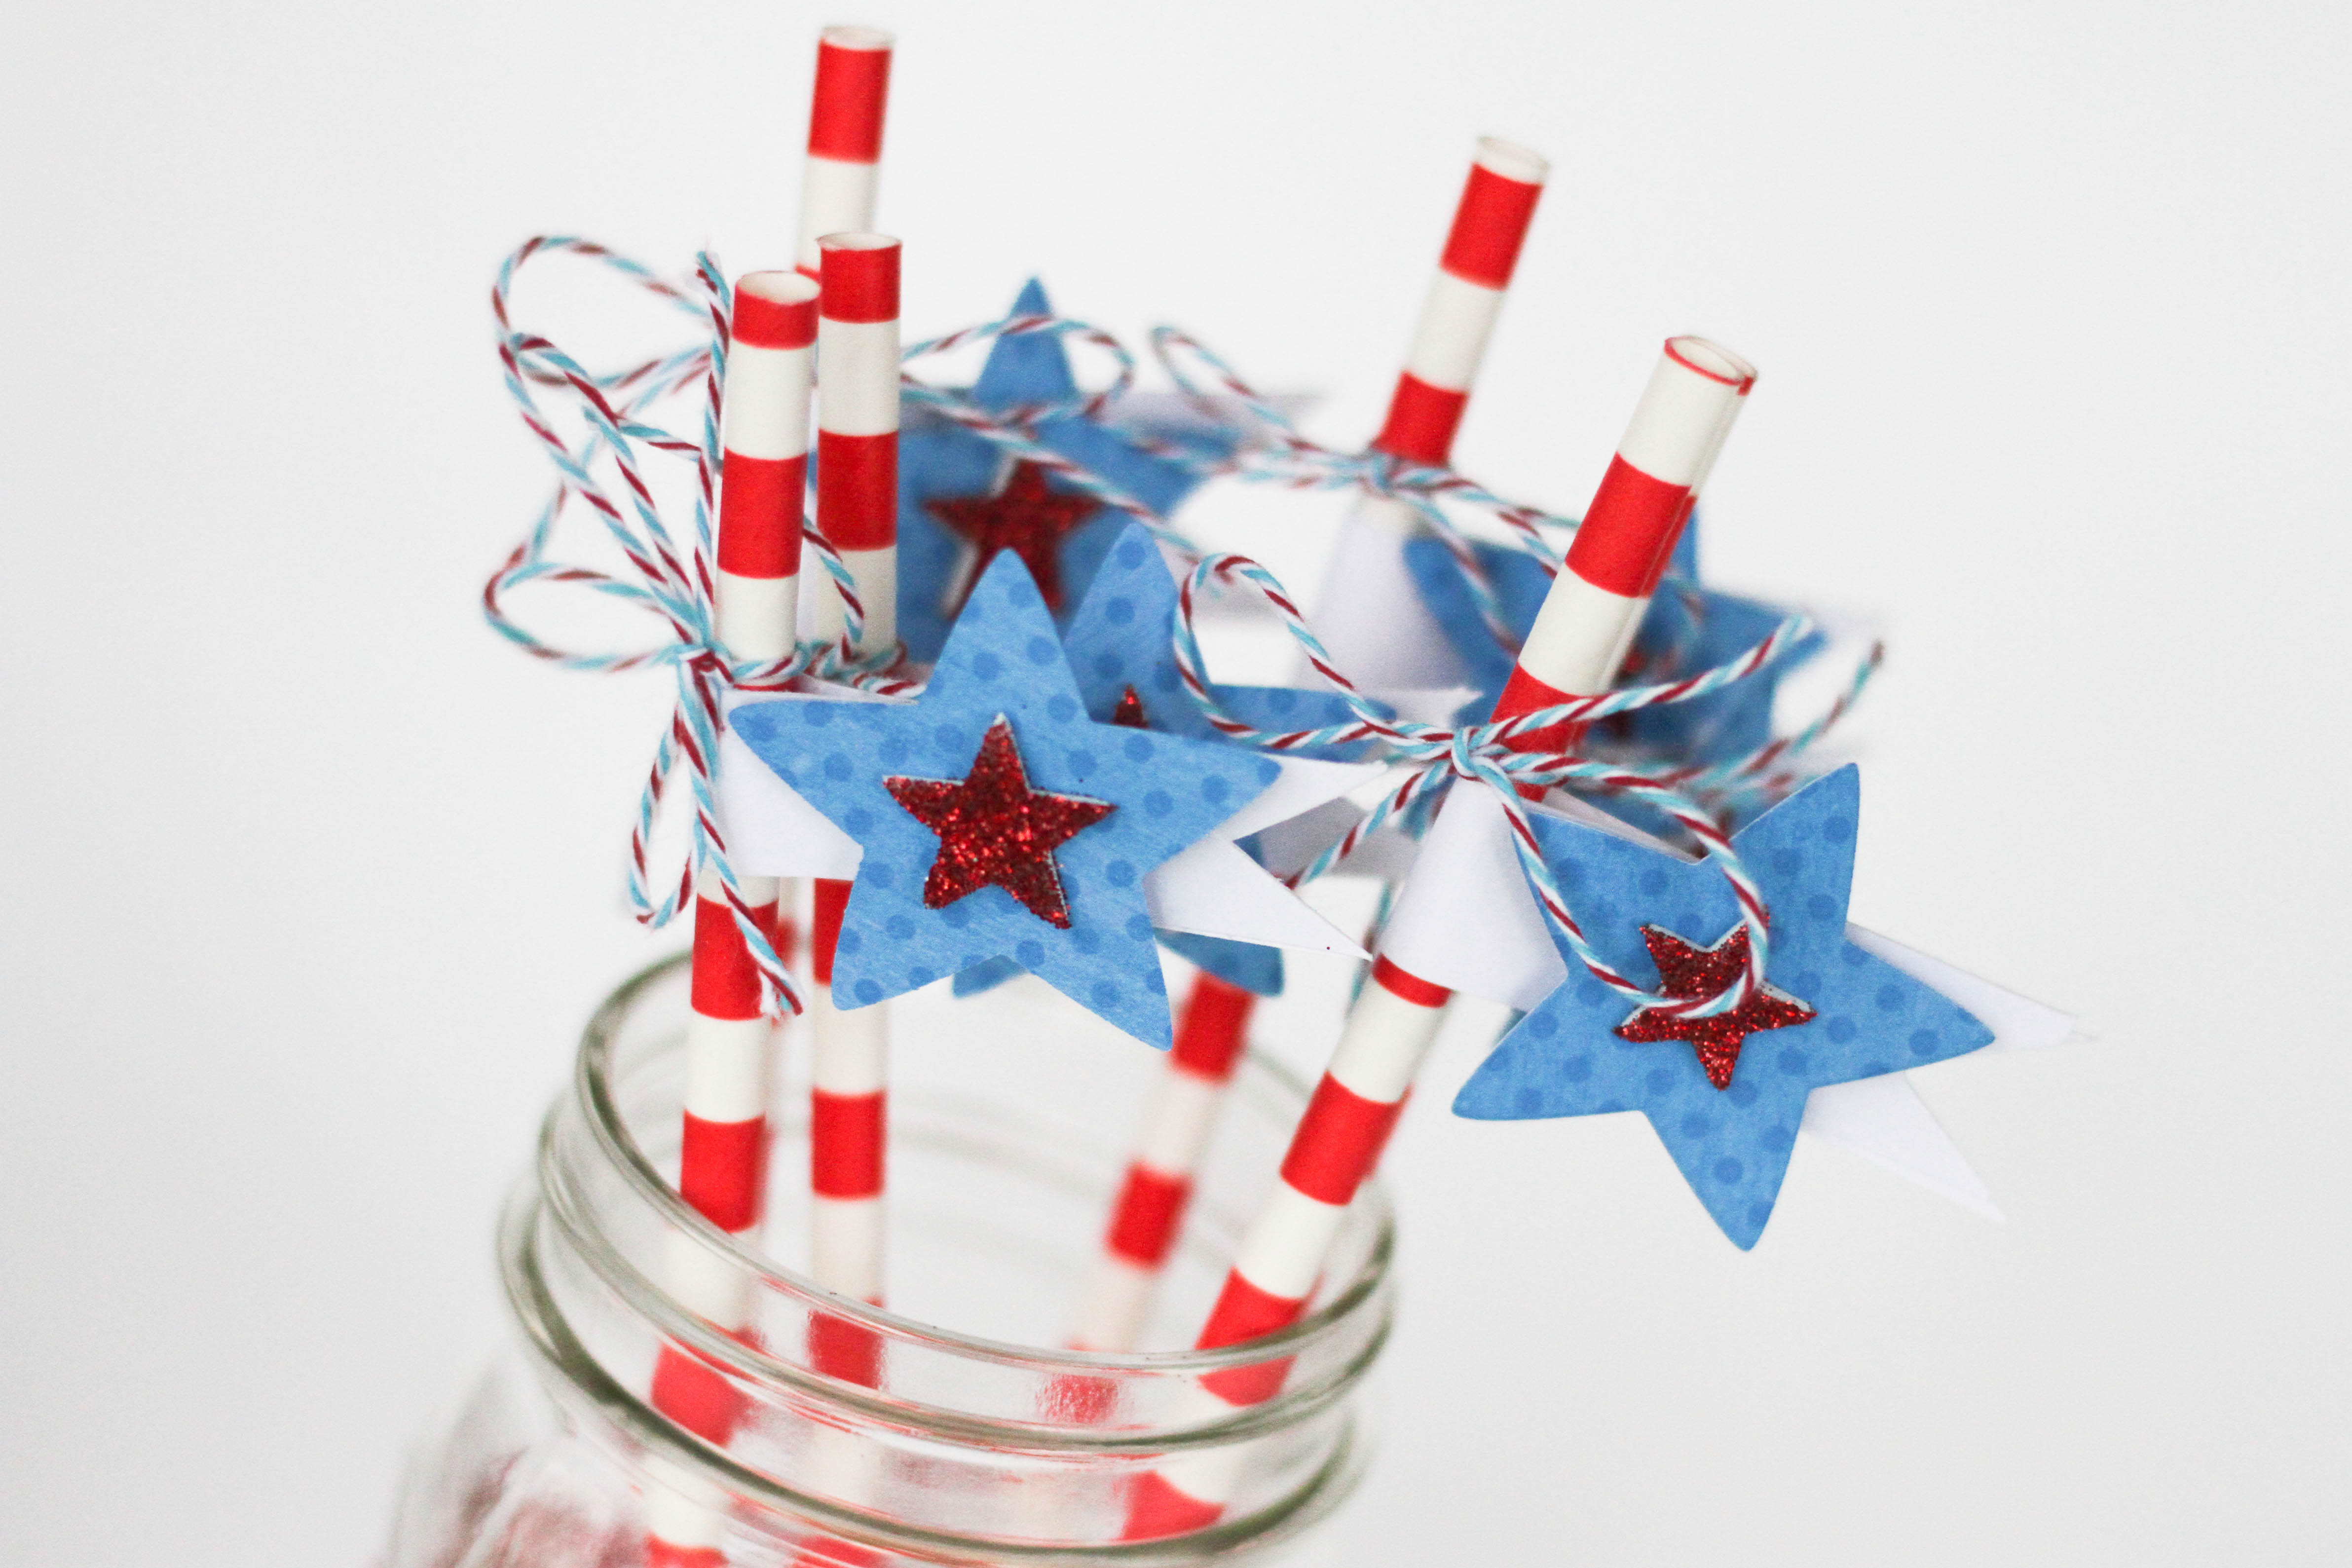
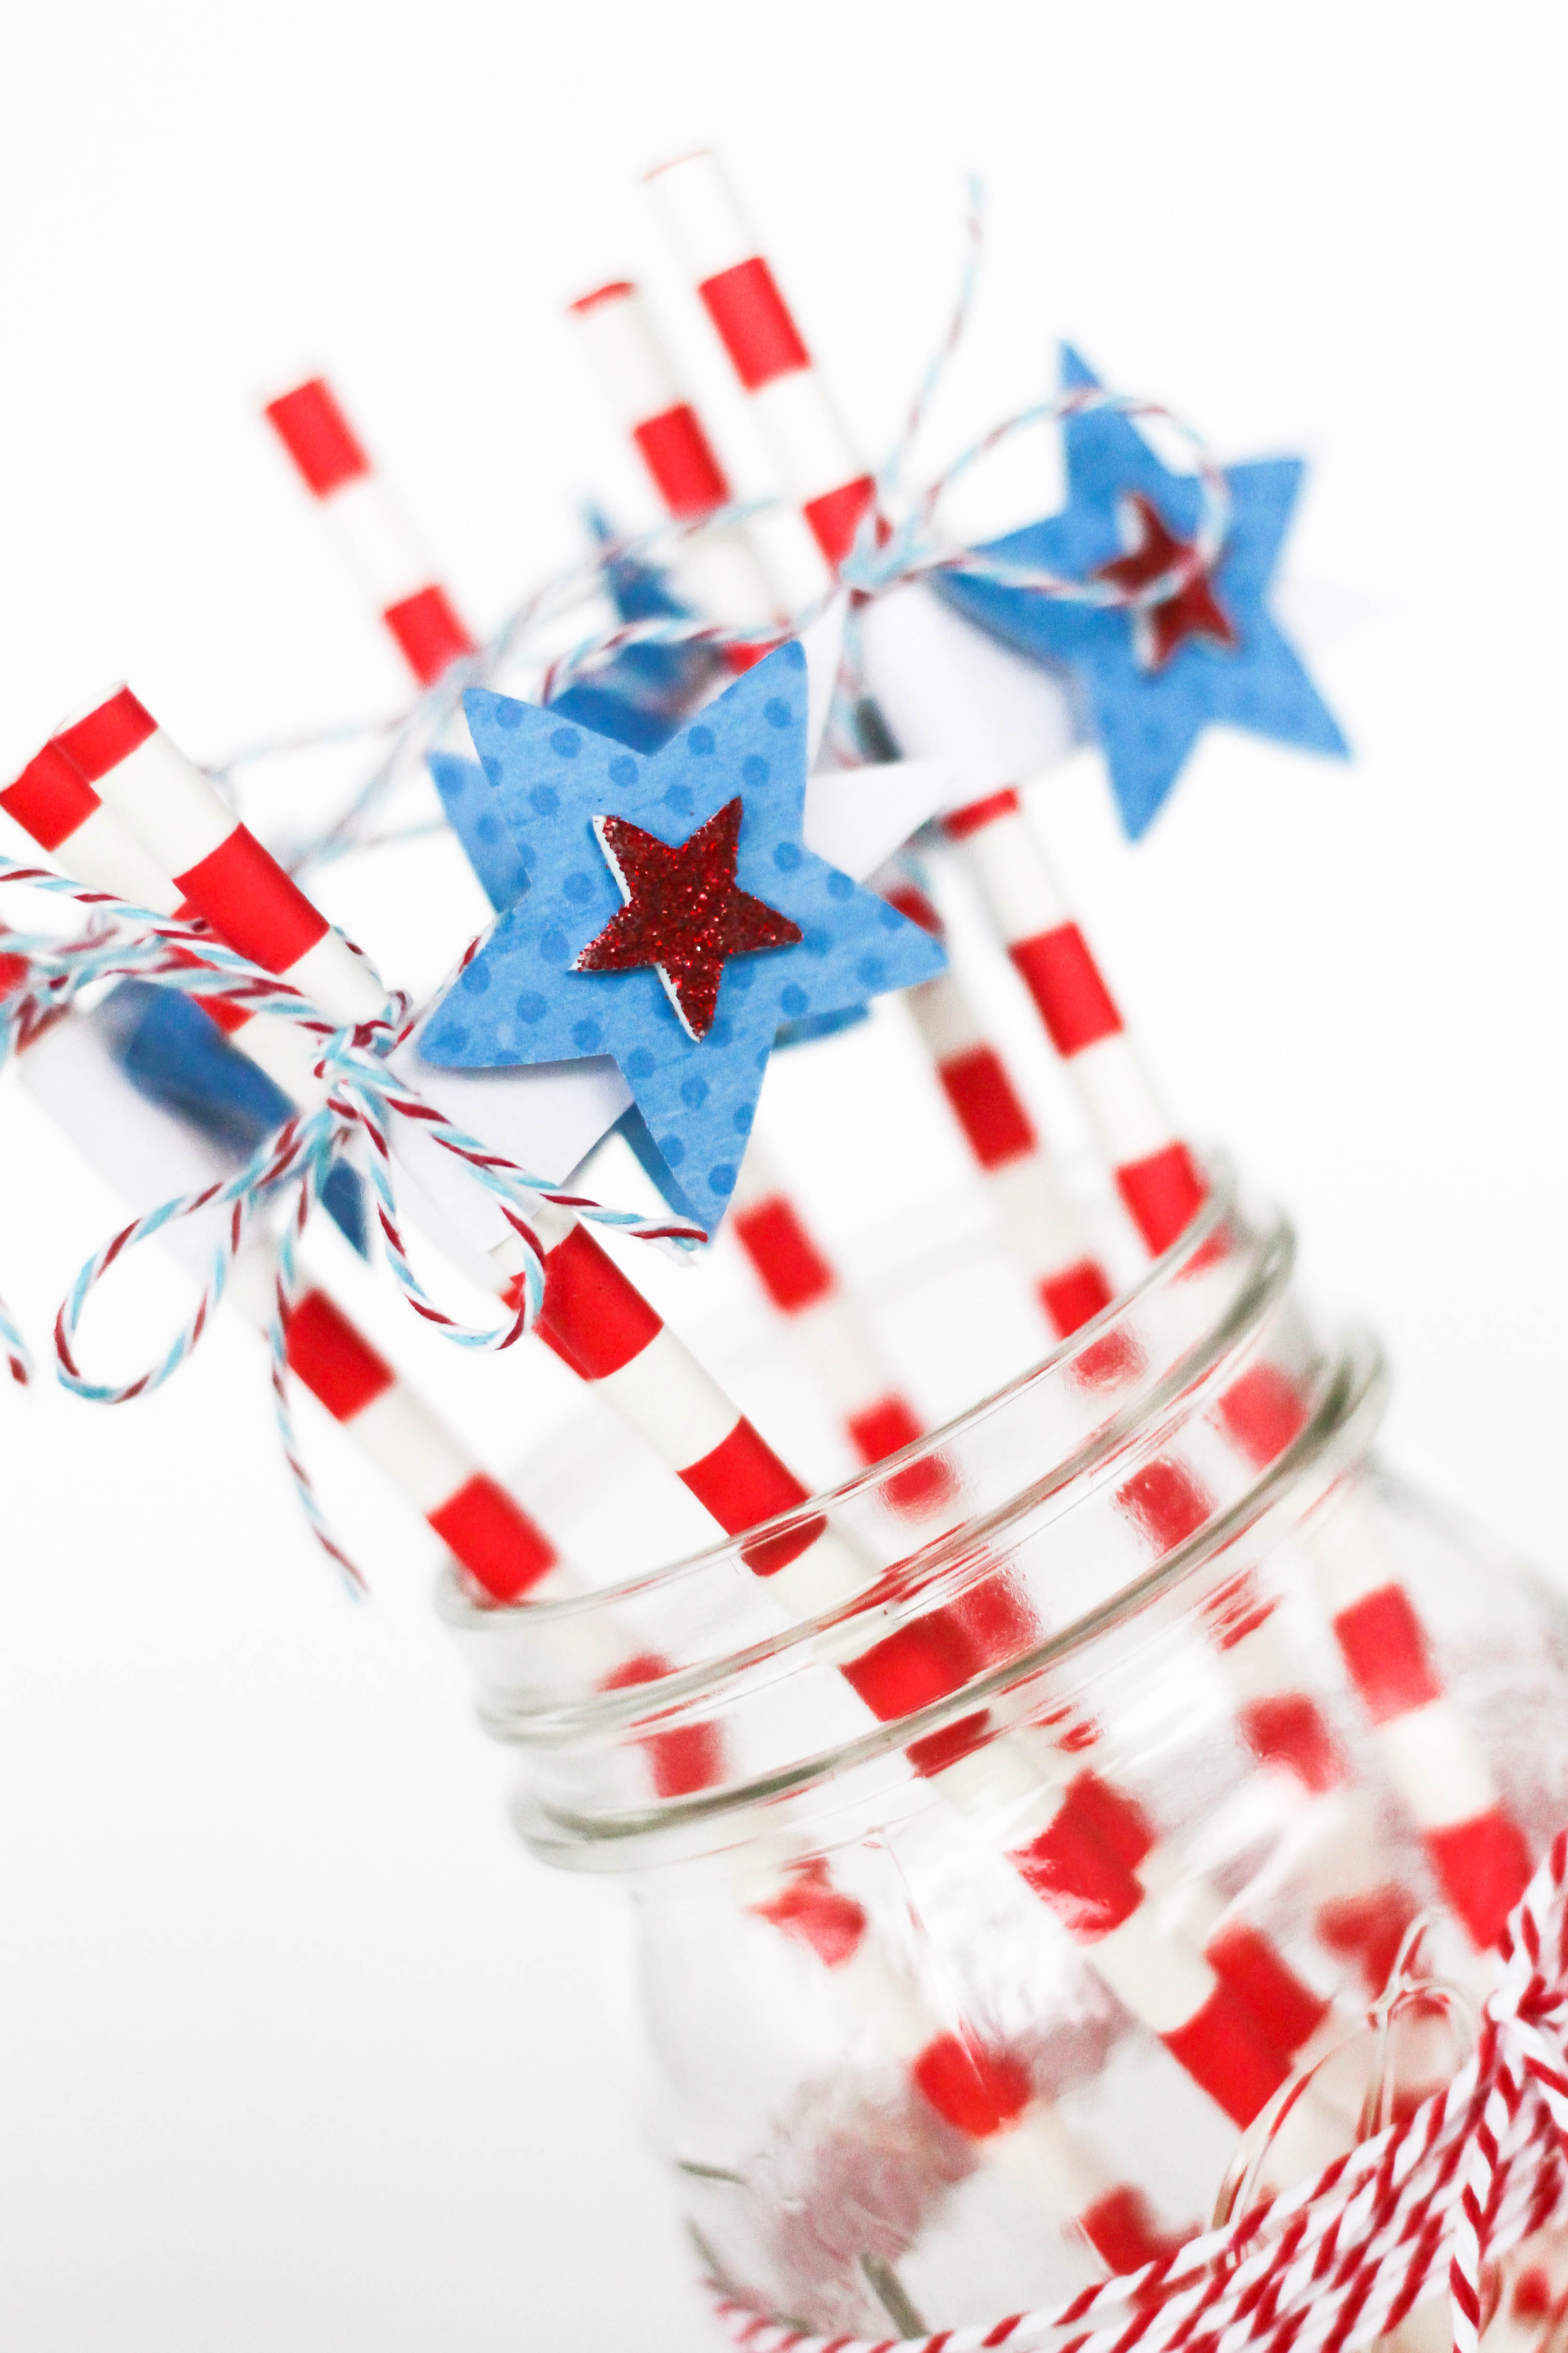 If you walk into any craft store, or even Target, you will find these thick biodegradable straws in many great colors. They are seriously too cute!
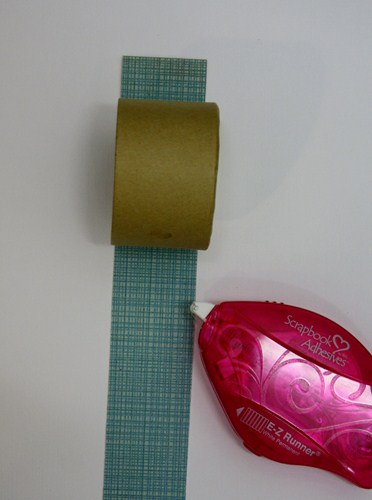
1. Cut strips of white card stock.
2. Adhere E-Z Dots® Refillable Adhesive onto one side of the strip, wrap around the straw.
3. To create a banner, using scissors cut a “v” at the end of the strip.
4. Using Lawn Fawn Star Die, diecut stars using blue dotted Bazzill card stock.
5. Peel off a Scrapbook Adhesives by 3L 3D Foam Star, dip onside into red glitter, then adhere to the front of the star.
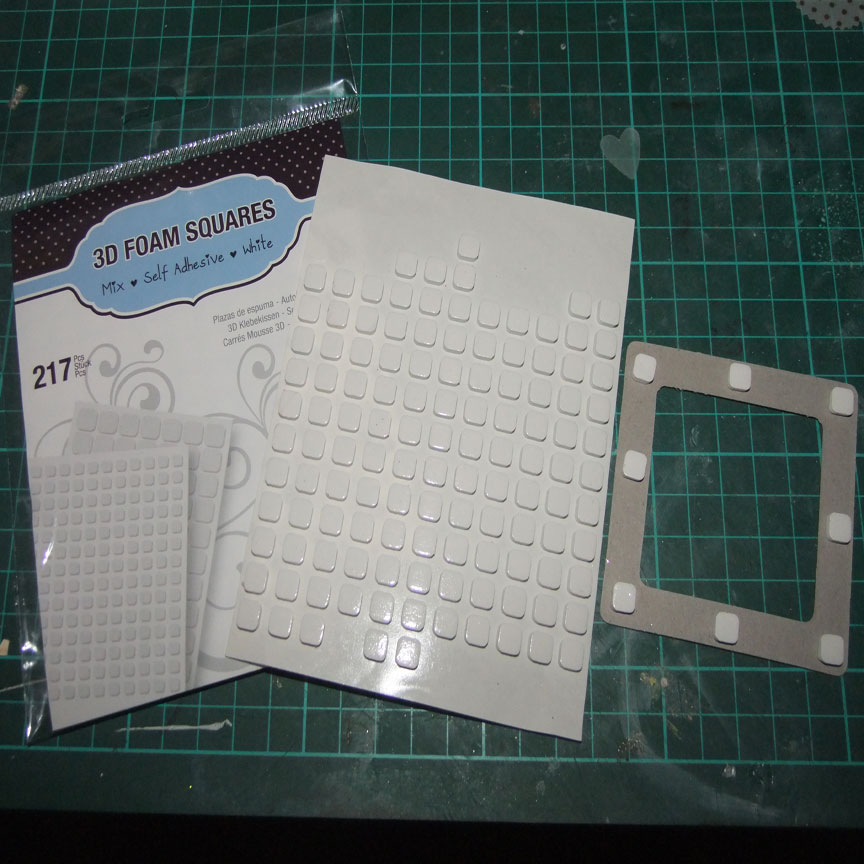
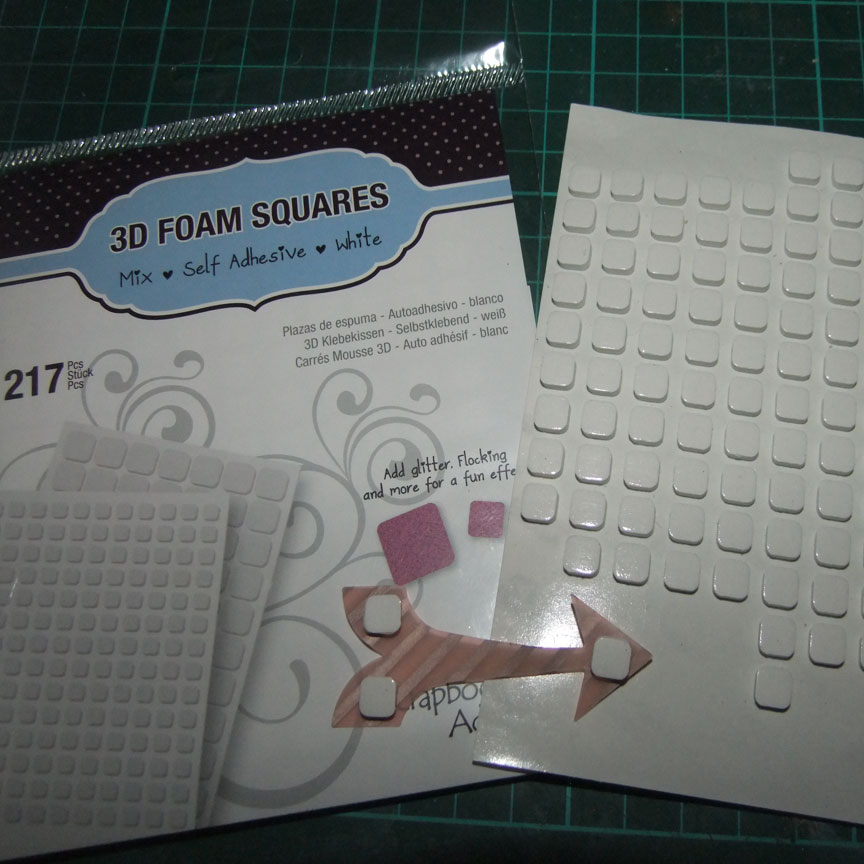
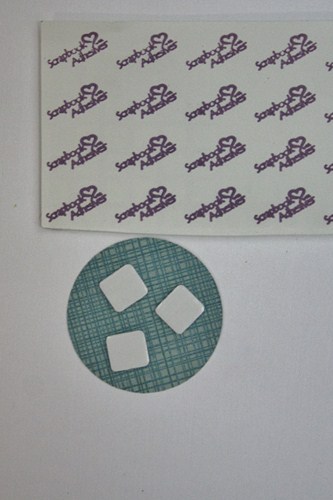
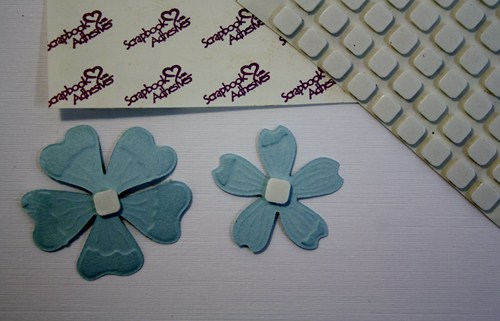
6. Place Scrapbook Adhesives by 3L 3D Foam Squares on the back of the star die cut, and adhere to the banner.
7. Tie, Timeless Twine onto the straws.
Materials Used:
Scrapbook Adhesives by 3L E-Z Dots Refillable Adhesive, Scrapbook Adhesives by 3L 3D Foam Stars, Scrapbook Adhesives by 3L 3D Foam Squares (regular), Lawn Fawn Dies, Timeless Twine, Bazzill cardstock, white cardstock, red glitter, decorate straws.