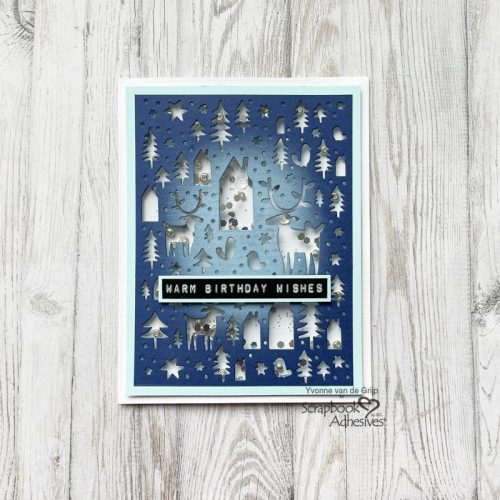
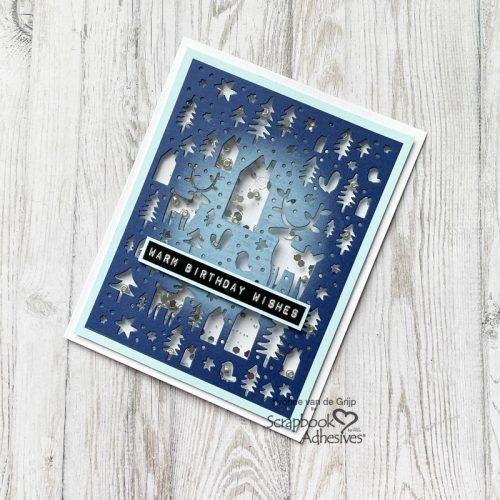
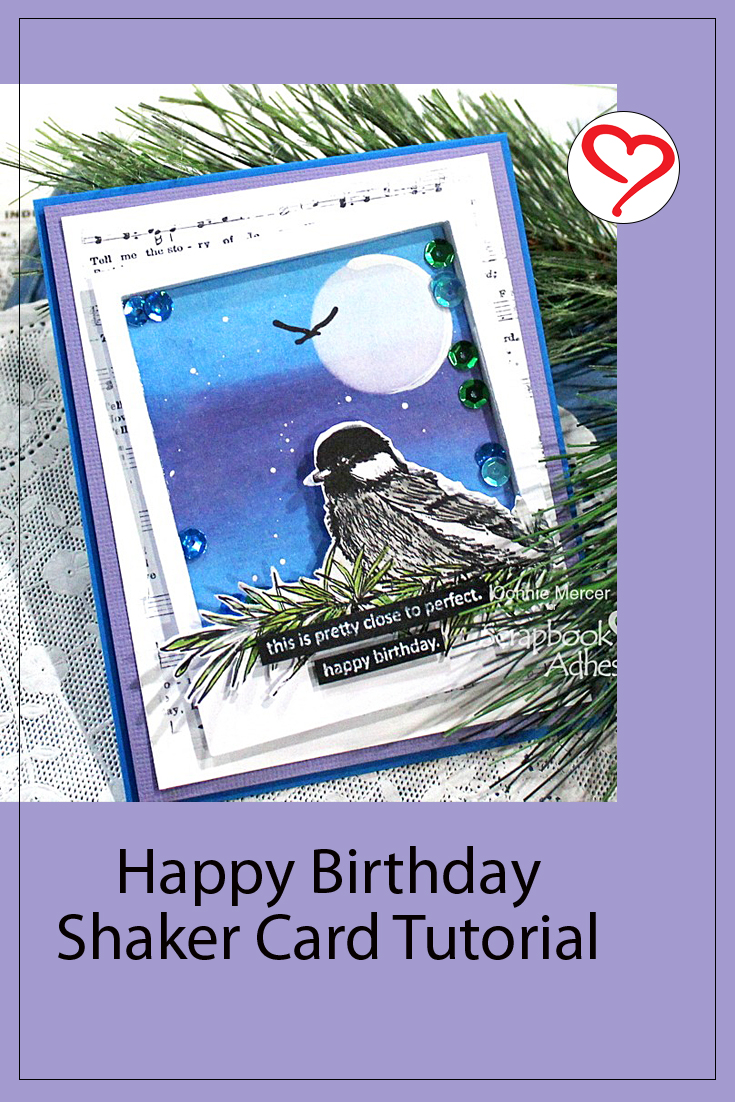
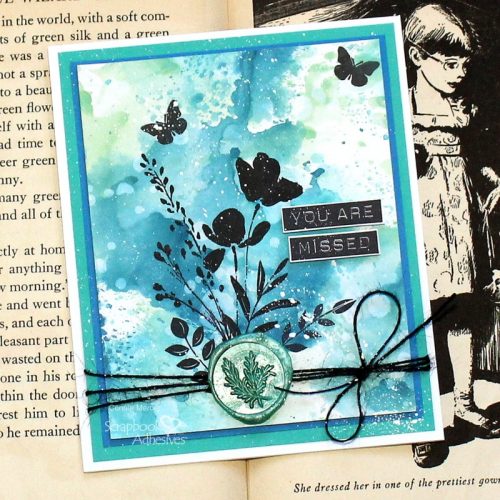
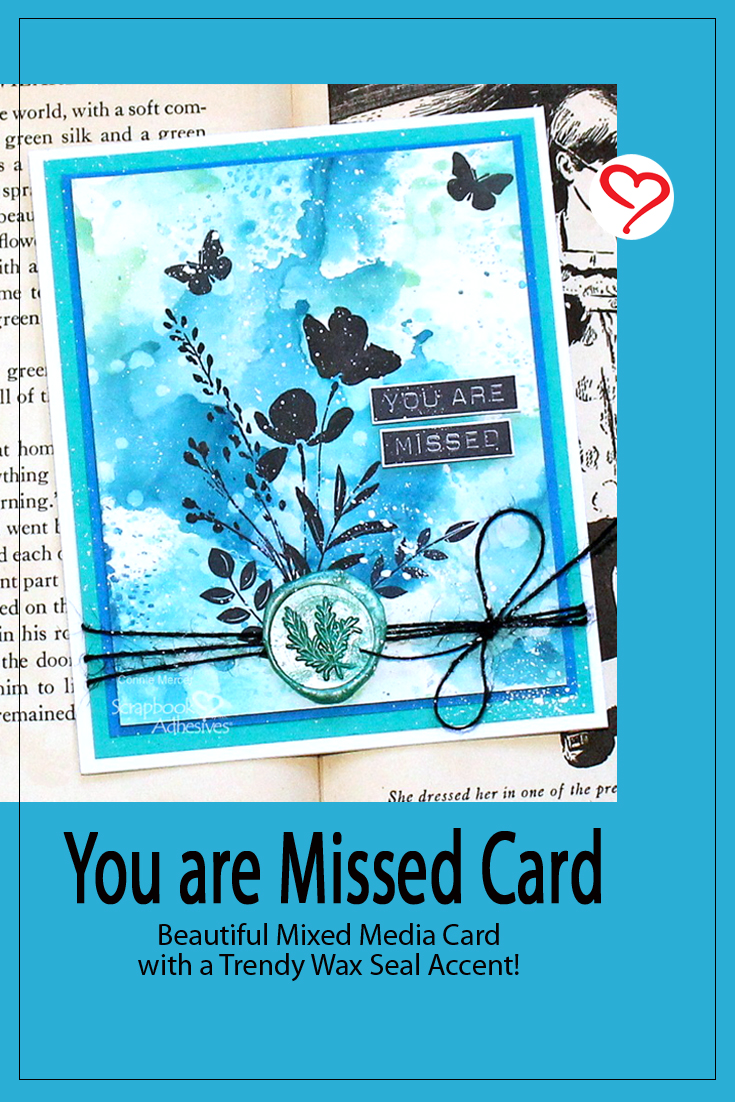
Hi, Connie here with my second blog post starting off the new year. I created a mixed media card, You are Missed Card, with a wax seal accent that is trending in cardmaking. What would secure this wax embellishment to the card? I didn’t want to melt the wax directly on the card but wanted the dimension so this is what I found out…
You are Missed Card Prep
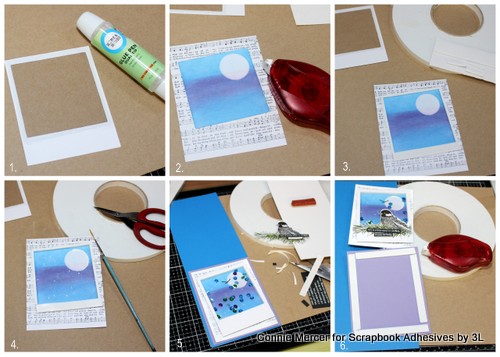
To create the card there are a few things to do first.
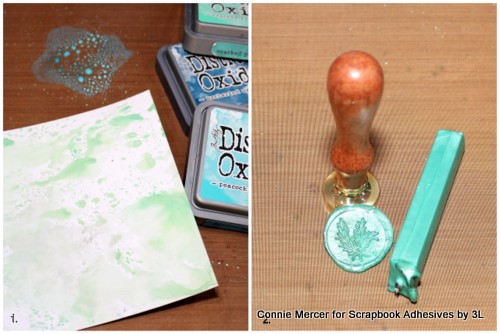
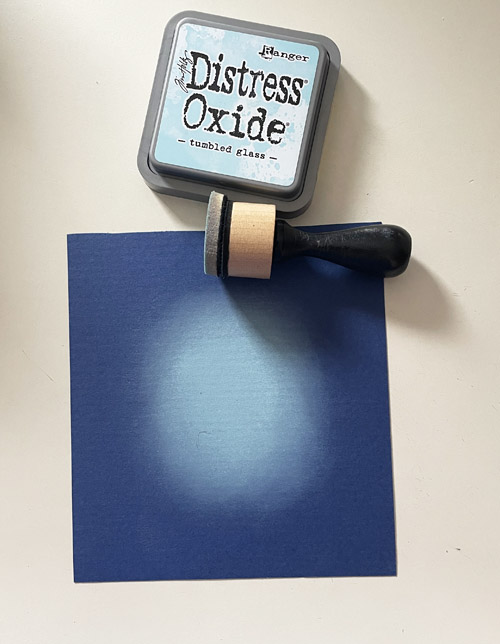
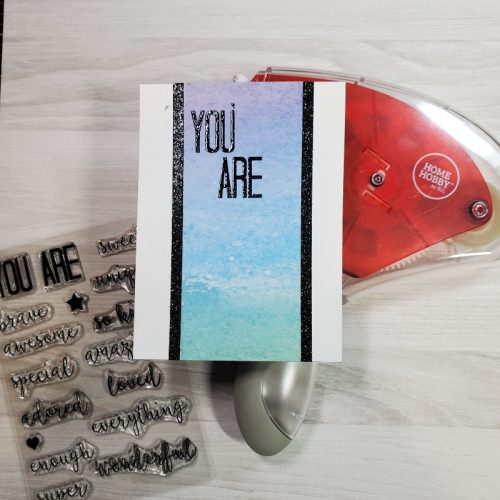
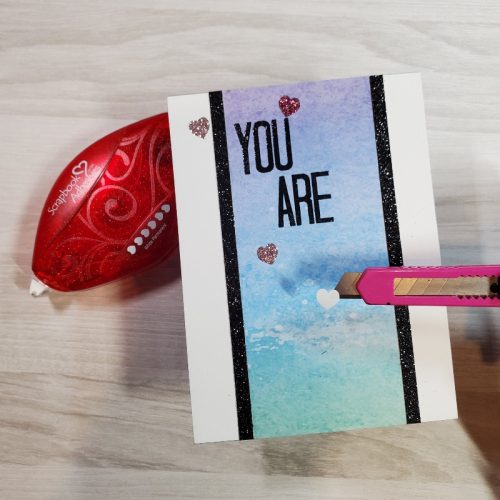
- 1. Cut a piece of mixed media cardstock and create a background using watercolors or Distress Oxide inks. I used three colors for a nice mix. Stamp the image on the card front. I used silhouette flowers placed on the Misti with Archival ink/Jet Black.
2. Create a wax seal using a coordinating wax color. Set aside for later.
Assemble the Card
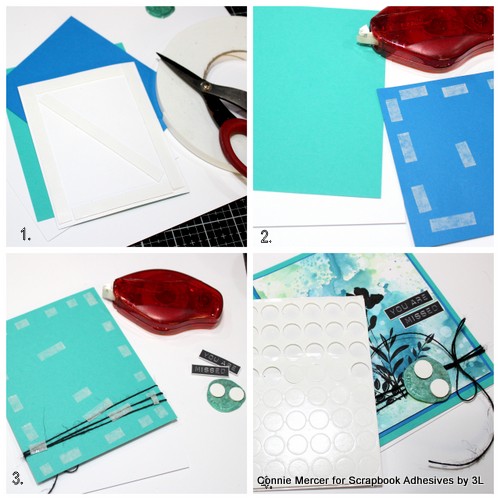
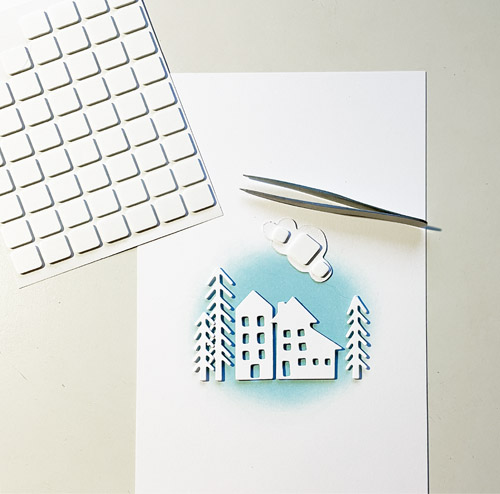
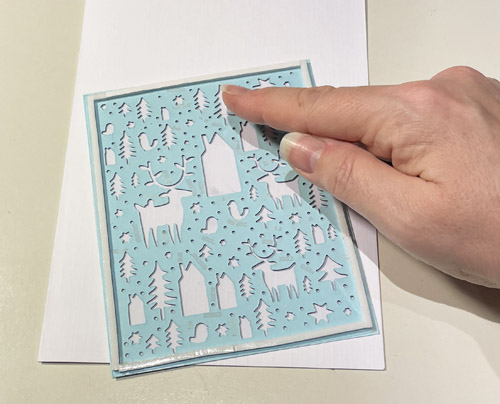
- 1. Attach the Crafty Foam Tape 108′ to the back of the card front and adhere to the blue cardstock mat.
2. Using the E-Z Runner® Permanent Strips Refillable Dispenser, attach the blue cardstock mat to the turquoise mat.
3. Secure the turquoise mat to the white card base using the E-Z Runner® Permanent Strips Refillable Dispenser.
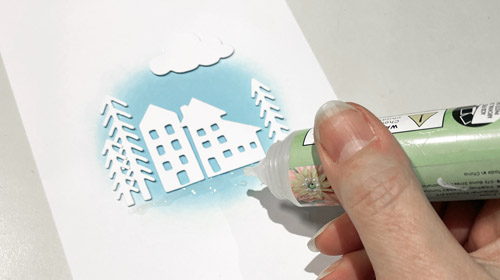
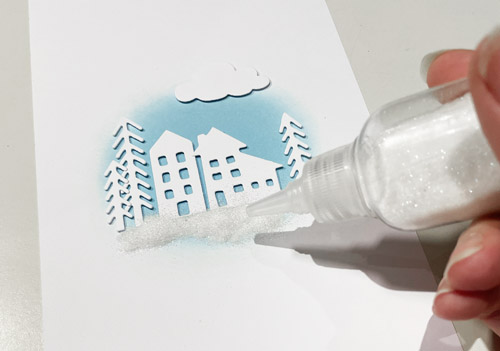
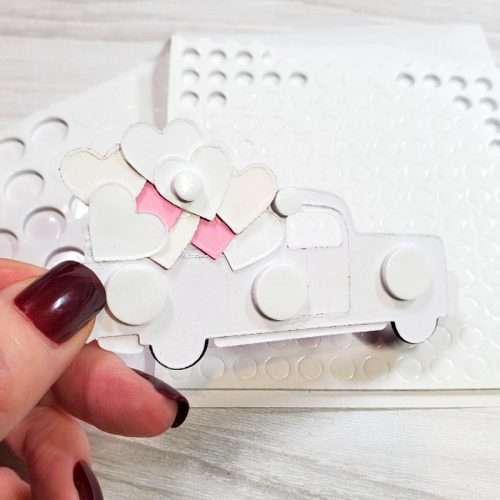
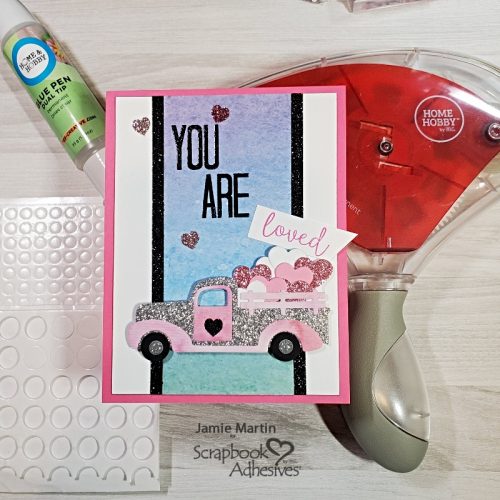
4. Wrap the twine and end in a bow. Then place the wax seal with the 3D Foam Circle White Mix for added dimension. Secure the sentiment to the card front using the 3D Foam Strips. Speckle the card front with white acrylic paint for a distressed look.
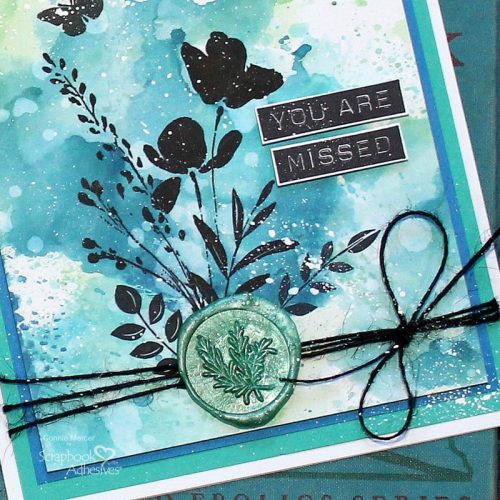
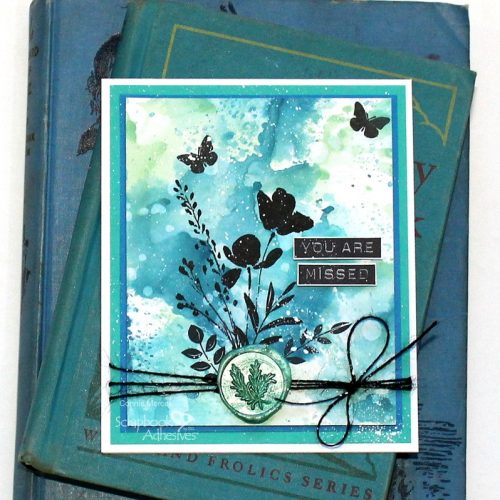
Thanks for stopping by and answering my opening question. The 3D Foam Circle White Mix worked perfectly!
Connie
Creative Time: 40 minutes
Skill Level: Intermediate
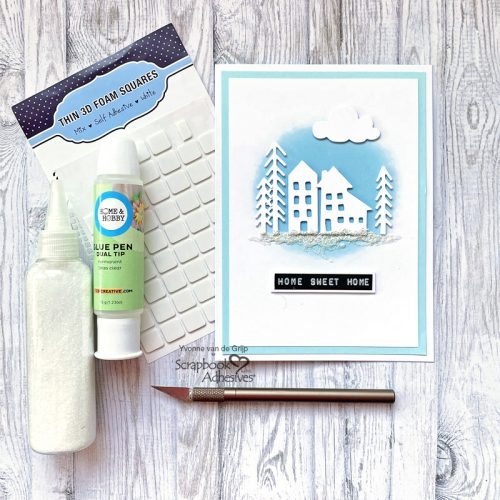
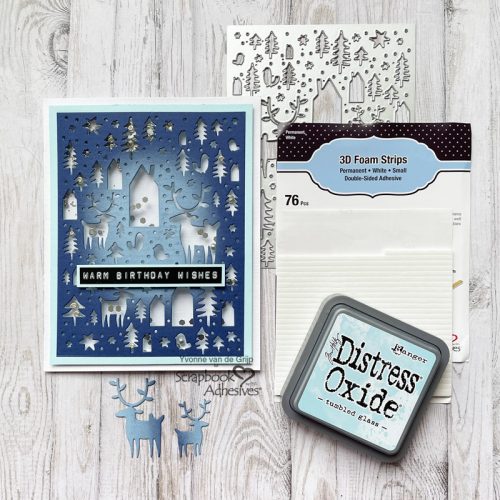
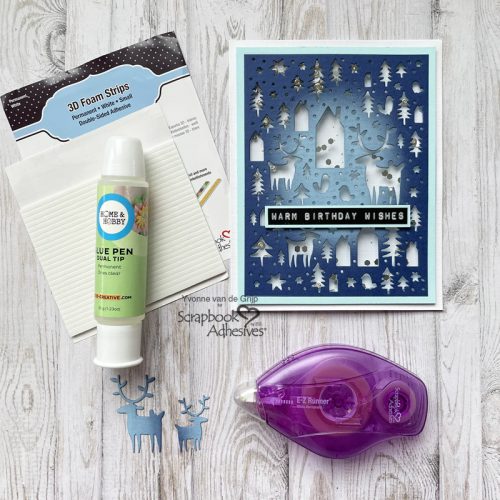
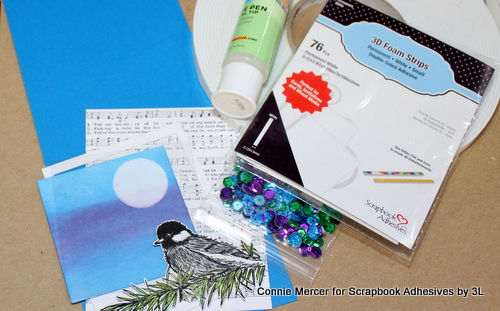
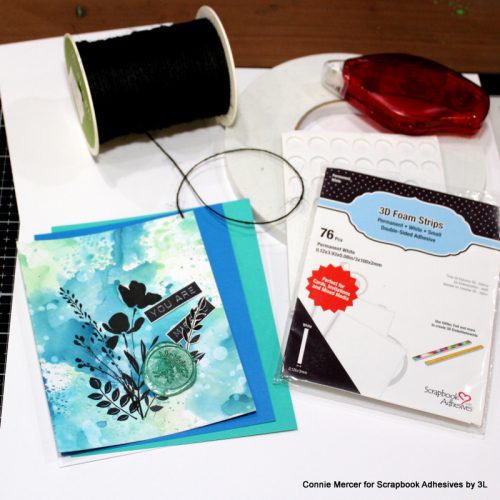
Materials Needed:
Scrapbook Adhesives by 3L®
Crafty Foam Tape 108′
3D Foam Strips
3D Foam Circles White Mix
E-Z Runner Permanent Strips Refillable Dispenser
E-Z Runner Permanent Strips Refill
Other: Stamps: KatzelKraft and Darkroom Door; Ink: Ranger Ink (Archival, Distressed Oxide); Stamping Platform: My Sweet Petunia (MISTI); Wax Seal; Twine
Save to Pinterest!
Visit our Website and Blog!
Sign up for our Newsletter so you never miss a contest or giveaway!