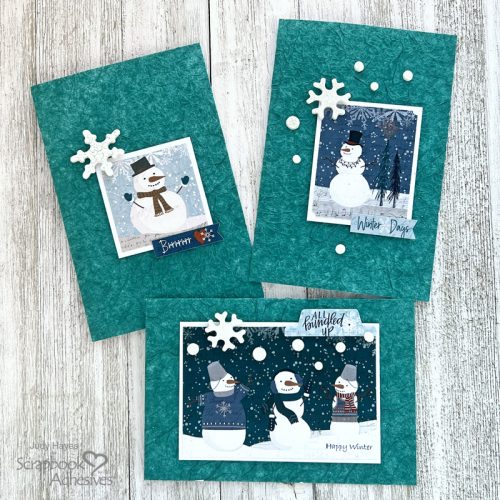
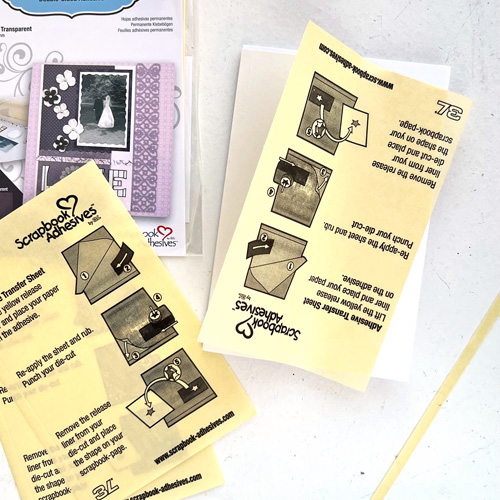
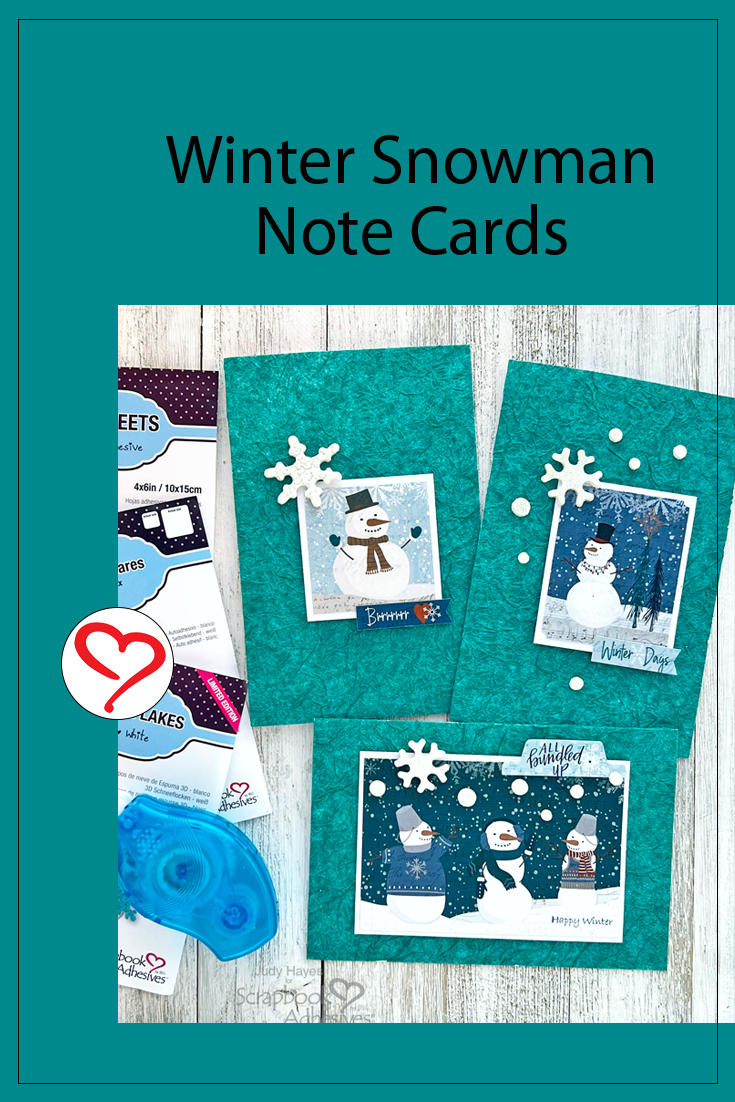
Hello everyone! It is certainly winter where I live, snowy and cold! That influenced me to make some Snowmen Winter Note Cards to share today using stickers and ephemera from Photo Play’s For the Love of Winter Collection. I used a super easy technique for the backgrounds with crumpled tissue paper and Adhesive Sheets 4×6 inch. I saved this pretty tissue from a package that was crumpled so it’s perfect for these cards!
Creating the Front Card
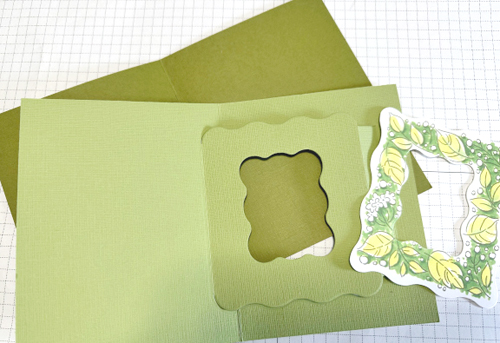
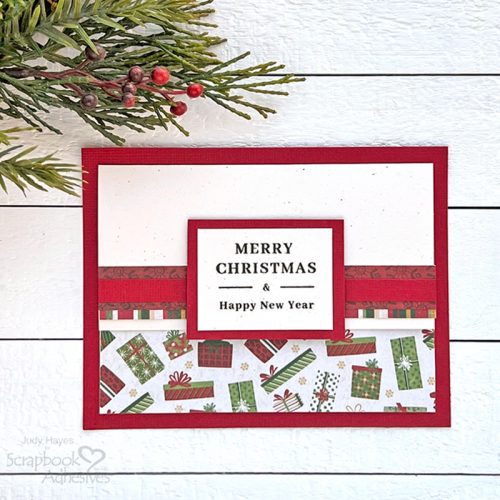
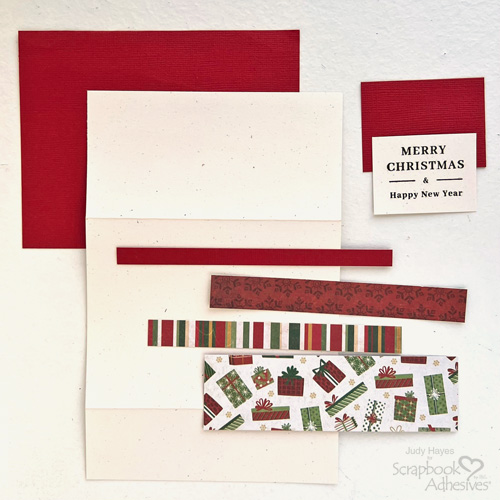
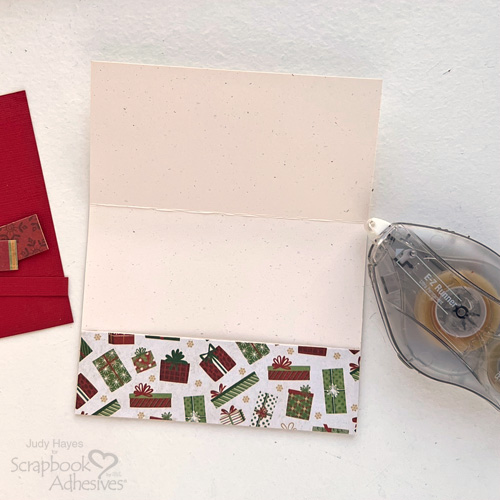
For the card base, cut a piece of 6 x 8-inch white cardstock and fold for a 4 x 6-inch card. Repeat to make a total of three cards.
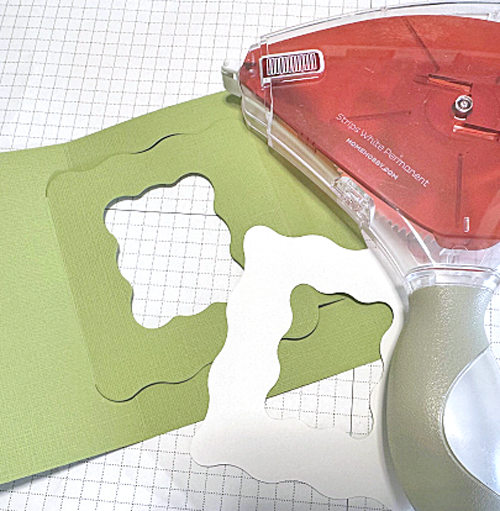
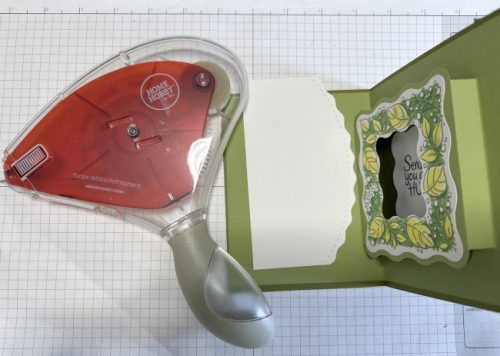
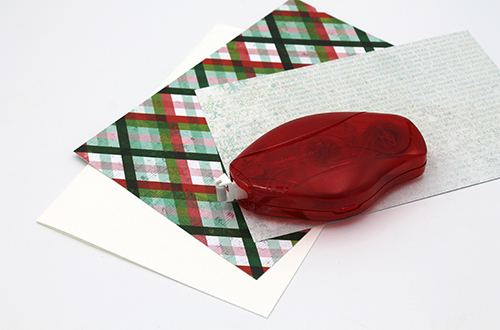
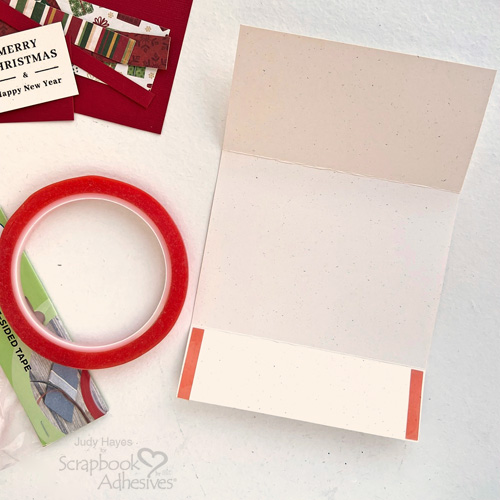
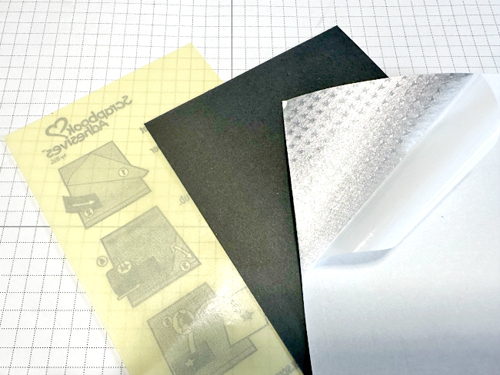
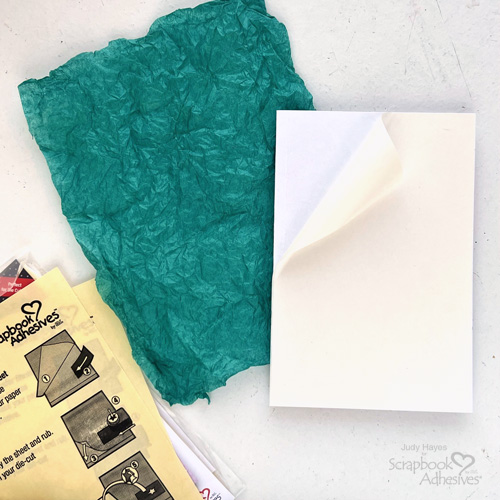
Peel liner strip from the edge of one Adhesive Sheets 4×6 inch. Align the edge along the fold of the card and press in place. Curl back the Adhesive Sheet, remove the remaining liner, and smooth in place across the card front. Repeat for each card.
If Adhesive Sheets 4×6 inch doesn’t entirely cover the card, trim the card edges. Cut a piece of tissue paper about 5 x 7 inches and crumple several times.
Slightly smooth out so it lays flat on the work surface yet still has wrinkles.
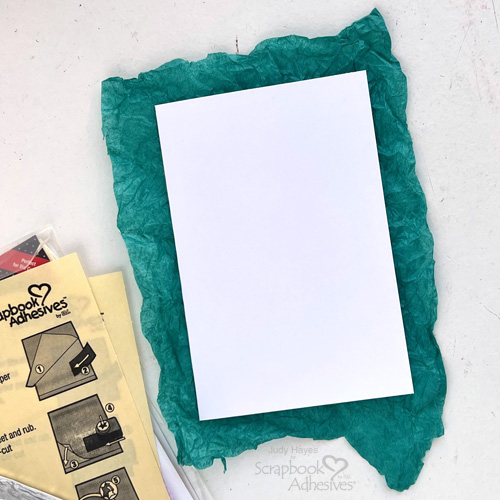
Place card front with adhesive face down on tissue and press. Turn the right side up and press the tissue paper firmly in place. Use scissors to cut away tissue paper at the card fold edge and a paper trimmer or scissors to trim tissue on other edges. (Designer Tip: I usually trim a small amount off all cut edges of the card.) Repeat for each card.
Assemble Snowmen Pieces
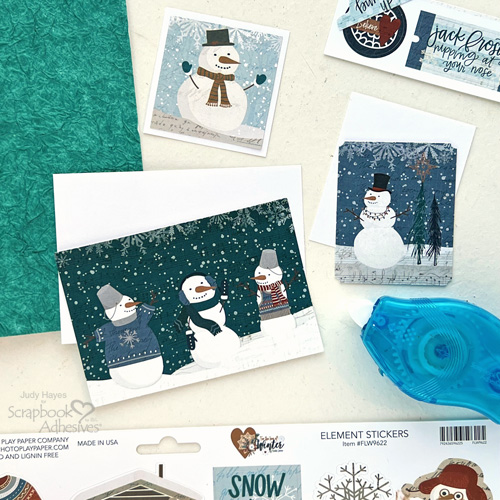
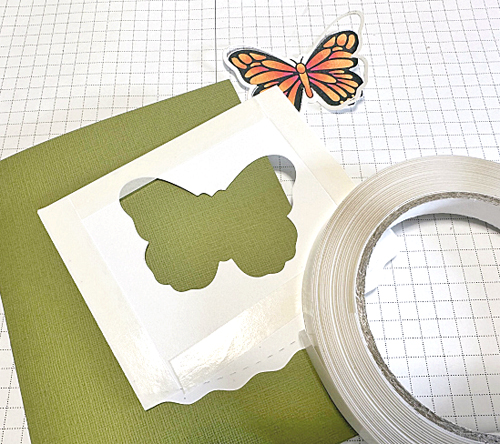
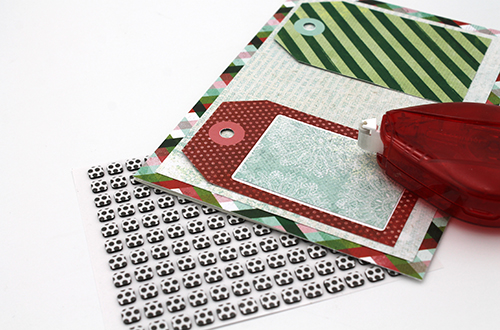
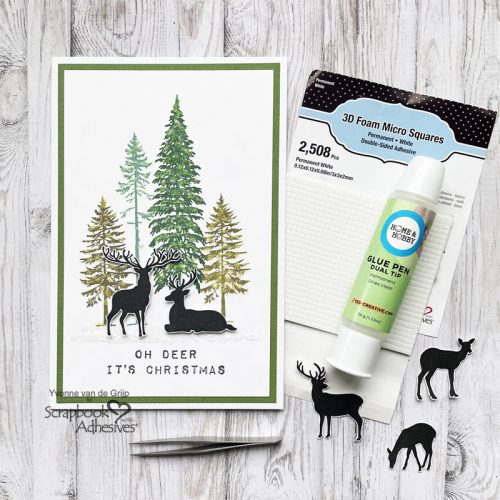
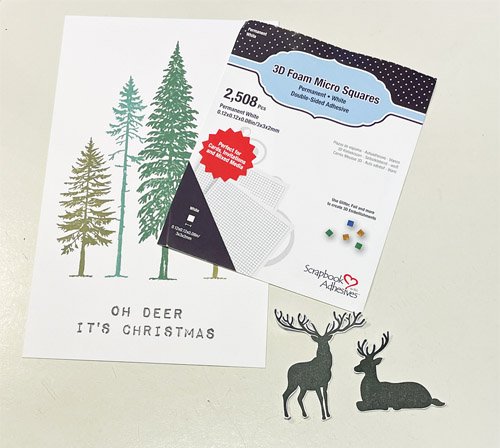
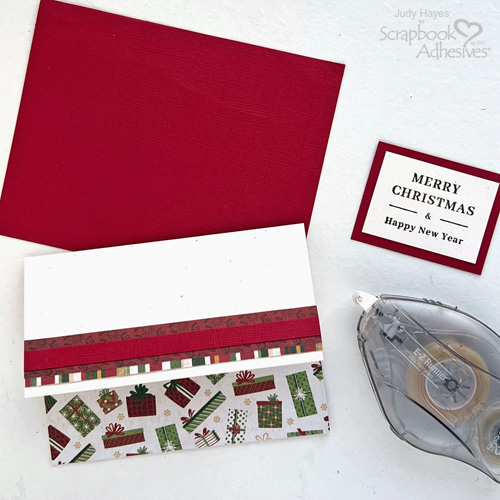
Cut a white cardstock mat for each snowman piece and adhere them together using E-Z Runner® Petite Permanent Dots Refillable Dispenser. Repeat for all the snowmen pieces.
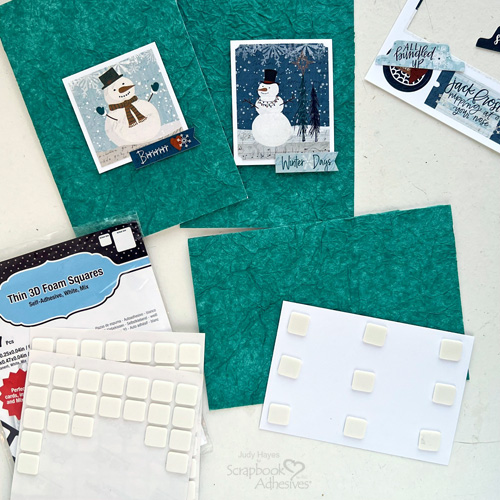
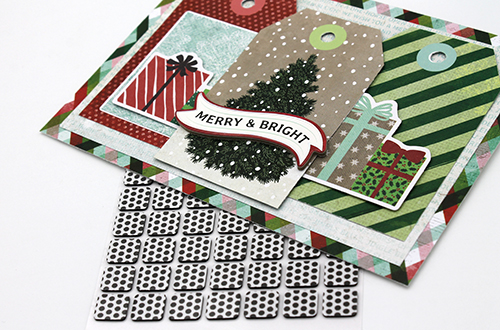
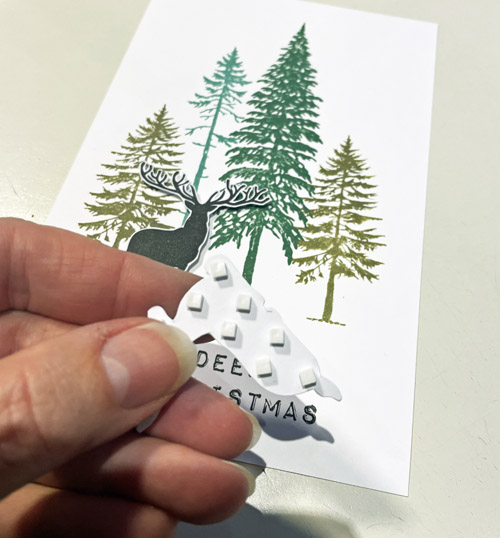
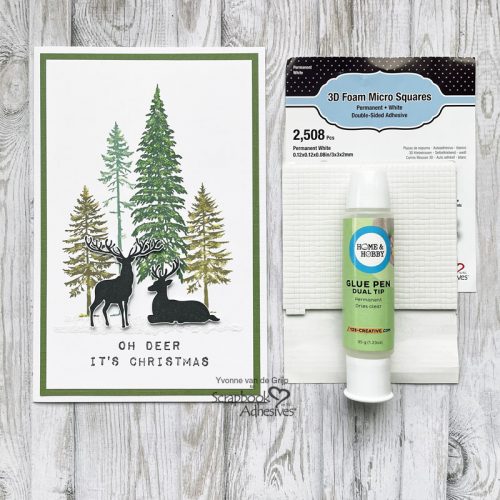
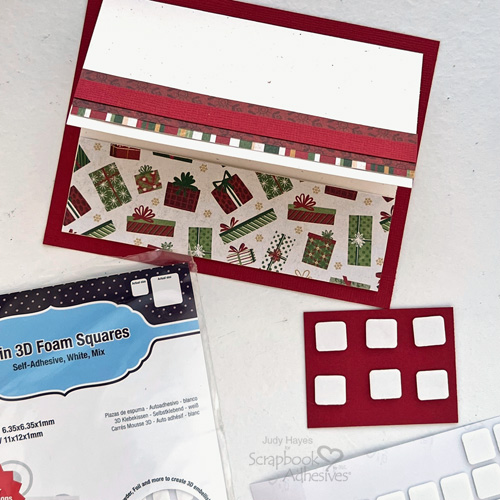
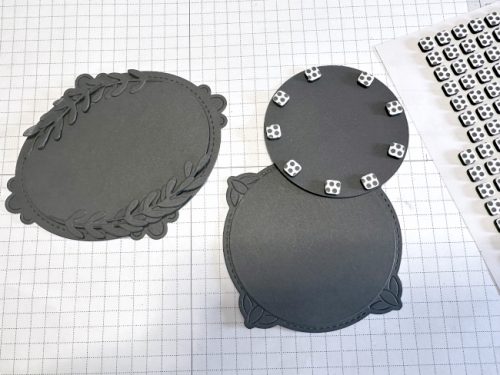
Apply Thin 3D Foam Squares White Mix to the back of each snowman piece and fasten one to each card front.
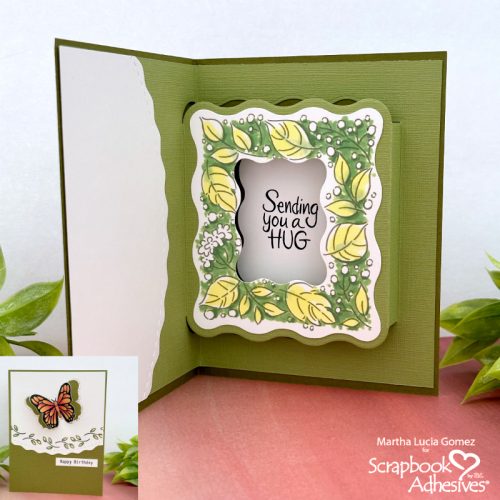
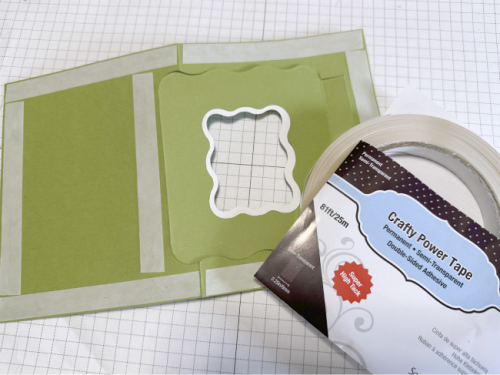
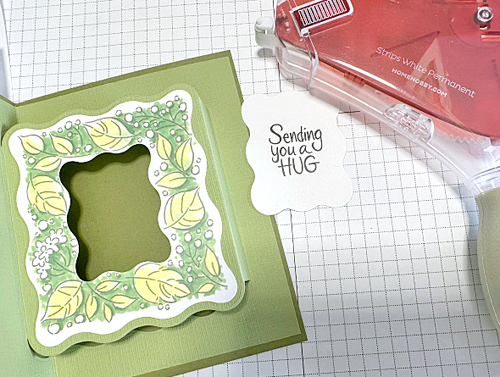
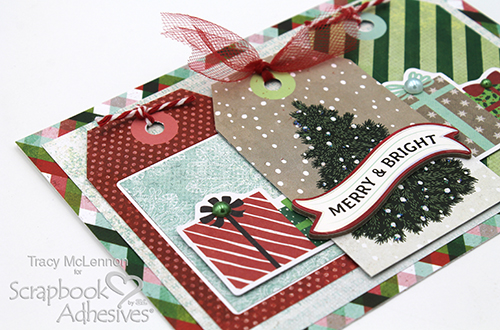
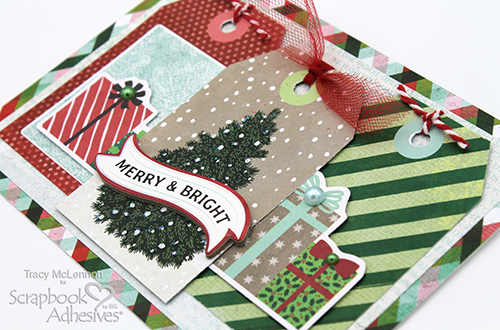
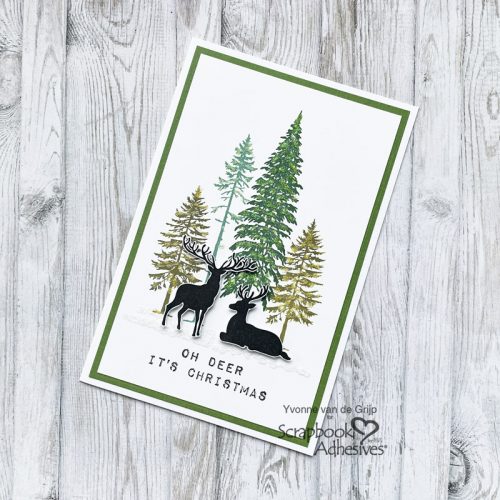
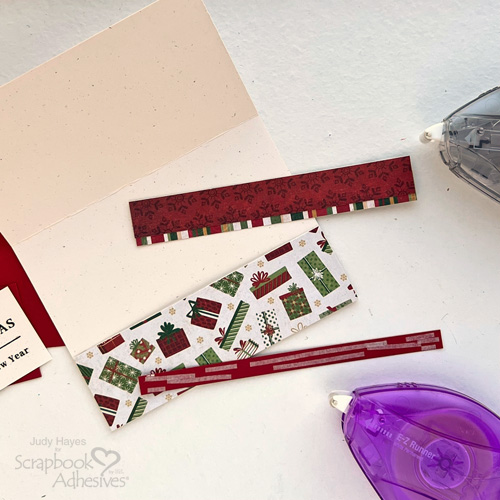
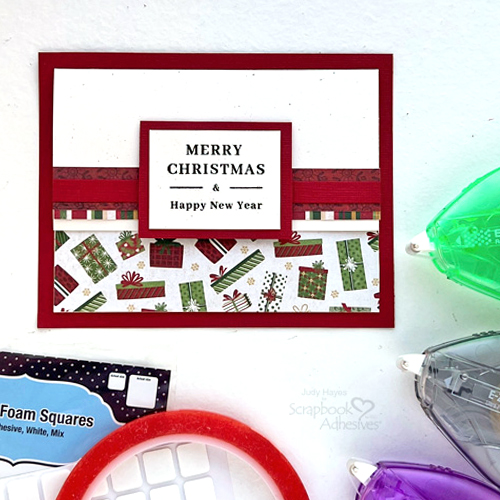
Attach the word sticker to the snowman piece as shown in the photo. If needed, use Thin 3D Foam Squares White Mix under edges that extend beyond snowmen prints. Use E-Z Runner® Petite Permanent Dots Refillable Dispenser to apply adhesive to the cardstock ephemera pieces and secure them in place.
Add Snowflakes
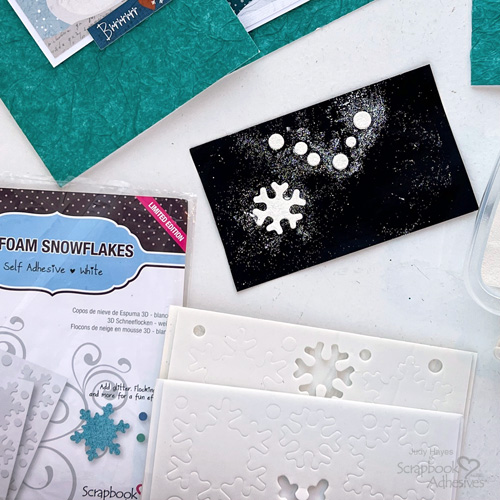
Peel small snowflakes and dots from the 3D Foam Snowflakes sheet and place them on a non-stick craft sheet. Peel away liners, cover snowflake with white embossing powder, remove excess and heat emboss with a heat tool. Repeat for all snowflakes and dots.
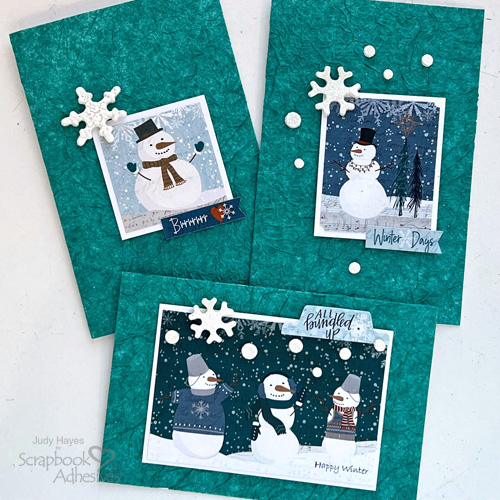
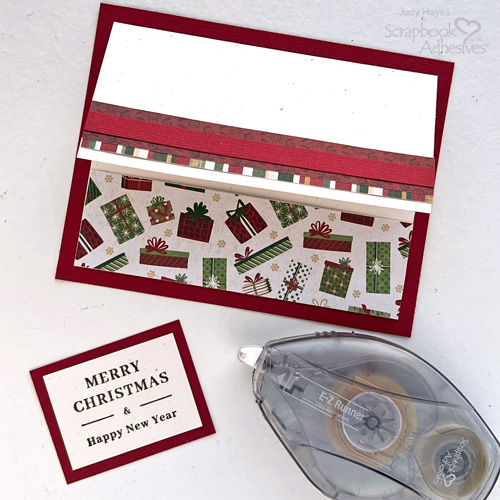
Peel a snowflake and dots from the non-stick craft sheet and fasten them to each card. If needed, use Thin 3D Foam Squares White Mix under snowflakes.
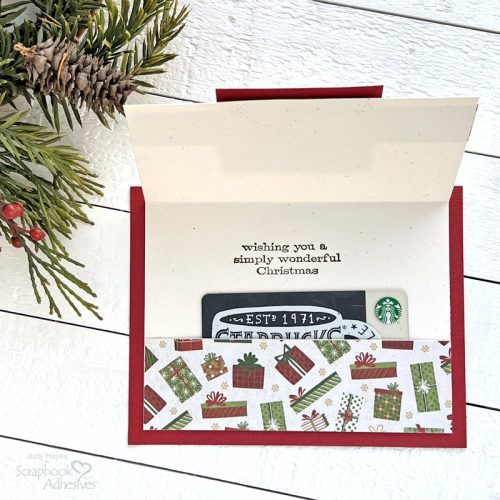
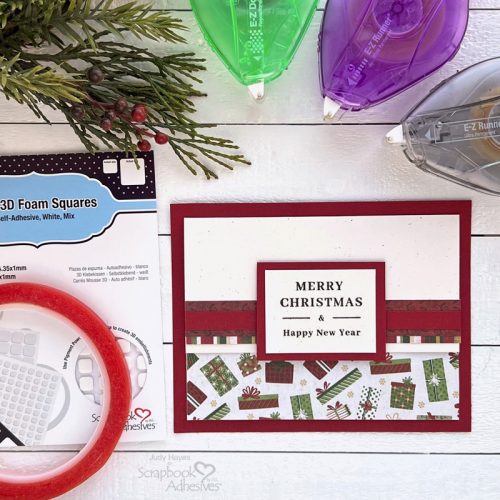
Enjoy!
Thanks for Visiting!
Judy Hayes
Creative Time: 30 mins
Skill Level: Beginner
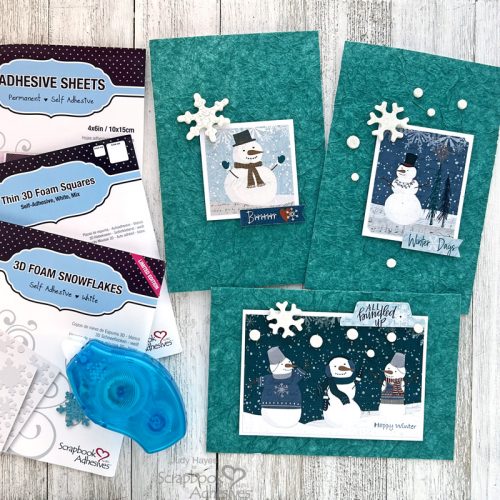
Materials Needed:
Scrapbook Adhesives by 3L®
E-Z Runner® Petite Permanent Dots Refillable Dispenser
Thin 3D Foam Squares White Mix
Other
Photo Play Paper (For the Love of Winter Collection Pack and Cardstock Ephemera pack), Teal Tissue Paper, White Cardstock
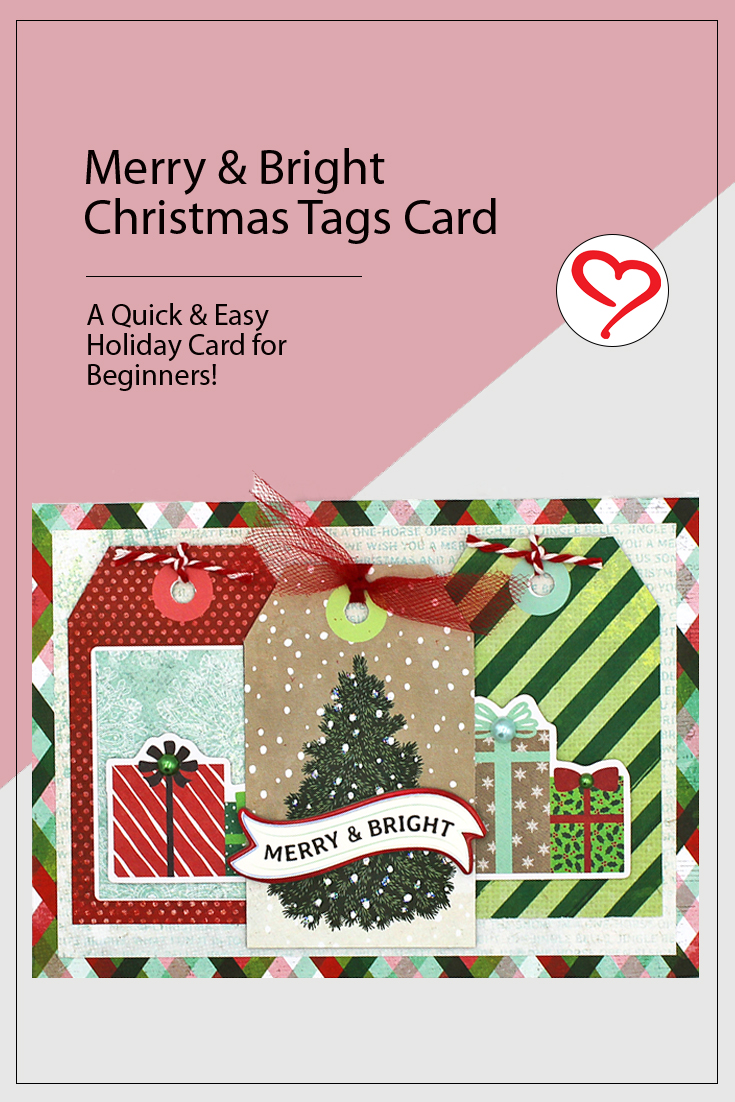
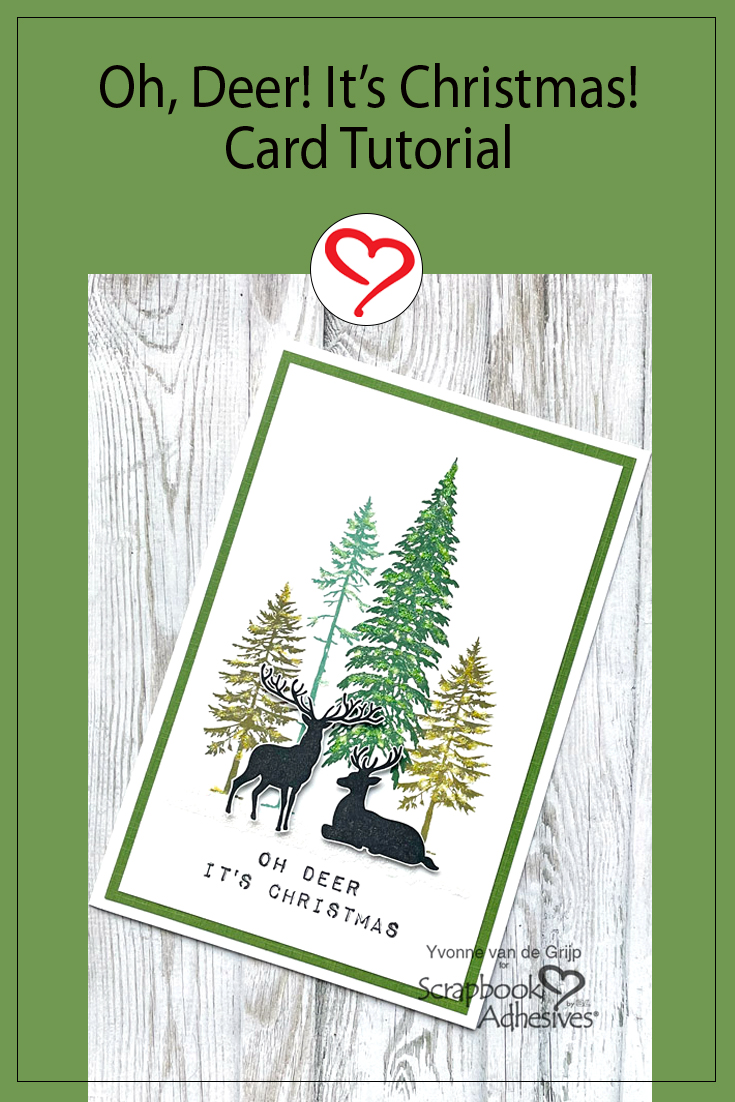
Save to Pinterest!
Visit our Website and Blog!
Sign up for our Newsletter so you never miss a contest or giveaway!