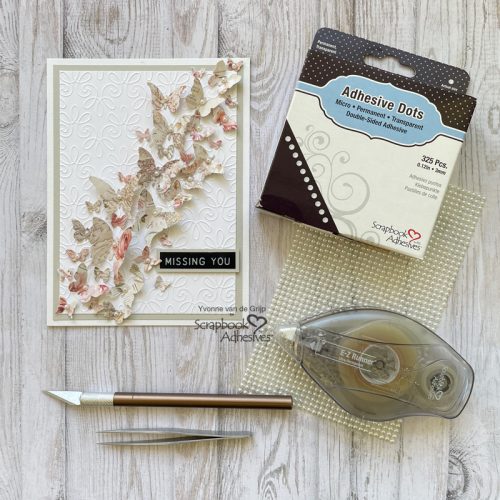
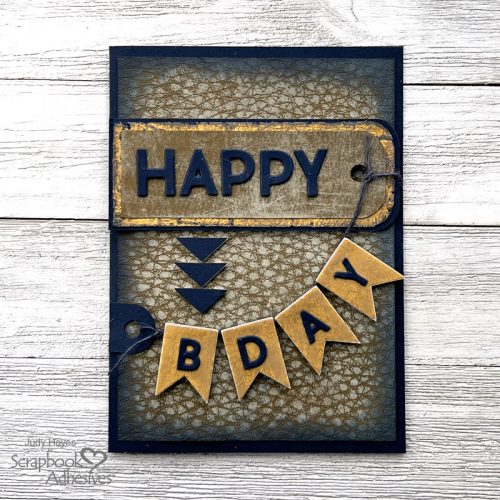
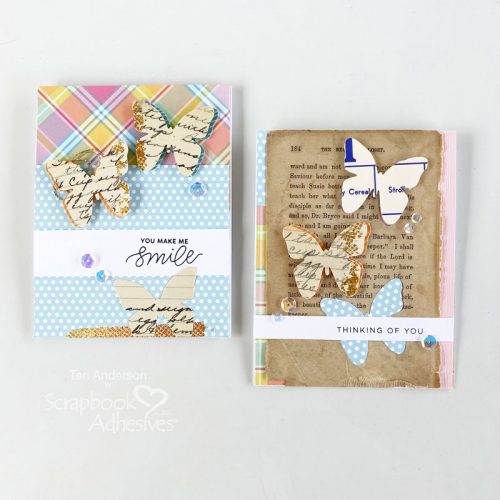
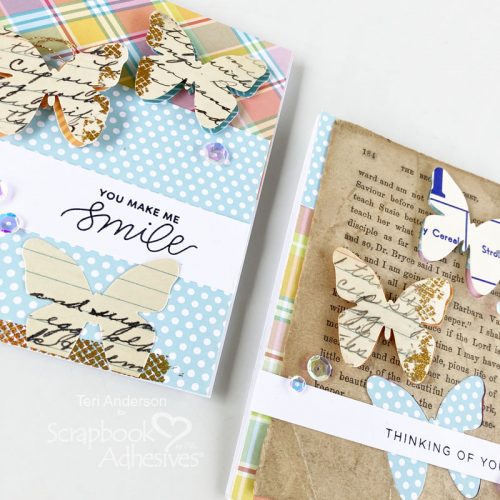
Hi, everyone! Got some old recipe cards you aren’t using? How about a few pages from an old book? Teri here to show you how to use paper ephemera to make some fun, vintage-inspired butterfly cards!
Die-Cut & Embellish for the Butterfly Cards
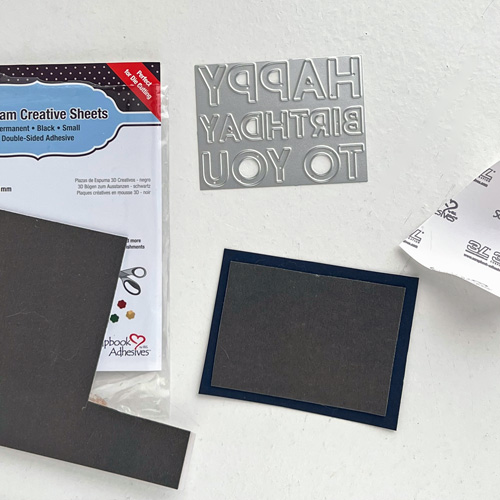
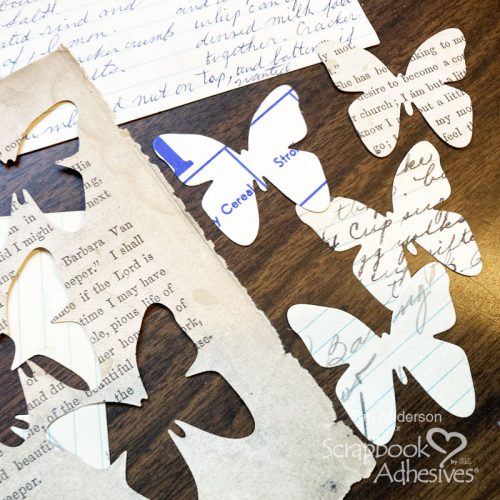
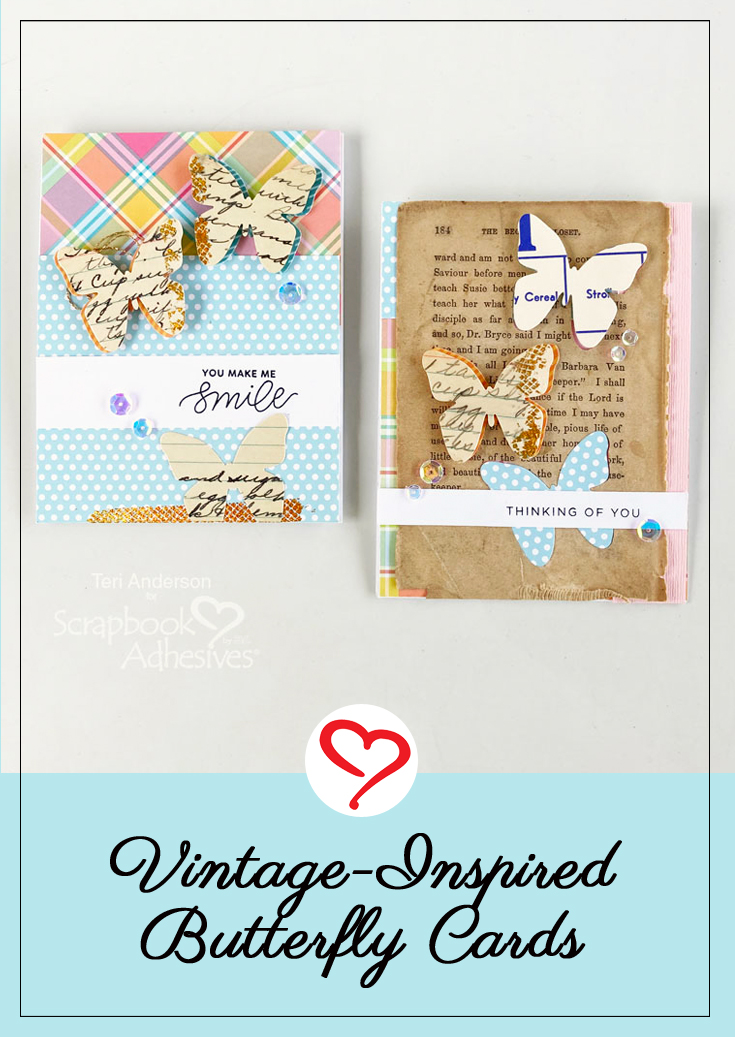
Start by die-cutting several butterflies from old recipe cards and bingo cards, as well as old book pages. Old papers can be fragile. I find cutting them with actual dies and manual die-cutting machines works best for this technique rather than doing it digitally or with a paper punch.
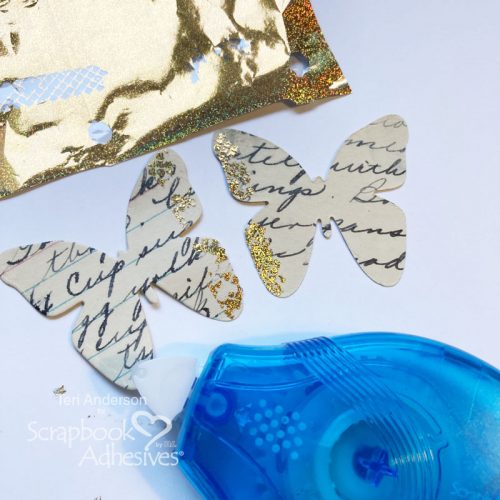
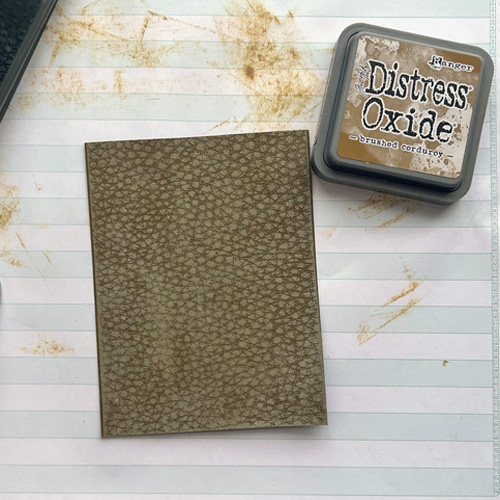
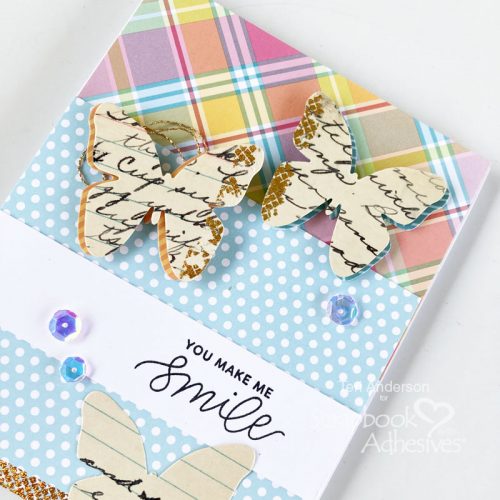
Take a couple of butterflies and apply E-Z Runner® Petite Permanent Dots Refillable Dispenser along some of the edges. For a more distressed look, use your fingers to randomly rub off some of the adhesives. Next, place the fine glitter gold foil from the Metallic Transfer Foil Sheets Holographic Colors on top of the adhesive color side UP and gently rub with your fingertip to transfer the color.
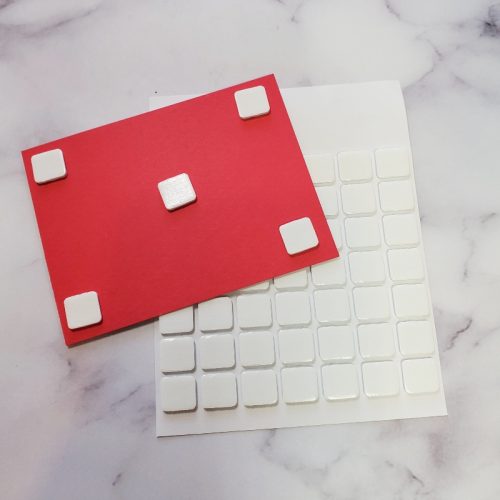
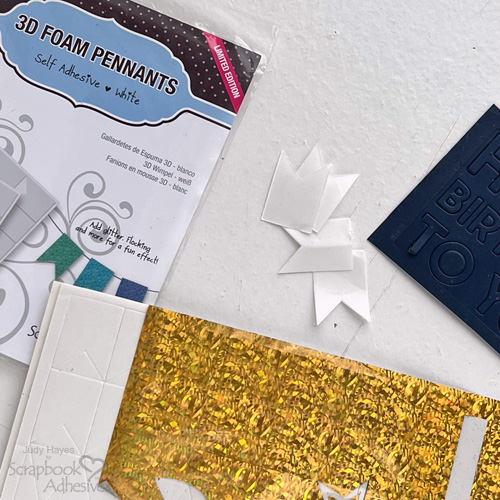
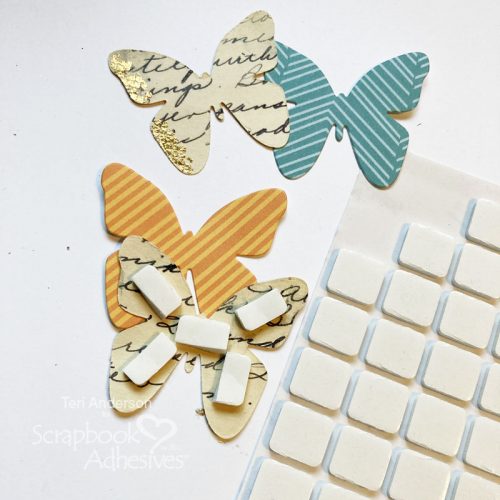
Cut a few more butterflies from patterned paper. Place 3D Foam Squares White Mix behind your paper ephemera butterflies. Don’t be afraid to cut the foam adhesive up to make it fit. BTW, we also have 3D Foam Squares Micro (1/8-inch squares) but I didn’t have any in my stash (note to self: need to order those – lol!). Layer the butterflies together.
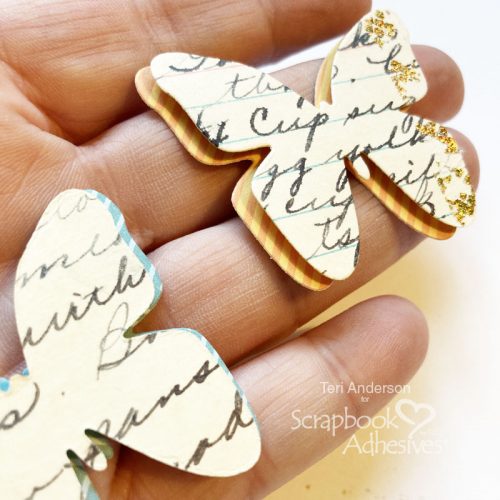
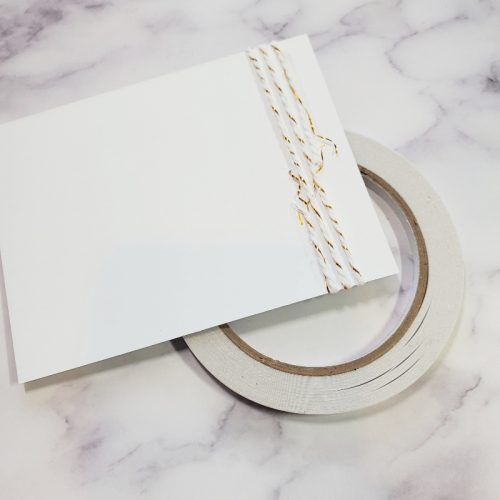
To give one of your butterflies interest, flip it over and apply some E-Z Runner® Permanent Strips Refillable Dispenser to it. Then randomly add gold string or thread on it.

Assembling your Butterfly Cards
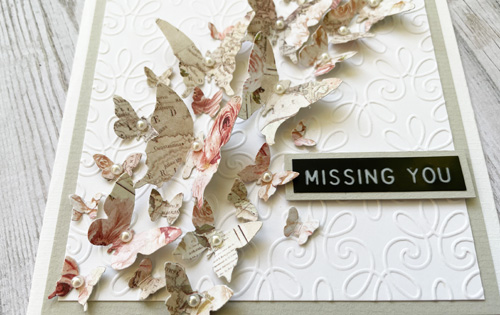
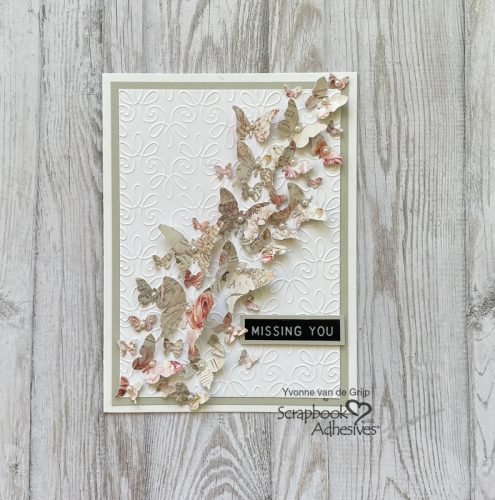
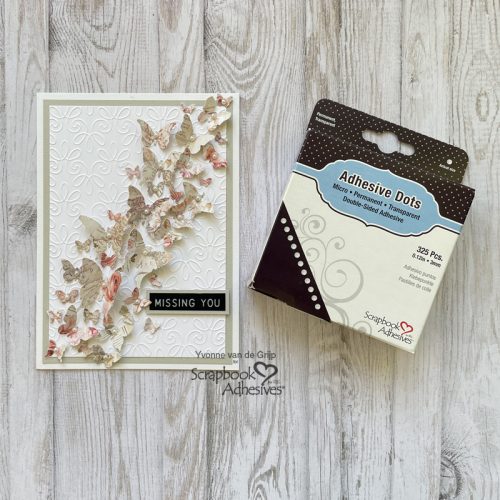
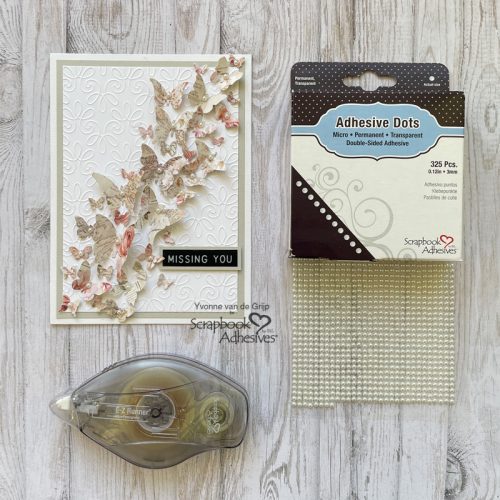
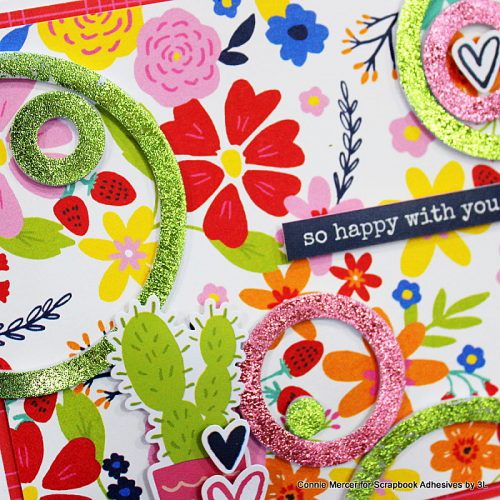
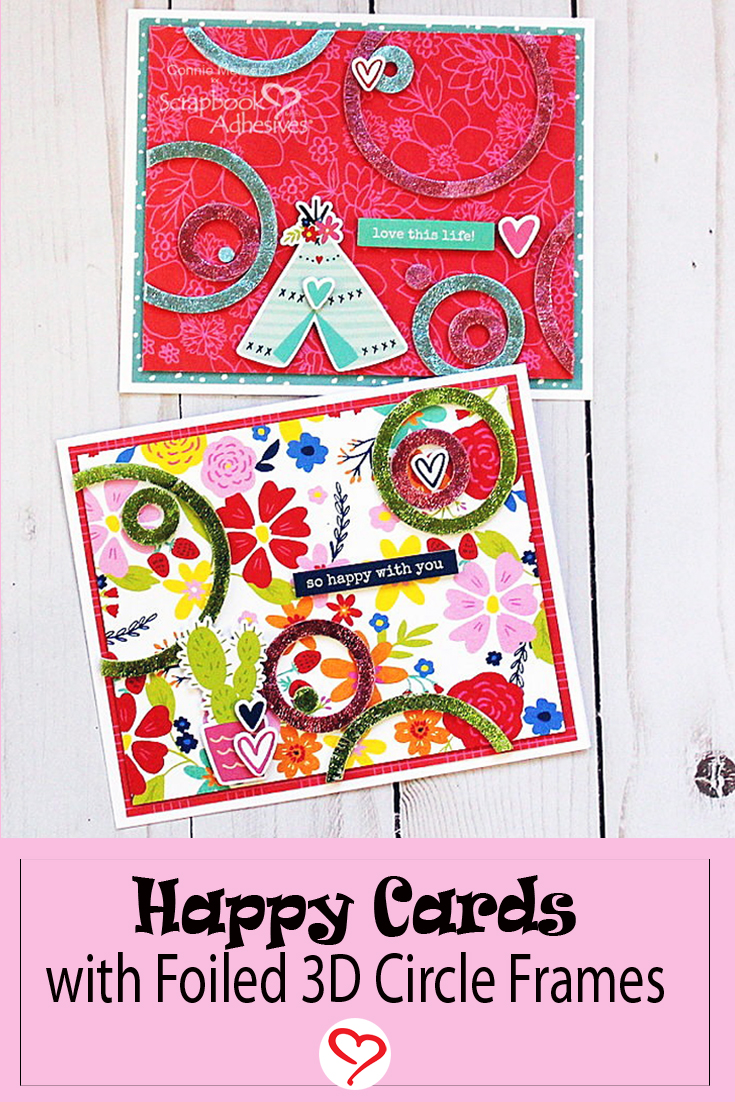
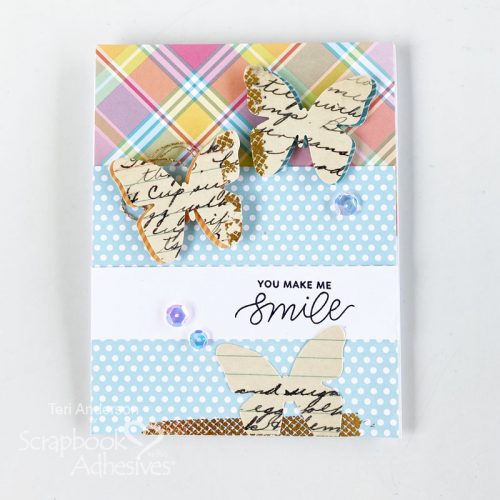
Make your card base and cover it with patterned paper. Adhere the butterflies to it. Add more butterflies you desire, as well as more foil. Stamp a sentiment on cardstock. Complete your card by securing the sentiment and a few sequins with Adhesive Dots Micro!
Use Leftovers as Backgrounds for Butterfly Cards
You can use the old papers you cut your butterflies out of on the cards too!
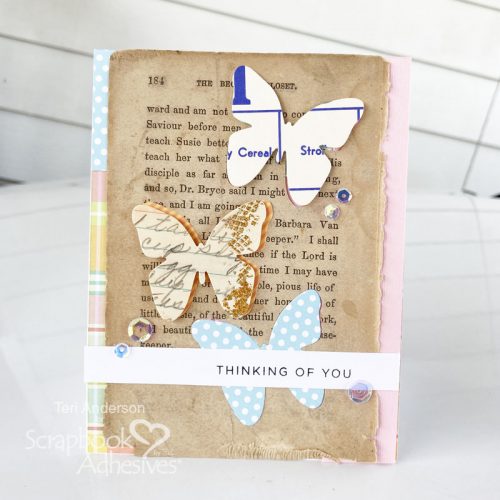
I covered a card with patterned paper and cardstock before adding the leftover book page. Due to the fragile nature of the book page, I applied E-Z Runner® Permanent Strips Refillable Dispenser onto my card base and then added the book page to it. Normally, I put adhesive on paper and then place it onto the card.
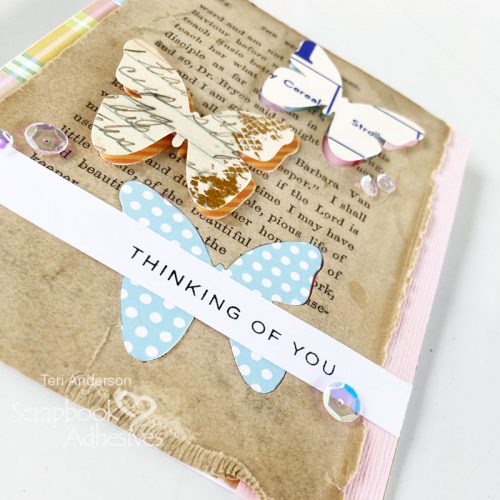
I added butterflies to each of the book page’s openings!
Ready to make a card or two with some old paper ephemera? I’d love to see it! Leave a link for me in the comments section so I can check out your work!
Happy creating,
Teri Anderson
Creative Time: 60 Minutes
Skill Level: Intermediate
Materials Needed:
Scrapbook Adhesives by 3L®
- 3D Foam Squares White Mix
- Metallic Transfer Foil Sheets Holographic Colors
- Adhesive Dots Micro
- E-Z Runner® Petite Permanent Dots Refillable Dispenser
- E-Z Runner® Permanent Strips Refillable Dispenser
Other
White Cardstock: Neenah Paper; Pink Cardstock: Bazzill Basics; Patterned Papers: Lawn Fawn (In the Woods Remix and Perfectly Plaid Remix Collections): Stamps: Pretty Pink Posh (Encouraging Greetings), Simon Says Stamp! (Cathy Zielske); Ink Pad: Ranger Ink; Sequins: Pretty Pink Posh; Gold Thread: Kreinik
Save to Pinterest!
Visit our Website and Blog!
Sign up for our Newsletter so you never miss a contest or giveaway!