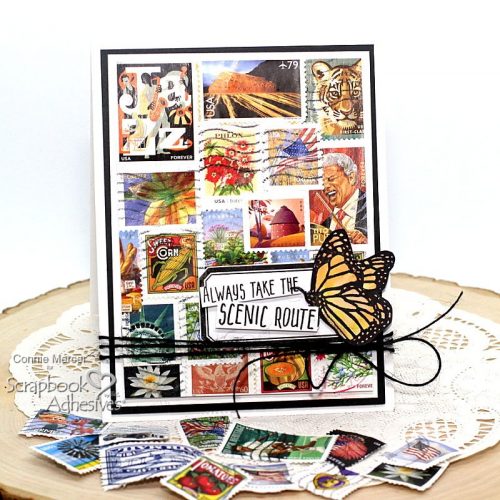
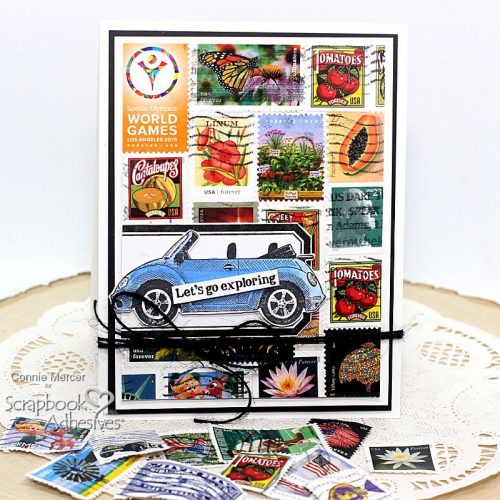
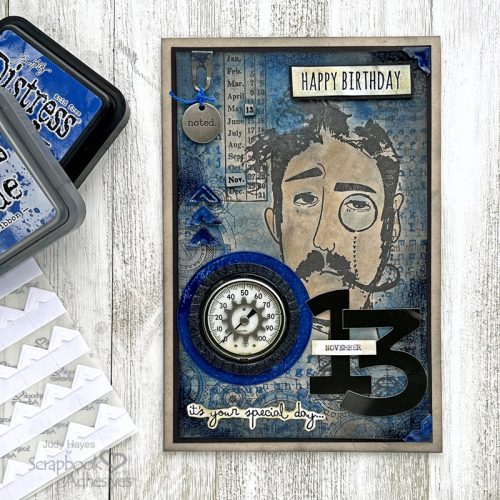
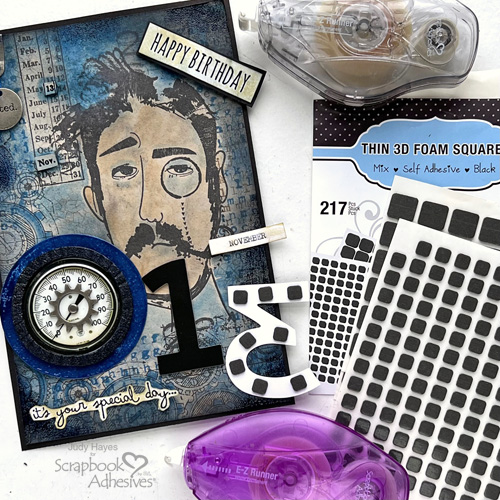
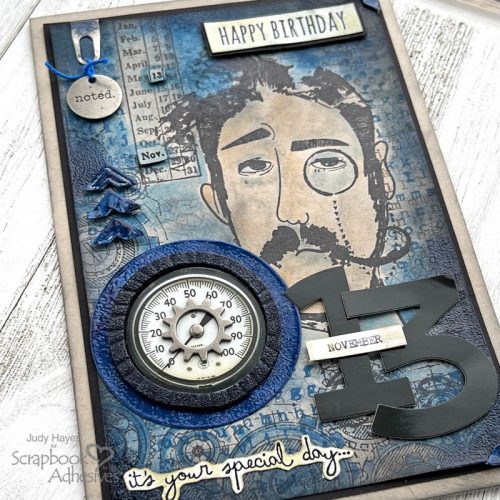
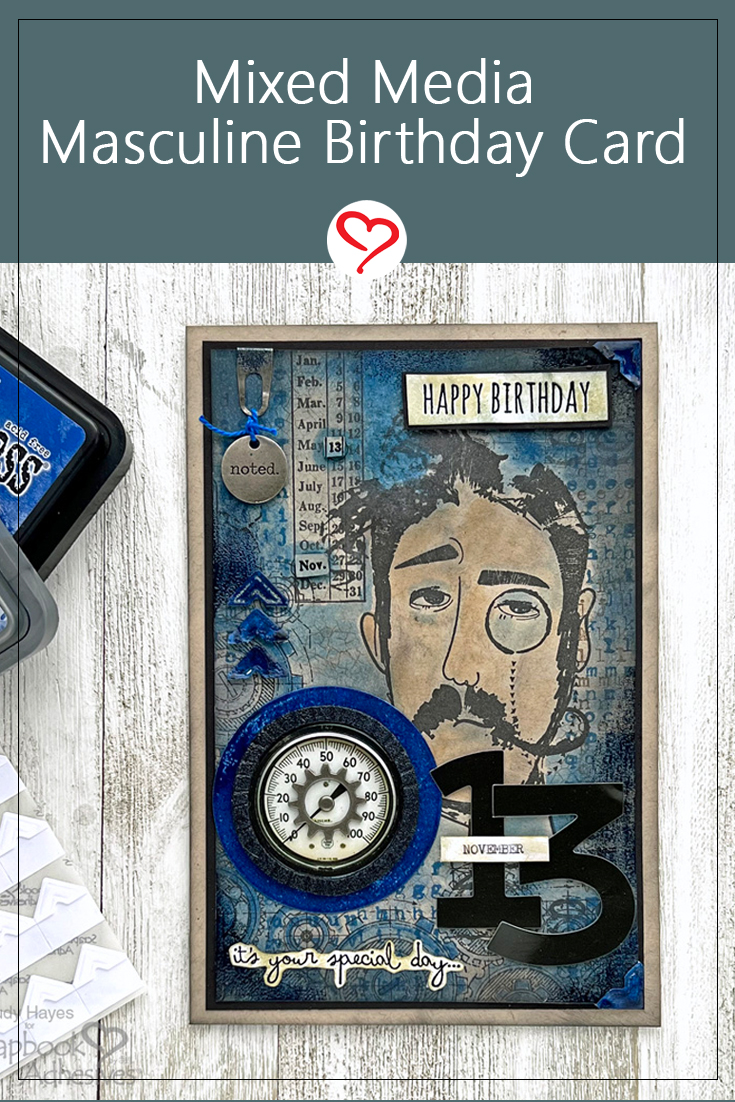
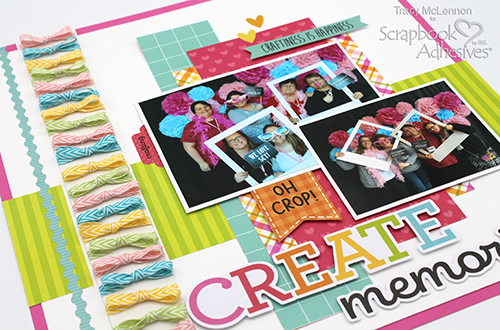
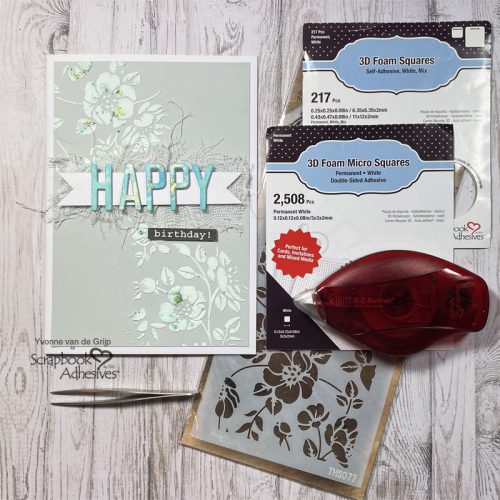
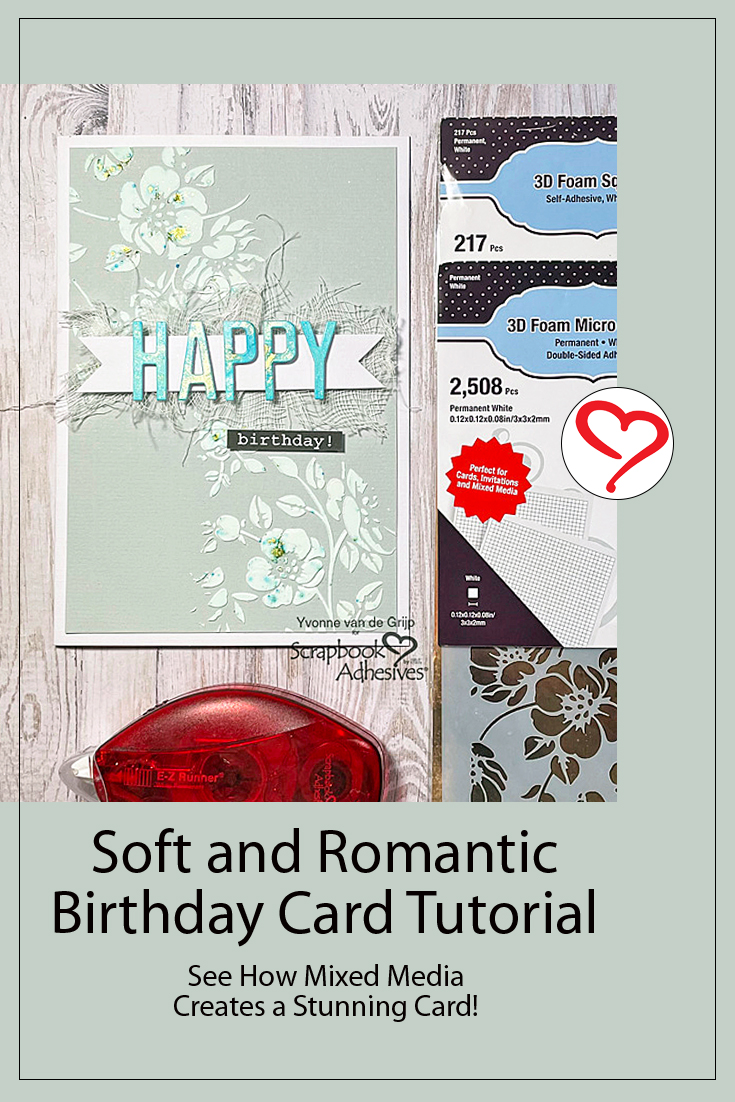
Hello friends! It’s Judy with you today to share a mixed media masculine birthday card. I thought it appropriate to make this card for today’s post as it’s my son’s birthday. I chose blue as it’s his favorite color and started with the round gauge and number 13 leftover from Halloween ephemera and went from there. Sometimes I find it’s best to just let the creative process go its way!
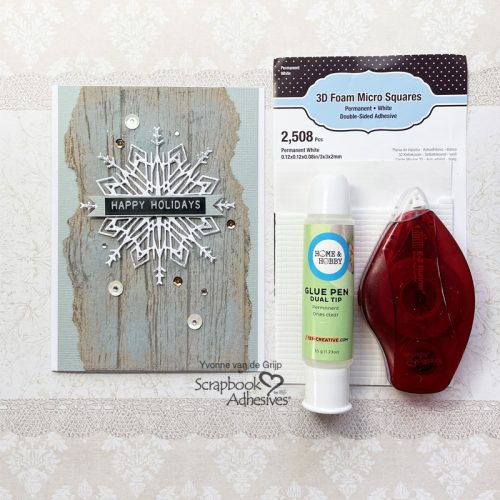
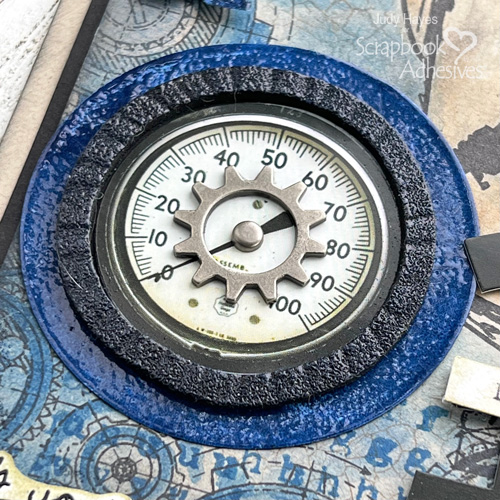
For this card, I started with the gauge, a leftover from Halloween ephemera, perfect for my card. I fastened the gauge to a piece of black cardstock using E-Z Runner® Ultra Strong Refillable Dispenser. Then I placed a circle from 3D Foam Circle Frames Black around it. After peeling the liner from it, I applied Distress Glaze Prize Ribbon over it.
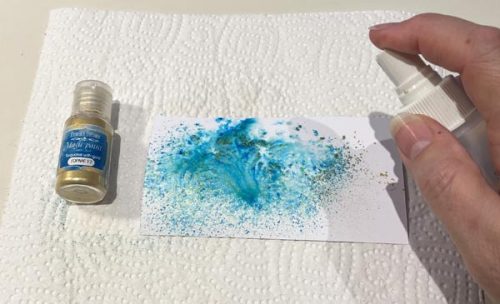
The color of it doesn’t really show but it gives a glossy coating. While the glaze and foam were hot, I pressed my needle tool into the foam creating ridges around the edge.
To make the blue border around the gauge, I die cut a circle of white cardstock, inked it with Distress Prize Ribbon Oxide Ink, heat embossed Prize Ribbon Glaze over it and fastened it to back of gauge with Ultra Strong adhesive.
Creating the Background
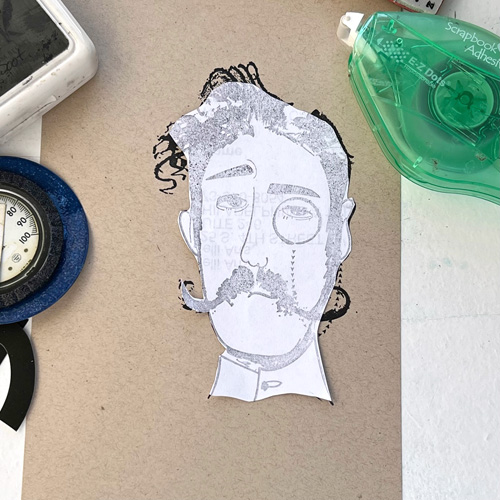
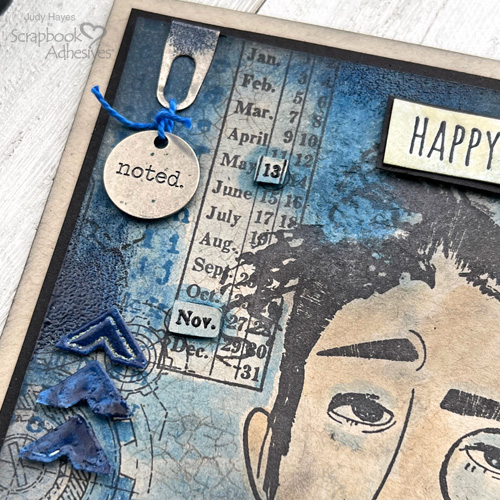
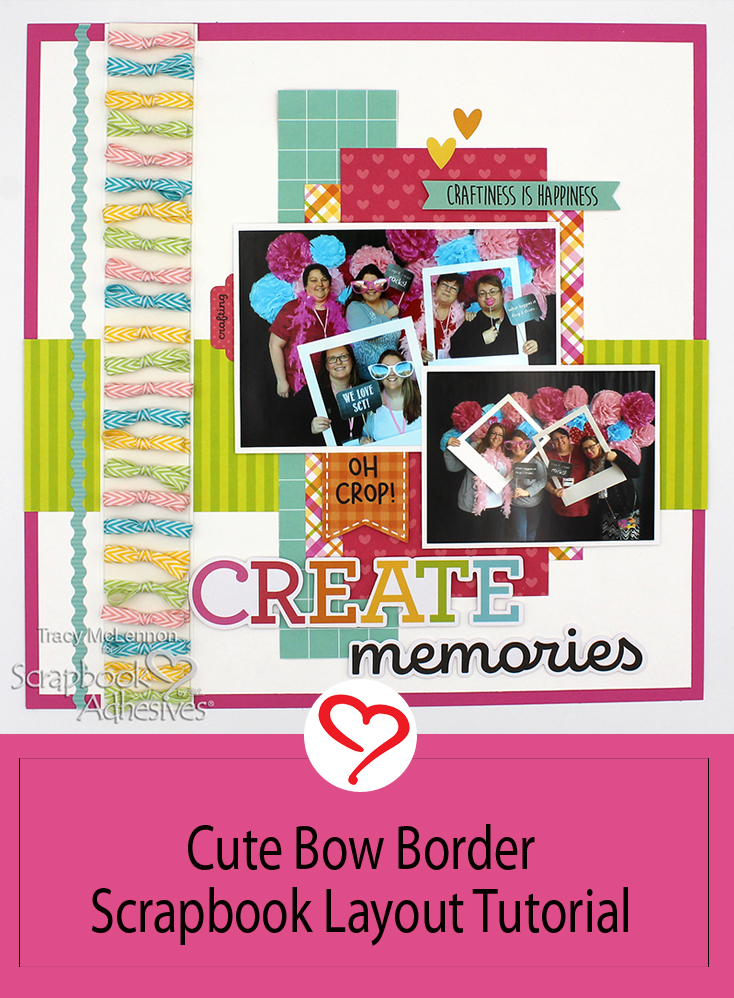
For the background, I stamped the face image first with black ink. I stamped it again on scrap paper and cut out a mask. I used E-Z Dots® Repositionable Refillable Dispenser to apply adhesive to the back of the mask to hold it in place as I stamped the background layers.
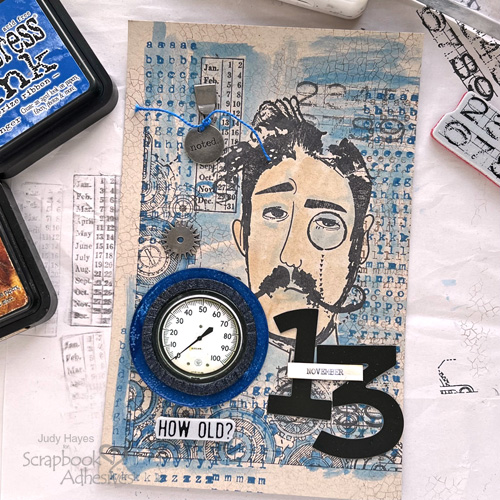
This photo shows my process of deciding on elements and placement and also shows the background stamped with many different stamps, most with black ink, a few with blue, and crackle in brown. Not all the elements shown made it to the final card.
Assembling the Card
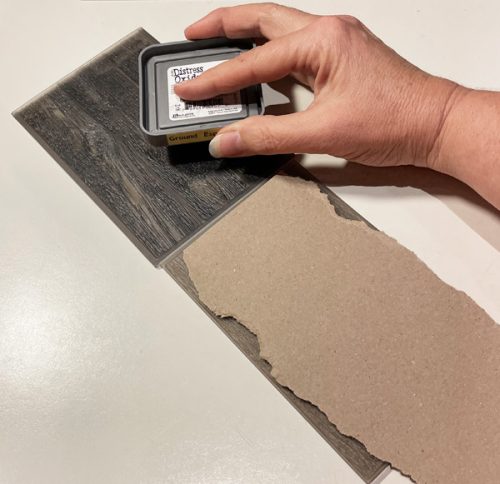
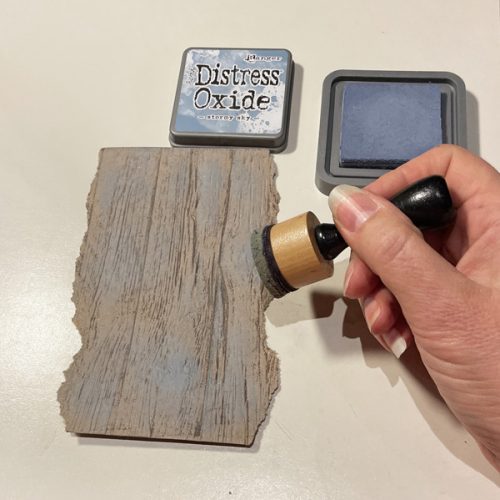
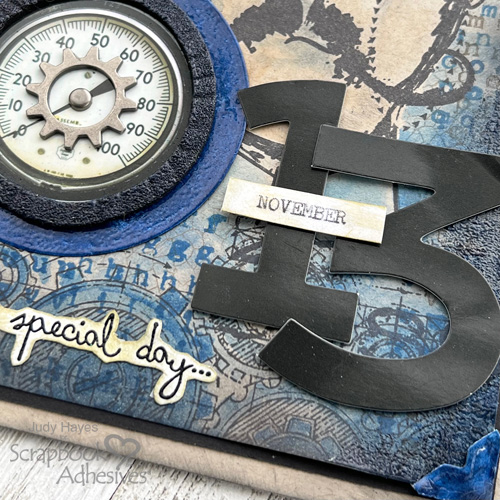
Distress all the pieces and I’ve also added a gear and a brad to the gauge. Using the E-Z Runner® Ultra Strong Refillable Dispenser, apply bits of adhesive to the gear before placing it in the center of the gauge. Then use the same adhesive to fasten the gauge to the background.
To lift up and add dimension to Number 13, adhere it in place with Thin 3D Foam Squares Black Mix. The word “November” is layered over it with Thin 3D Foam Squares. Near the top of the card, small “Nov” and “13” are also popped up with Thin 3D Foam Squares Black Mix cut to fit each piece. Another Thin 3D Foam Square holds the token in place at the top corner.
The verse “it’s your special day” was stamped with black ink on white cardstock, heat embossed with glaze, fussy cut, and aged with Distress inks Antique Linen and Vintage Photo. It’s held in place with adhesive applied with E-Z Runner® Micro Refillable Dispenser
The Finishing Details
Before adding Creative Photo Corners White to the top and bottom right corners, I first inked them with Distress Oxide Prize Ribbon ink, added Prize Ribbon Glaze, and heat embossed it.
Then ink and glaze three more Creative Photo Corners White, cut off the tab of each one, and secure them along the left side of the card with Thin 3D Foam Squares Black Mix
I also added a touch of glaze along the edges of the background using Distress Embossing ink applied with Distress Dabber.
The verse “Happy Birthday” is stamped with Versafine Black Onyx ink, heat embossed with Prize Ribbon Glaze, and adhered to a black mat with Ultra Strong Adhesive. Add Thin 3D Foam Squares Black Mix on the back and place it to the card for dimension.
Thanks for Visiting!
Judy Hayes
Creative Time: 60 Minutes
Skill Level: Advanced
Materials Needed
Scrapbook Adhesives by 3L®
Other Inks: Tsukineko (Versafine Onyx Black Ink), Ranger Ink (Distress Ink in Black Soot, Ground Espresso, Vintage Photo, Antique Linen, and Prize Ribbon, Distress Oxide Ink in Prize Ribbon, and Embossing Dabber) Glaze: Ranger Ink (Prize Ribbon); Stamps: Tim Holtz Stamps by Stampers Anonymous (Observations, Documented, Faded Type, Crazy Talk, Craze and Planks); Embellishments: Idea-ology by Tim Holtz (Halloween Layers, Sprocket Gears, Typed Tokens, Index Clips, Brad); Black, White, and Desert Storm Cardstock; Blue Pearl Cotton
Save to Pinterest!
Visit our Website and Blog!
Sign up for our Newsletter so you never miss a contest or giveaway!