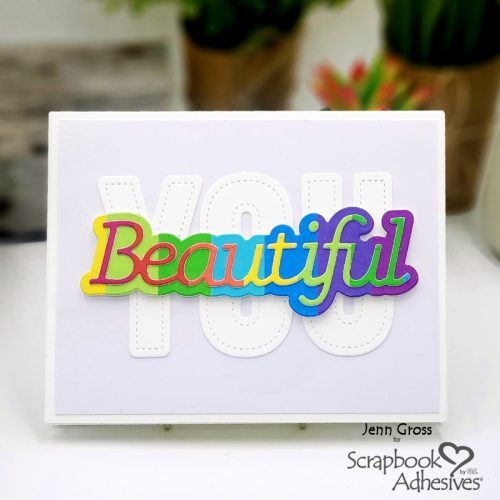
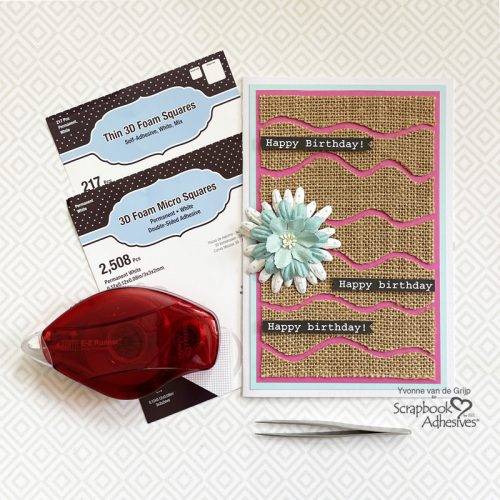
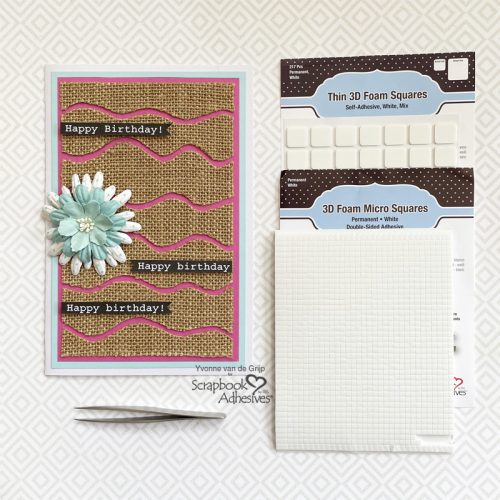
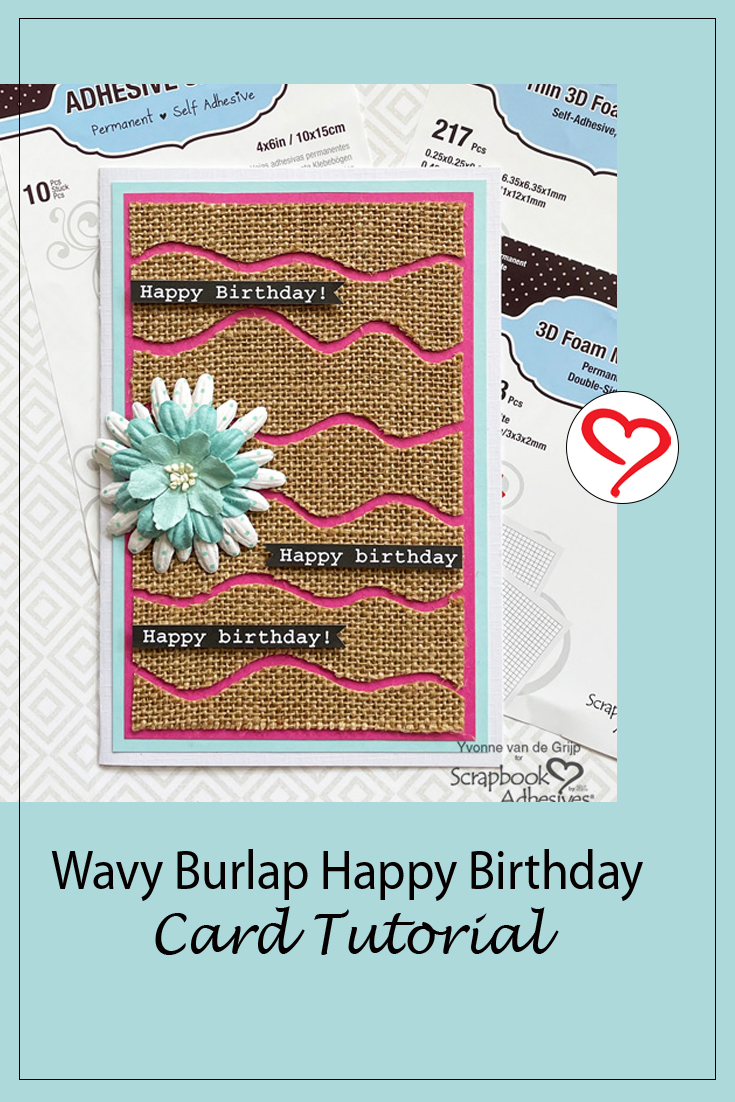
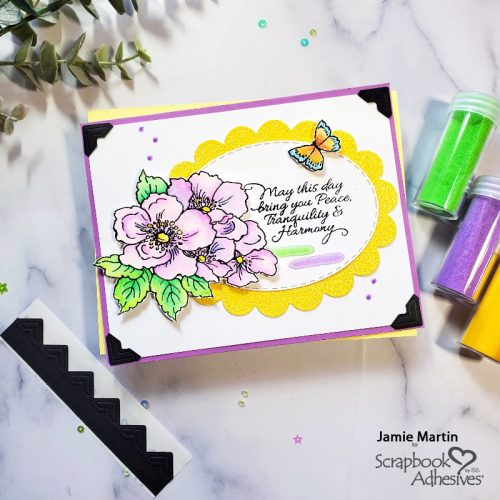
Do you have someone that needs a pick me up? This You’re the Bees Knee Pouch is the perfect solution! It’s cute and so fun to make. I shared this project at a trade show in January and I am excited to show you. There are step-outs and then there is a video tutorial from the show. Let’s get started!
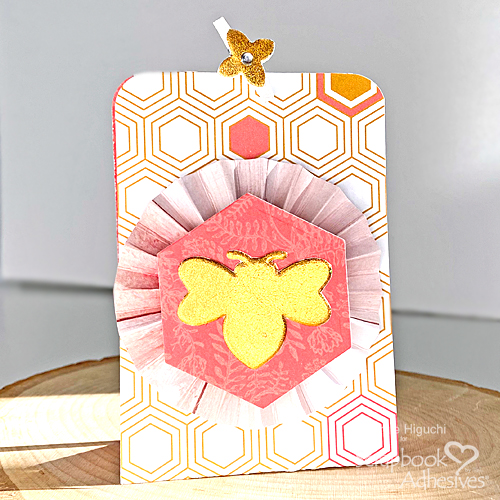
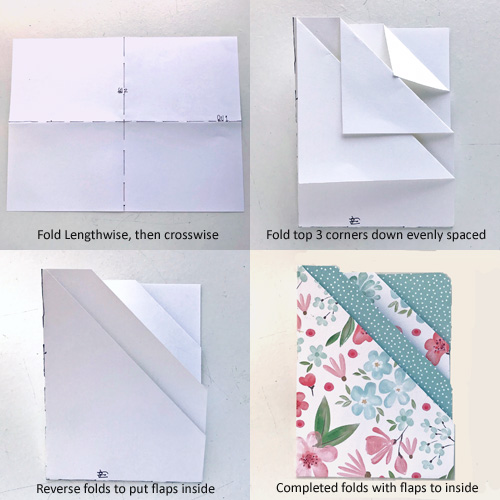
Bees Knee Pouch Base
- With a piece of 3 x 10-inch patterned paper, score on the long side (10-inch side) at 4.25, 5.00 and 5.75 inches.
- Round all four corners.
- Burnish the score lines. Mountain-fold the middle score line (5-inch). Then valley-fold the other two score lines to create a W-shape.
Make the Rosette
- On the long side of a 1.5 x 10.5-inch patterned paper, score at every 0.25-inch increments.
- Then start with a mountain-fold on one end and accordion-fold through the strip. Make sure the other end ends with a mountain-fold.
- Apply a strip of Premium Double-Sided Tape 1/8-inch on each side of the mountain of one end.
- Remove liners and adhere the ends together to create a pleated ring.
- Apply two to three Adhesive Dots 3D on a 1.5-inch circle and remove liners.
- Place the pleated ring over the circle, form a rosette and press down onto the Adhesive Dots.
Embellish the Rosette
- On a hexagon shape, center a 3D Foam bee. Remove the top liner and place a piece of Metallic Transfer Foil Sheet in Gold (color side UP). Rub gently to transfer the color.
- Place an Adhesive Dot 3D in the center of the rosette and adhere the embellished hexagon on top.
- Adhere the rosette in the center of the pouch with an Adhesive Dot 3D or an E-Z Runner Ultra.
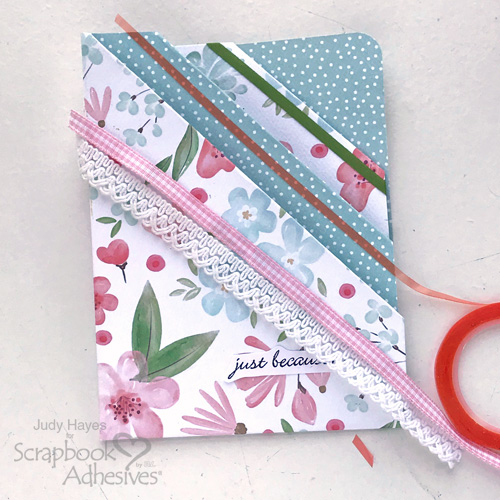
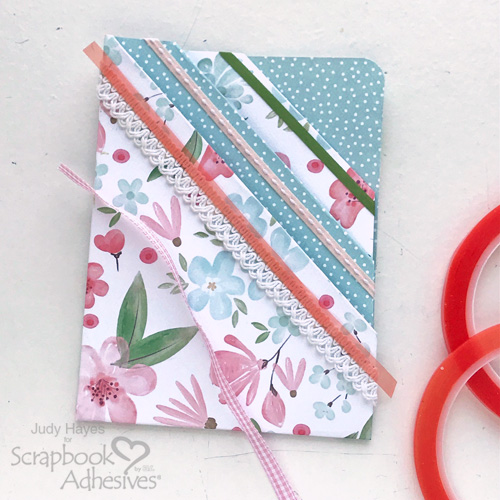
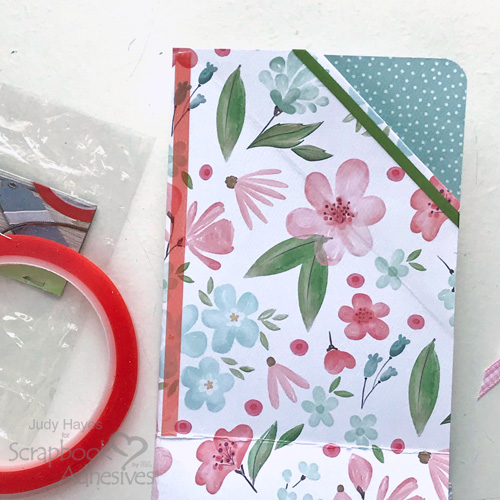
Adding Final Touches to Bees Knee Pouch
- Open the flap of the Keepsake Envelope and add item(s). Peel off the liner and seal the flap.
- Take off the back liner of the Keepsake Envelope and place it inside the pouch.
- Take off the top liner of a small 3D Foam flower and repeat the foiling step. Peel off and place on a mini clothespin. Add a rhinestone in the middle if desired. Then place the clothespin on top of the pouch to close.
You’re the Bees Knees Video Tutorial
Materials Needed:
Scrapbook Adhesives by 3L®
Adhesive Dots 3D
Metallic Transfer Foil Sheets Holographic
3D Foam Garden Shapes
Keepsake Envelopes
3D Foam Creative Sheets White Small
E-Z Runner® Ultra Refillable Dispenser
HomeHobby™ by 3L
Premium Double-Sided Tape 1/8in.
Other:
Patterned Papers: Photo Play Paper Co. (Honeycomb Patterned Paper from the Wild Honey Collection) and Pink Wood Panel Patterned Paper; Hot Foil System and Dies: Spellbinders® Paper Arts (Glimmer Hot Foil System, GLP-237 Just Bee-cause Glimmer Hot Foil Plates and Dies, DI-0290 Hexagon Die Set, and T-013 Tool ‘n One 16 pc DIY Kit); Punch: Dress My Craft (1.5-inch Circle Punch); Corner Rounder; Scoreboard; Clear Rhinestones; White Mini Clothespin
Save it to Pinterest!
Visit our Website and Blog!
Sign up for our Newsletter so you never miss a contest or giveaway!