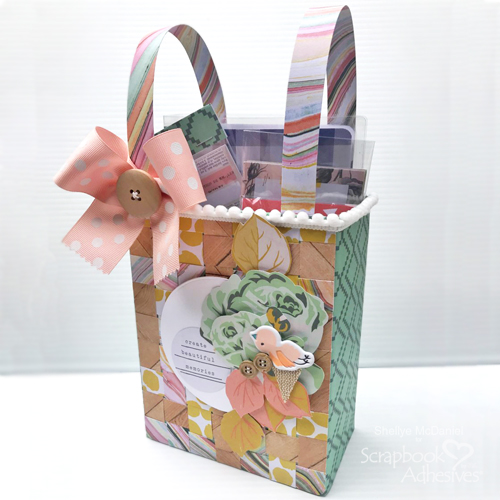
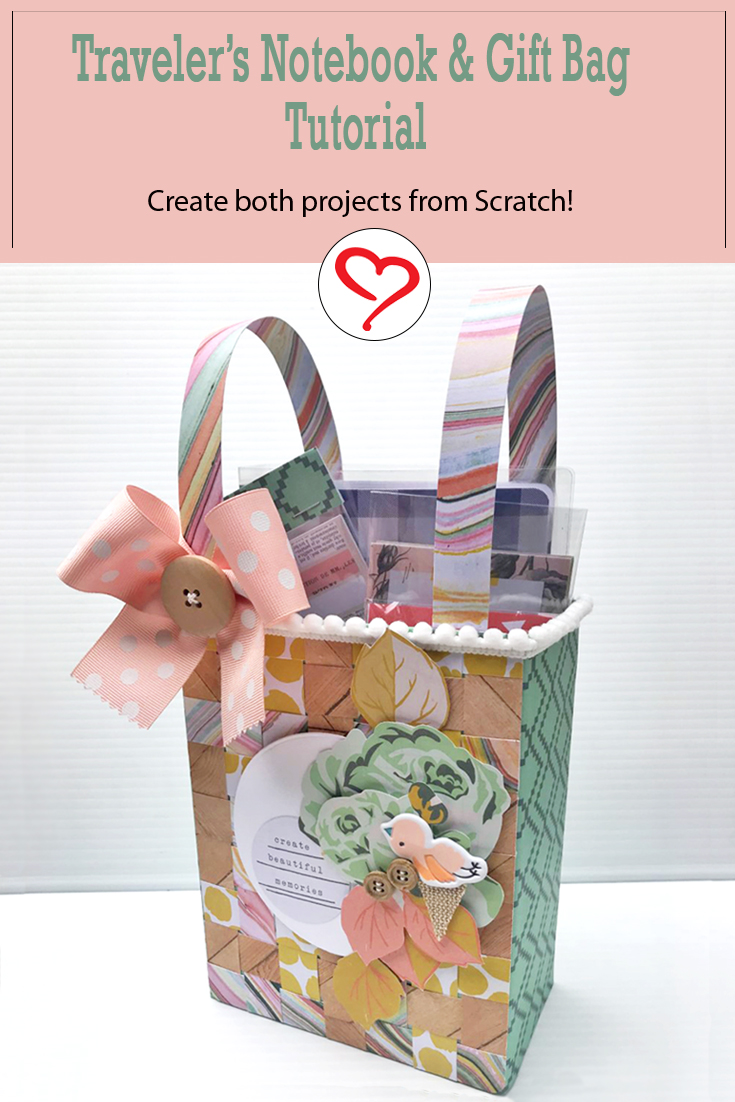
Hello, Shellye here with an anytime gift, would be perfect for an upcoming occasion like Mother’s Day or graduation. It’s a Traveler’s Notebook Gift Bag! The handmade notebook is tucked into a unique woven bag!
Traveler’s Notebook Gift Bag Instructions
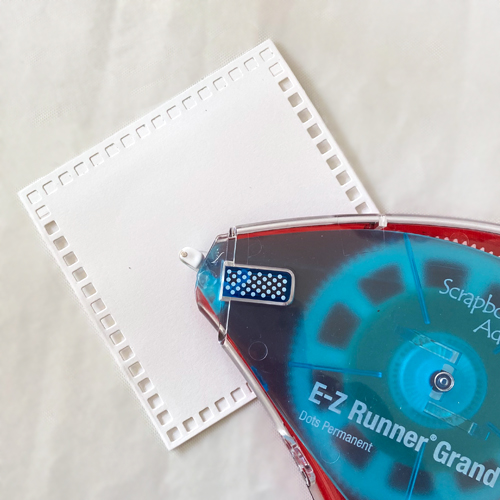
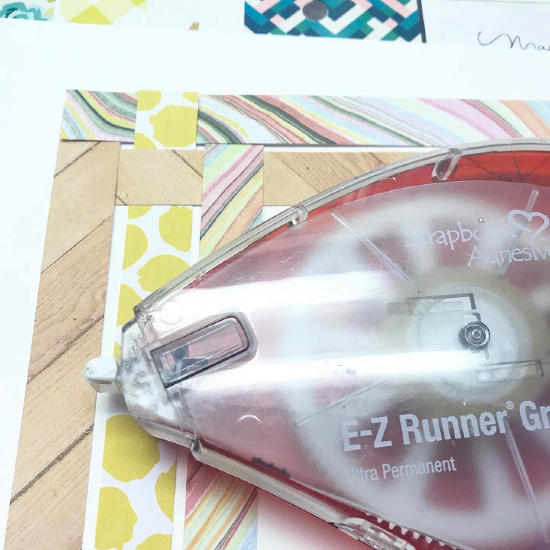
To begin, I started with the gift bag. The base of the bag is an empty sweetener box. I embellished it with a variety of patterned papers and secured with the E-Z Runner® Grand Refillable Dispenser and the E-Z Runner® Grand Ultra Strong Refill. It’s really easy to change the adhesive out.
See the quick How to Use and Refill E-Z Runner® Grand Dispensers video below.
Now that you have your adhesive set up, take the sweetener box apart to flatten. My box measures 5.5″ x 3″ x 7″. Just a side note, cut the patterned papers slightly larger than the box before attaching to all sides of the box.
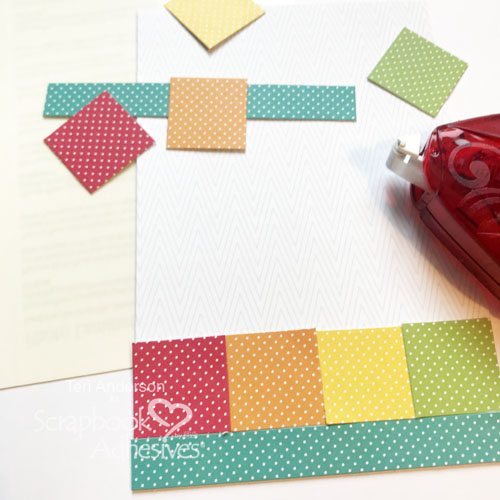
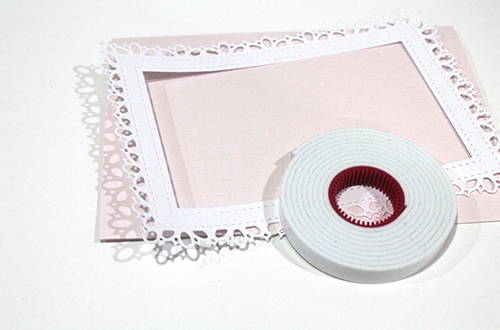
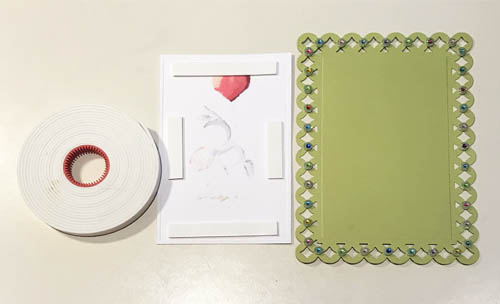
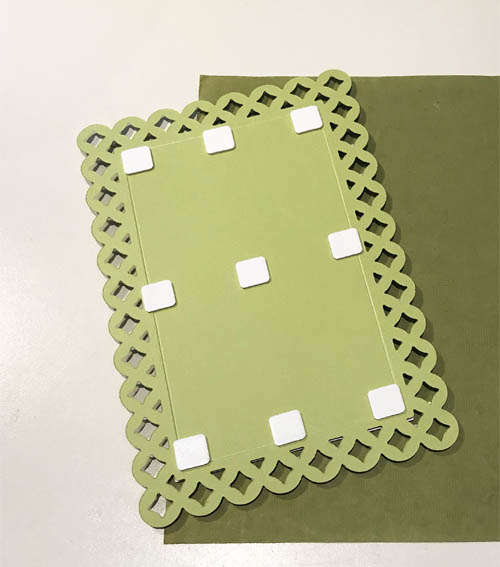
For the bag front, I created texture and interest with a paper weave background. I select three patterns of paper and cut them into 3/4″ strips. On a flat surface, weave the papers together and apply E-Z Runner® Grand Ultra Strong Refill to the ends. After I determined the size of the woven mat (to fit one side of the bag), I used the Premium Double-Sided Tape 1-inch to affix.
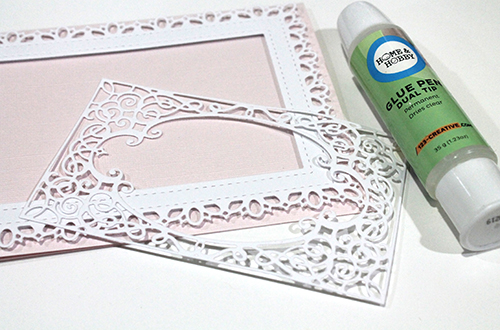
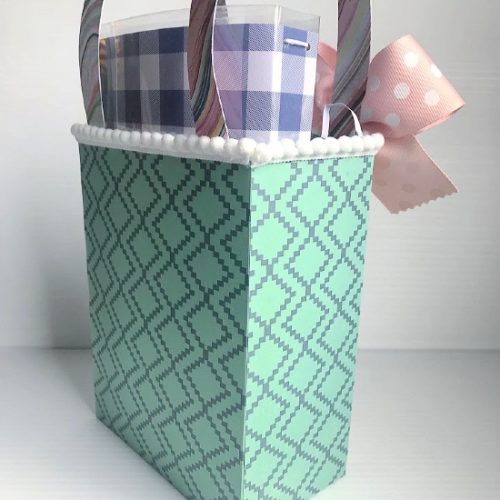
For the other sides of the bag, I used a corresponding patterned paper to cover using E-Z Runner® Grand Ultra Strong Refill.
Gift Bag Details
For the handles, I folded a 12″ x 1.5″ strip of paper in half so the width is 3/4″ and held the fold with Premium Double-Sided Tape 1/2in. The handle strips were attached to the inside of the bag’s opening with Extreme Double-Sided Tape 1/2in.
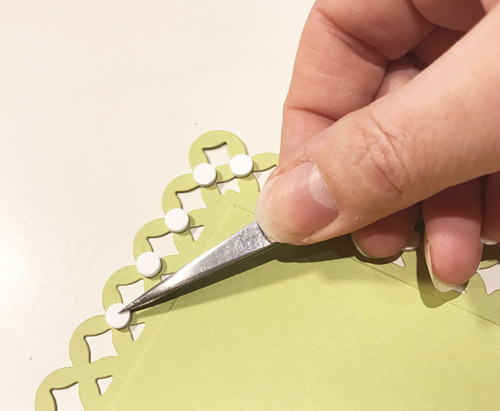
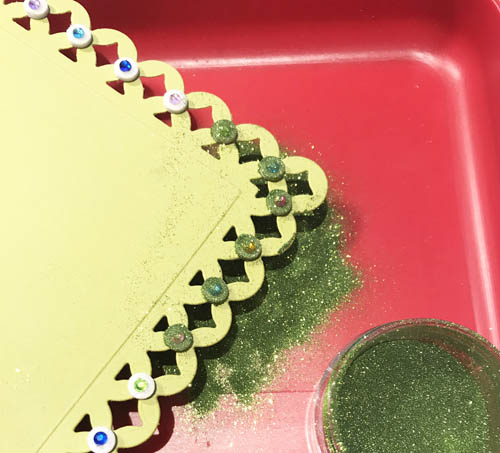
For around the top edge of the bag, I added pom trim with Extreme Double-Sided Tape 1/4in.
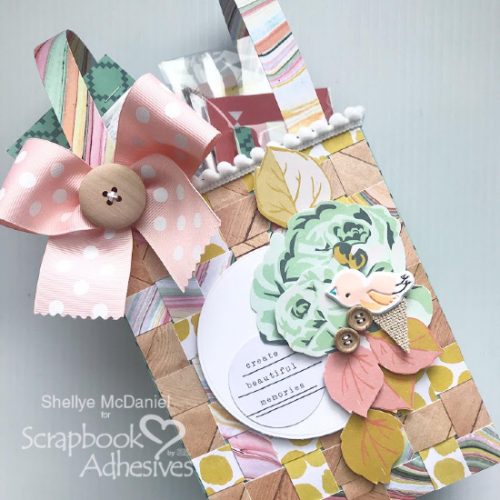
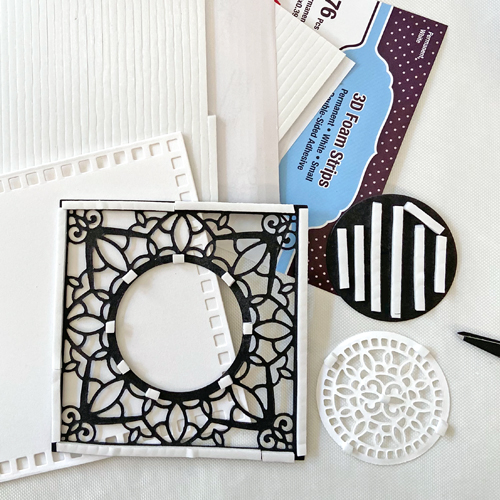
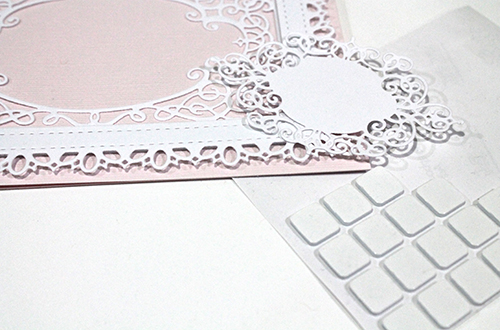
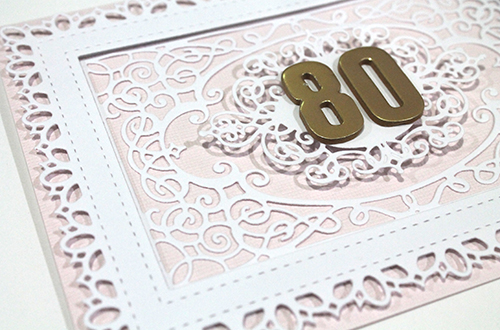
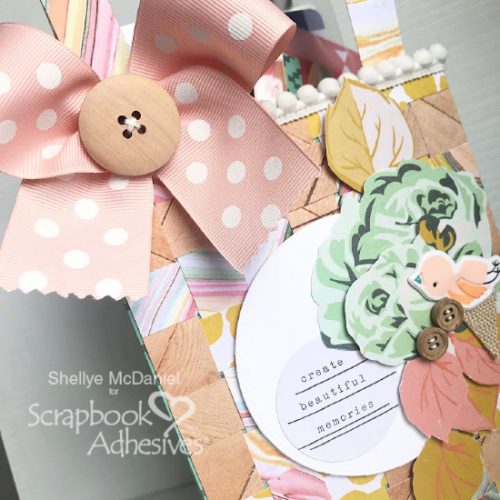
To the front, I lifted up a circle shape with a sentiment using 3D Foam Squares White Mix. Then accented with layers of hand-cut flowers and leaves, a bird sticker, burlap banner, and hand-tied buttons. To finish the bag, I tied a pretty polka dot ribbon bow and secured another hand-tied button in its center.
Traveler’s Notebook Step Outs
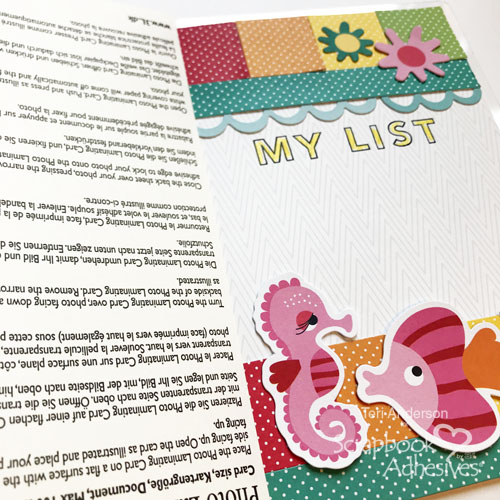
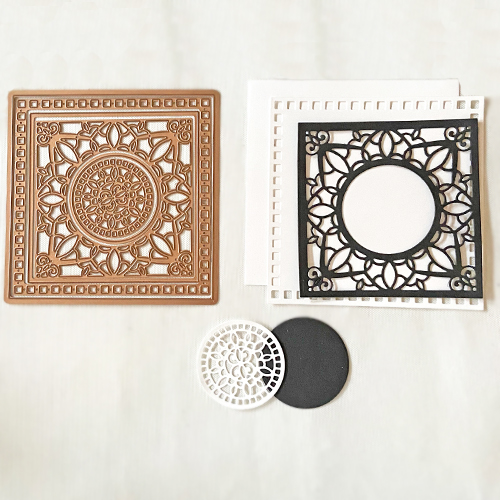
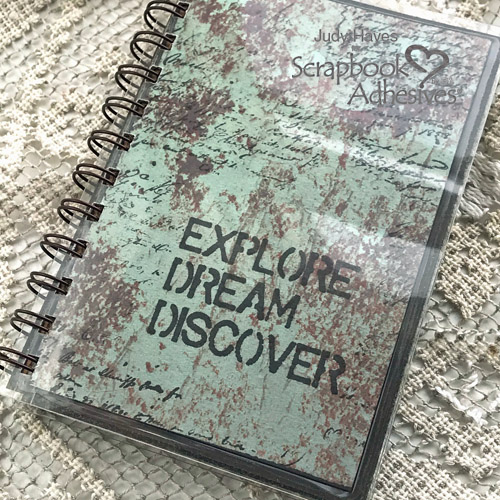
For the Traveler’s Notebook cover, I started with a piece of 8.5 x 11″ patterned paper and corner-rounded the edges. Then score at 5″ and 6″ on the long side.
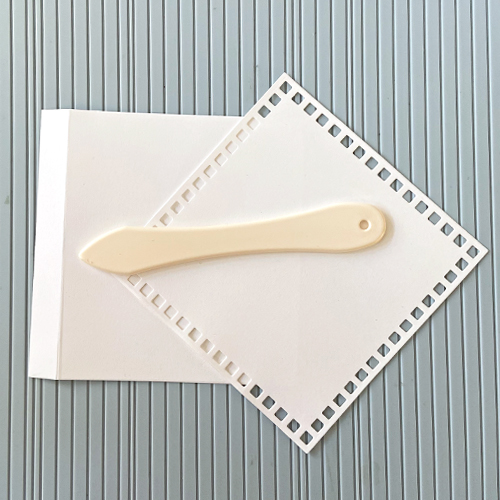
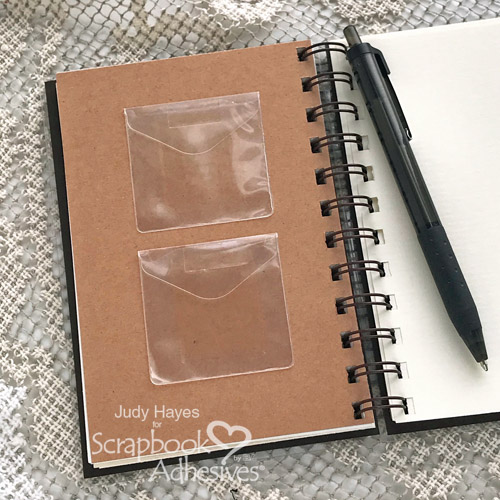
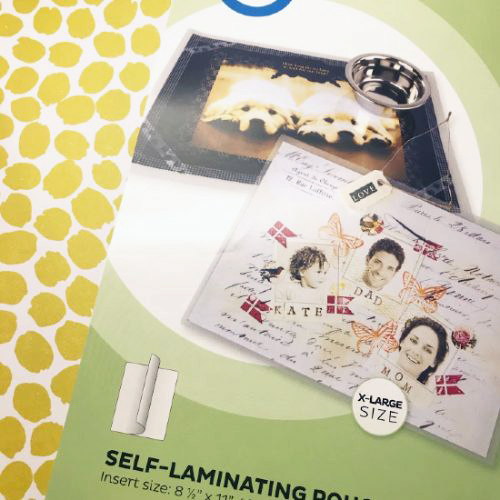
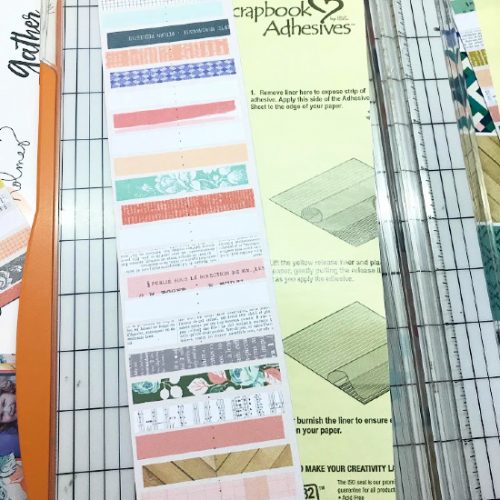
Next, paced the paper inside one of the Self-Laminating Pouches – Cards X-Large and burnish the adhesive side with a bone folder. Retrace the score lines and carefully fold into the notebook shape.
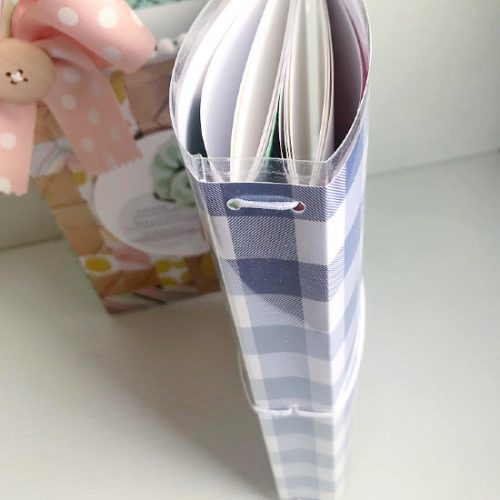
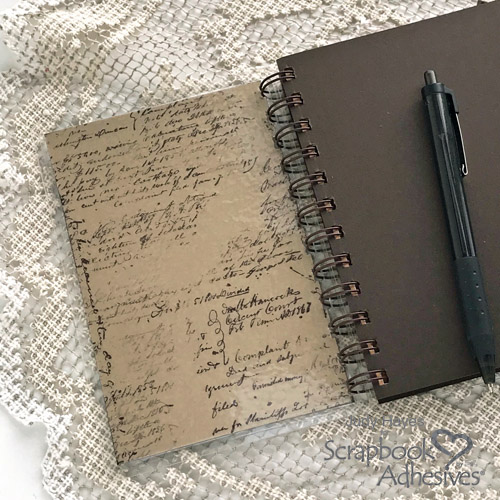
Punch two holes on the top and bottom of the spine (as shown above) and then threaded with round cording. A hole was also added at the center of the spine for the closure cording.
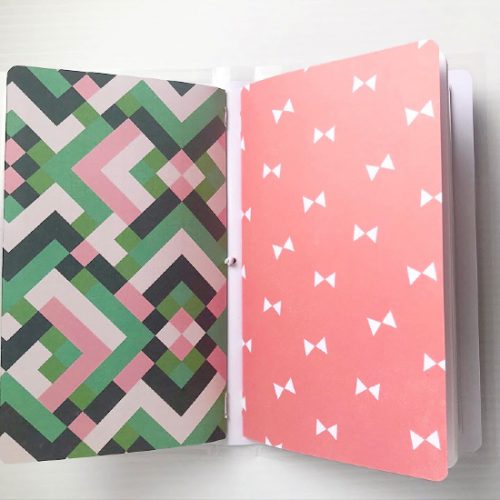
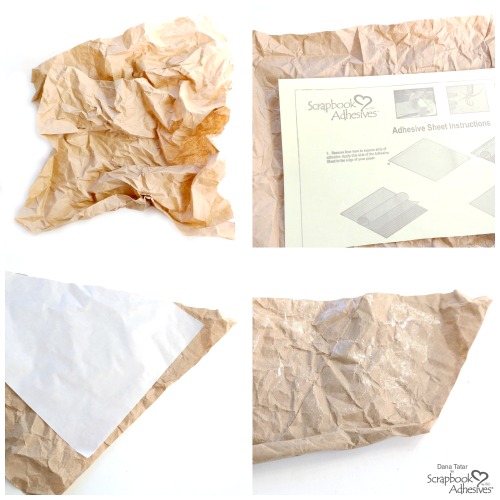
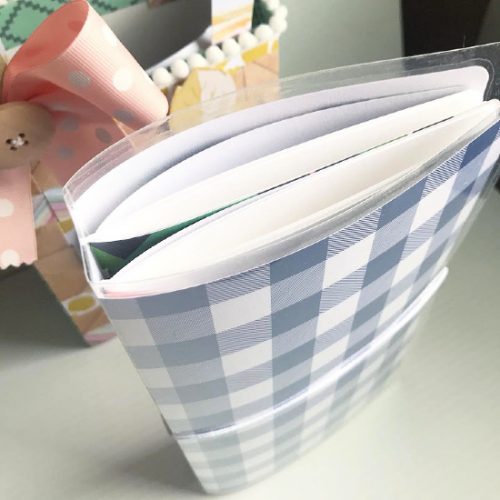
To create the two inserts, I used 9.5″ x 7″ white cardstock and fold in half to make the cover. To embellish, cover the white cardstock with patterned paper using Adhesive Sheets 12×12 inch.
Inside each cover, include three sheets of folded white paper. The completed notebooks were held in place by the cording loops.
More Traveler’s Notebook Details
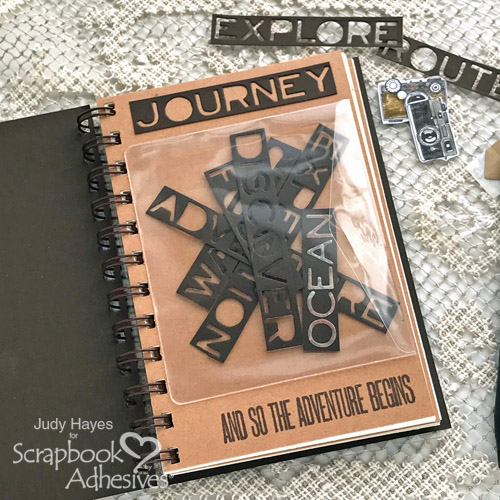
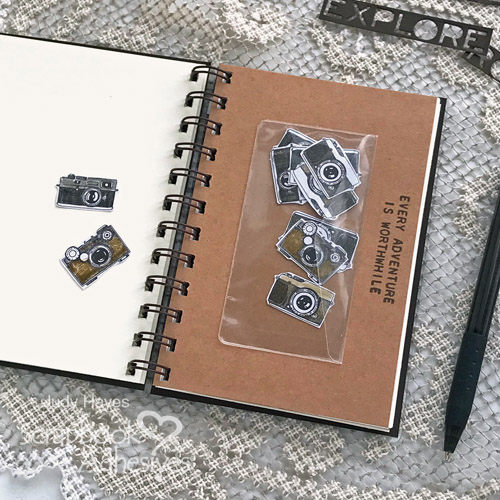
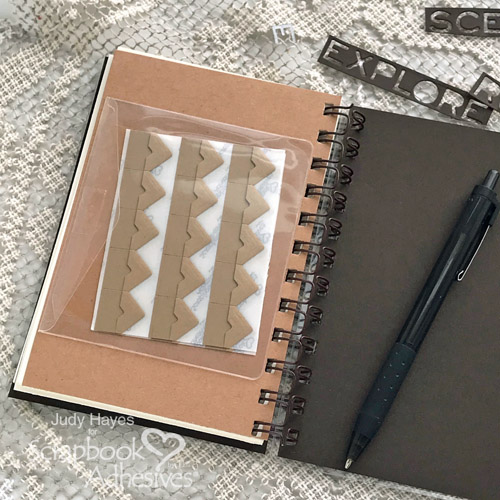
The patterned papers I used resembled washi tape strips so I made my own! Simply use a leftover strip of the Adhesive Sheets 12×12 inch and applied it to the back of the paper. Next, I cut the paper strip in half and packaged in a cellophane baggie.
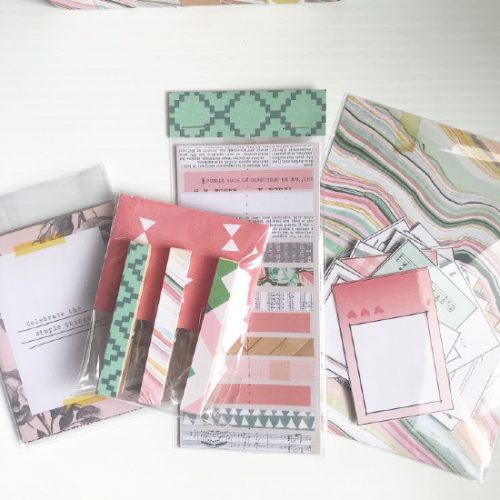
Clothespins were also embellished in the strips of paper and packaged, in addition to the journal cards and frames! Lots of goodies to use with the new Traveler’s Notebook!
Add everything in to complete the Traveler’s Notebook Gift Bag set. Now it’s ready to give!
Thanks for joining me!
Shellye McDaniel
Creative Time: 2 Hours
Skill Level: Intermediate
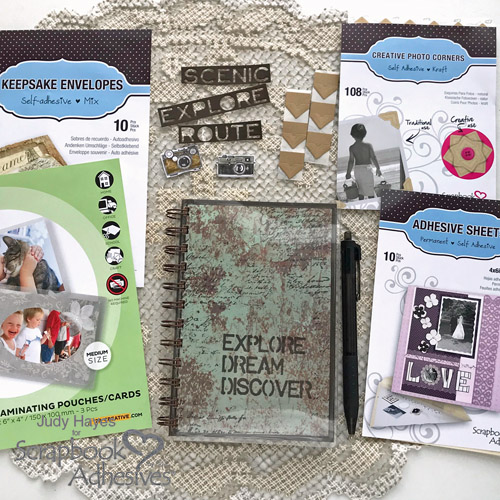
Materials Needed:
Scrapbook Adhesives by 3L®
E-Z Runner® Grand Ultra Strong Refill
E-Z Runner® Grand Refillable Dispenser
3D Foam Squares White Mix
Adhesive Sheets 12×12 inch
Adhesive Dots Mini
HomeHobby™ by 3L
Self-Laminating Pouches – Cards X-Large
Extreme Double-Sided Tape 1/4in
Extreme Double-Sided Tape 1/2in
Premium Double-Sided Tape 1-inch
Premium Double-Sided Tape 1/2in
Other
Patterned Papers: Maggie Holmes; Wooden Buttons: Oriental Trading Company; Foam Bird: Bella Blvd.; Pom Trim: Martha Stewart Crafts; Ribbon; Thin Chipboard Box
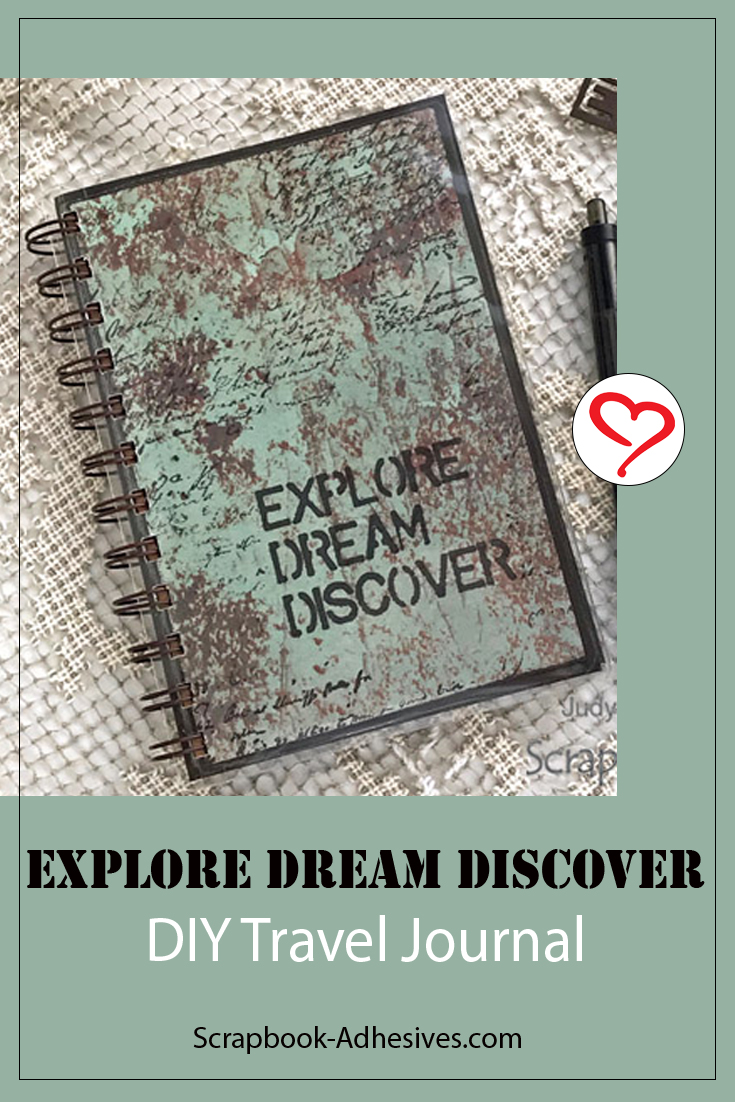
Save It to Pinterest!
Visit our Website and Blog!
Sign up for our Newsletter so you never miss a contest or giveaway!