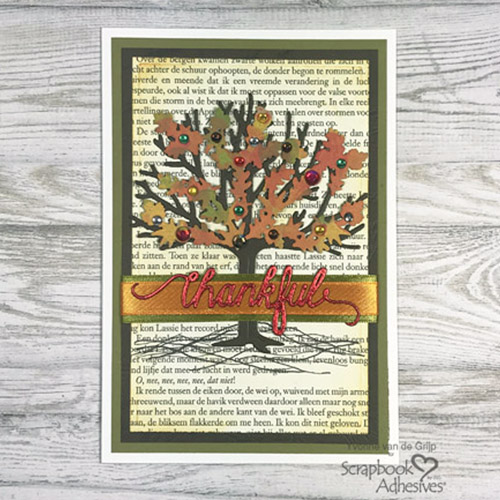
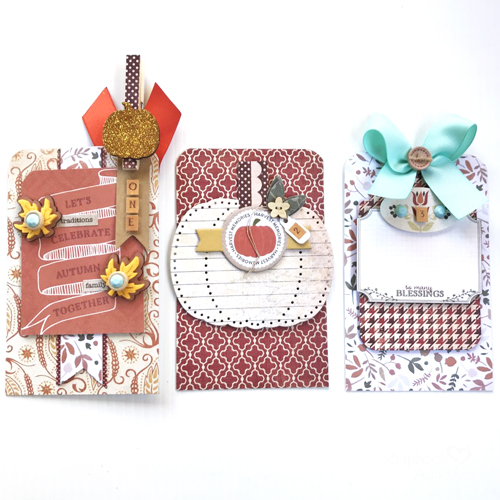
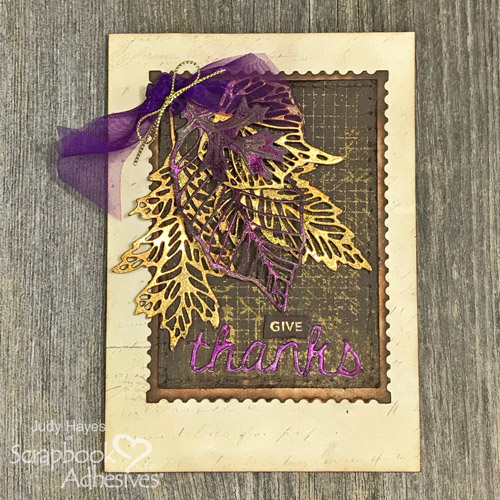
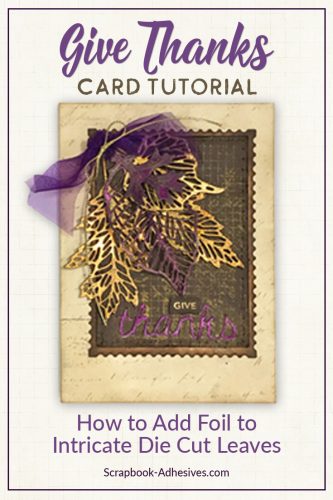
Hello! Judy here today. I’ve put together a pretty Give Thanks card with Foiled Leaves accents. These metallic shiny leaves are easy to make with Adhesive Sheets and Metallic Transfer Foil Sheets.
Making the Foiled Leaves
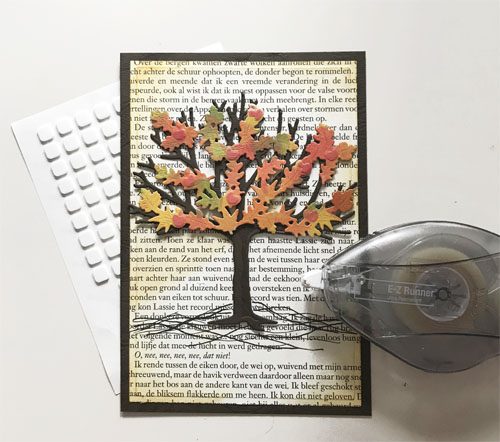
To make the leaves, apply Adhesive Sheets 4 x 6 inch to black cardstock. Then die-cut the leaves by placing the die on the side with adhesive. Keep the liner on when die cutting!
Peel the adhesive liner off and cover it with Metallic Transfer Foil Sheets Holographic Colors, but sure to place them with the ‘pretty’ side up, the dull silver side to the adhesive. Use each of the gold sheets on three of the leaves. For the other two leaves, I used purple from Metallic Transfer Foil Sheets Variety Colors. They are just so pretty!
Next, buff them with a cloth to give an aged look and attach to the card front with Adhesive Dots Micro.
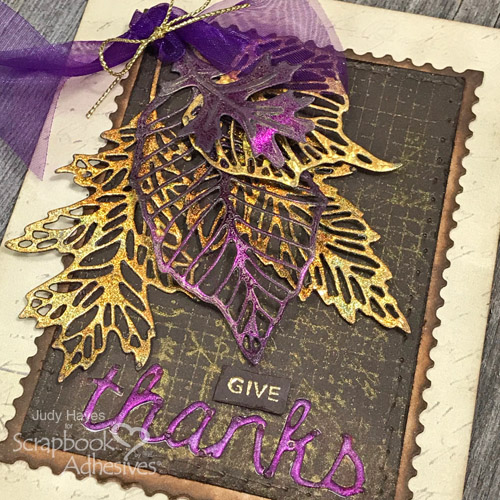
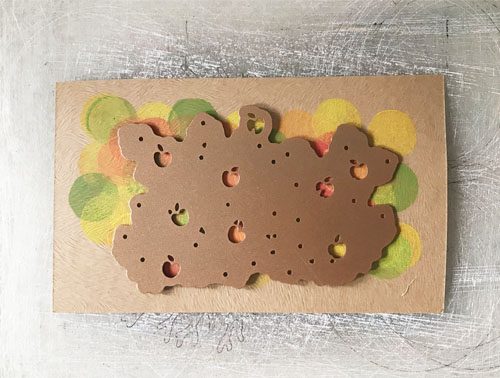
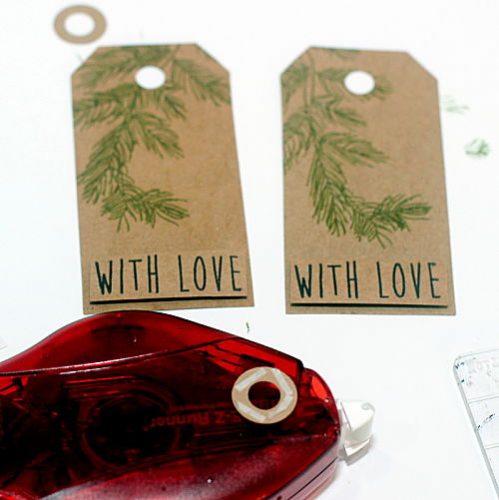
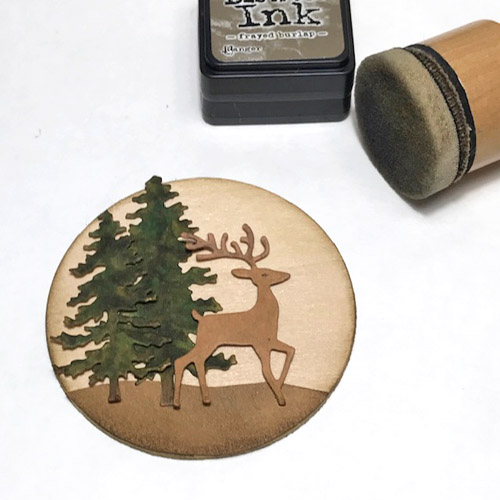
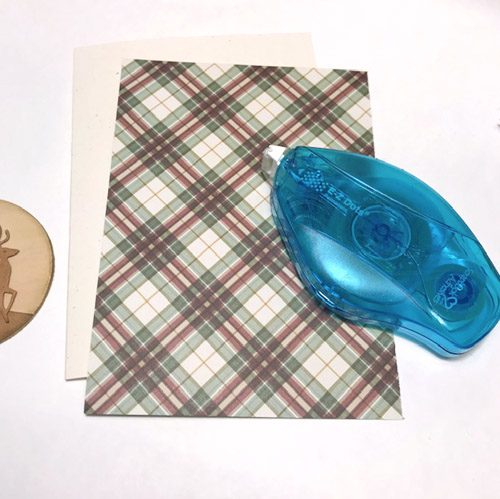
Behind the leaves is a layer of dark brown card stock that I stamped with gold ink. I poked holes along the edge for the look of faux stitching. Adhere using E-Z Runner® Petite Permanent Dots Refillable Dispenser to a white cardstock card panel cut like a postage stamp edge. I inked the edges with water-based inks. Fasten the layered panel to a script patterned cream card panel with E-Z Runner® Petite Permanent Dots Refillable Dispenser. The card measures 4.25 x 6-inches.
Foiling the Sentiment
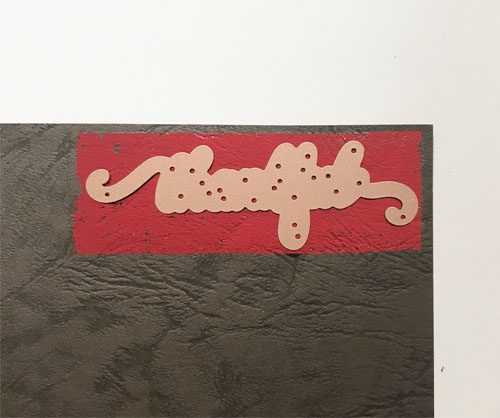
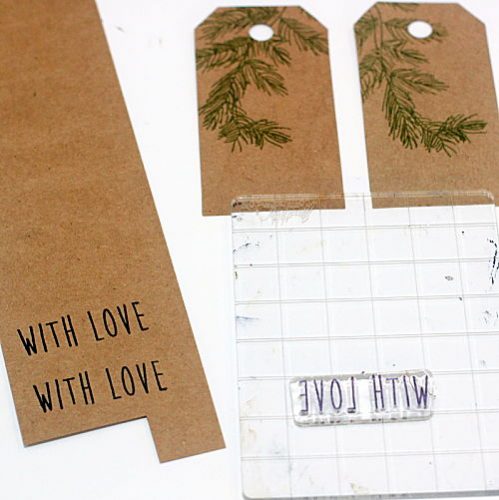
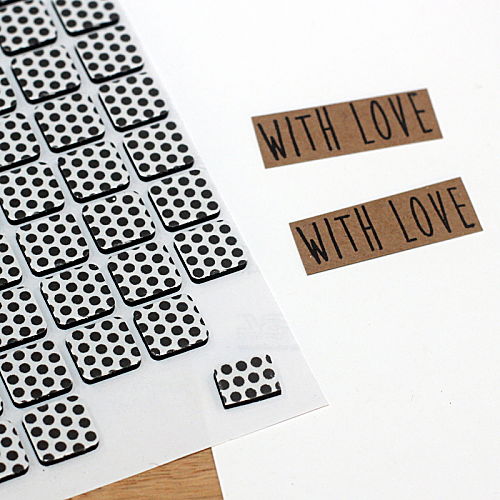
Die-cut the word, “Thanks,” from a sheet of black 3D Foam Creative Sheets. Leave the word in the die and remove the adhesive liner from the back. Press the die against the card stock to get “thanks” to stick in place and pull the die away. It’s a bit tricky to do but keeps the word in its shape.
Remove the top liner and apply purple foil from Metallic Transfer Foil Sheets Variety Colors and rub it well. You can rub it with a cloth for an aged look. Stamp the word GIVE on dark brown cardstock and heat embossed with gold. Pop up the paper with Thin 3D Foam Squares Black Mix.
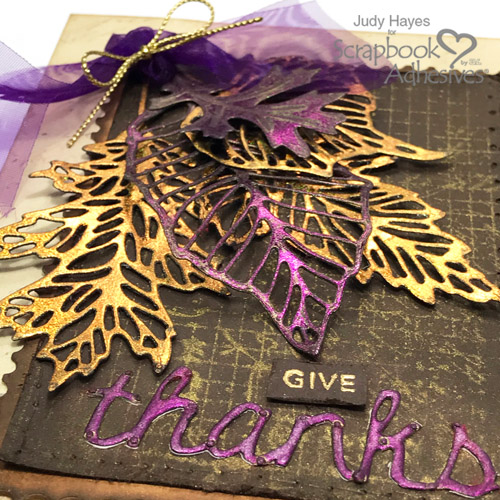
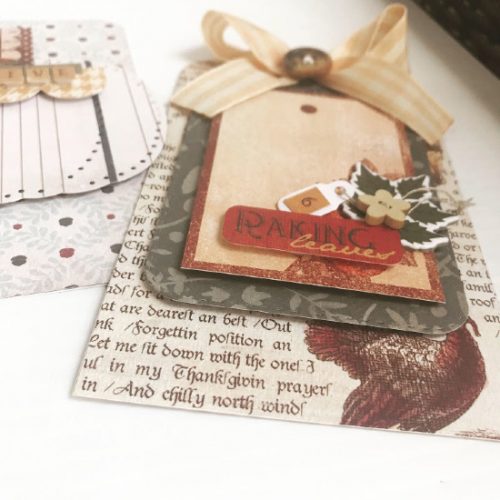
Tie a bow with a gold cord inside of a purple ribbon secure in place with Adhesive Dots Small. This is a different fall color combination that I’m used to but I like how it turned out!
Thanks for Visiting!
Judy
Creative Time: 30 Minutes
Skill Level: Intermediate
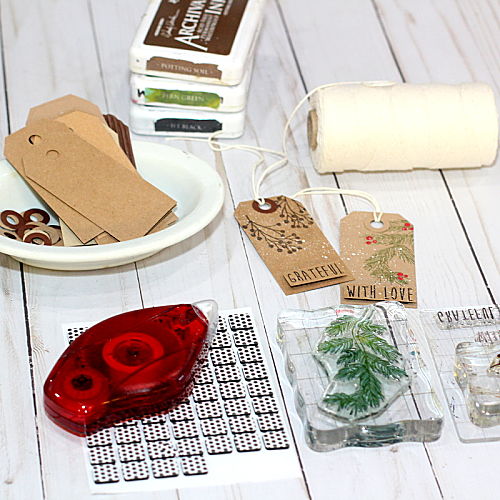
Materials Needed
Scrapbook Adhesives by 3L®
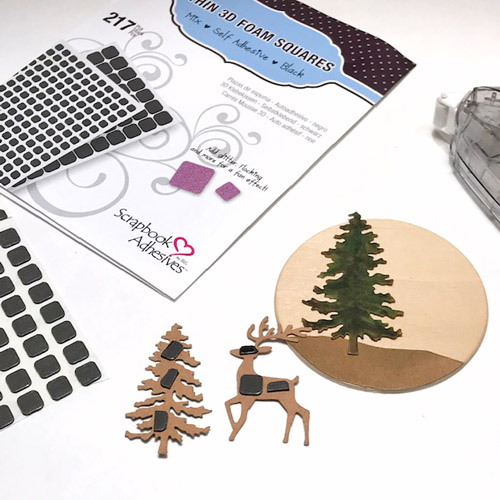
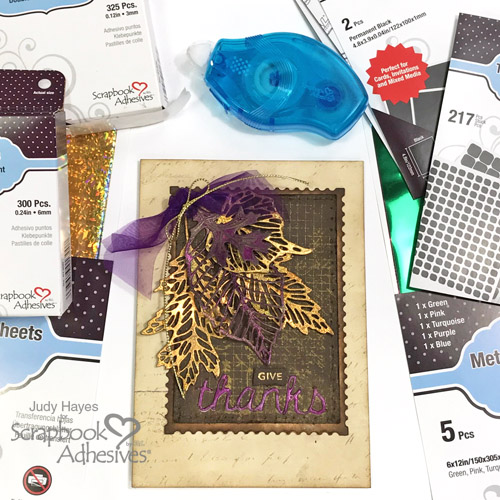
- Adhesive Sheets 4 x 6 inch
- Thin 3D Foam Squares Black Mix
- Metallic Transfer Foil Sheets Holographic Colors
- Metallic Transfer Foil Sheets Variety Colors
- 3D Foam Creative Sheets
- Adhesive Dots Micro
- Adhesive Dots Small
- E-Z Runner® Petite Permanent Dots Refillable Dispenser
Other
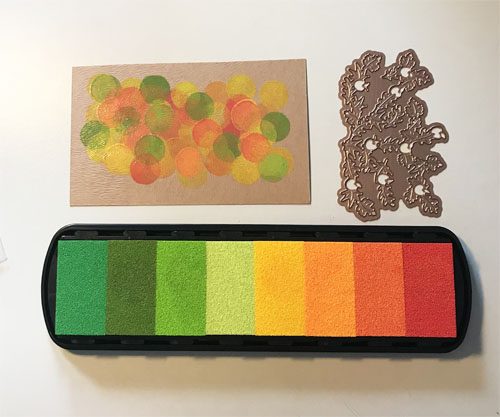
Sizzix Tim Holtz Dies – Autumn, Skeleton Leaves, Fall Foliage, Stacked Postage; Taylored Expressions Mini Strips Stamp; Ranger Distress Inks: Ground Espresso, Vintage Photo; Ranger Gold Embossing Powder; Imagine Crafts/Tsukineko Versafine Onyx Black ink, Delicata Golden Glitz Ink; Stampers Anonymous Tim Holtz Graph & Croc, Ledger Script; Jodie Lee Designs Digital Paper; Card stock: Cream, Black, White, Dark Brown; Sheer Purple Ribbon; Gold Cord
Save It!
Visit our Website and Blog!
Sign up for our Newsletter so you never miss a contest or giveaway!