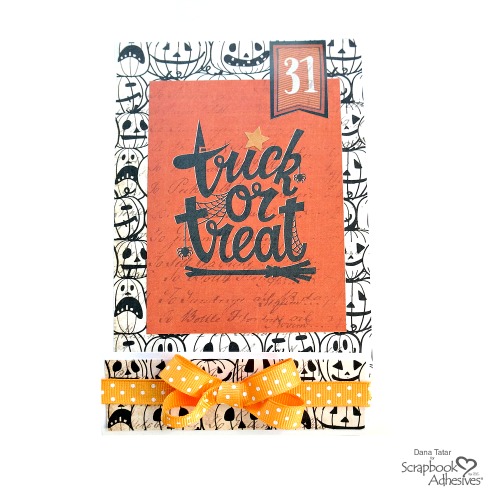
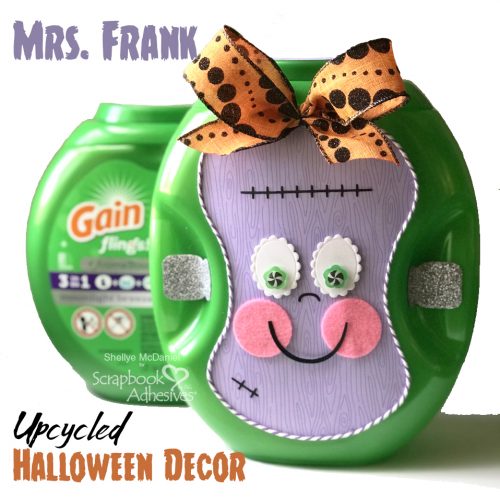
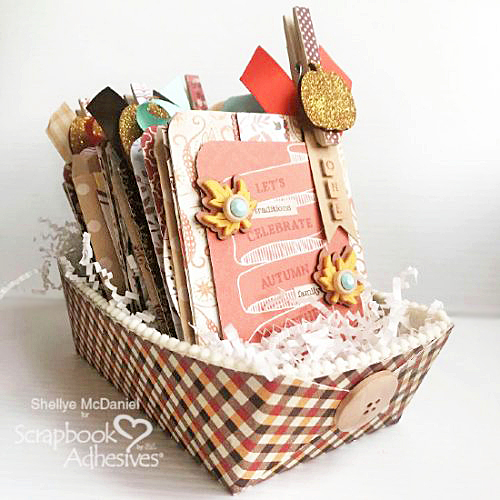
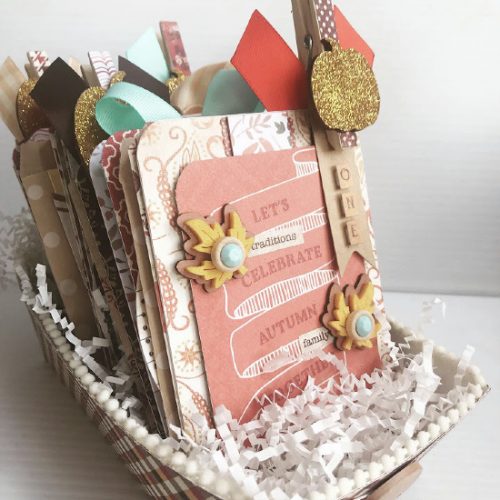
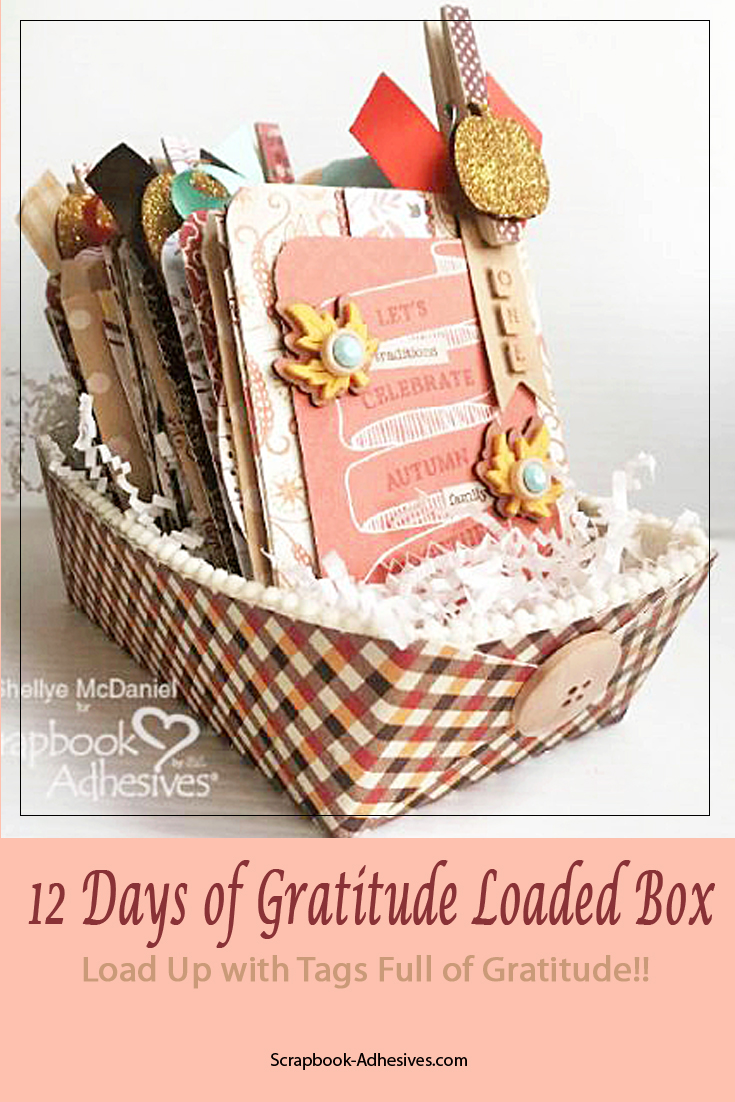
Greetings! Shellye McDaniel here today. The days of giving thanks are upon us and I have a delightful way to keep those notes and memories! By repurposing a boat-shaped food container, I created a gratitude loaded box. Let me show you how!
Gratitude Loaded Box Base
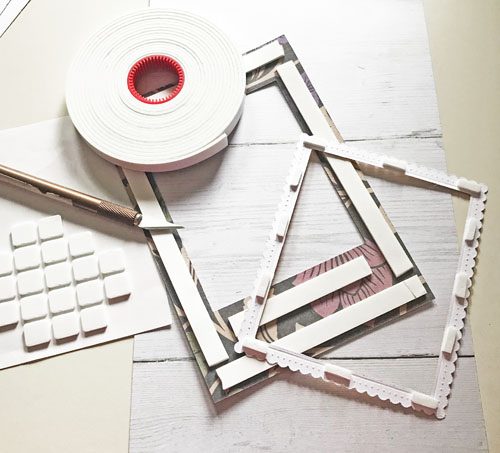
To get started I took a paper “boat” food container and de-constructed it by unhinging the flaps.
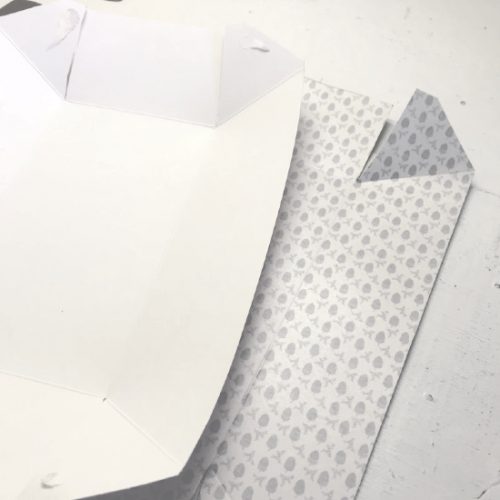
Next, I cut a sheet of patterned paper and Adhesive Sheets 12×12 inch slightly larger than the boat. I attached the adhesive sheet to the paper and then traced the boat onto the paper backing.
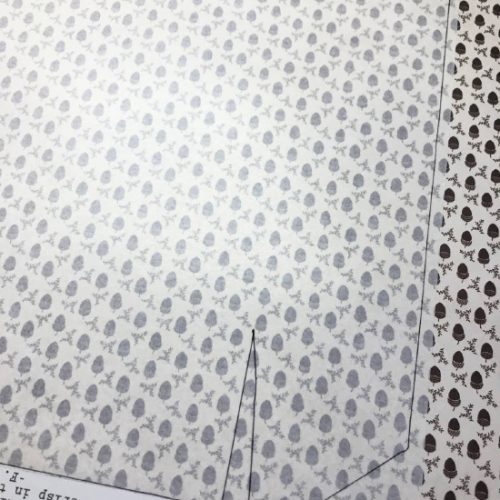
After tracing, I cut the piece out and carefully covered the outside of the boat. Before attaching the sides back, I trimmed any overhang of paper. I attached the flaps with Extreme Double-Sided Tape 1/2in and Adhesive Dots 3D for the buttons.
To the inside of the box, I used Extreme Double-Sided Tape 1/8in to attach mini pom pom trim.
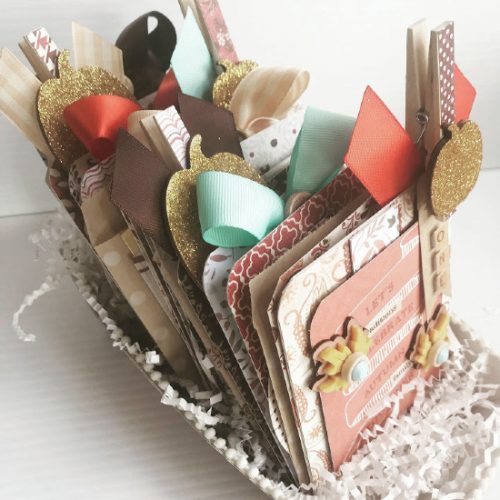
Finally, I crafted several components that are fun and interactive for the inside!
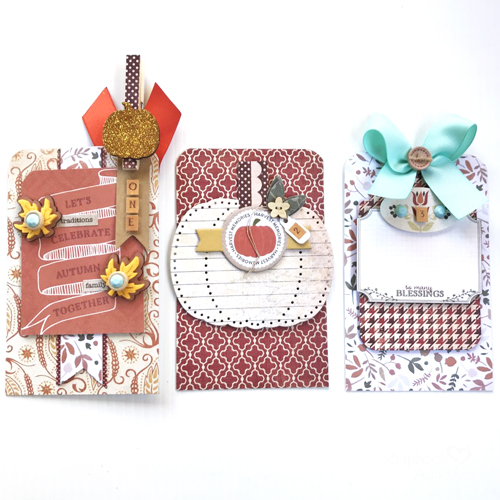
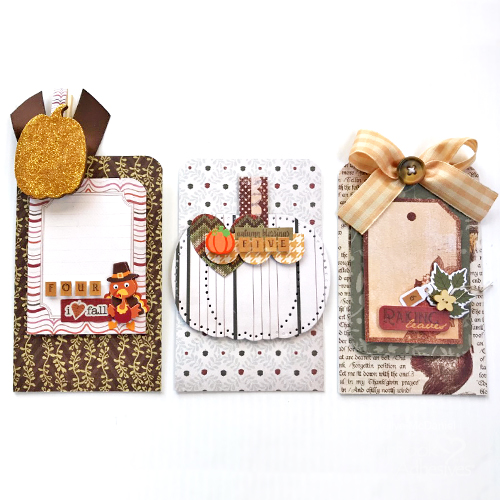
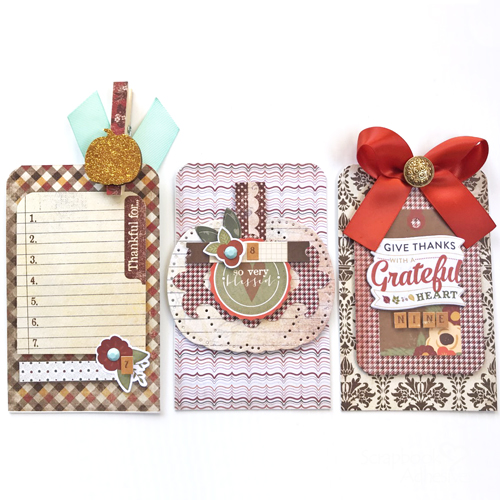
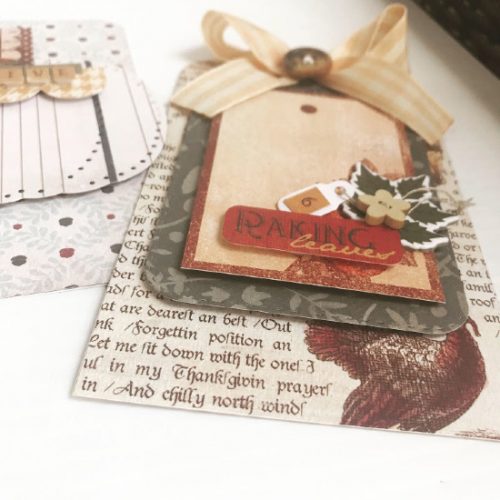
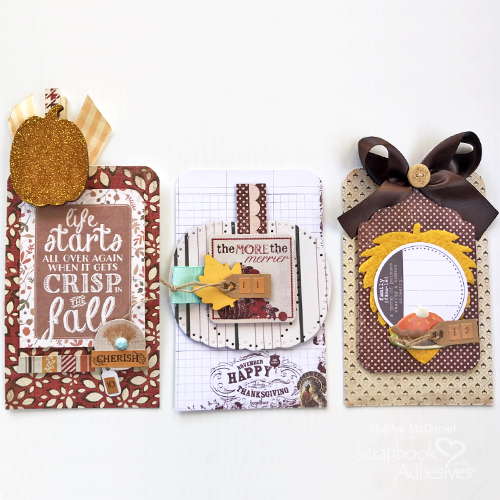
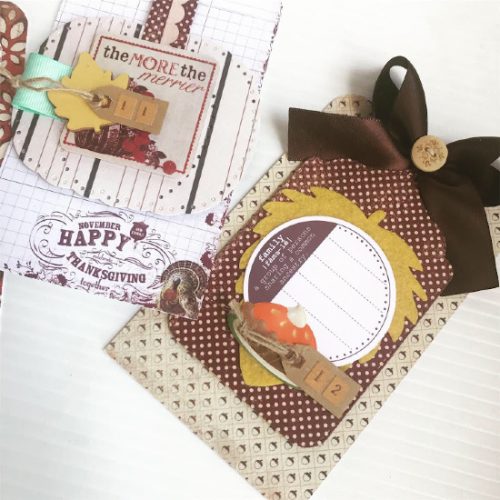
Tag Details
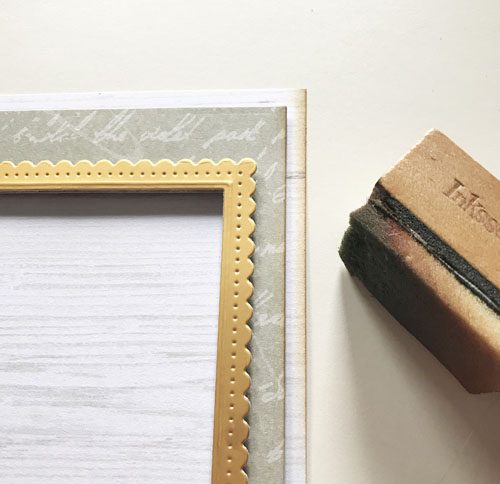
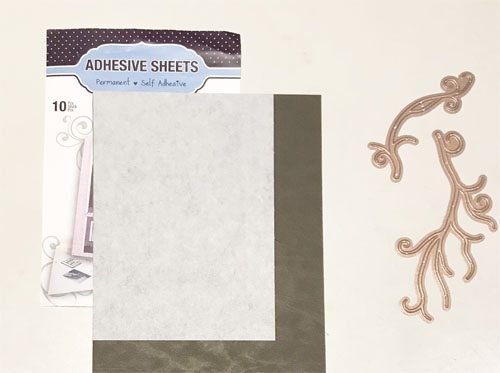
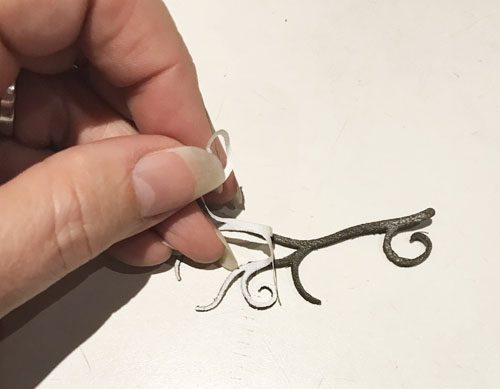
I created tags by dressing plain chipboard using E-Z Runner® Grand Ultra Strong with patterned paper. A combination of Adhesive Dots Micro, Crafty Foam Tape White, 3D Foam Squares White Mix, and Dual Tip Glue Pen were used to attach the various embellishments.
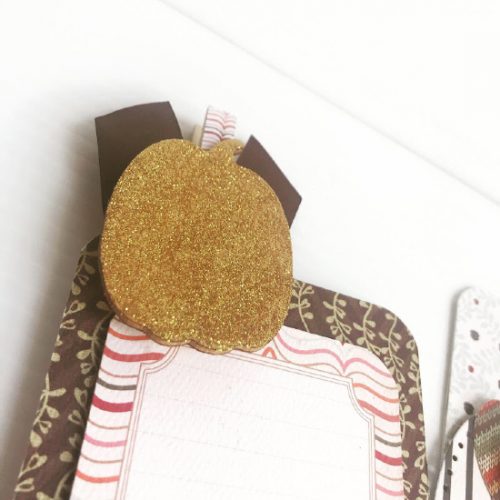
In finishing, I covered plain clothespins with strips of paper and then topped with these adorable wooden pumpkins. I wanted the pumpkins to sparkle, so I used Adhesive Sheets 4×6 inch to coat the entire piece. Next, I sprinkled on some gold glitter and viola!
Thank you for joining me today!
Shellye
Creative Time: 3 Hours
Skill Level: Intermediate
Materials Needed
Scrapbook Adhesives by 3L®
- 3D Foam Squares White Mix
- Adhesive Dots Micro
- Adhesive Dots 3D
- Crafty Foam Tape White
- Adhesive Sheets 12×12 inch
- Adhesive Sheets 4×6 inch
- E-Z Runner® Grand Ultra Strong
HomeHobby by 3L®
Other
Patterned Paper, Stickers, and Die Cuts: Authentique Paper; Ribbon: May Arts
Save It to Pinterest!
Visit our Website and Blog!
Sign up for our Newsletter so you never miss a contest or giveaway!