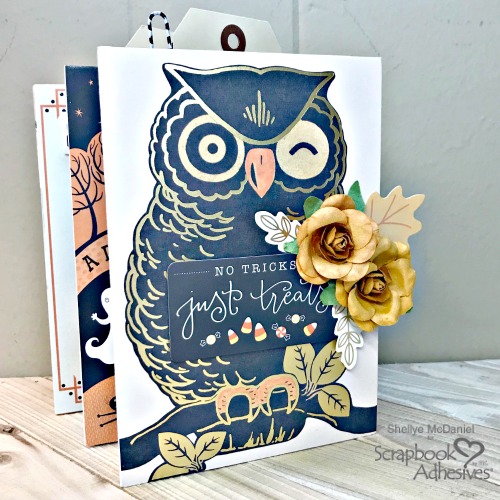
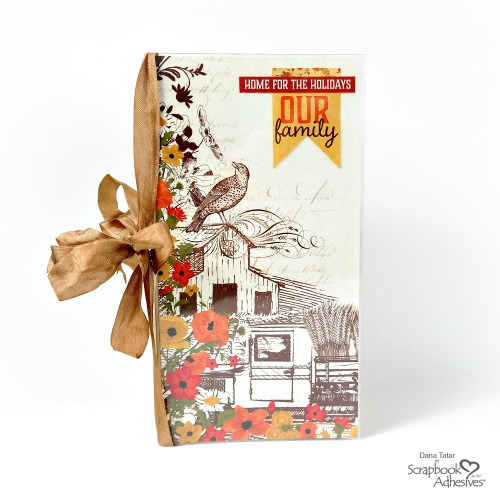
Hi friends! Dana Tatar here today sharing how to create a DIY Thanksgiving Traveler’s Notebook from scratch. I usually create a December Daily album to document the excitement of the Christmas season. I have never created anything special to store my memories from the Thanksgiving holiday. This will be my first Thanksgiving in my new home and my brother and his family are coming to stay with us. I am grateful for so many things and can’t wait to fill this notebook with memories.
How to Assemble a Traveler’s Notebook Insert
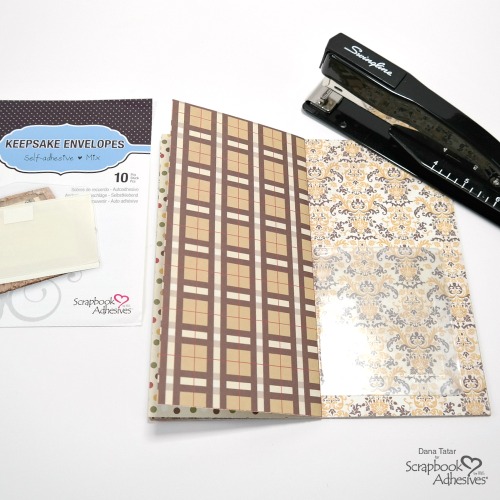
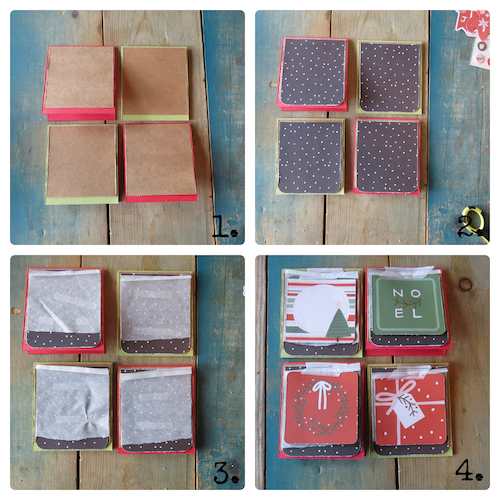
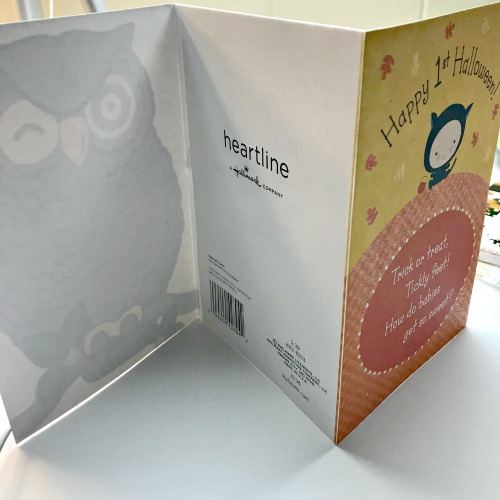
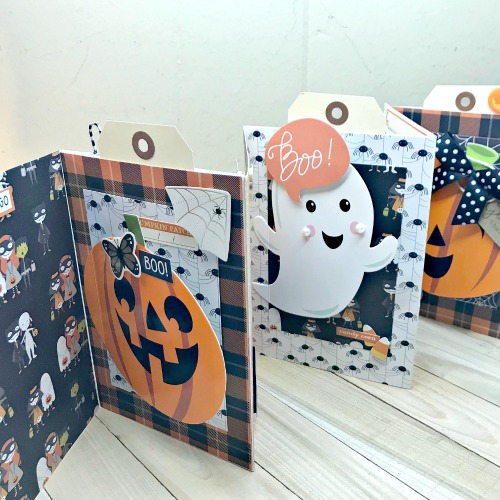
Cut several pieces of patterned paper to the desired size. (I cut the patterned paper shown above to measure 8.5 x 8.25 inches to fit inside my planner binder.) Fold each piece of patterned paper in half and crease down the center.
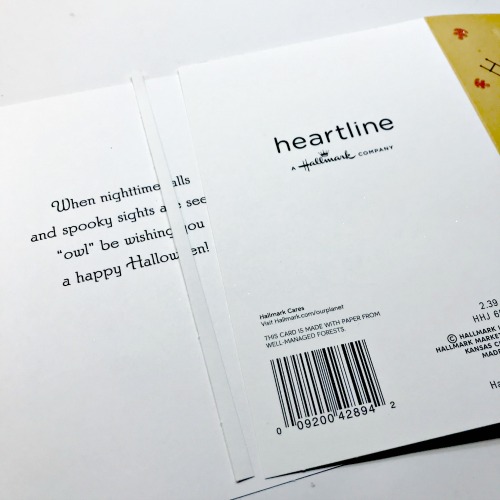
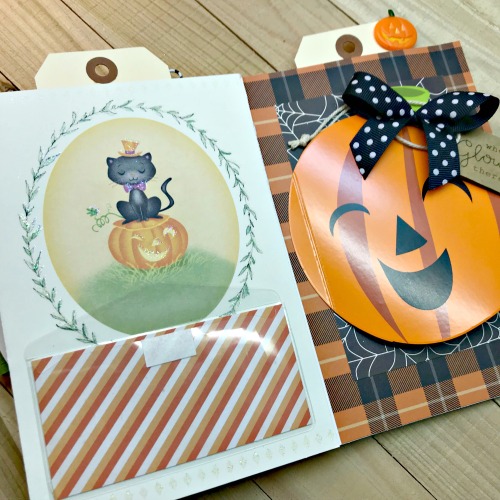
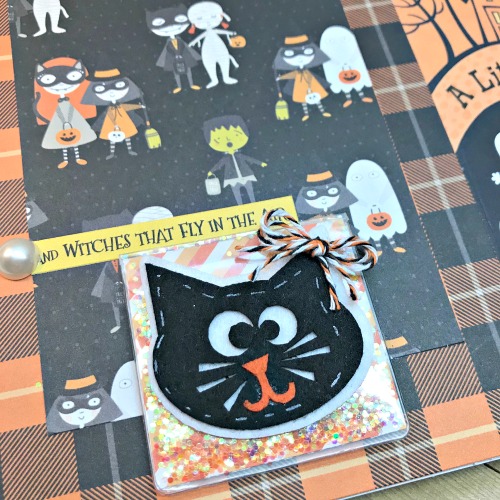
Next, add several different sizes of Keepsake Envelopes between the pages. Stick two of the same sized Keepsake Envelopes back to back to create pocket pages. Once the paper and envelope pages are assembled, use a long arm stapler to fasten the insert together.
How to Assemble a Traveler’s Notebook Cover
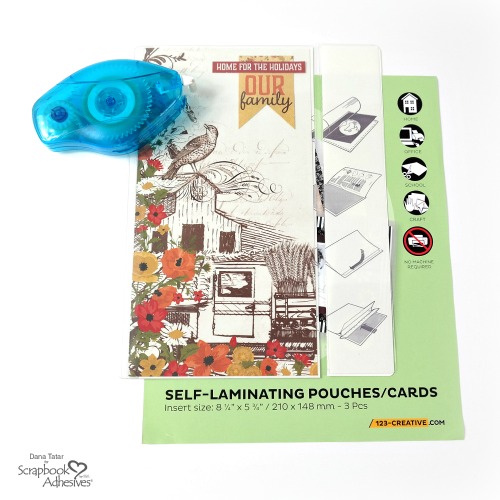
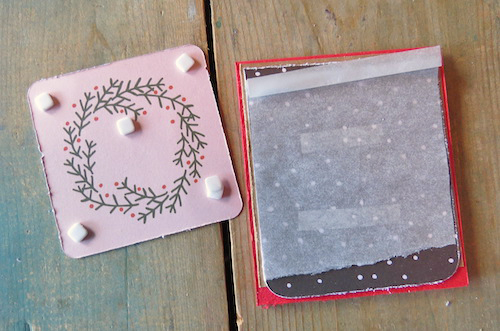
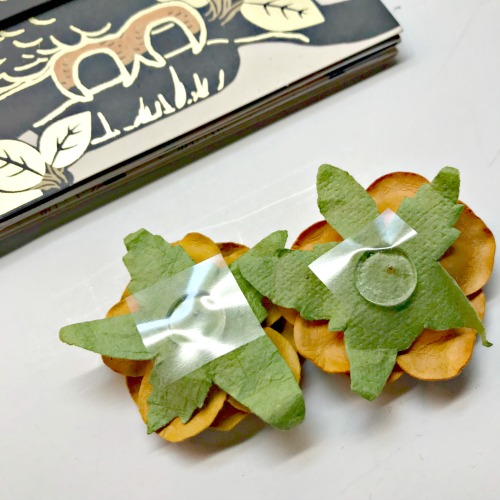
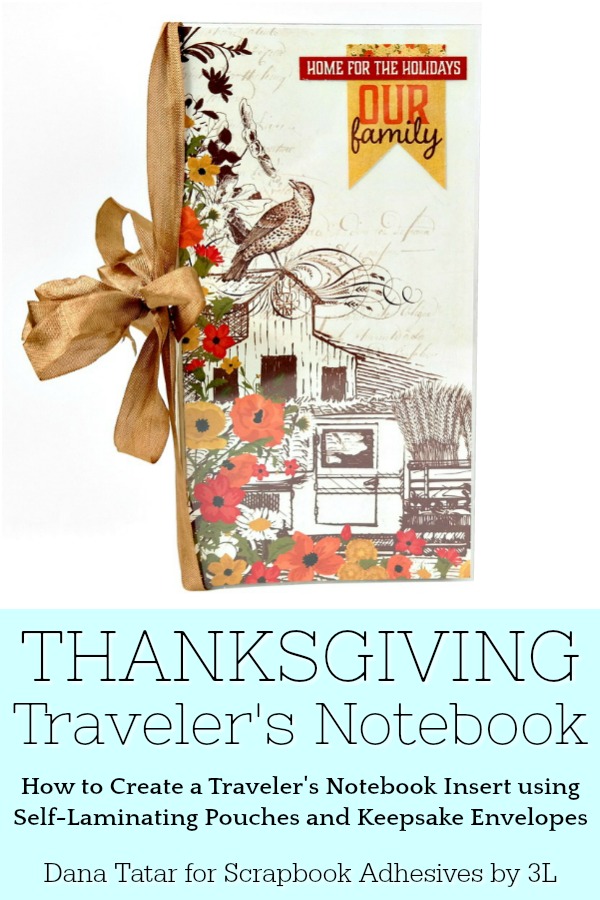
Cut a piece of patterned paper to create a front cover for the notebook. The paper shown above measures 8 5/8 x 4 3/8 inches. Use an E-Z Dots® Permanent Refillable Dispenser to attach a couple of thin paper die-cuts to the front cover.
Next, insert the patterned paper into a Large Self-Laminating Pouch. Use a paper trimmer to remove the excess pouch. Peel away the liner from the back of the pouch and press together to seal the patterned paper.
Designer’s Note: Whatever the size of your paper, be sure to leave about 1/4 inch of space between the edge of the paper and the edge of the pouch to ensure a proper seal. Repeat this process with a second piece of patterned paper and another Large Self-Laminating Pouch to create a back cover for the notebook.
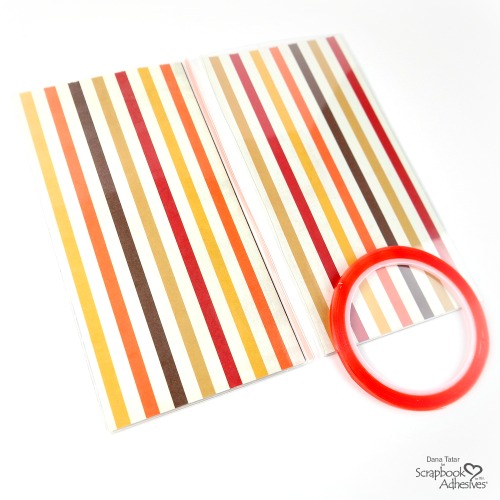
Score the front and back covers along the clear left edge of the pouch. Fold the edge of the front cover down, then fold the edge of the back cover up. Apply a strip of 1/8 inch Extreme Double-Sided Tape along the folded edge of the front cover. Remove the red liner from the tape and press the folded edge of the back cover onto the tape.
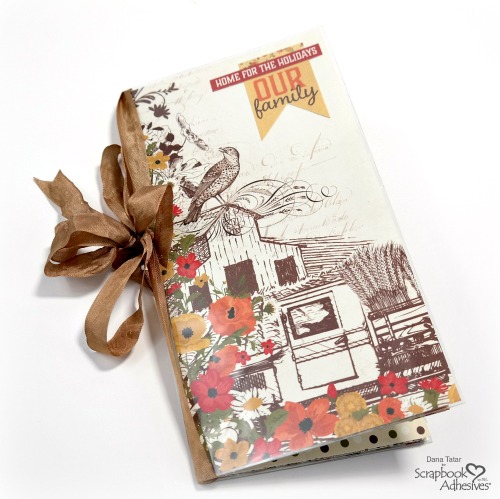
To finish, tie the insert to the notebook cover with a piece of decorative ribbon.
Thanks so much for stopping by today! Happy crafting and Happy Thanksgiving!
Want to see the finished album? It’s here:

~Dana
- Creative Time: 60 Minutes
Skill Level: Intermediate
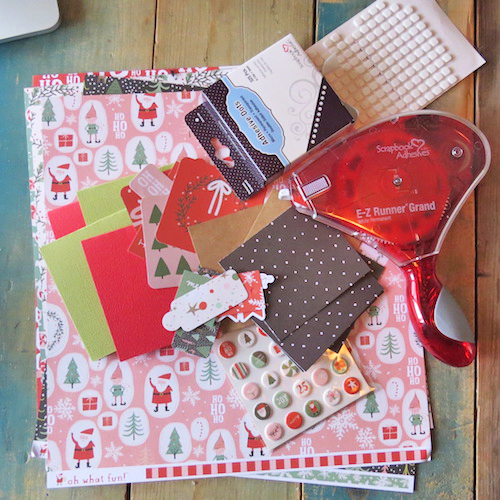
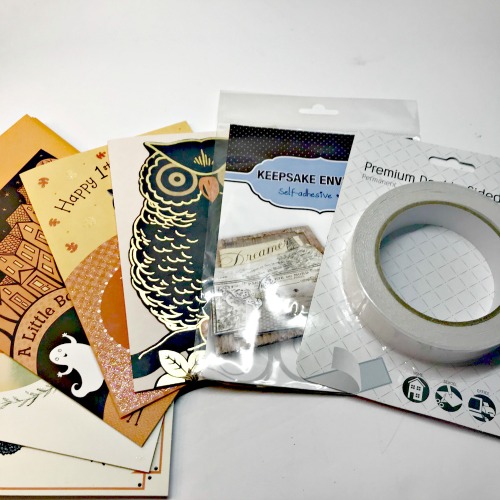
Scrapbook Adhesives by 3L® Supplies:
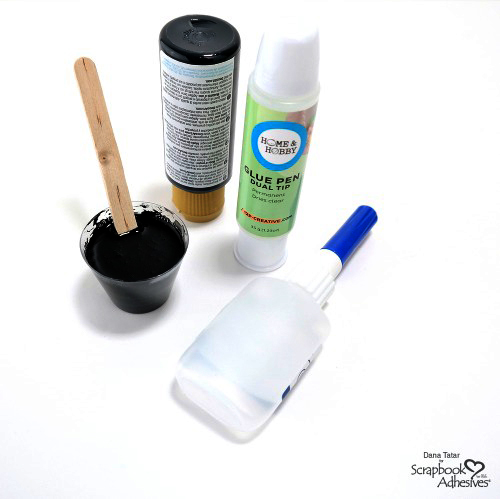
E-Z Dots® Permanent Refillable Dispenser
Keepsake Envelopes Mix
HomeHobby by 3L Supplies:
Self-Laminating Pouches – Cards Large
Extreme Double-Sided Tape 1/8in.
Other Supplies: Patterned Paper: Authentique; Die-Cuts: Authentique; Ribbon
Save it on Pinterest
Visit our Website and Blog!
Sign up for our Newsletter so you never miss a contest or giveaway!