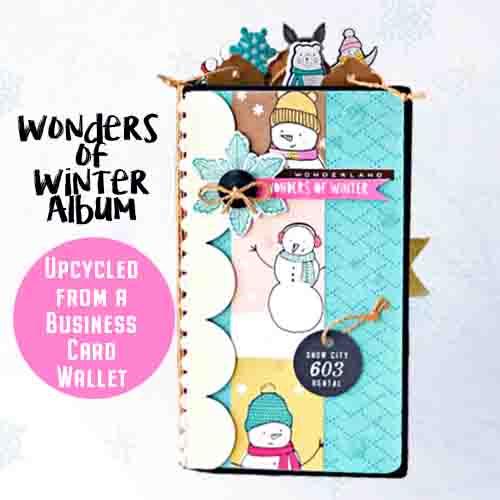
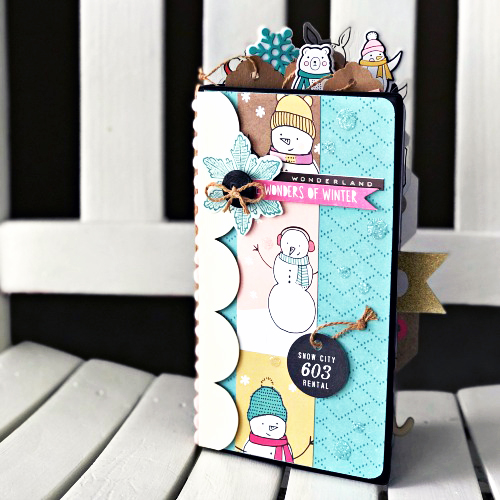
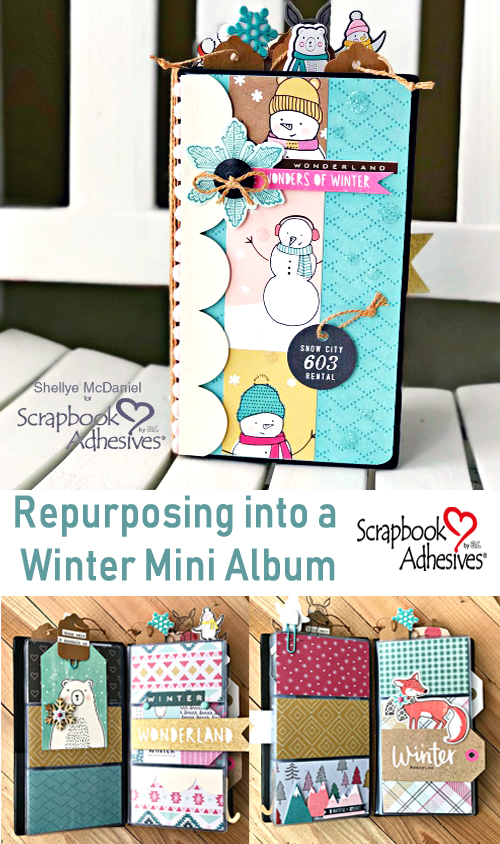
Happy New Year! Shellye here today with a trash-to-treasure mini album idea! My husband was going to trash his old business card holder, but he gave it to me to see what I could do with it. So I repurposed it to a “Winter Business Card Mini Album!”
Winter Mini Album Supplies
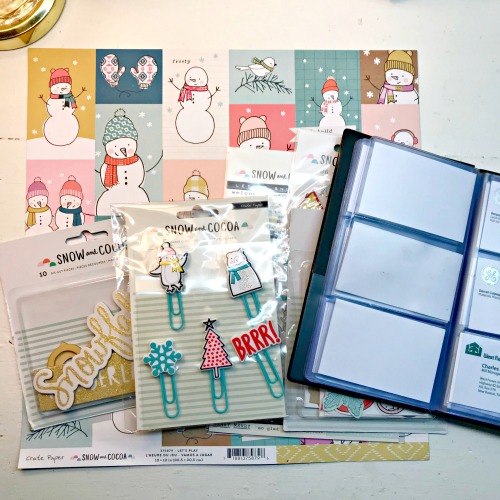
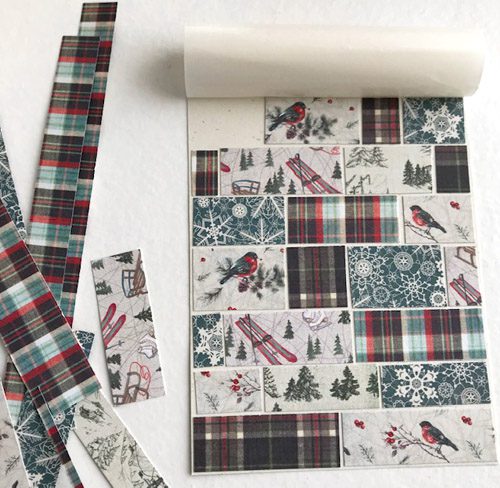
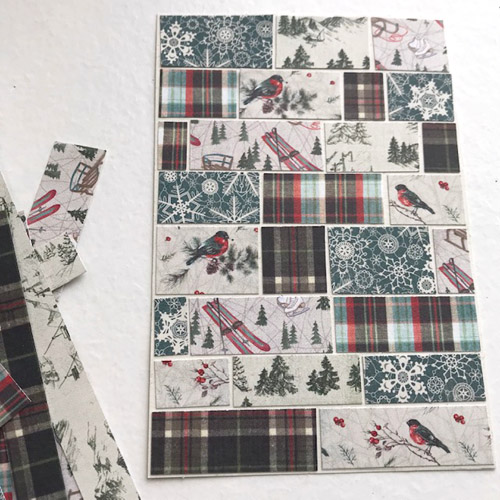
I am using patterned papers and elements from one collection. It’s easier to match up and create cohesive pages that way.
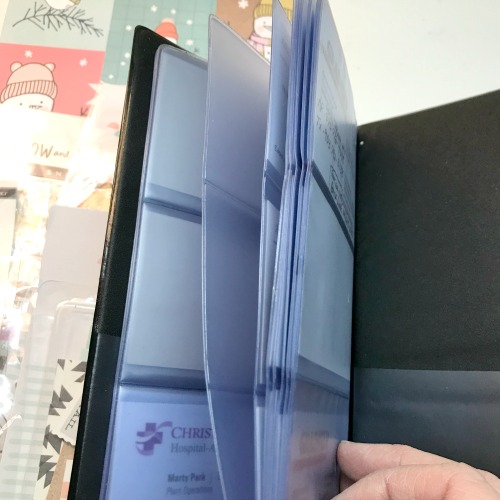
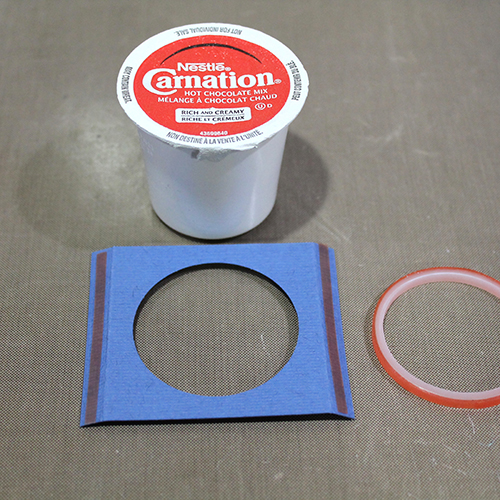
Find the business card holder or similar online. Mine includes 12 individual clear pages with three slots for cards on a page. New gather several different adhesives from Scrapbook Adhesives by 3L.
Winter Mini Album Details
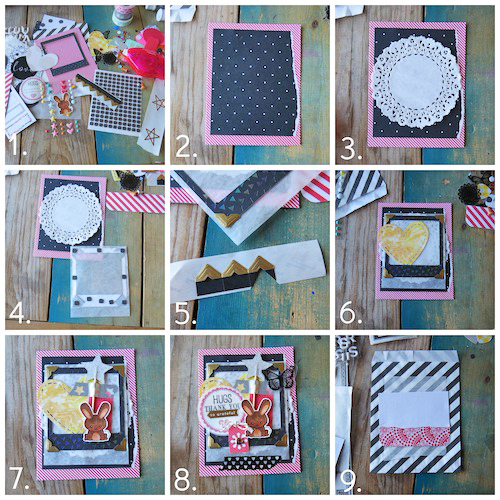
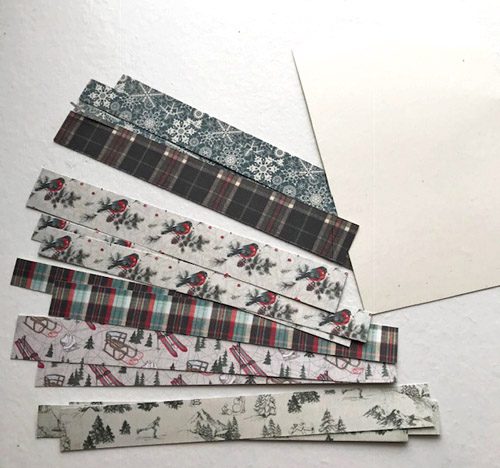
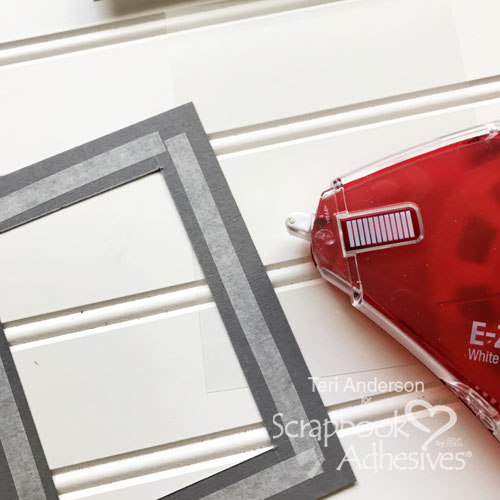
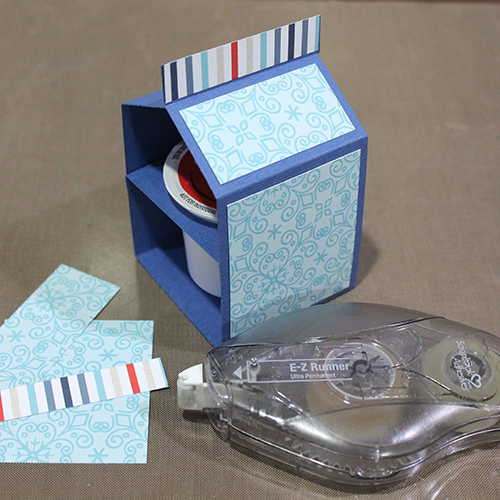
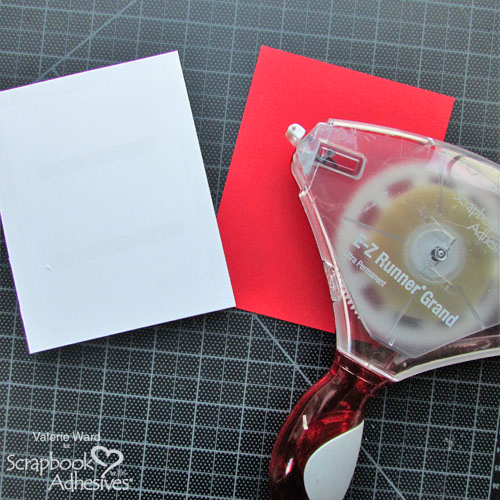
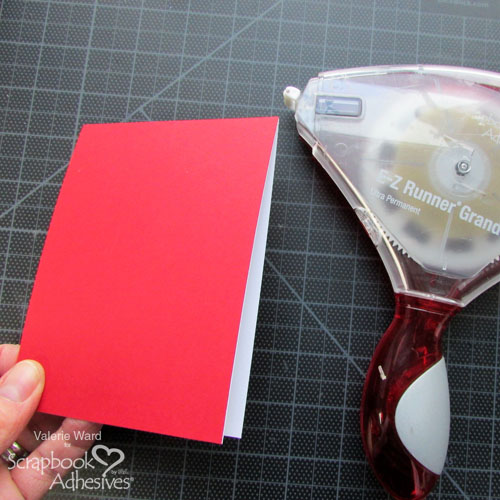
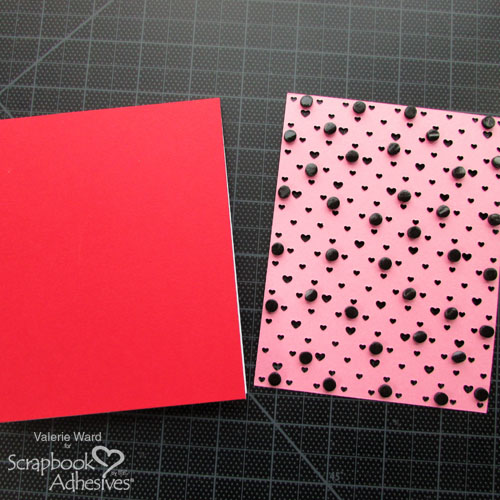
To begin, I cut enough base papers to fill each of the card slots. I used the E-Z Runner® Grand Ultra Strong Refill to attach two (non-double-sided papers) back-to-back.
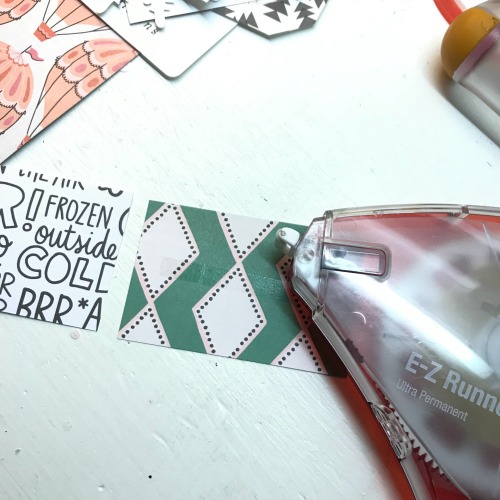
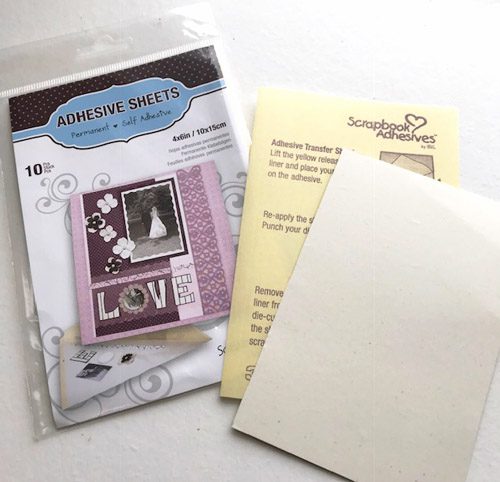
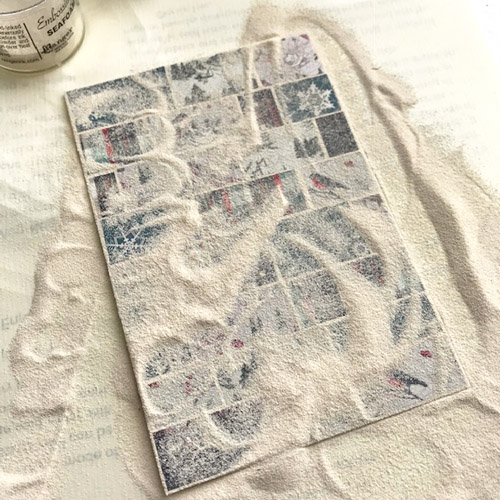
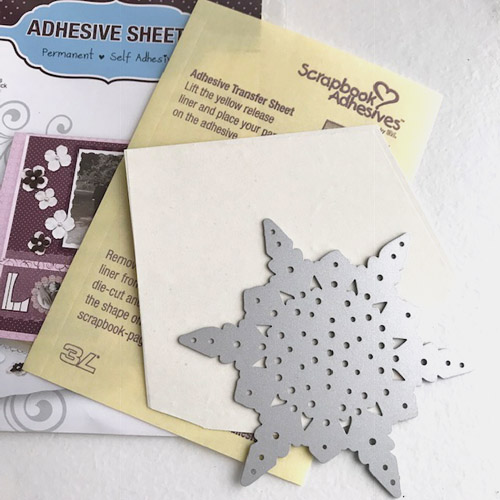
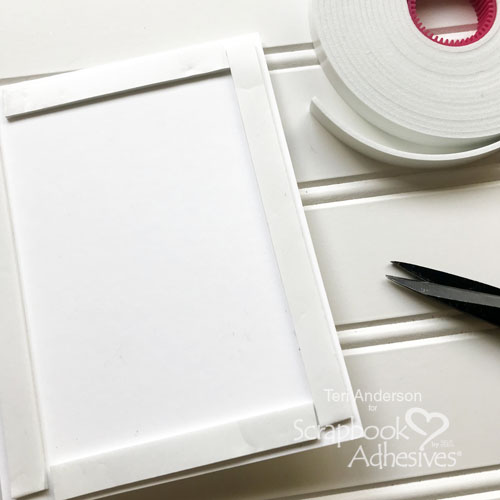
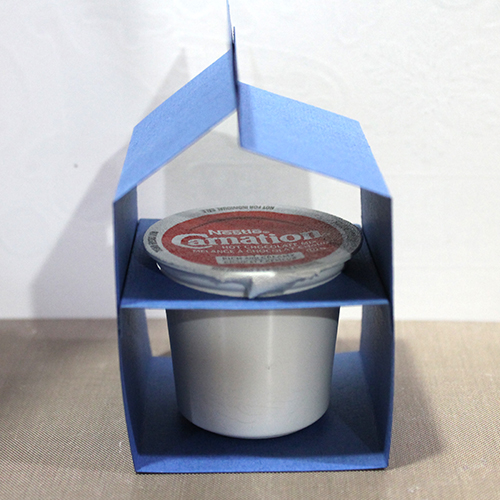
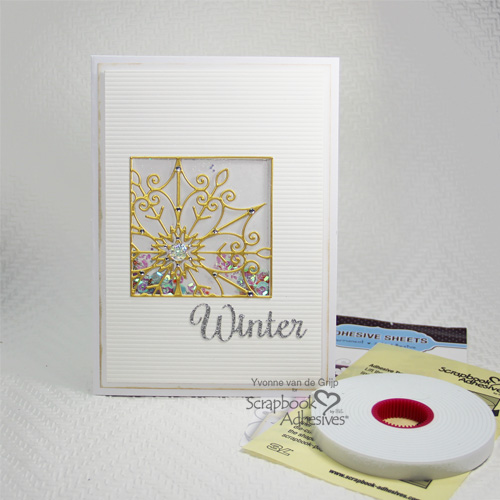
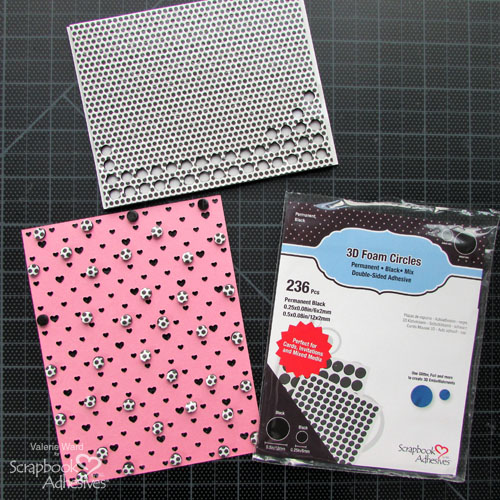
For the front cover of the binder, I wanted a good secure hold for the cover paper so I chose the Adhesive Sheets 6 x12 inch for attaching my patterned paper.
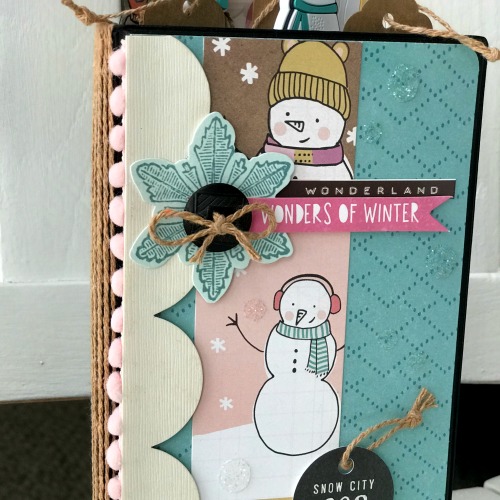
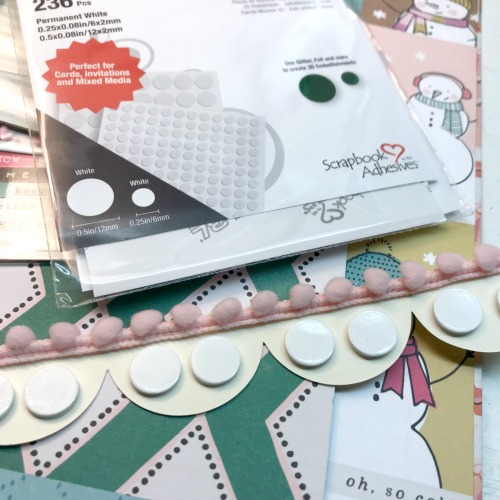
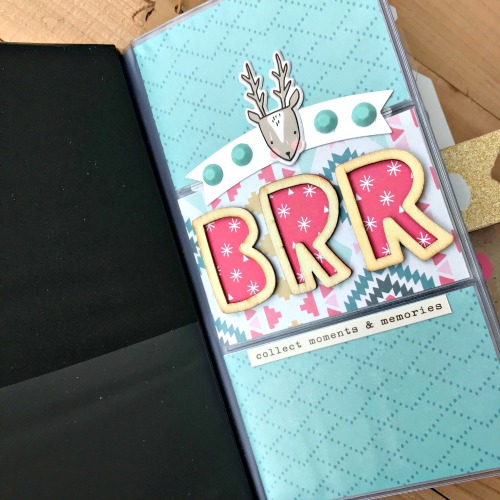
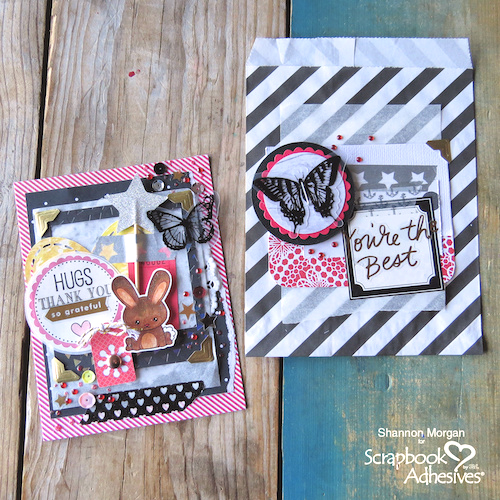
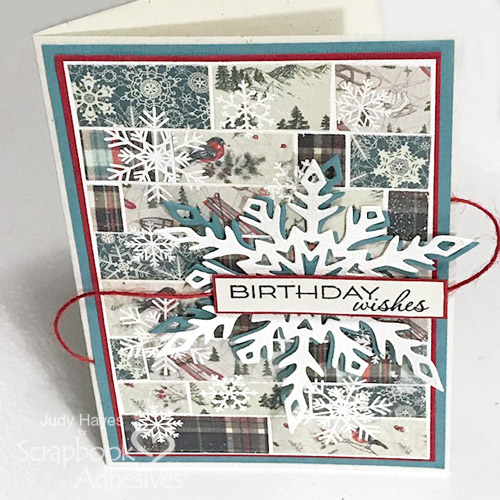
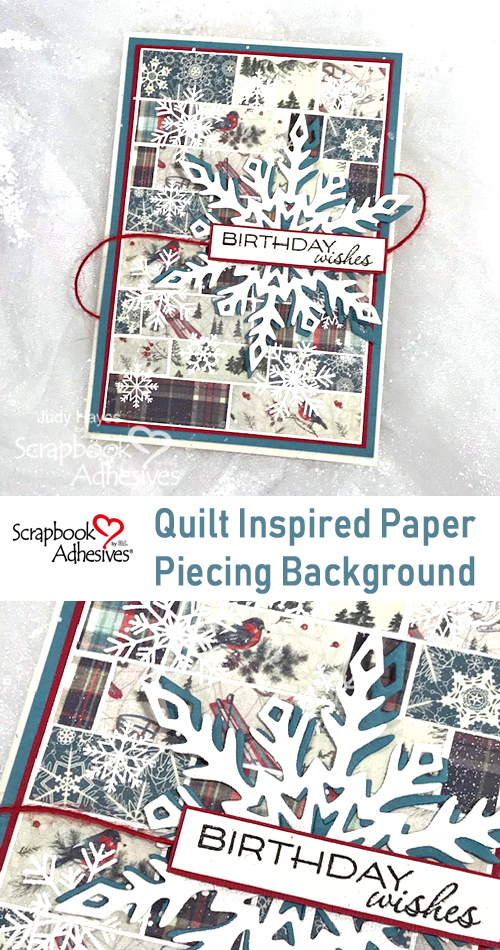
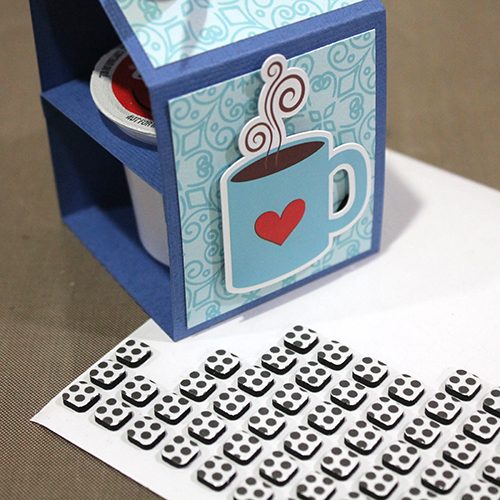
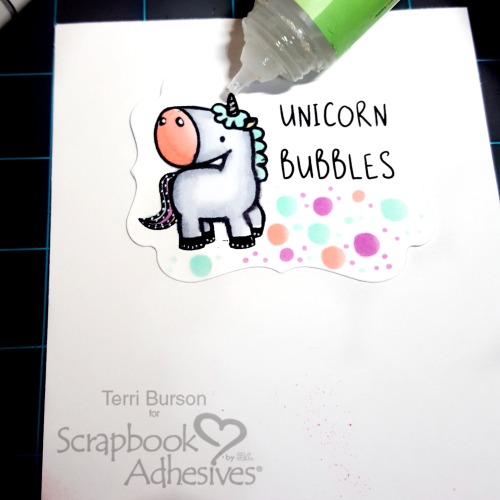
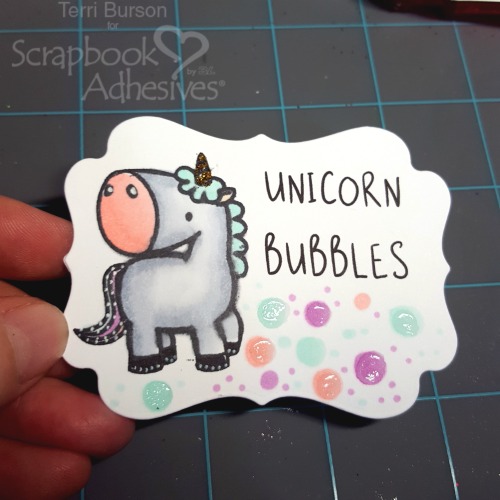
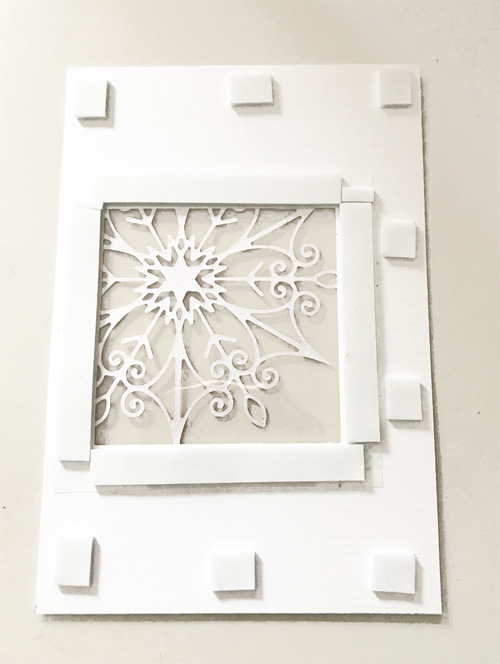
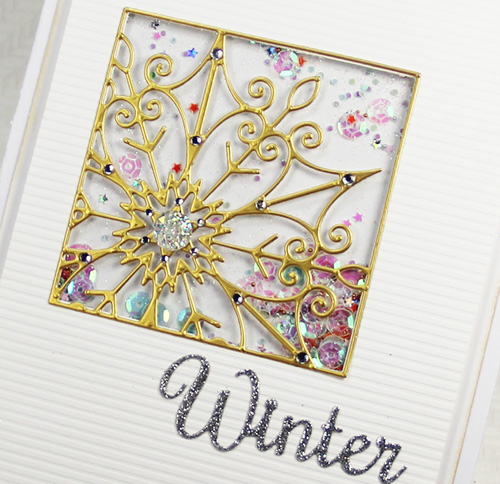
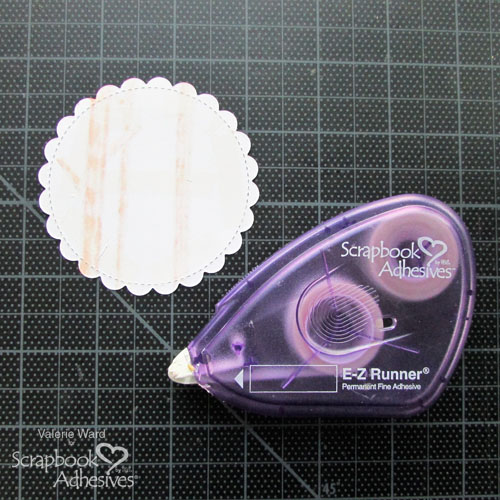
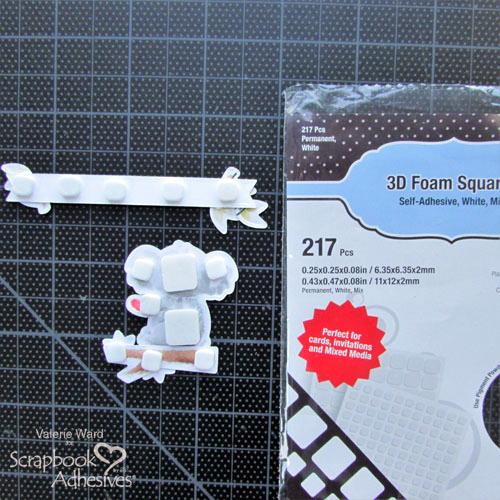
Afterward, I decorated the front with die-cut elements using the 3D Foam Circles White Mix. To create glittery snow drops, a combination of Adhesive Dots Small and Adhesive Dots Medium were used by simply adding clear glitter on top.
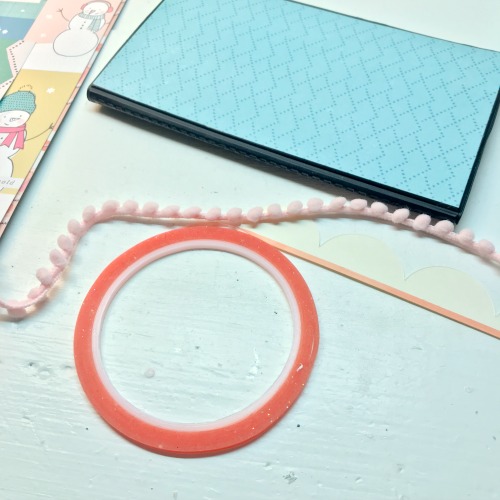
Along the edge of the album, I added a row of pom trim with the Extreme Double-Sided Tape 1/8in – a perfect width and strength to hold in place!
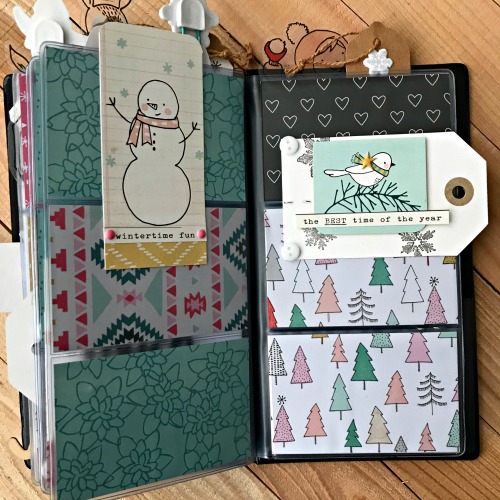
The Inside Pages
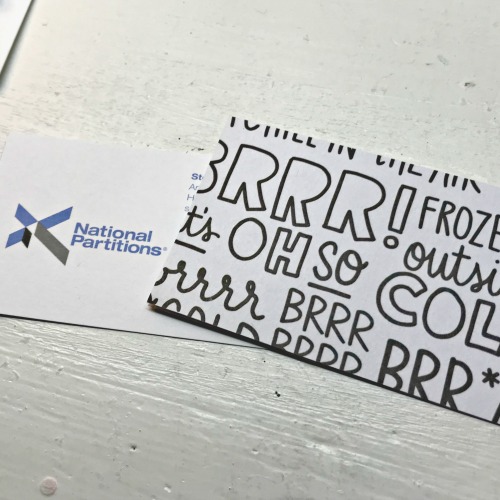
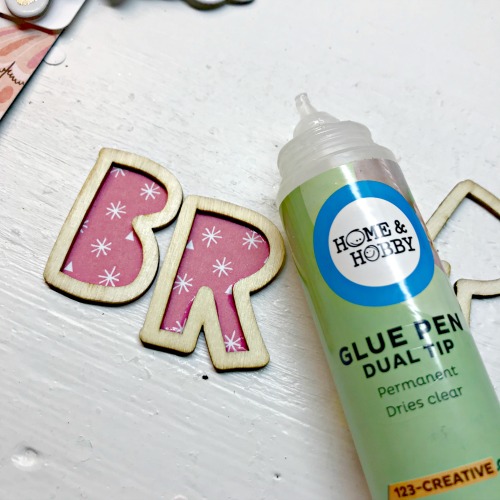
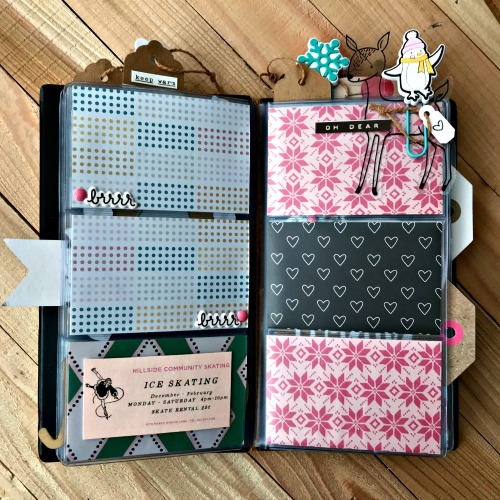
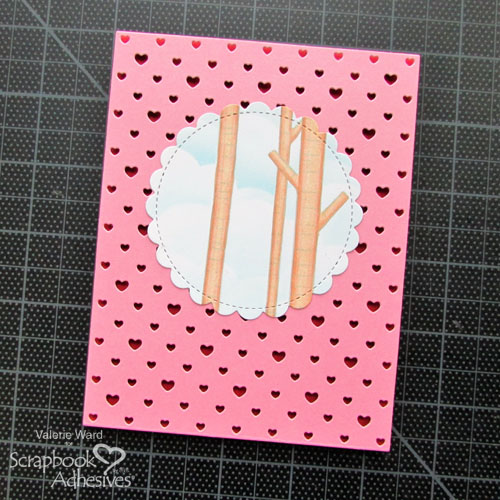
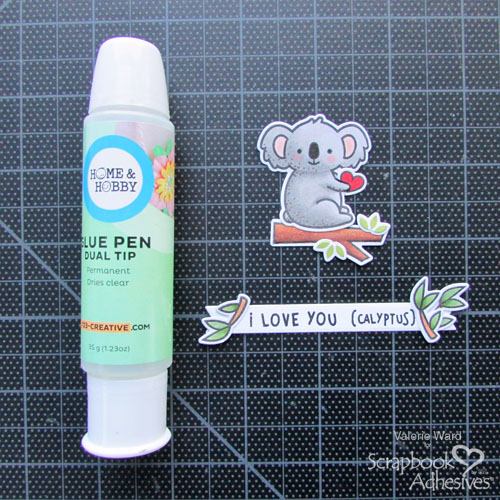
For the first page of the album, I chose to adhere the wood veneer letters to spell out “Brr.” I added paper to the openings of the letters with the Dual Tip Glue Pen.
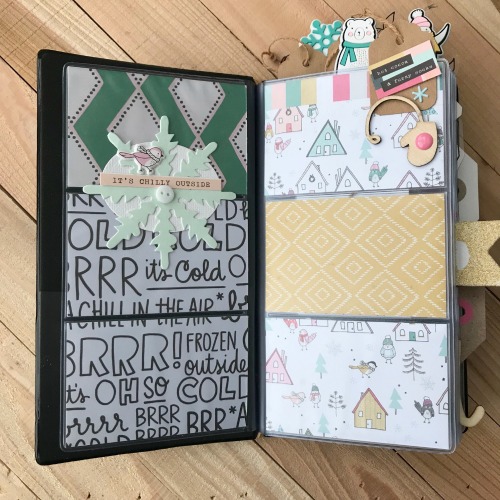
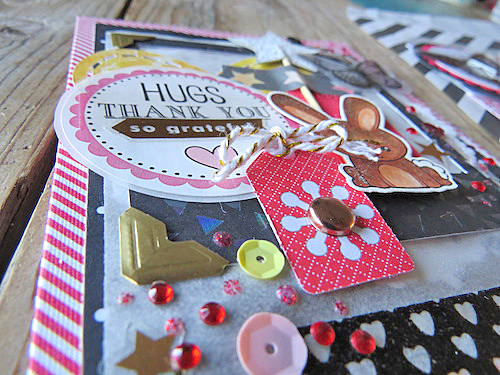
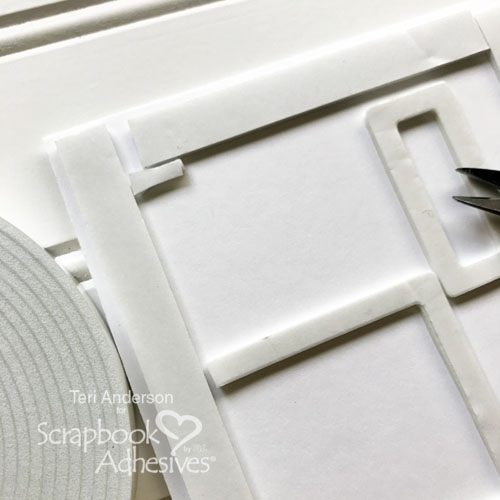
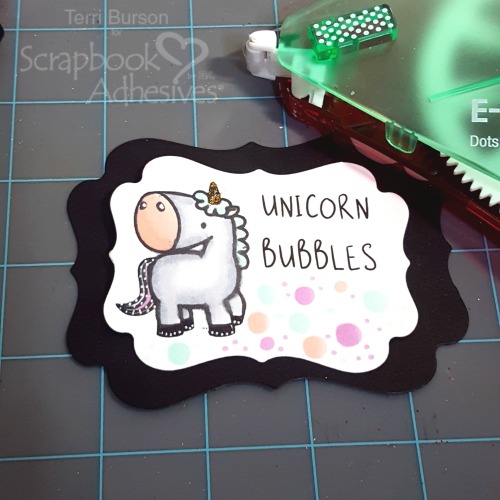
The Extreme Double-Sided Tapes worked best for attaching any of the embellishments to the top of the plastic. I also used the Adhesive Dots Small for adding the buttons throughout the album.
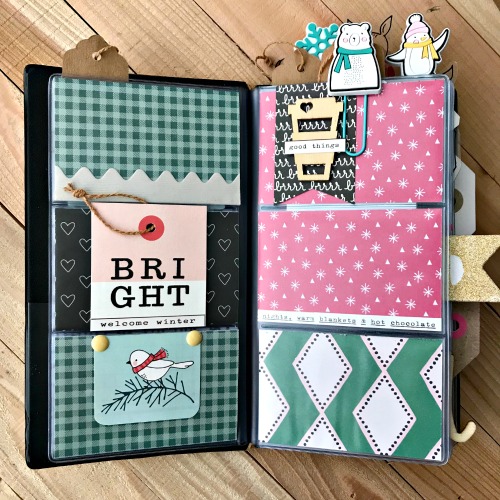
Small photos and stickers for my planner are things that I can store inside the pockets.
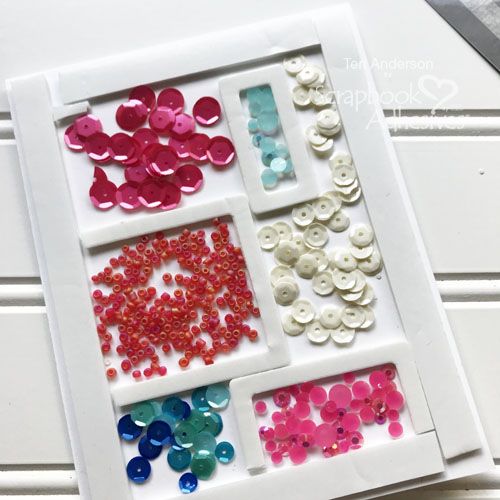
Basically, I left one section available for a photo and filled the other 2/3 of the page with stickers and embellishments!
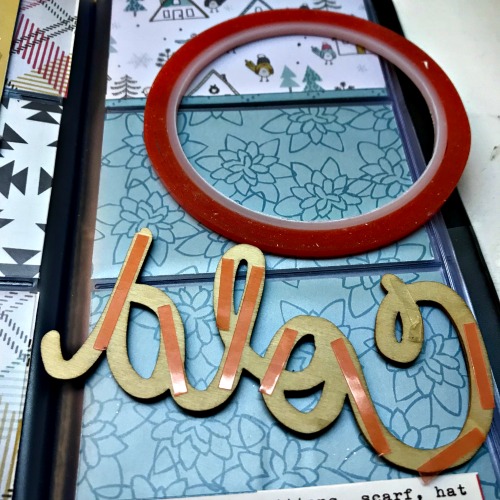
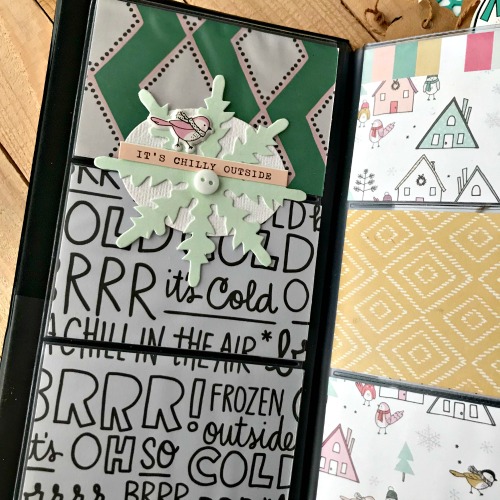
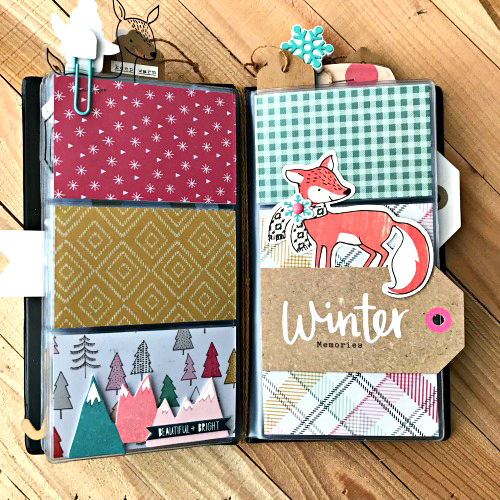
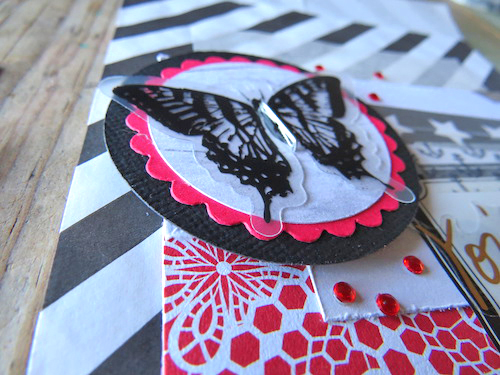
Above is another way I found to implement the Extreme Double-Sided Tape 1/8in I LOVE this stuff 🙂 Below are the remaining pages:
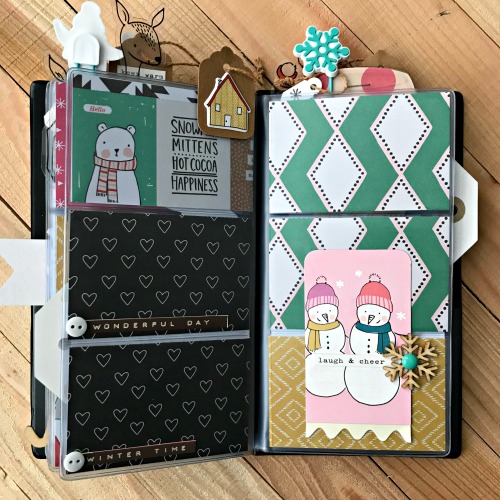
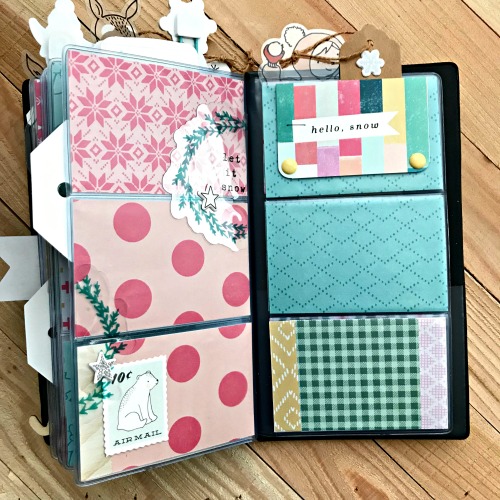

Again, I will think of this little mini as a place to store pieces for my planner, stamps, gift cards, etc. I’m sharing more detailed, close-up photos over on my blog, so be sure to come by!

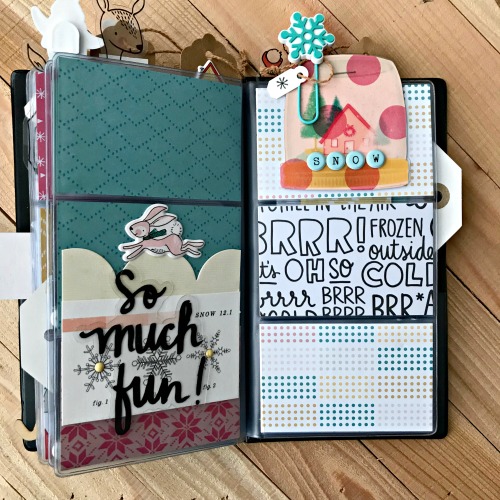
Finally, I hope that you enjoyed this project as much as I enjoyed putting it together!
Creative Time: 3-4 Hours
Skill Level: Intermediate
Materials Needed
Scrapbook Adhesives by 3L®
E-Z Runner® Grand Refillable Dispenser
E-Z Runner® Grand Ultra Strong Refill
Adhesive Dots Medium
Adhesive Dots Small
3D Foam Circles White Mix
Adhesive Sheets 6x12in
HomeHobby by 3L®
Extreme Double-Sided Tape 1/8in
Dual Tip Glue Pen
Other
Patterned Paper, Clips, Stickers, Die-Cuts (Crate Paper), Twine (May Arts Ribbon)
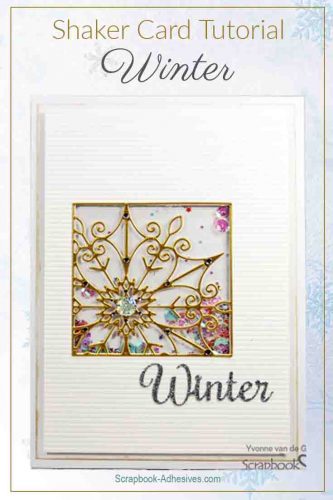
Save It to Pinterest!
Visit our Website and Blog!
Sign up for our Newsletter so you never miss a contest or giveaway!


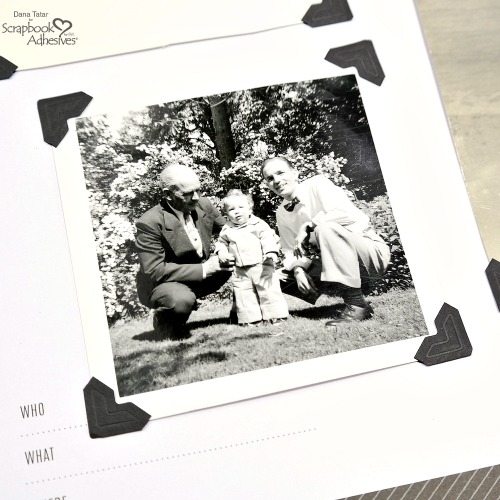
 Some of the newer photos look better when paired with