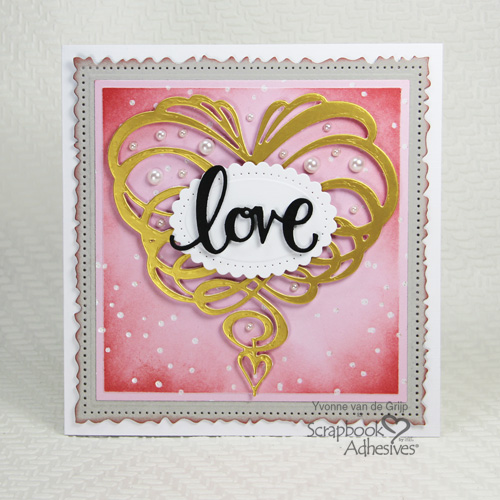
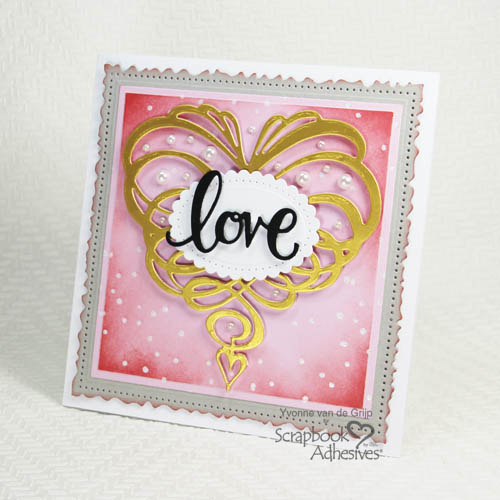
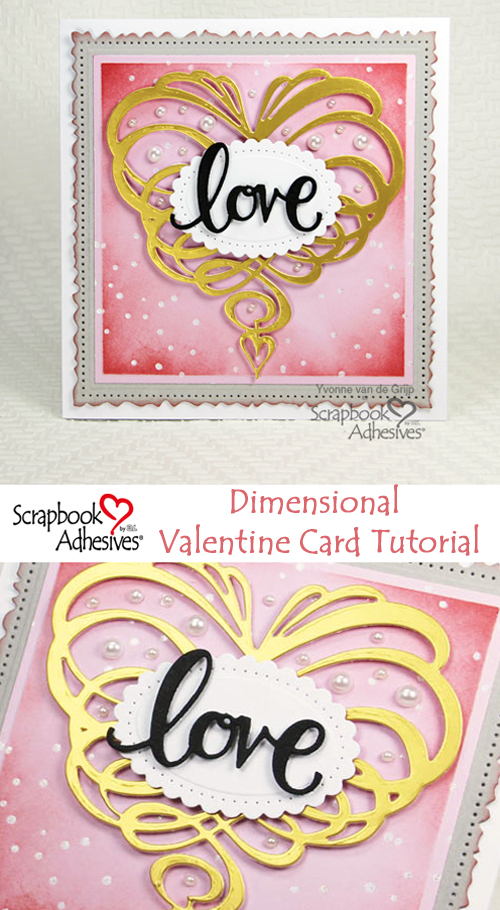
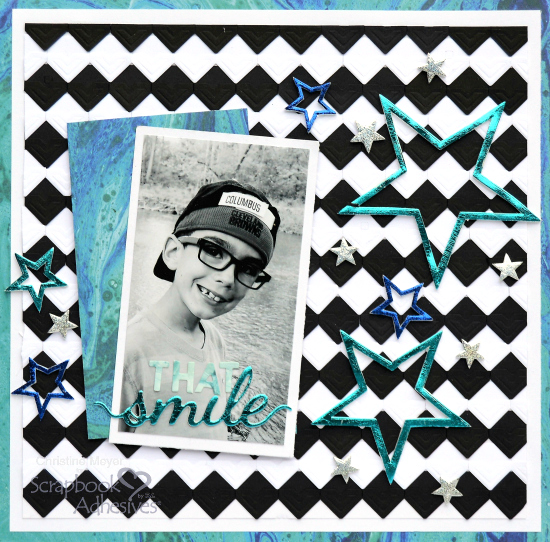
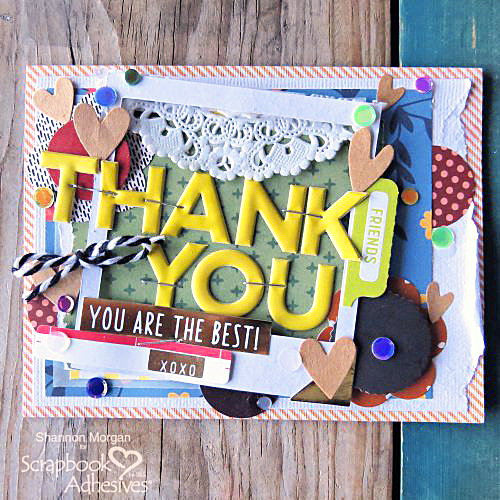
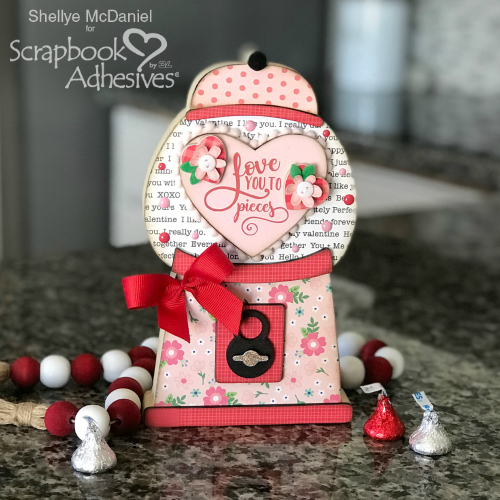
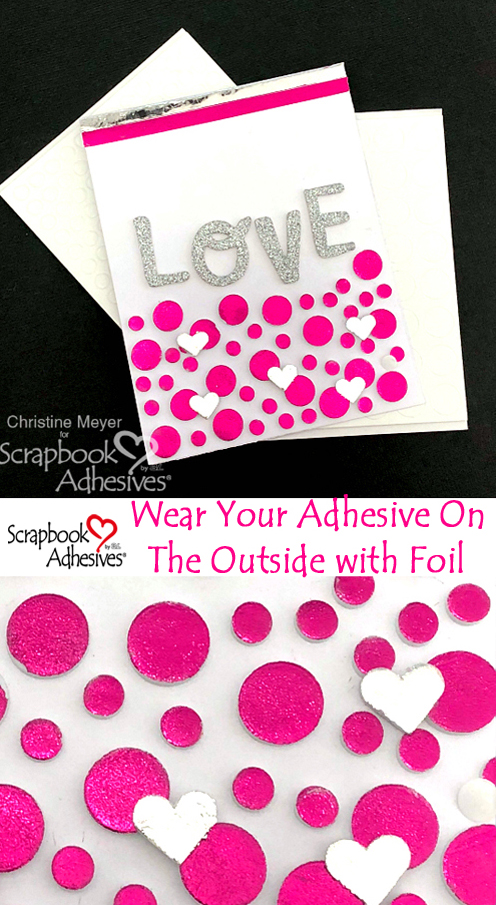
With Valentine’s Day fast approaching, we could all use some simple ideas for creating Valentines! Christine joining you today with a Valentine’s Day Foiled Card that I created from items in my stash – especially focusing on adhesives from Scrapbook Adhesives by 3L!
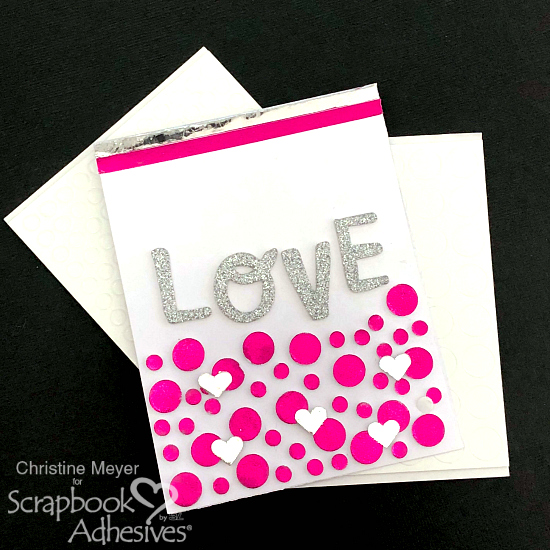
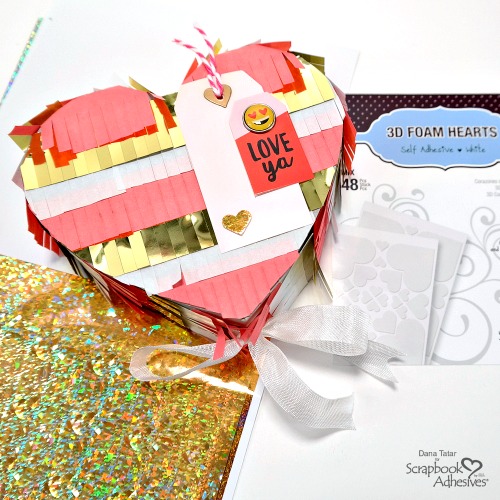
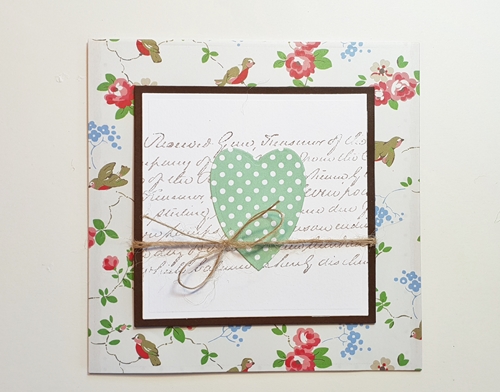
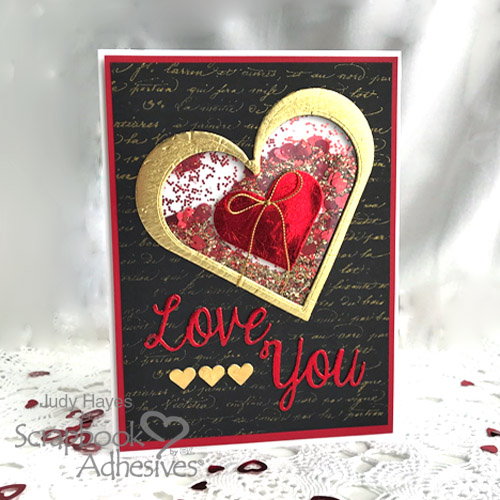
Would you believe almost all of this card is made up of 3D Foam Adhesives? When you Wear Your Adhesives on the Outside, it’s easy to create without even needing patterned paper.
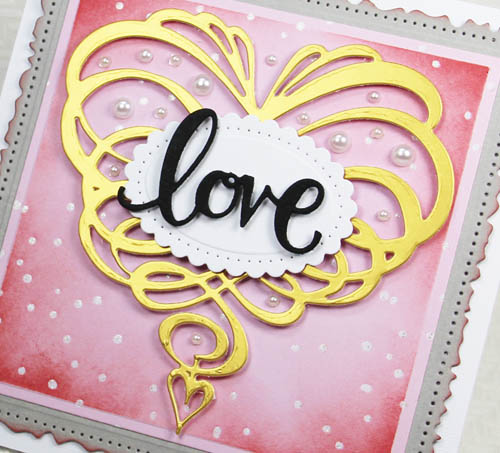
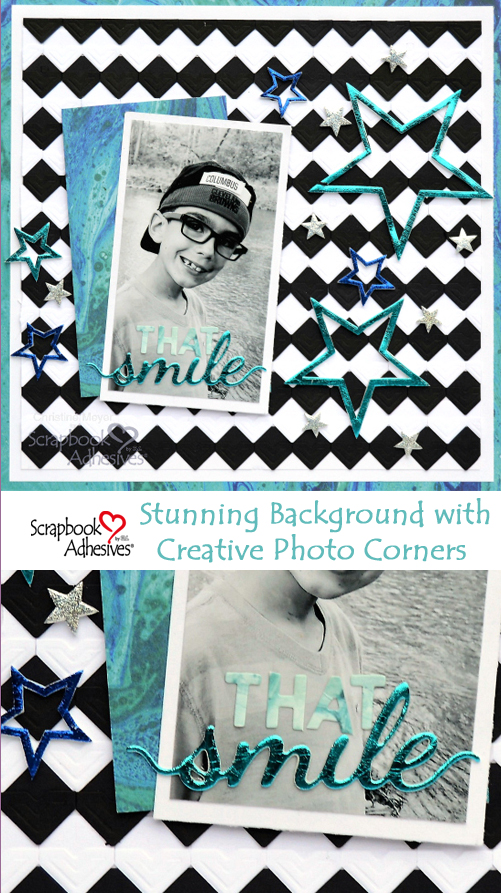
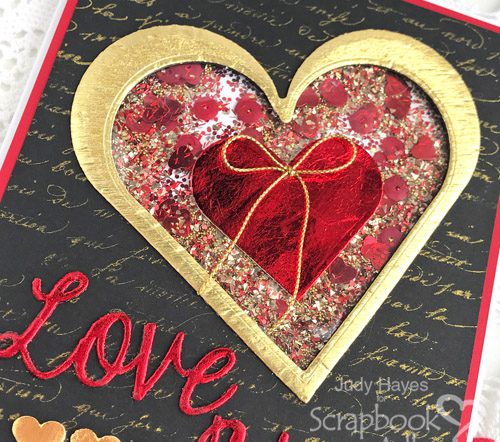
Foiled Card Close-Ups
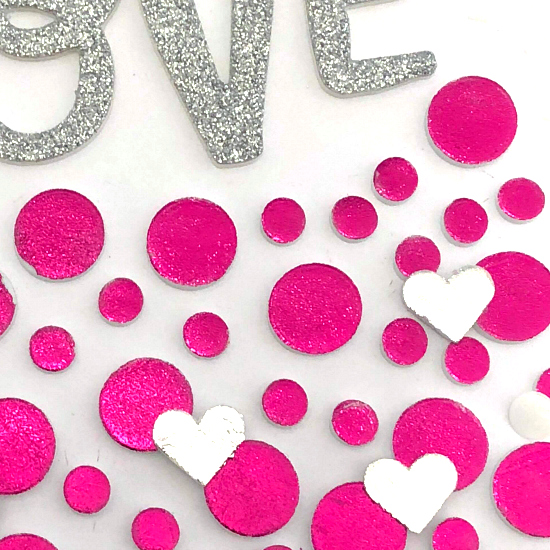
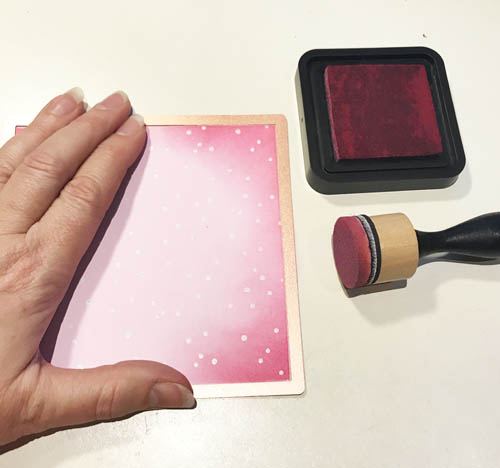
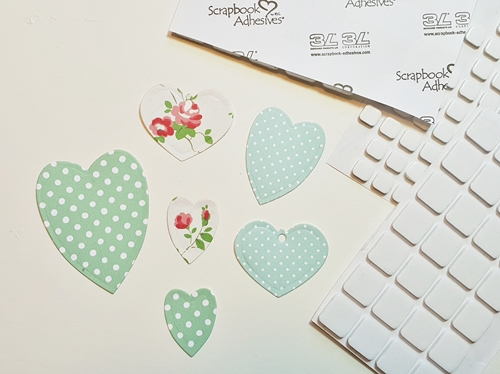
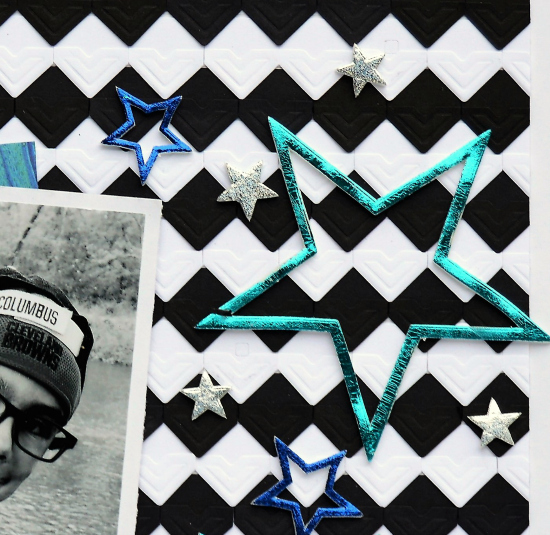
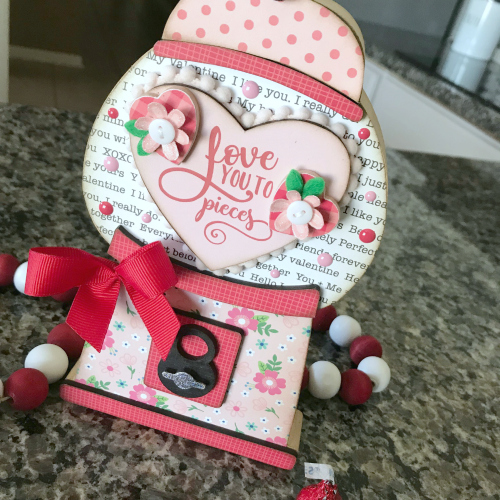
To create the bottom of my Valentine’s Day Foiled Card, I simply created a collage of both sizes of the 3D Foam Circles. Once I was satisfied with how they looked I unveiled the adhesive and added the Magenta foil to them. In addition to being gorgeous, our Metallic Transfer Foil Sheets are very user-friendly and come in a wider variety now!
I topped the hearts with a limited number of 3D Foam Hearts foiled with Silver Foil. I did this just to add a quick accent embellishment to the circles.
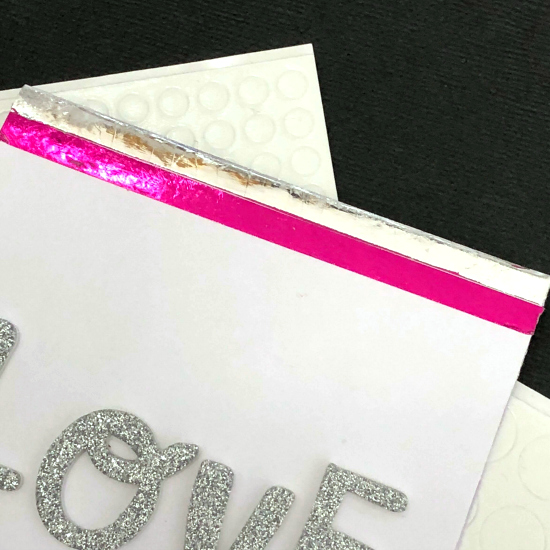
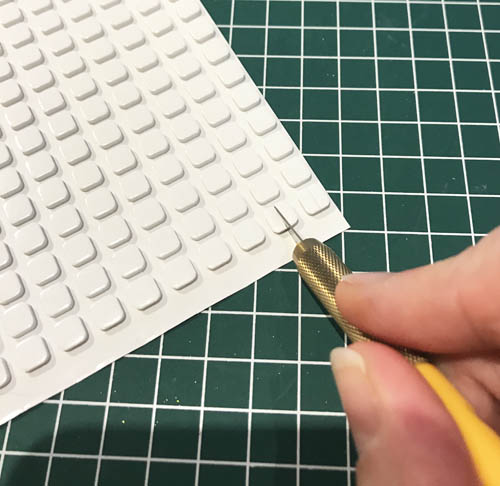
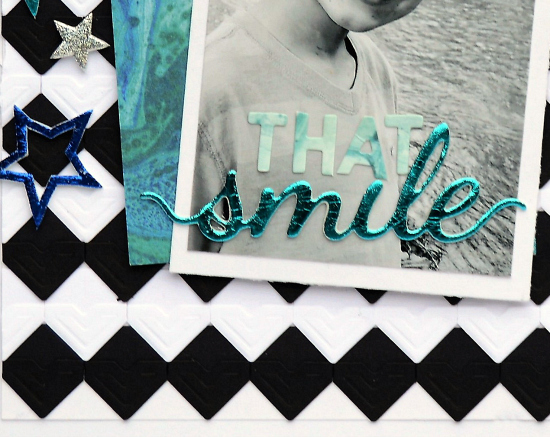
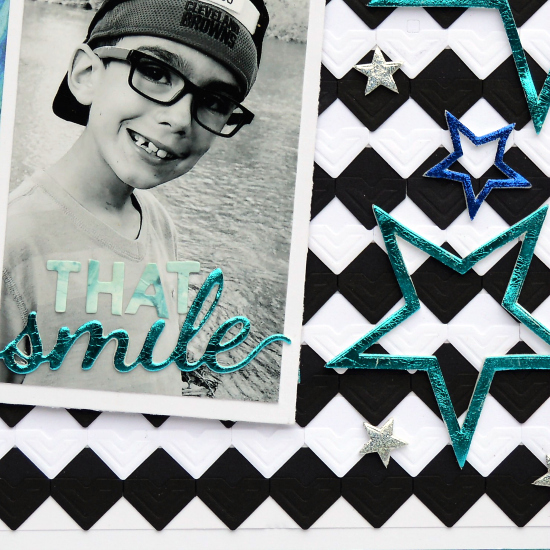
For the top portion of my card, I used the Extreme Double Sided Tape 1/8″ unveiling one strip at a time to add foil. Although my sentiment is just a sticker from my stash, you could pretty easily make this with our 3D Foam Creative Sheets (available in a variety of sizes now too) and some foil!
Foiled Card Process Video
As always, I have a quick video to share with you that walks you thru the entire process showing you just how easy and user friendly this technique can be!
Thanks so much for joining me today – be sure to check out all the new Foils we have available!
-Christine
Skill Level: Beginner
Time Required: 30 Minutes
Materials Needed
Scrapbook Adhesives by 3L®
Metallic Transfer Foil Sheets Holographic
Metallic Transfer Foil Sheets Variety
3D Foam Hearts
3D Foam Circles White Mix
HomeHobby® by 3L
Extreme Double-Sided Tape 1/8in
Pin It!
Visit our Website and Blog!
Sign up for our Newsletter so you never miss a contest or giveaway!