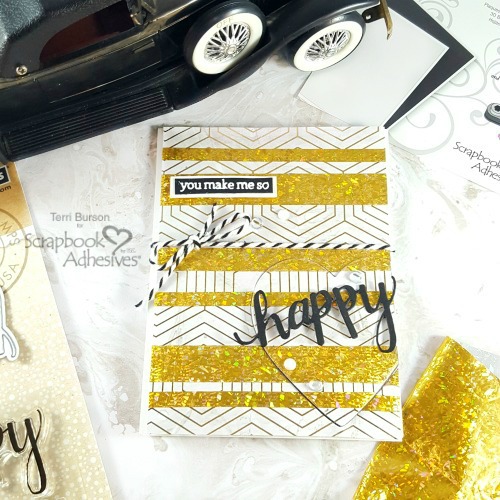
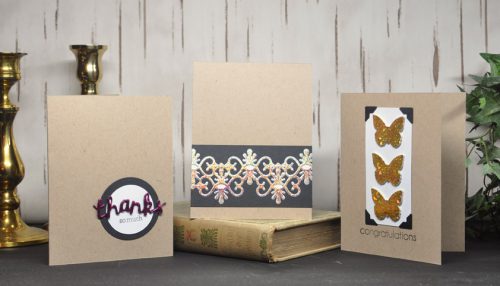
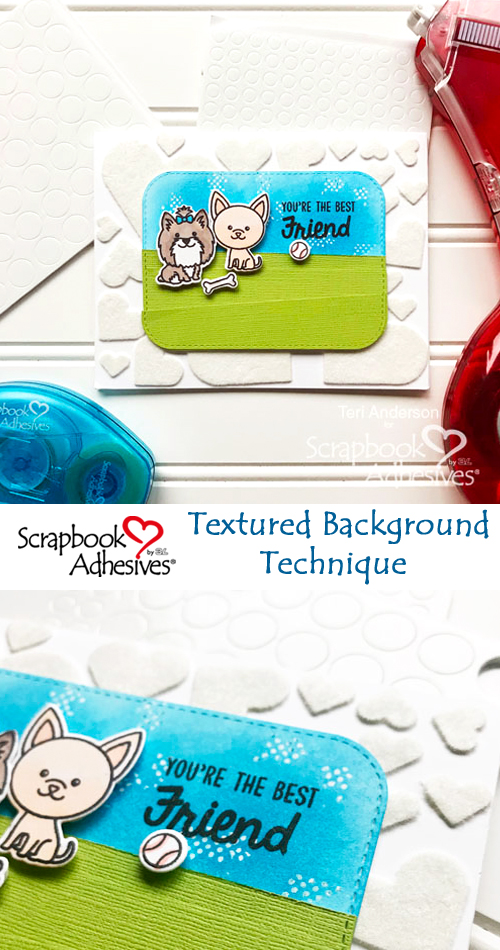
Hi, everyone! Teri here with a stamped card today that features fun textured inked sky that was easy to create with a little ink, cardstock and adhesive from Scrapbook Adhesives by 3L®.
Creating the Textured Background with Ink
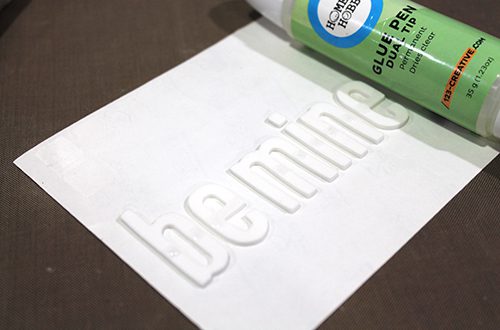
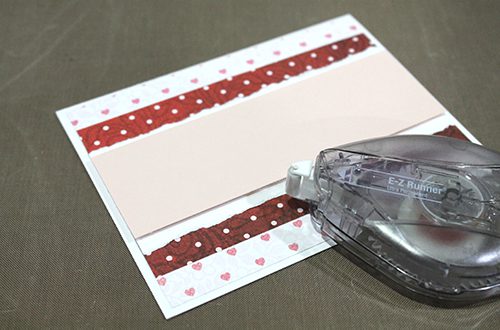
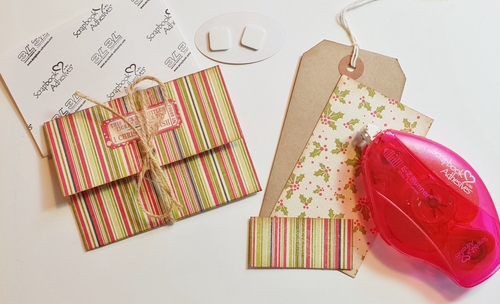
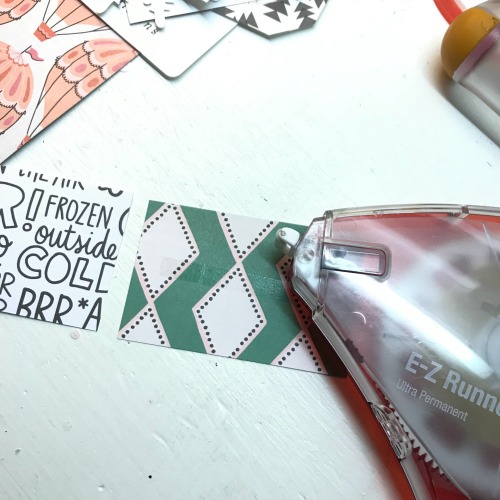
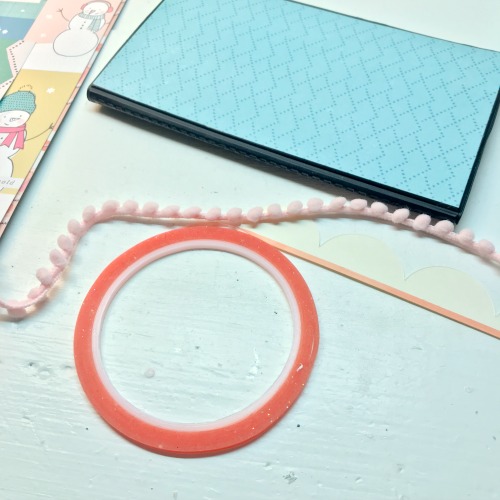
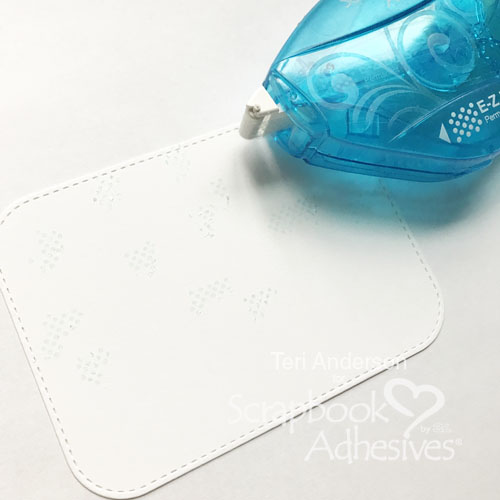
Start with a panel of white cardstock. Use an E-Z Dots® Permanent Refillable Dispenser to randomly apply some dots to it. Make sure your dots are in small groups that are 1/2 inch to an inch long! Go longer and you’ll end up with lines in your sky!
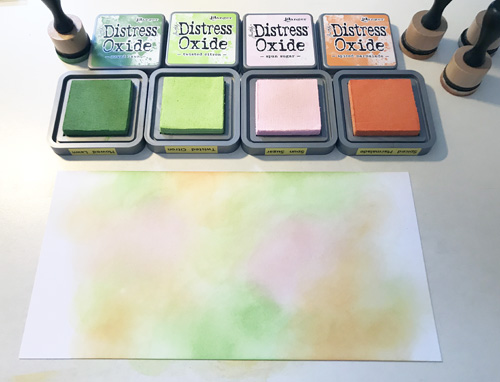
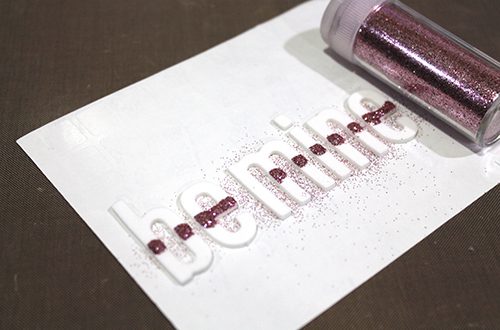
Take a blending sponge and cover it with blue ink. Slowly blend the ink in circles onto the panel.
Apply the ink lightly at first. Keep adding on layers of ink to darken the ink up and expose the adhesive dots.
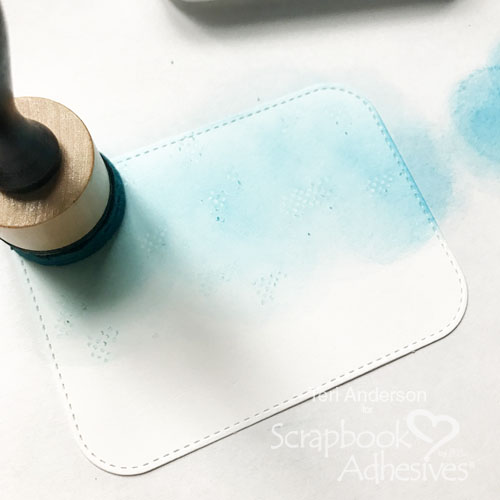
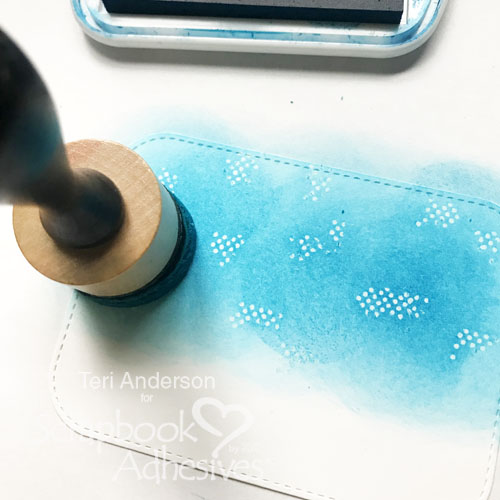
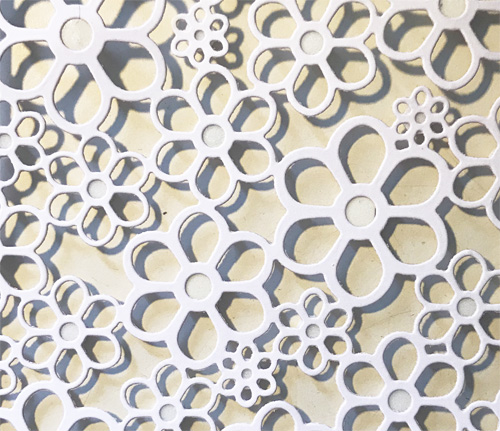
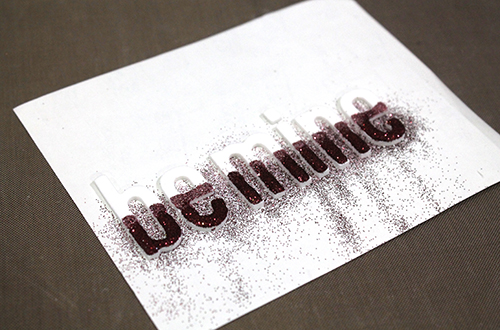
Once you’ve added as much ink as you desire, use your fingers (or a paper towel) to rub off the dots. You’ll end up with a cool textured ink sky!
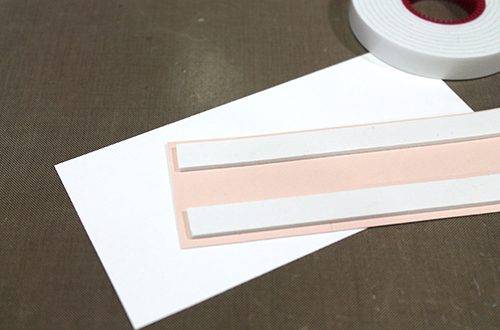
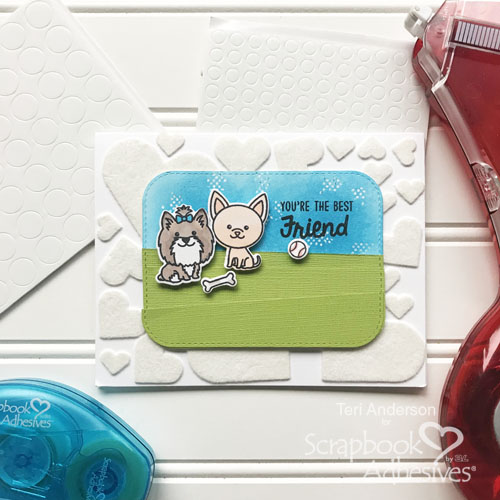
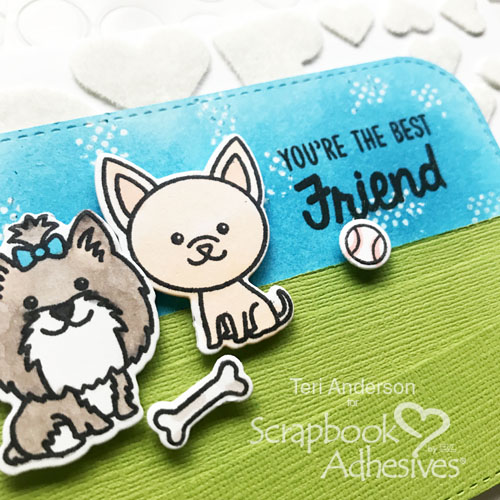
Complete your panel by adding some strips of cardstock to mimic grass to it. You’ll also want to add a few stamped critters and a sentiment. Don’t have friendship stamps like the ones I used? That’s OK! Use something you already have.
Creating a Flock Textured Background
Once you’ve completed the panel, you can adhere it to a card! Want to kick things up a notch? Make a textured background on your card! It’s easy!
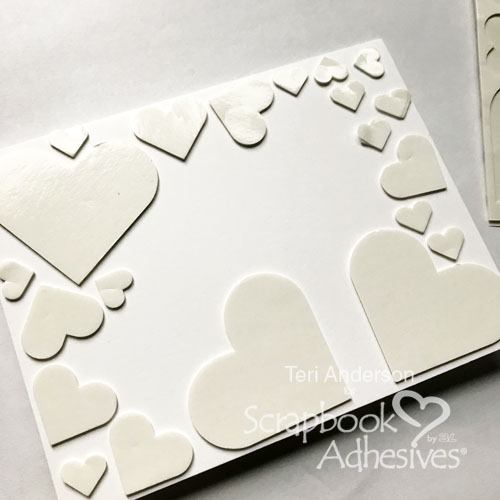
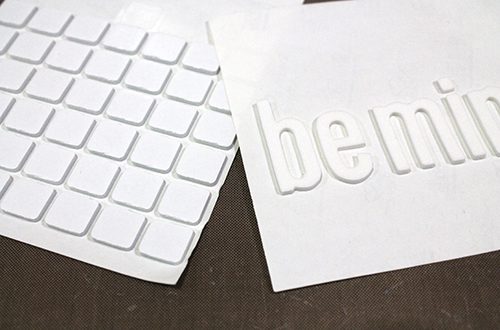
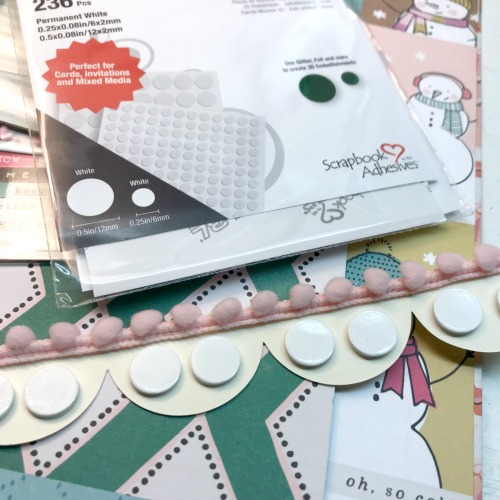
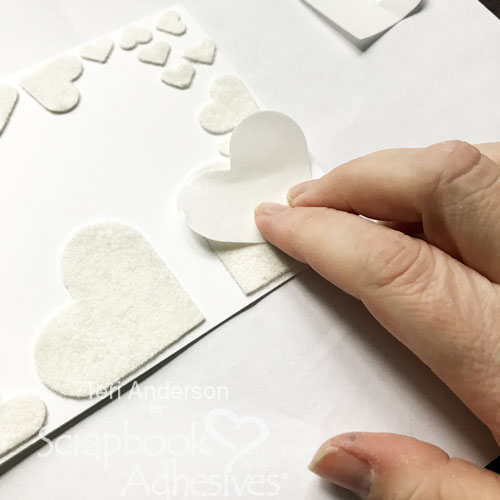
Grab some 3D Foam Hearts and randomly adhere them on the card. Don’t worry if they are all facing the same direction here. You are going for an unexpected but fun look!
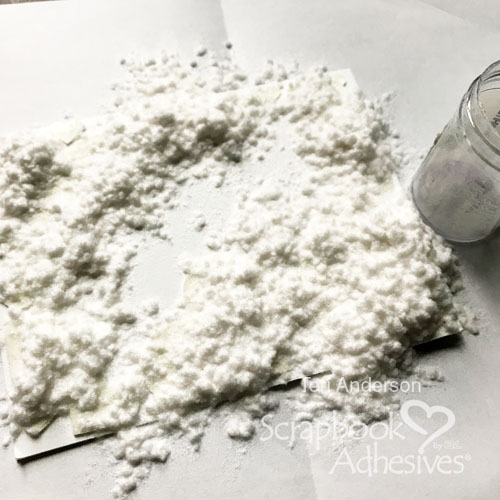
Remove the backing paper from the hearts. Dump flock onto them. Push the flock onto the hearts to make sure they are covered completely with the flock. Remove the excess flock.
Now, you want to do one more round of burnishing. That’s because you really want to make sure the flock is not going to come off the hearts. Take the backing paper from one of the large hearts and rub it onto each of the hearts. (You can also burnish flock with wax paper, but I find the leftover backing paper works just as well!)
Once you’ve completed your flock textured background, add the inked panel to your card.

Creative Time: 45 Minutes
Skill Level: Beginner
Materials Needed
Scrapbook Adhesives by 3L®
E-Z Runner® Grand Refillable Dispenser
E-Z Dots® Permanent Refillable Dispenser
3D Foam Hearts
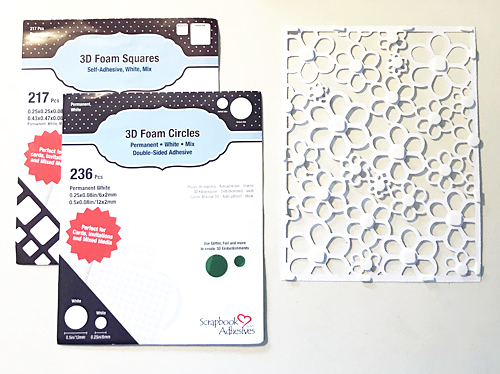
3D Foam Circles White Mix
Other
Puppy Parents and Puppy Dog Kisses Stamps and Dies by Sunny Studio Stamps; Furever Friends Stamps by Sunny Studio Stamps; Rectangle Die by My Favorite Things; White Flock by Stampendous!; Blue and Black Ink Pads; Markers; Green and White Cardstock
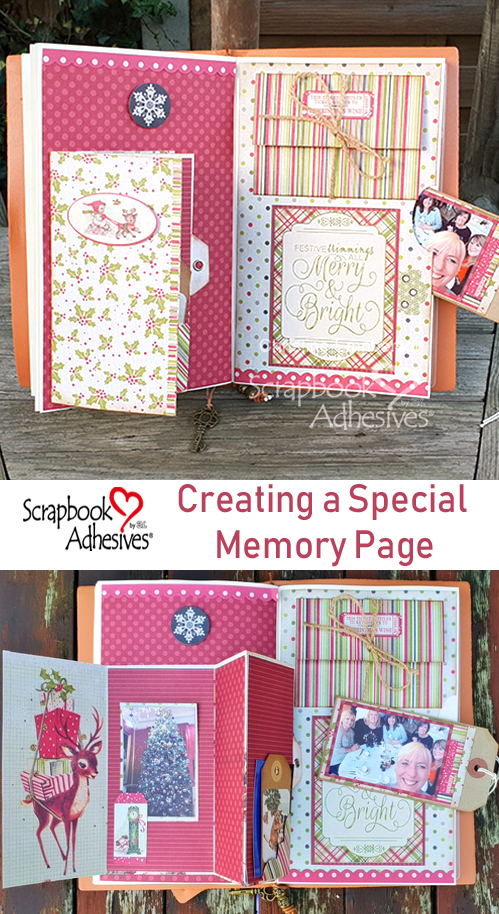
Save It to Pinterest!
Visit our Website and Blog!
Sign up for our Newsletter so you never miss a contest or giveaway!