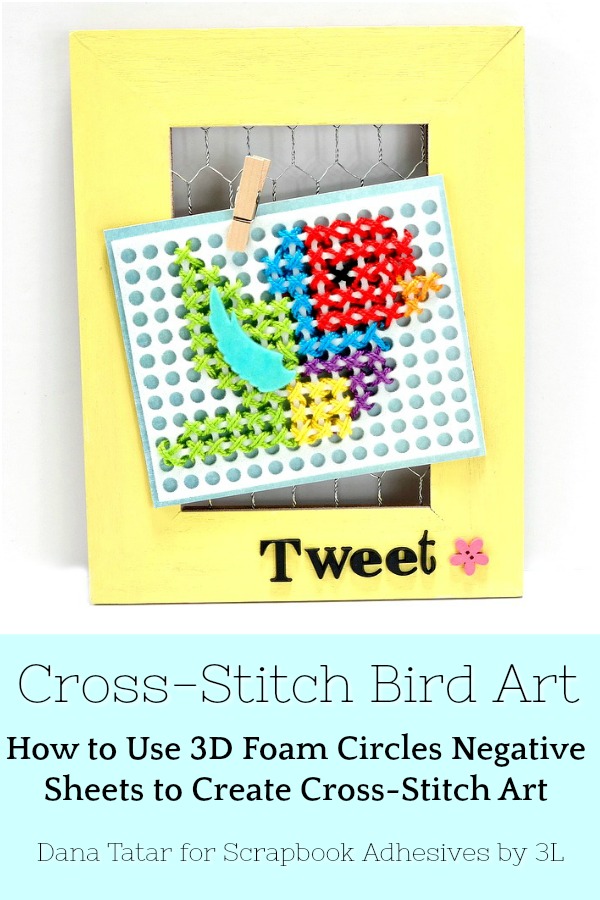
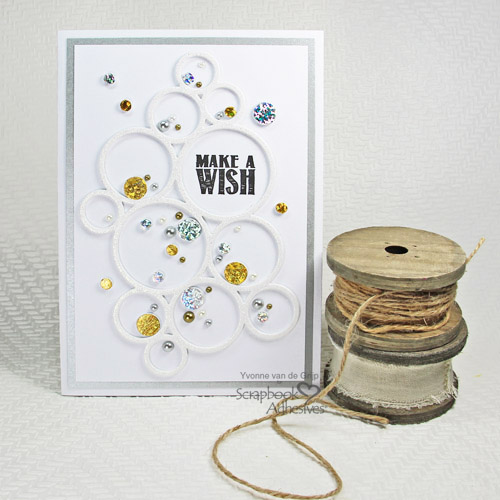
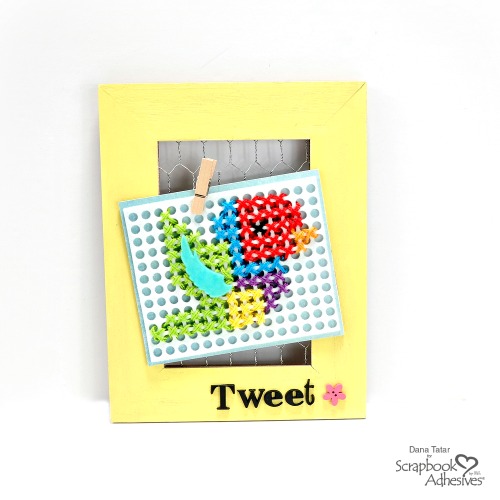
Hi friends! Dana Tatar here today sharing how I created a piece of cross-stitch art. I used a White 3D Foam Circles negative sheet. Don’t throw away your empty 3D foam sheets! Instead, use it to highlight a fun stitching technique. I had a great time creating this delightful home décor craft that has me thinking Spring!
How to Create Cross-Stitch Art on 3D Foam Circles Negative Sheets
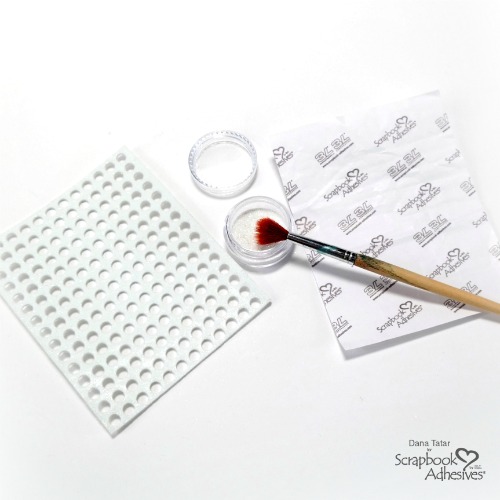
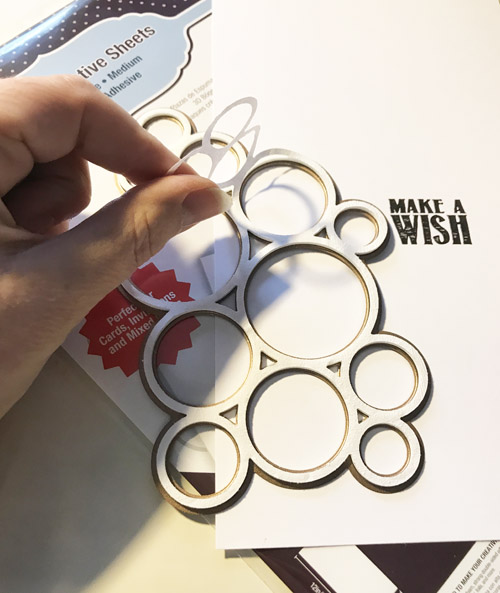
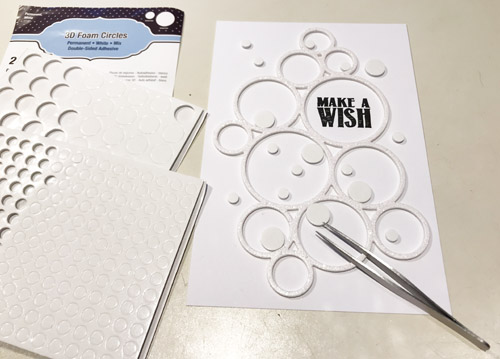
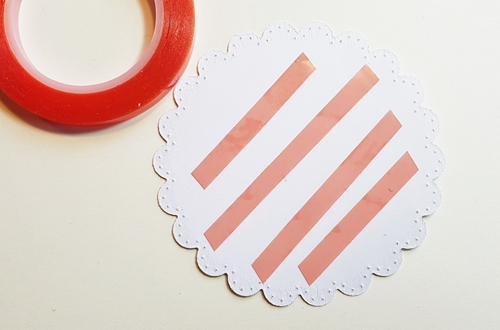
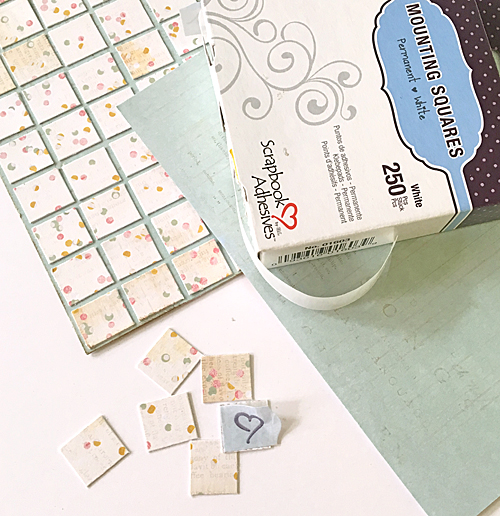
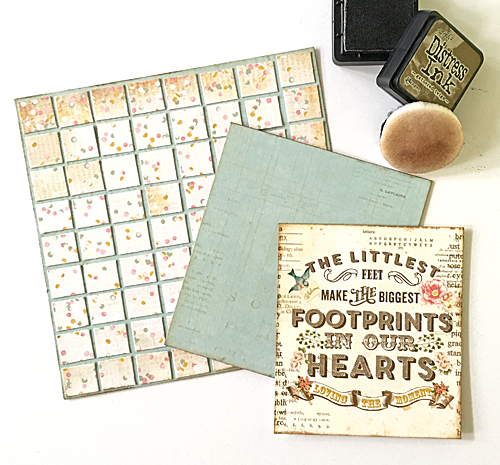
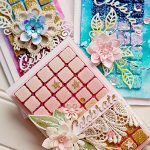
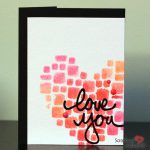
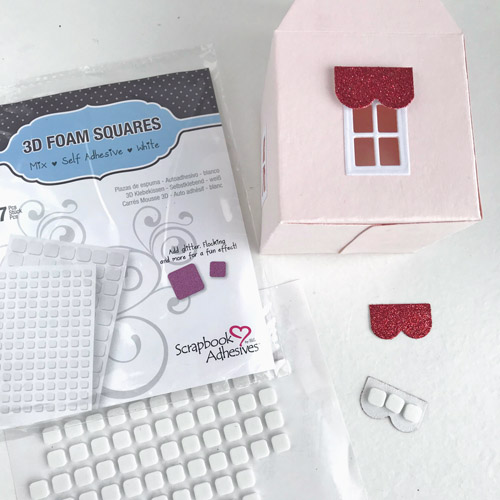
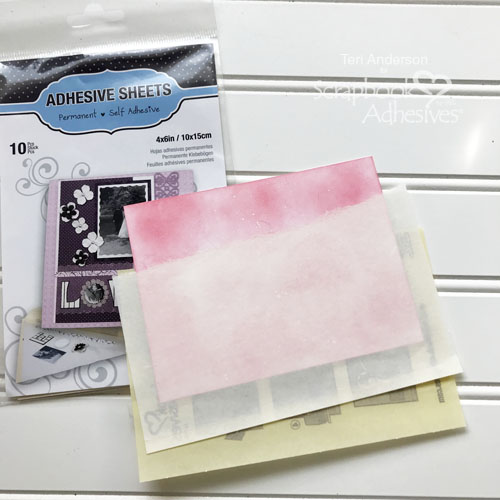
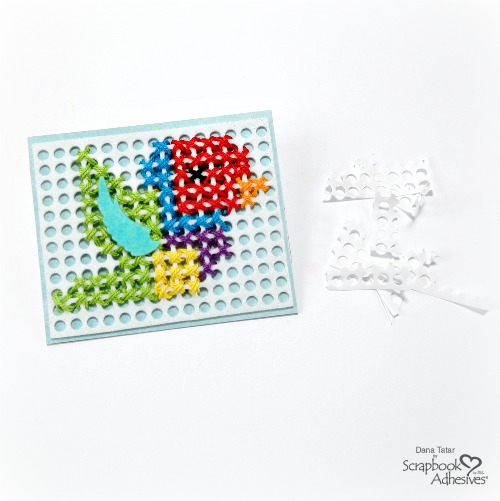
Peel the liner from the back of a sheet of Small White 3D Foam Circles. Cover the adhesive on the negative sheet with the white glittered flock. Use a soft brush to help spread and stick the flock to the adhesive.
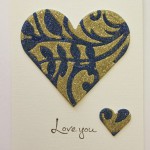
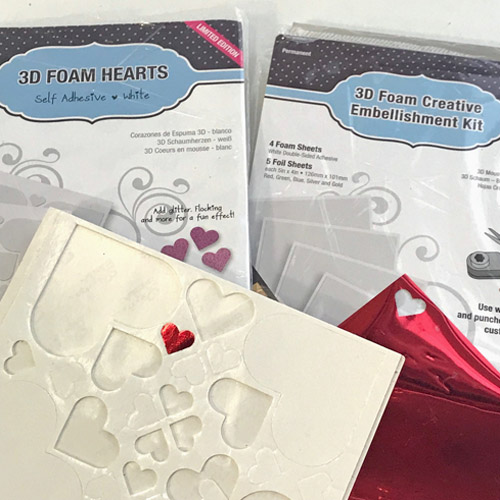
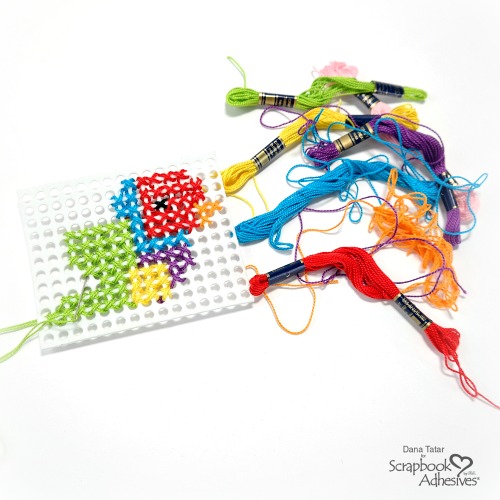 Cross-stitch a colorful bird onto the negative sheet using a needle and floss.
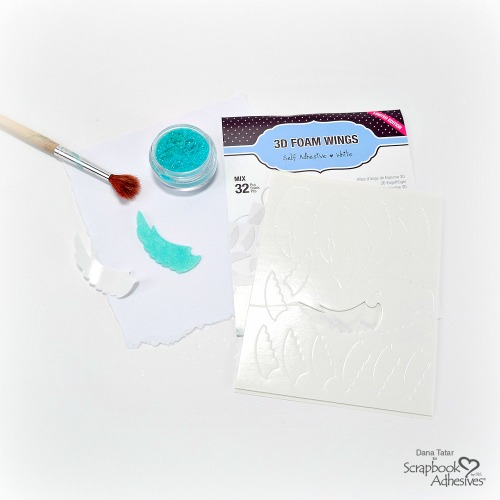
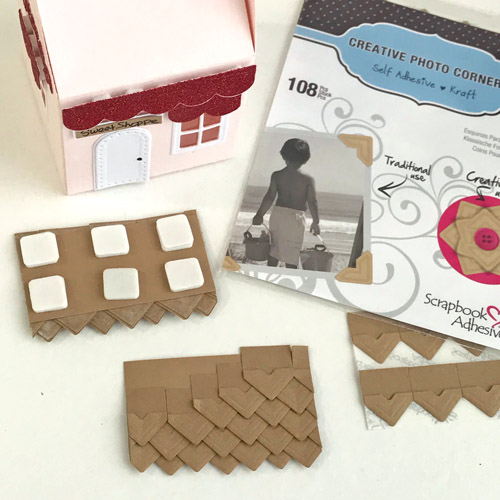
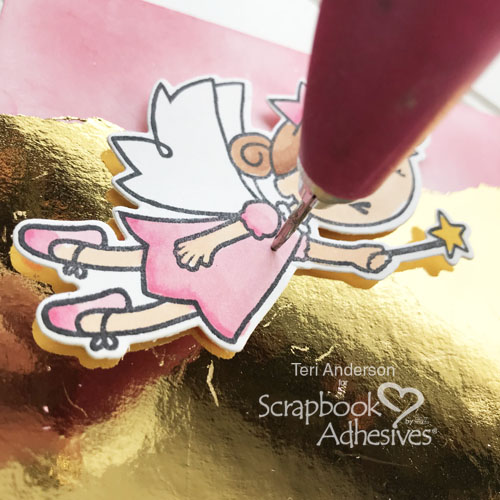
Peel the liner from the top of a 3D Foam Wing. Cover the adhesive with the blue glittered flock. Use a soft brush to help spread and stick the flock to the adhesive. Remove the liner from the back of the wing and stick it onto the cross-stitched bird.
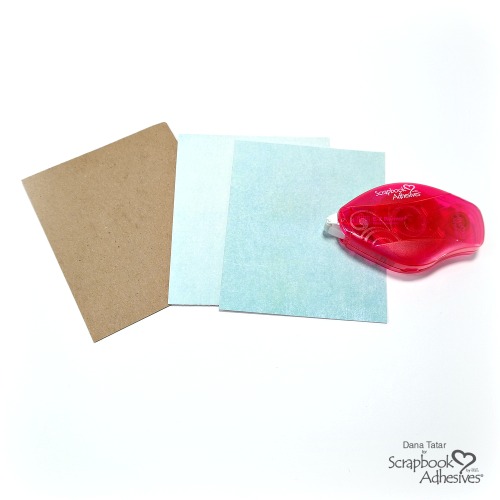
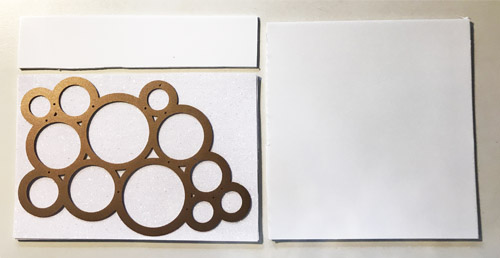
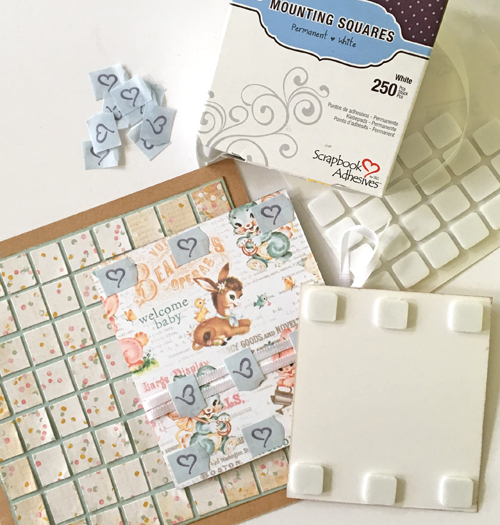
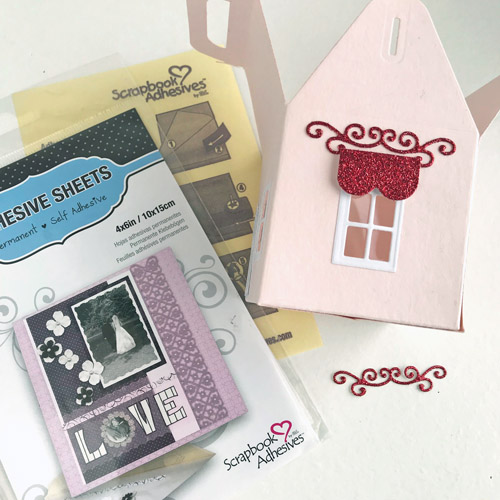
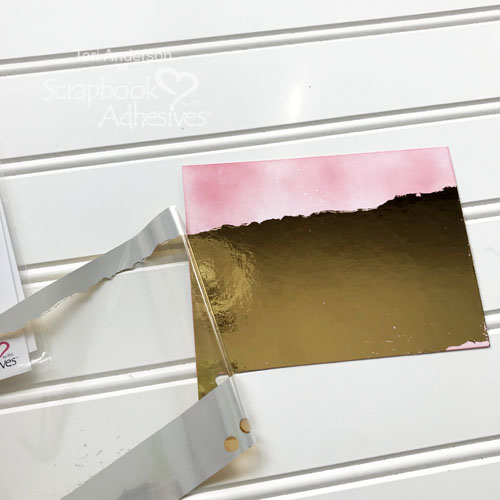
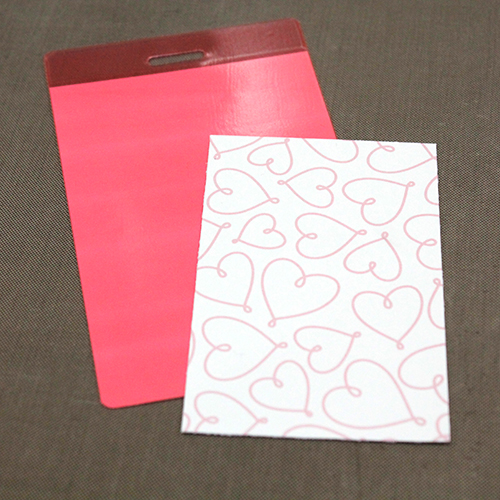
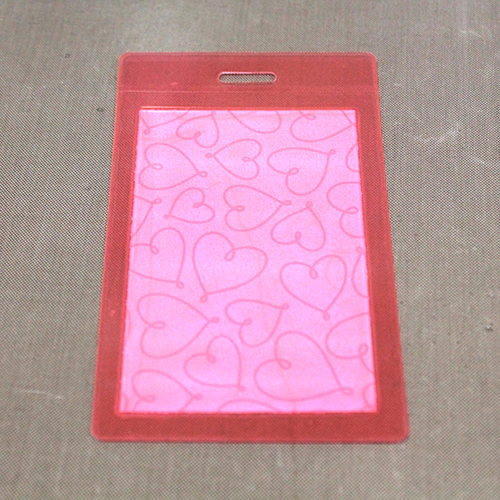
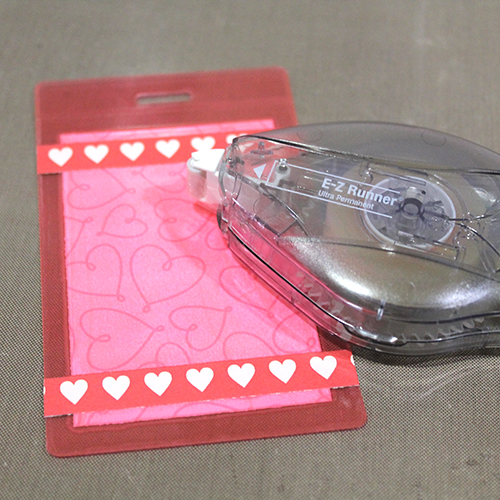
Create a backing board for the stitched artwork. Cut a piece of cardboard slightly larger than the negative sheet. Cut patterned paper to cover the cardboard. Adhere the patterned paper to the front and back of the cardboard using E-Z Squares.
Peel the remaining liner from the back of the negative sheet. Press the stitched embellishment onto the front of the paper covered board.
How to Paint and Embellish a Frame for Cross-Stitch Art
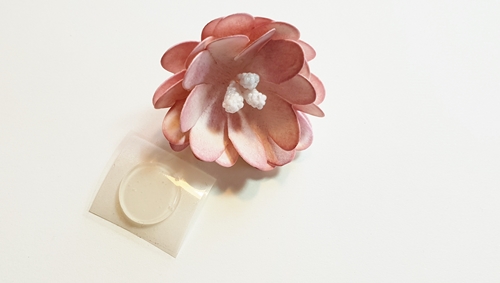
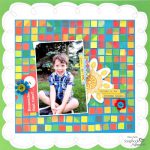
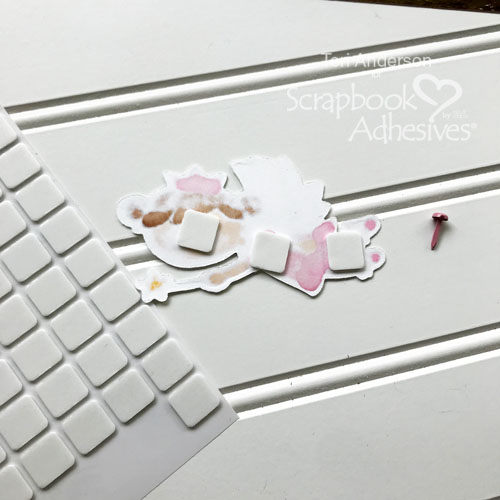
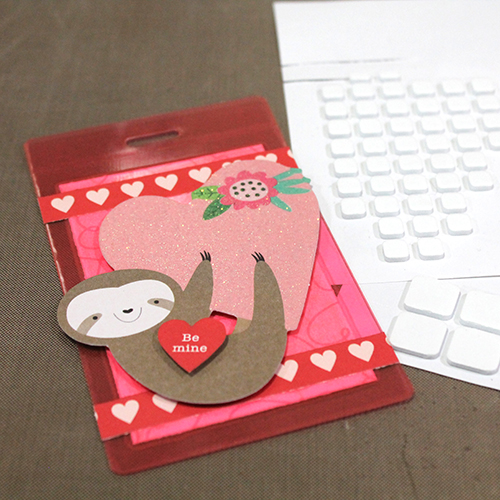
 Paint a wood chicken wire frame with a bright color of acrylic paint. Next, use the Dual Tip Glue Pen to add letters along the bottom edge of the frame. Finally, use Small Adhesive Dots to add colorful embellishments to the frame, like the flower button shown above.
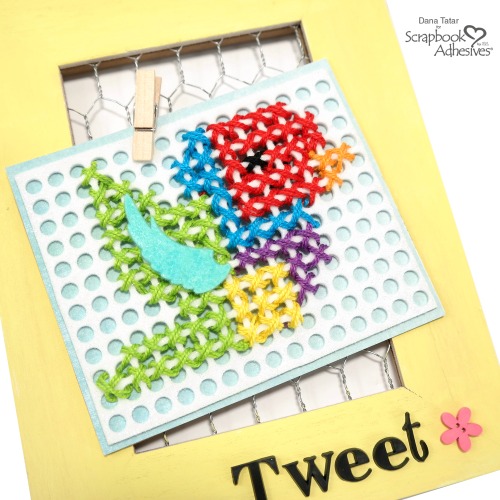
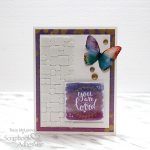
Attach the piece of cross-stitch art to the frame with a clothespin and display!
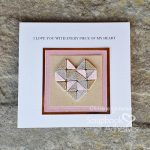
Thanks for stopping by today. I hope I have inspired you to use every bit of your 3D Foam sheets! For more project ideas, check out my previous post where I use an entire sheet of Black 3D Foam Circles to create two cards. One card features all of the 3D Foam Circles. The other card highlights a fun stitching technique that uses the 3D Foam negative sheet.
~Dana
Creative Time: 90 Minutes
Skill Level: Intermediate
Materials Needed
Scrapbook Adhesives by 3L®
3D Foam Circles White Mix
3D Foam Wings
E-Z Squares Refillable Dispenser
Adhesive Dots Small
HomeHobby by 3L®
Dual Tip Glue Pen
Other
Embroidery Floss, Needle, Glitter Flock, Patterned Paper, Cardboard, Plastic Letters, Wood Flower, Chicken Wire Frame, Clothespin
Pin It!