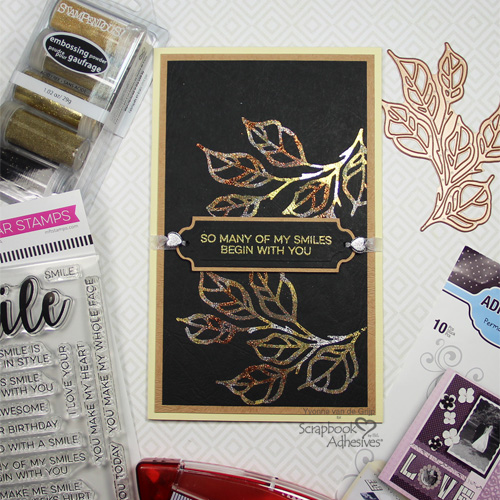
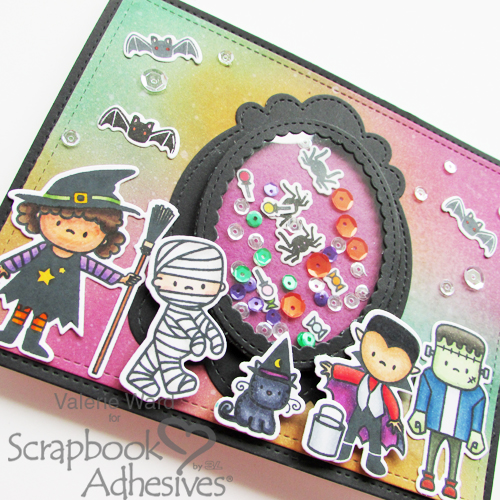
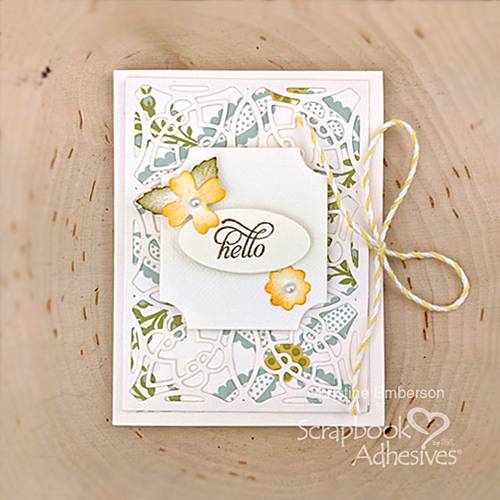
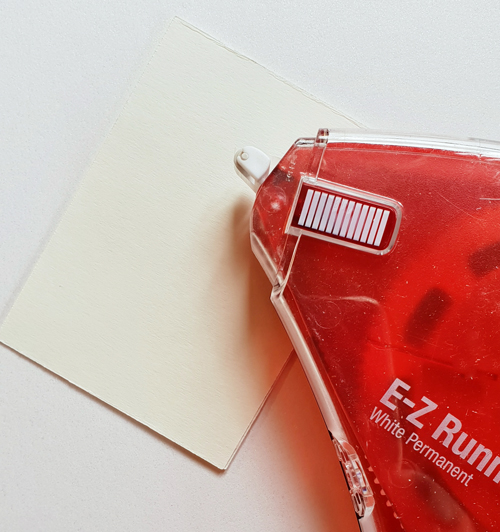
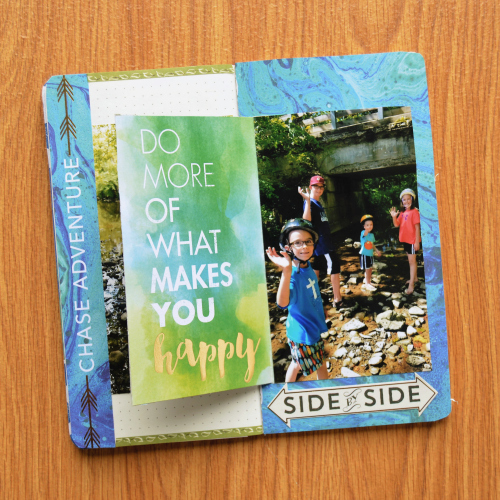
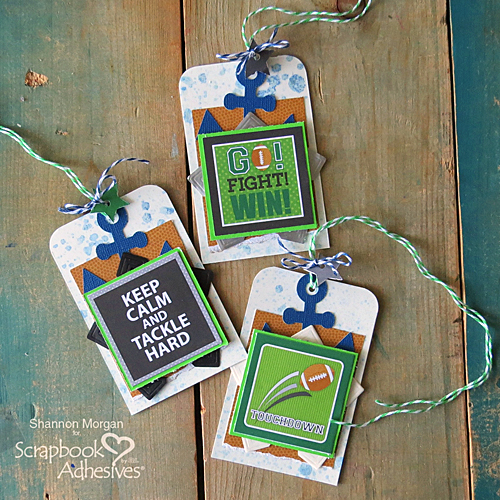
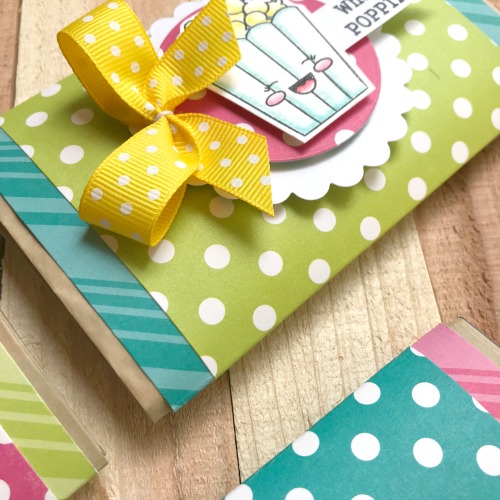
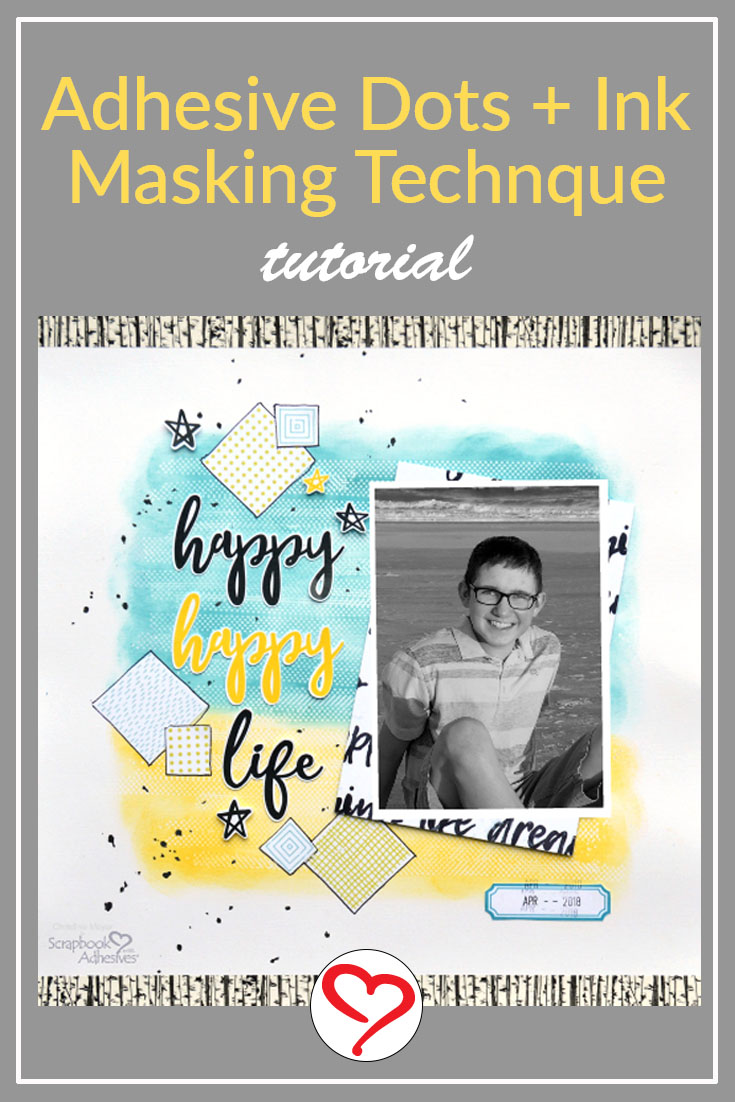
Once I get on a technique kick, I have a hard time not incorporating it into my projects or looking for other ways to use it (see my Snow page.) Today’s technique is one you’ve seen me do recently and as I did it, I knew it was gonna stick! This technique incorporates the E-Z Runner® Grand using the Repositionable Dots Refill to create a unique background. Here’s my layout using the Adhesive Masking Technique:

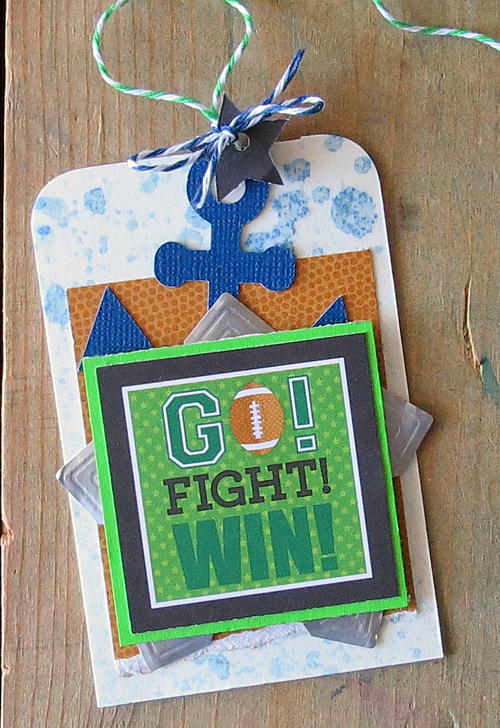
If you take a close look at my background you can see that it has dots on it as I tried to recreate a beach scene with the yellow and blue but put a twist on it with the dots.
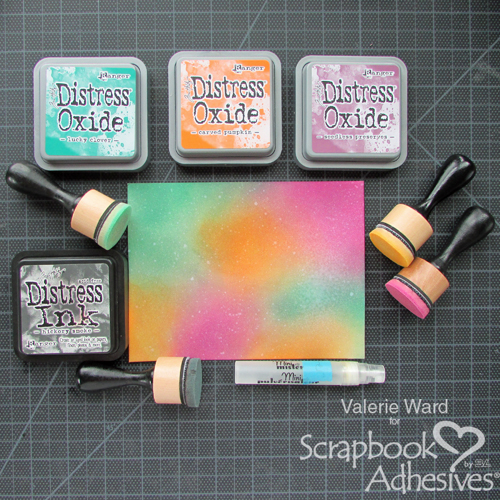
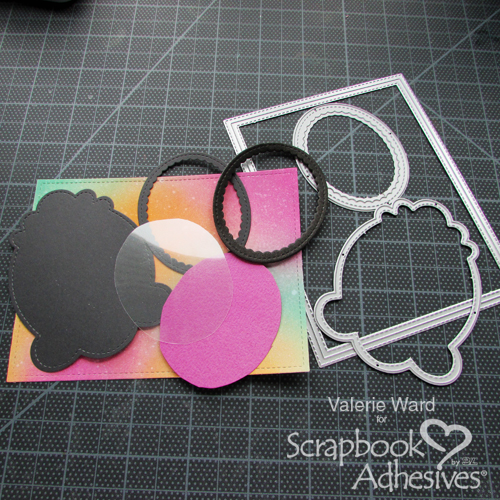
Adhesive Masking Basics
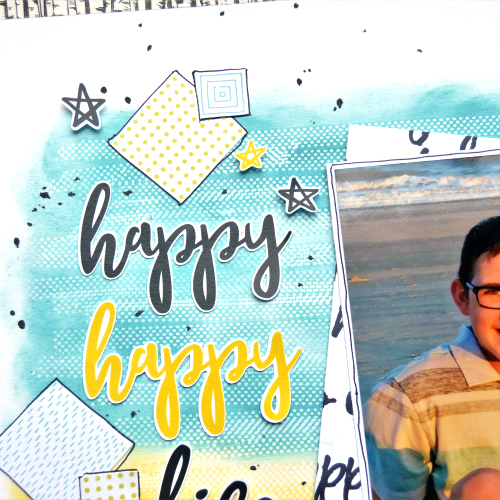
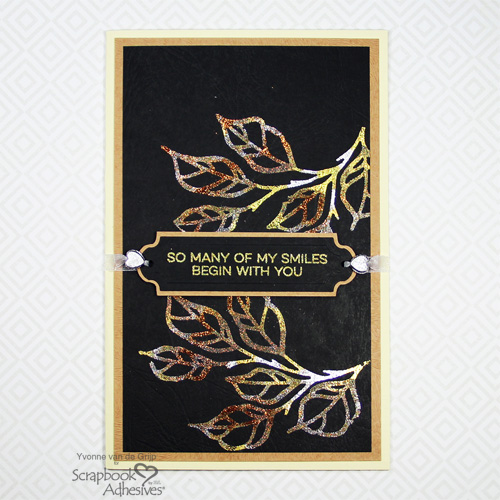
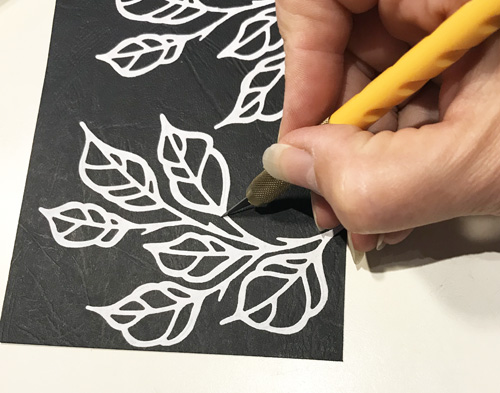
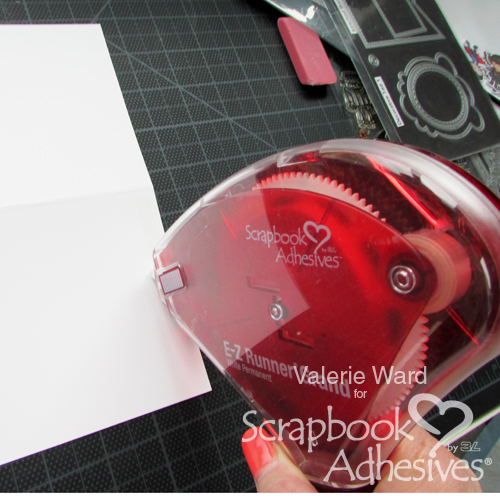
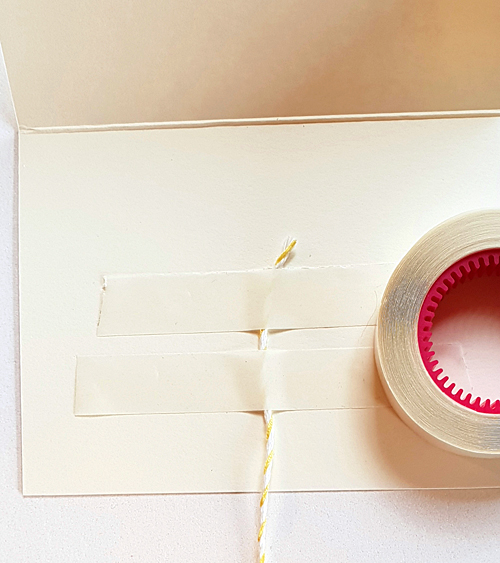
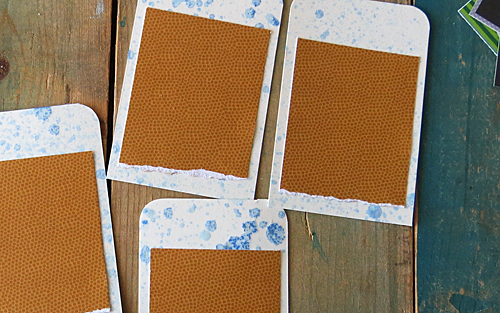
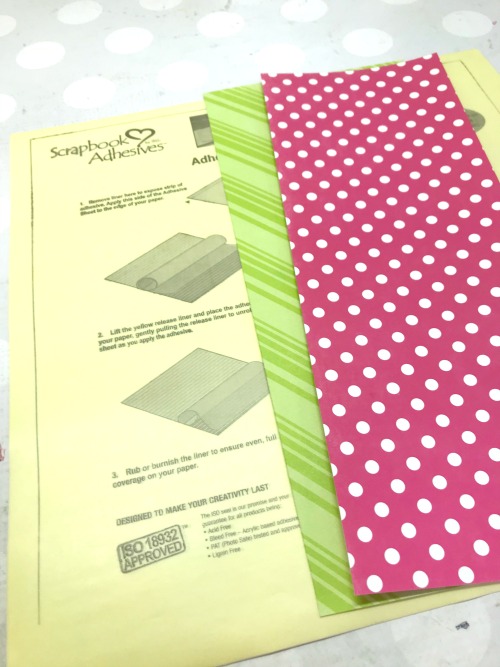
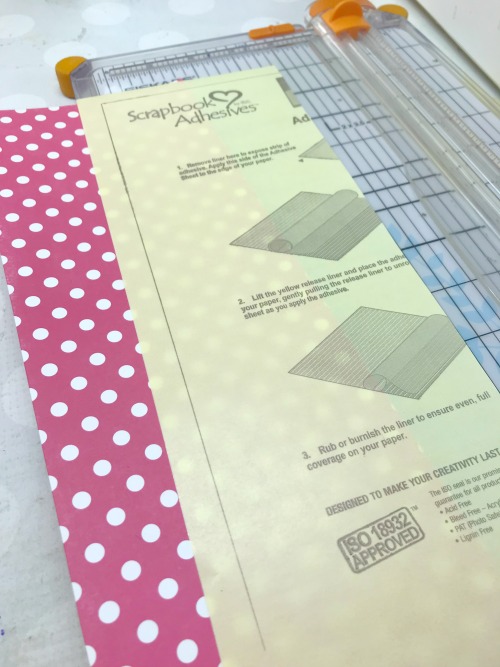
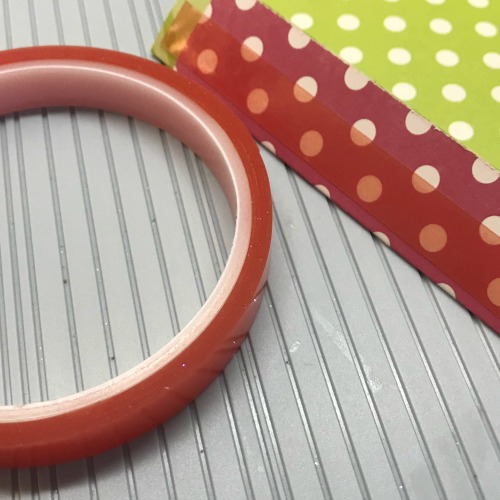
To create this look, I use my E-Z Runner® Grand with Repositionable Dots Refill applied all over the background. Then I used Distress Oxides inks and sponged it over the top of the dots. When dry, I removed the adhesive by rubbing it gently with my finger. Essentially I used the Repositionable Dots as a mask or a resist.
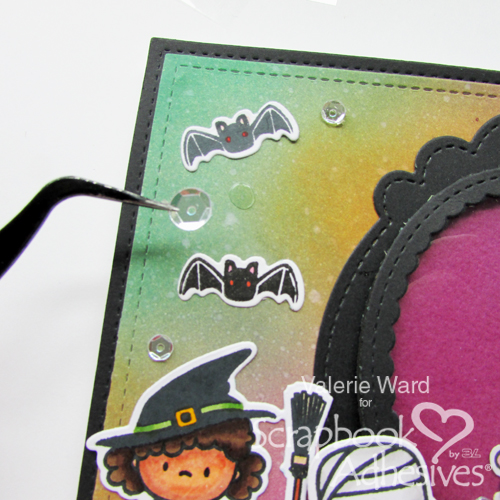
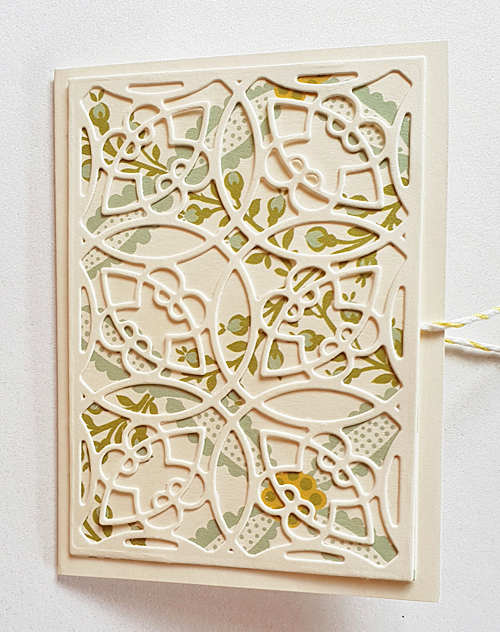
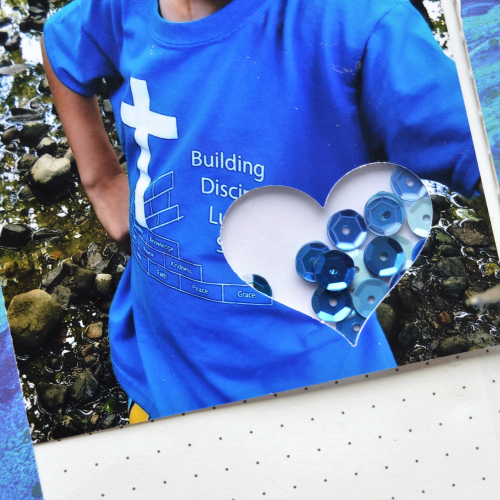
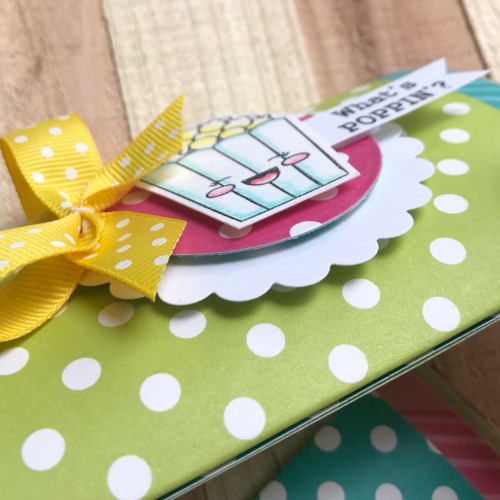
This close-up shows you the design in more detail. Although I could have gone with a more simple mixed media background, this technique allowed me to add a little more abstract pattern.
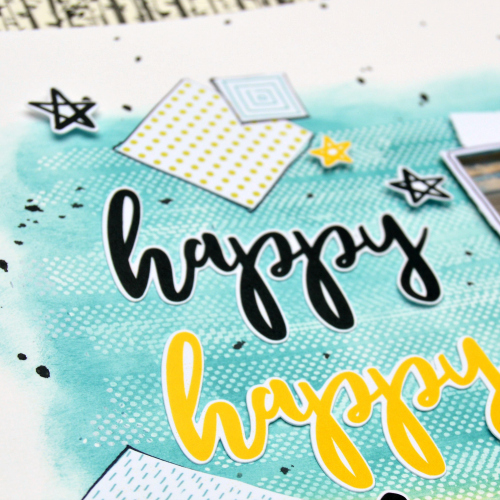
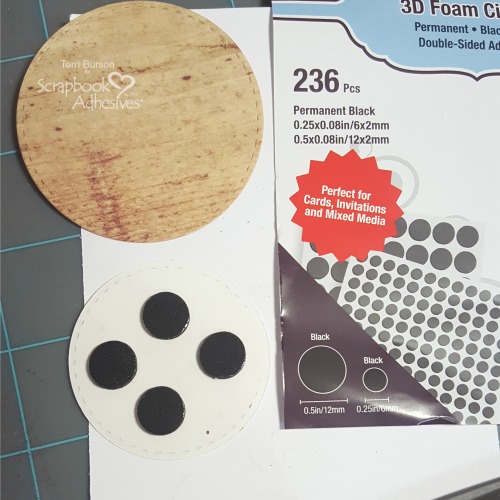
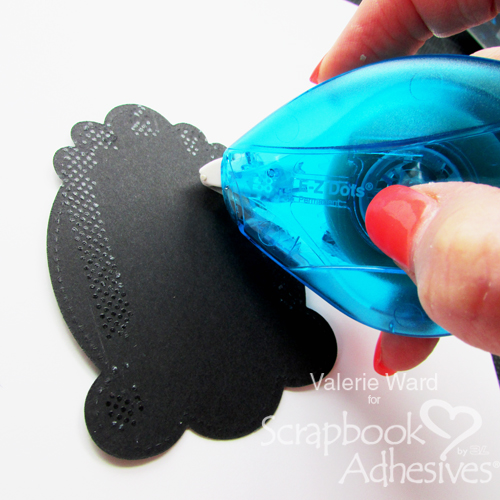
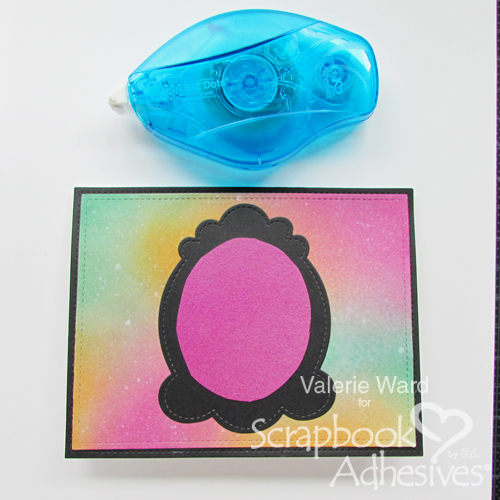
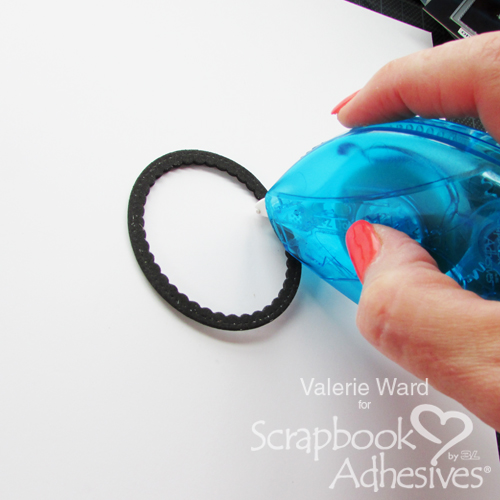
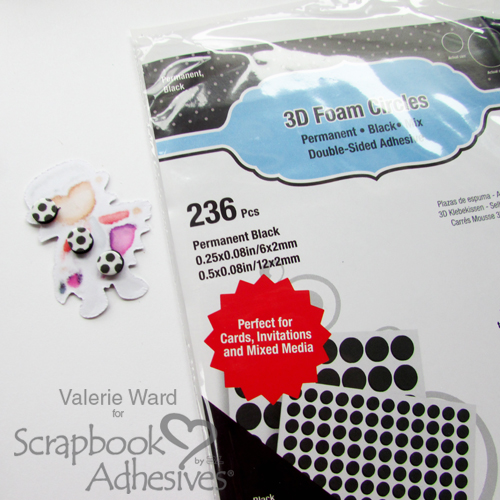
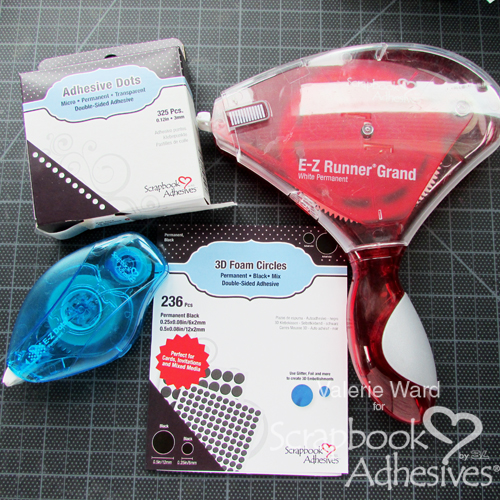
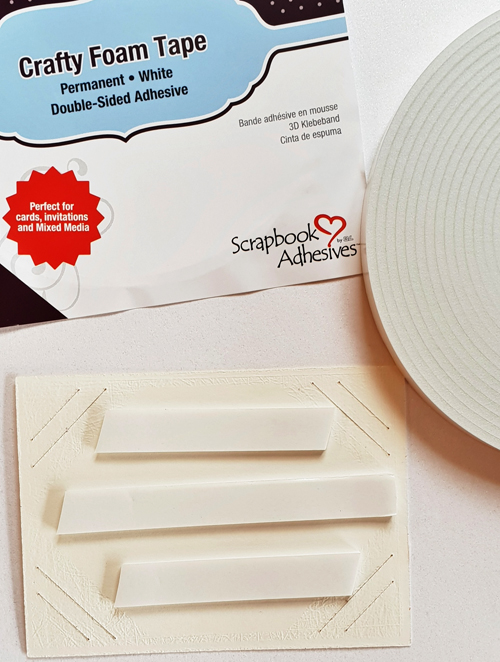
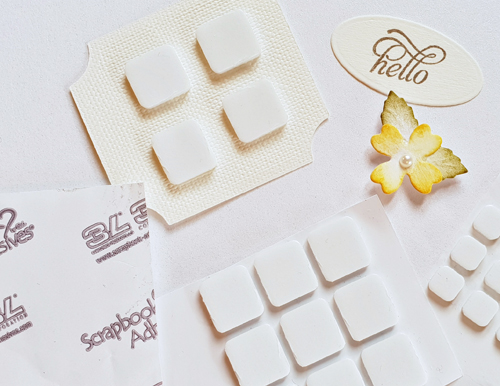
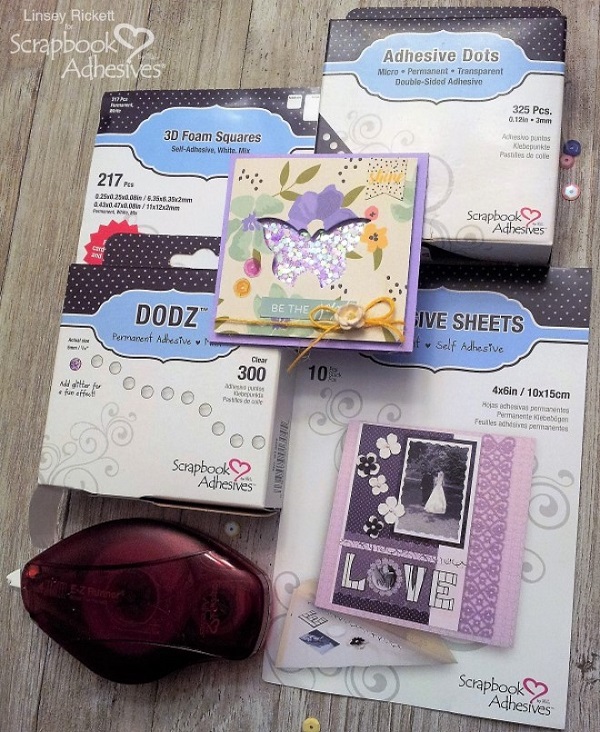
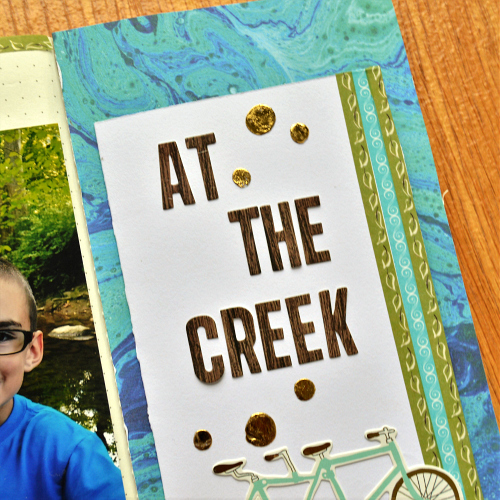
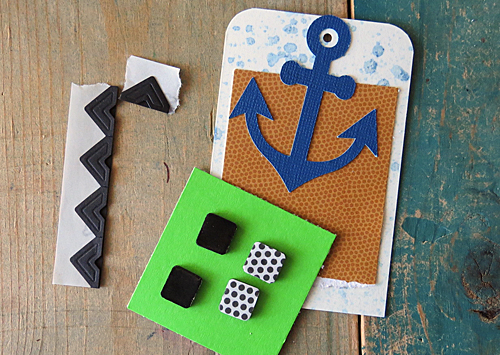
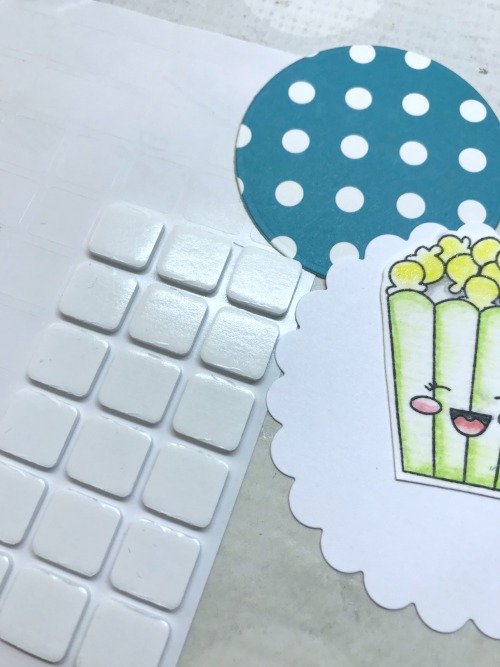
Another couple of handy adhesives on this layout were the E-Z Runner® Micro Refillable Dispenser and 3D Foam Squares. I used the Micro to add adhesive to the back of my happy words. This is a narrower adhesive at only 1/8″ in width, making this adhesive perfect for little die cut pieces!
Adhesive Masking Background Technique Process Video
Thanks for joining me today and happy creating!
–Christine
Creative Time: 60 Minutes
Creative Skill: Intermediate
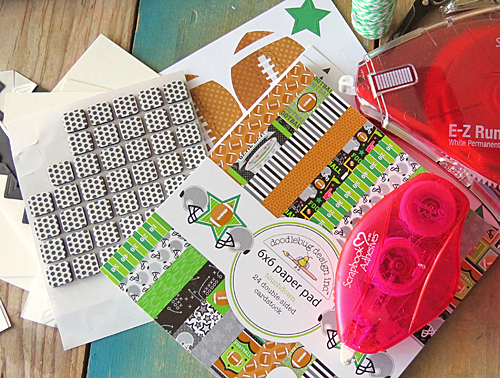
Materials Needed
Scrapbook Adhesives by 3L®
E-Z Runner® Grand Refillable Dispenser
3D Foam Squares
E-Z Runner® Grand Repositionable Dots Refill
E-Z Runner® Micro Refillable Dispenser
Other
September Flavors of the Month Kit from The ScrapRoom
Save It to Pinterest!
Visit our Website and Blog!
Sign up for our Newsletter so you never miss a contest or giveaway!