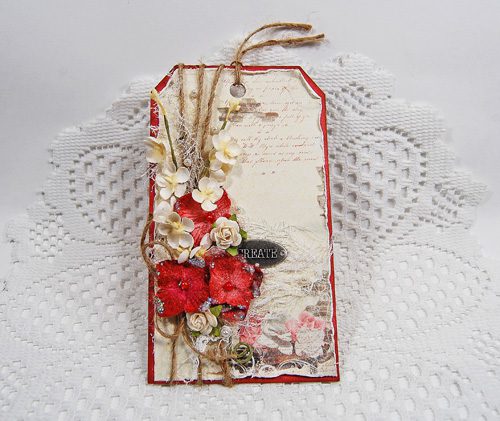
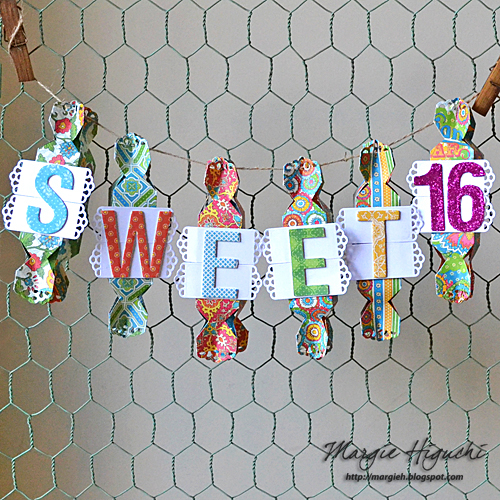
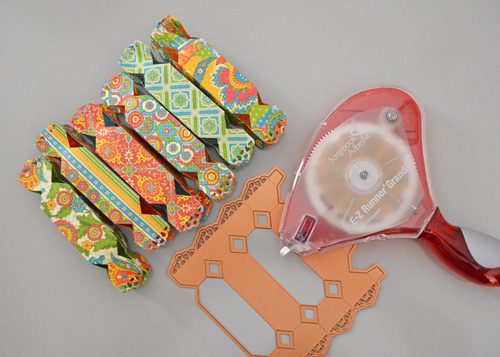
I’m excited to share my literally “outside the box” project using treat box etched die as a Sweet 16 banner with a Bohemian vibe secured with the NEW E-Z Runner® Grand Ultra Strong Refill! What do you think?
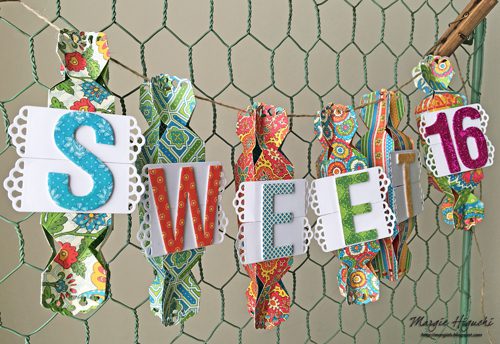
Creating Banner Base:
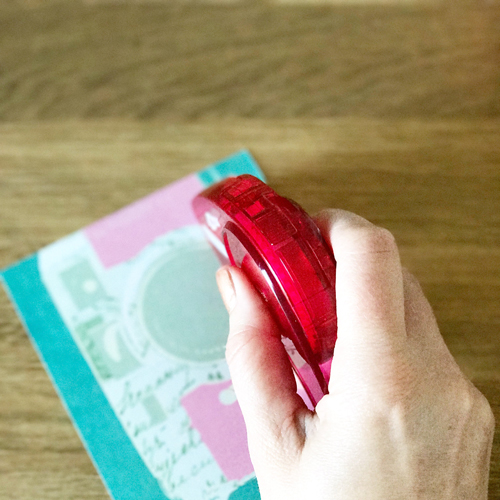
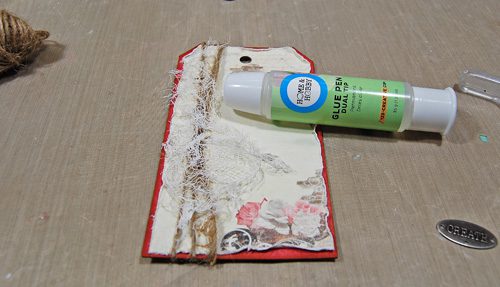
First I need to change out my E-Z Runner® Grand Permanent with my E-Z Runner® Grand Ultra Strong Refill. I use this type of adhesive when I am doing paper construction projects like these boxes.
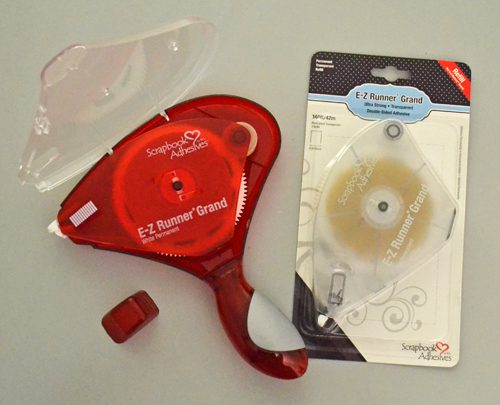
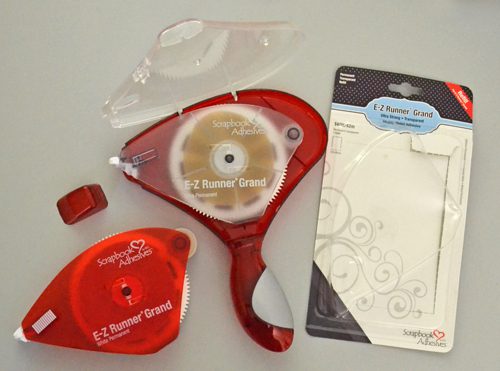
These Grand Refills are so easy to change out – just drop it in. See the quick How to Use and Refill the E-Z Runner® Grand Dispenser video below…
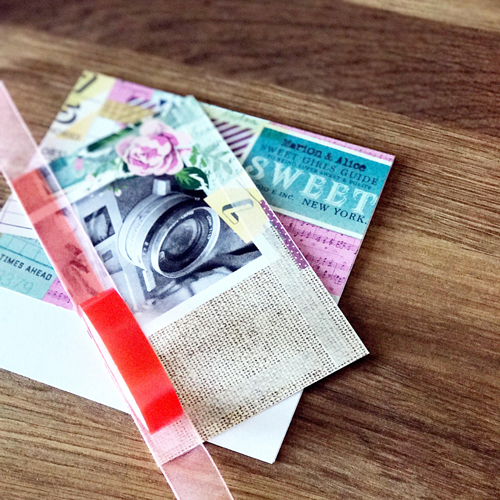
Next I cut the Surprise Me Box Etched Dies Base Die for a total of six with patterned papers. Assemble each box with E-Z Runner® Grand Ultra Strong by applying adhesive on the tabs and put the ends together.
Embellishing the Banner:
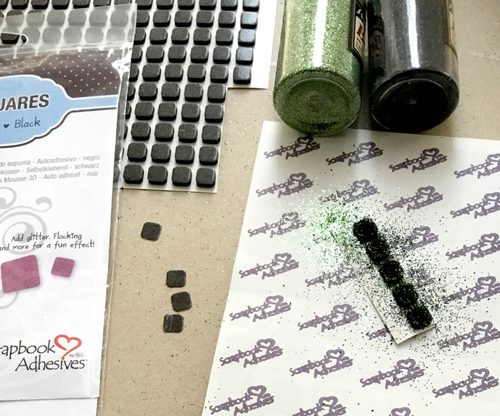
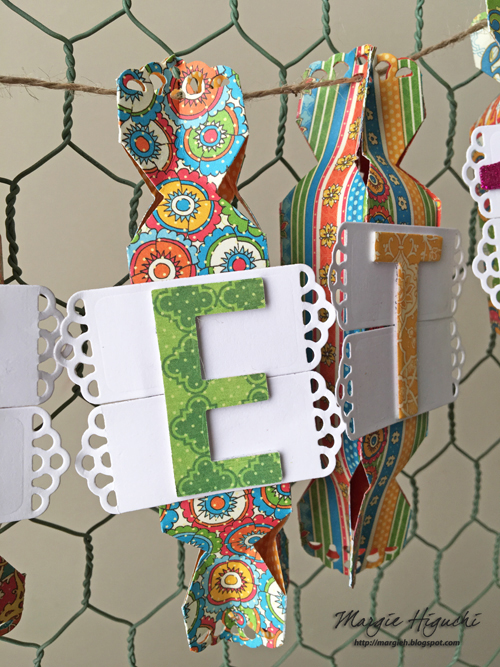
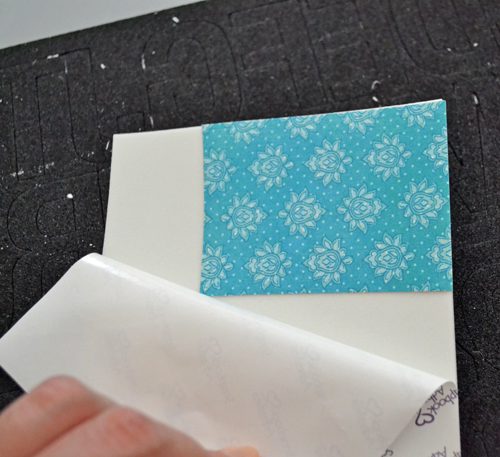
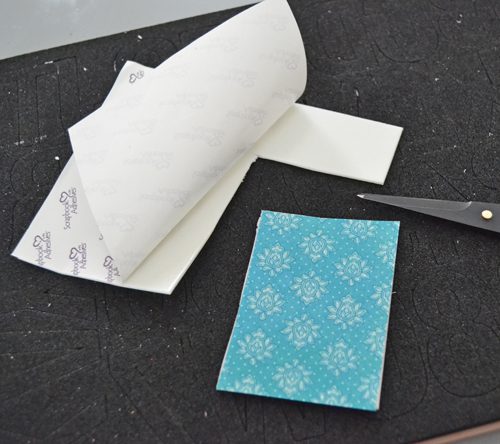
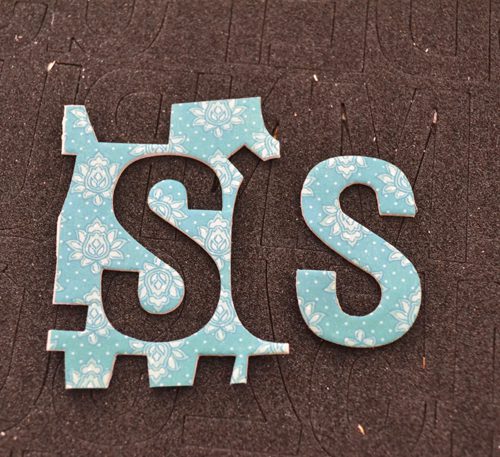
For the letters, I took off the top liner of 3D Foam Creative Sheets (determine how much you want to use and trim first) and placed patterned paper over it. Cut the desired letter with manual die-cutting machine. Repeat the process until you spell out SWEET.
For a visual, see How to Use 3D Foam Creative Sheets video below…
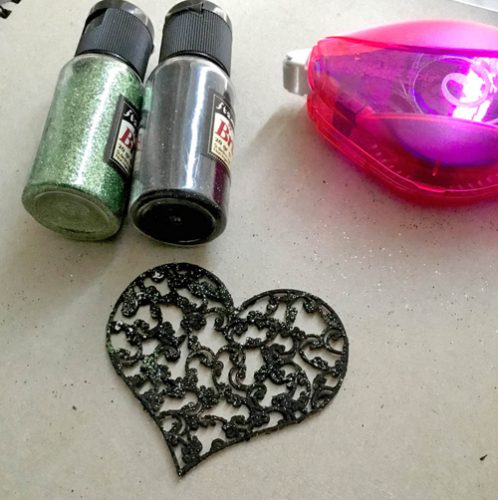
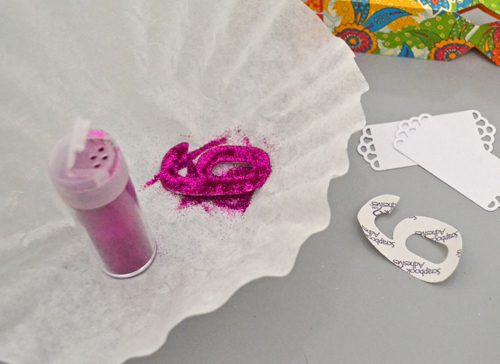
For 16, repeat above step but without adding patterned paper. Once cut, you will add glitter to the front side by removing top liner and then pressing glitter over the exposed area. Tap off excess and set aside.
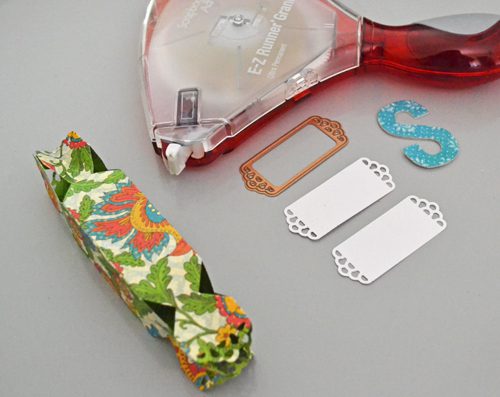
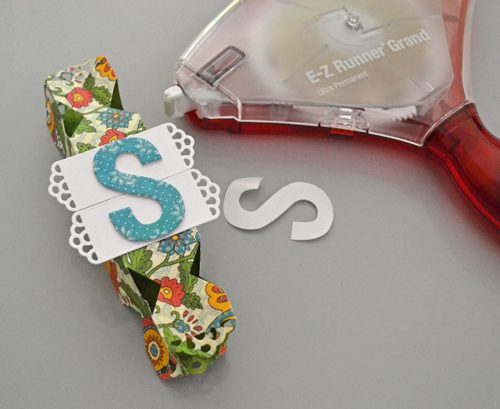
Cut Surprise Me Box Etched Dies Tag Die for a total of 12 tags with white cardstock. Apply a line of E-Z Runner® Grand Ultra Strong in the middle of two tags per box and center them together on top to form one shape. Remove the bottom liner of a letter and place on top of the two tags. Repeat for all letters and “16.”
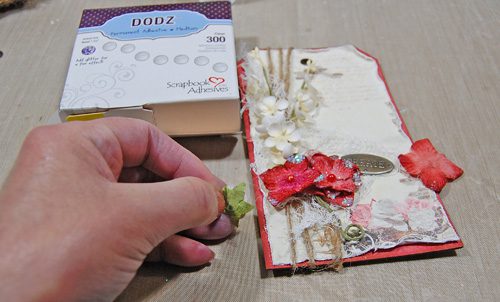
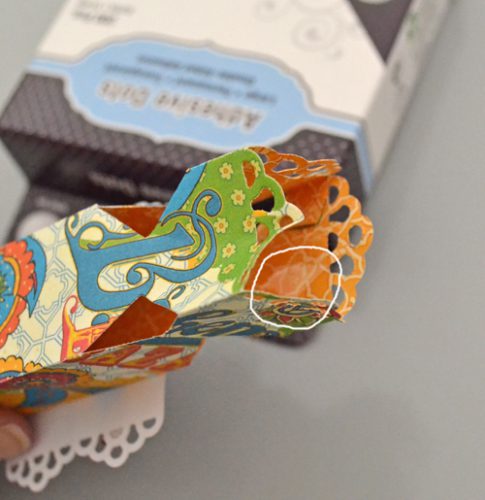
Close each end of box with an Adhesive Dots Large. Place one in the inside and squeeze all four sides to adhere (sometimes I used two Adhesive Dots if one didn’t work).
Thread jute through the top of each box and it’s ready to displayed!
Thanks for stopping by!
MargieH
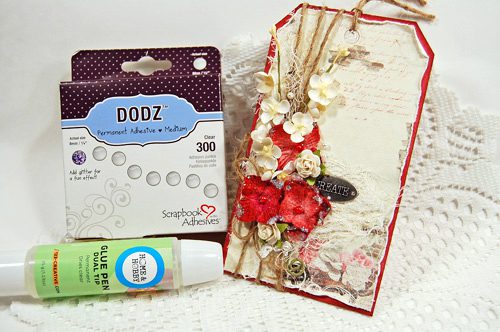
Scrapbook Adhesives by 3L® Supplies:
E-Z Runner® Grand Permanent
E-Z Runner® Grand Ultra Strong Refill
3D Foam Creative Sheets
Adhesive Dots Large
Others:
Etched Dies: Spellbinders® Paper Arts (S6-105 Surprise Me Box Etched Dies from the Special Occasions Collection by Marisa Job and
Spellbinders® Platinum™ 6 Die Cutting and Embossing Machine)
Patterned Paper: Graphic45 (Bohemian Bazaar Collection)
Glitter: Stampendous
White Cardstock; Jute