Hi everyone, Christine here today with a more masculine plaid style card using our Crafty Foam Tape and 3D Foam Squares.
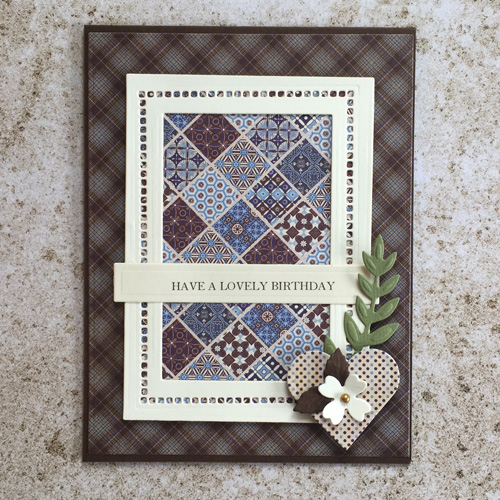
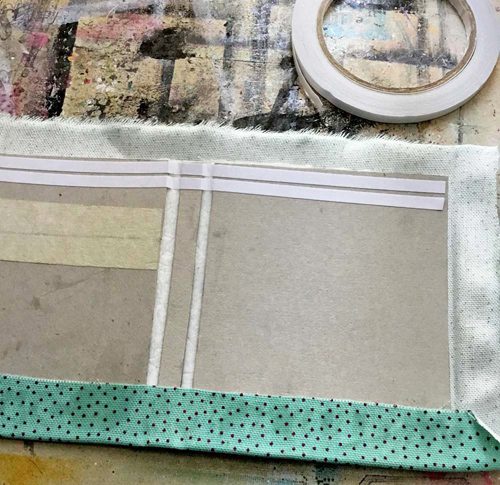
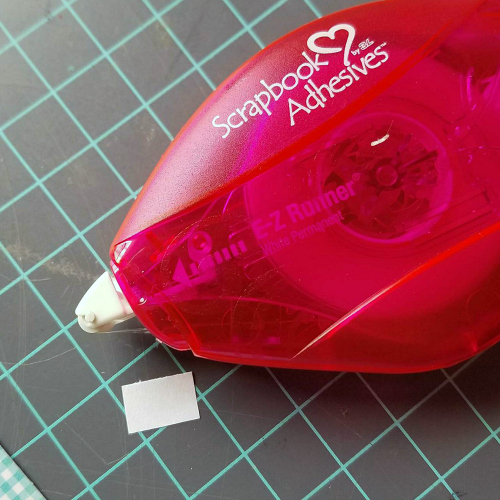
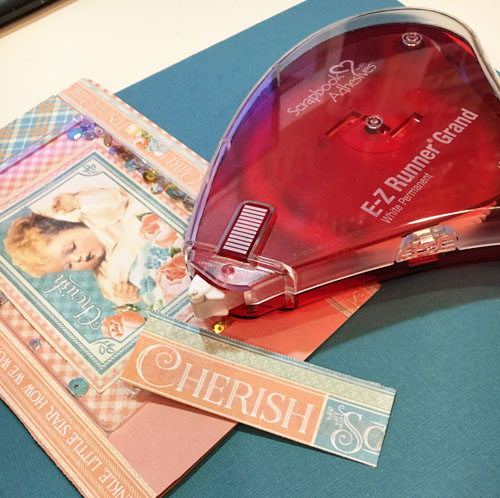
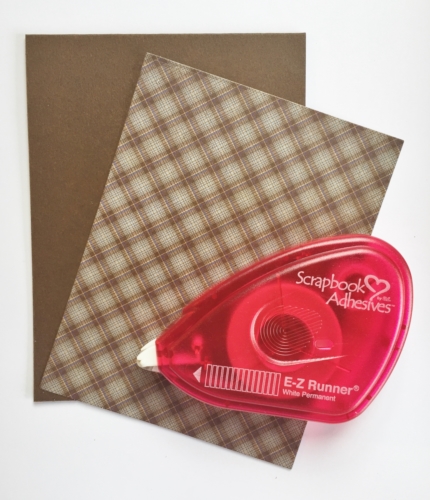
I created my card base from brown card and patterned plaid paper. All affixed with E-Z Runner® Permanent Strips Dispenser. This dispenser is from the original family here at Scrapbook Adhesives by 3L®, it is disposable and recycleable. I always pop one of these in my craft bag when travelling.
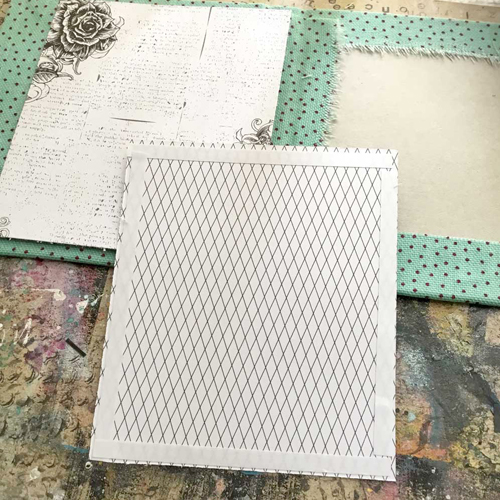
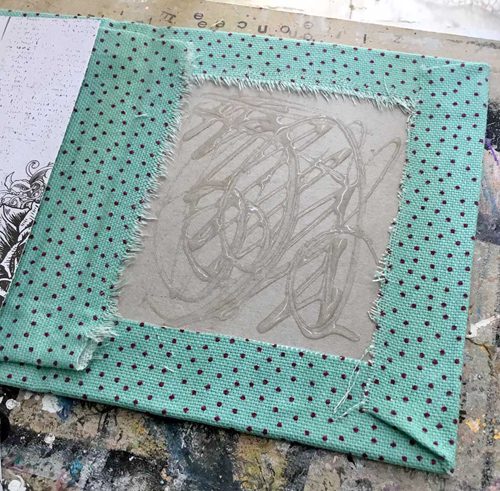
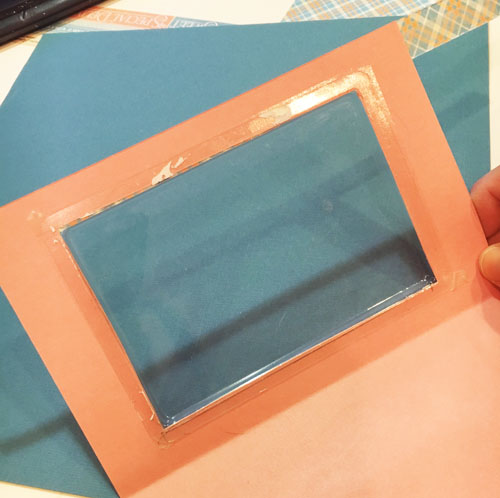
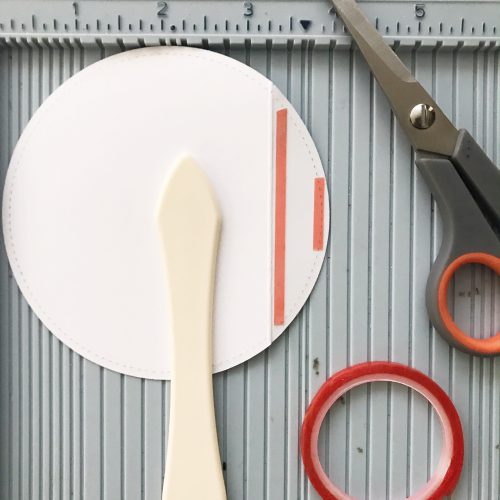
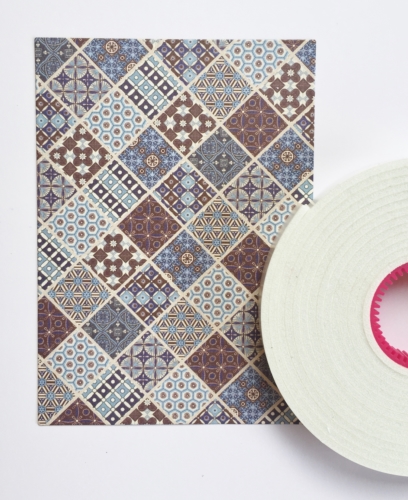
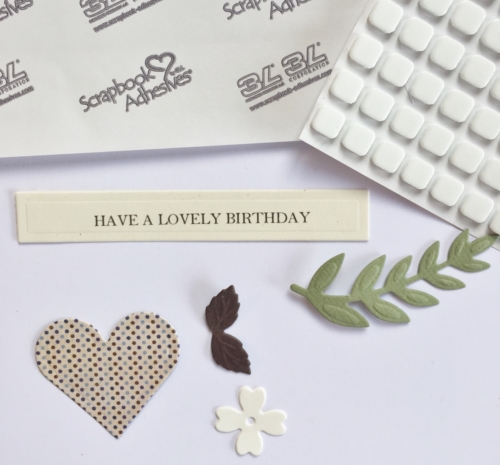
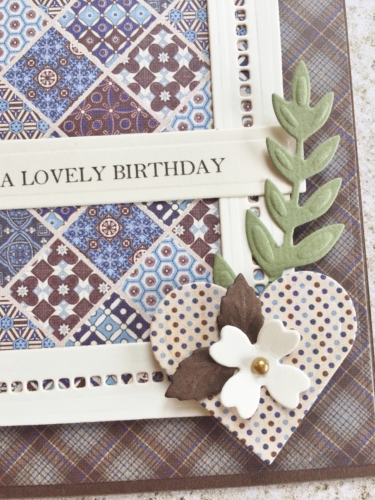
I cut a further rectangle of patterned paper to go with a die cut and attached Crafty Foam Tape to the reverse.
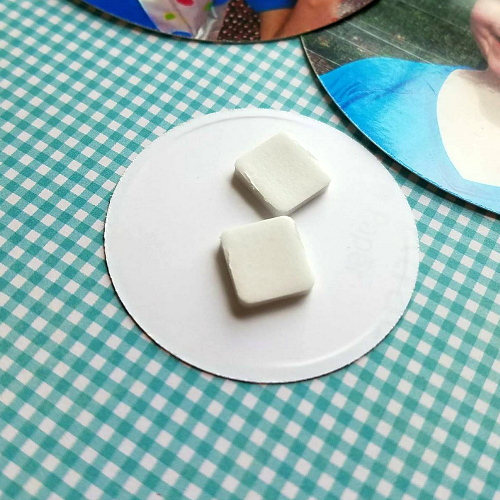
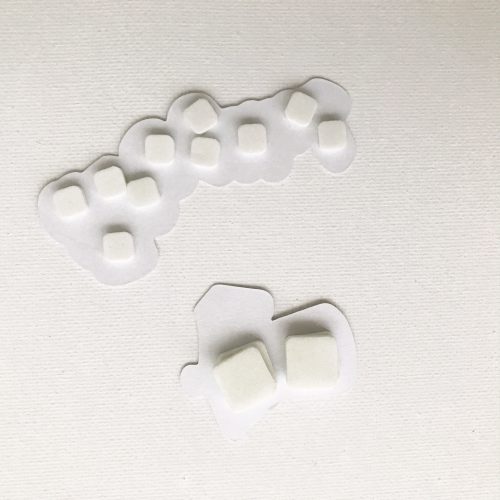
For all my smaller die cut embellishments, 3D Foam Squares White Small fits perfectly on the back and will hold them in place securely.
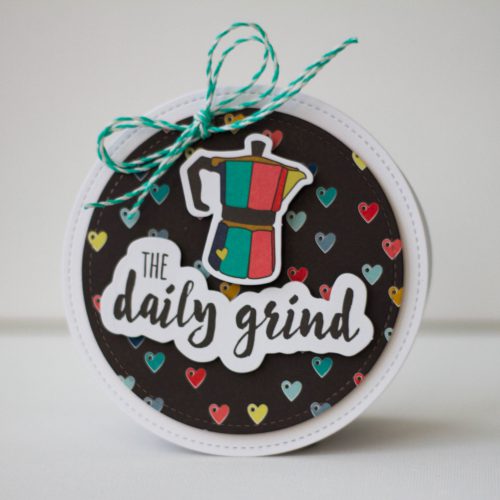
The finished card…
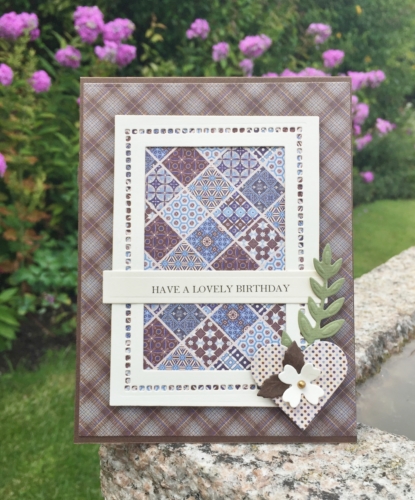
A tiny final touch is the pearl to the middle of the flower. Omit the flower and foliage to make the card more masculine if you wish.
Thanks for stopping by today and don’t forget to check out all the great products on the Scrapbook Adhesives by 3L® website.

Products used:
Scrapbook Adhesives by 3L®:
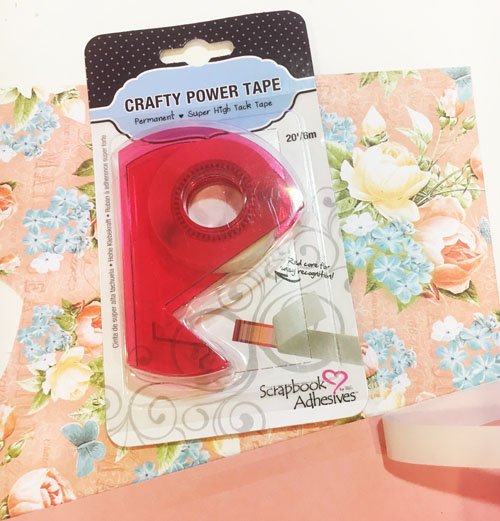
Crafty Foam Tape
E-Z Runner® Permanent Strips Dispenser
3D Foam Squares White Small.
Other:
Etched Dies: Spellbinders® Paper Arts (Hemstitch Rectangles, Classic Hearts, Misc flower and foliage)
Ivory, Brown and Green Cardstock, and Patterned Paper: Authentique (Rugged Collection)
Pearl Gemstone
Typed and Die Cut sentiment