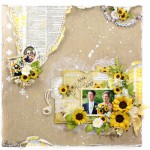
Hey crafty friends! Tracy McLennon here with a fun little tutorial using Extreme Double-Sided Tape 1/8″ and my favourite go to embellishment, ribbon. I thought I would create a glitzy layout perfect for fancy prom photos or even a wedding photo. Here is all you need to know.
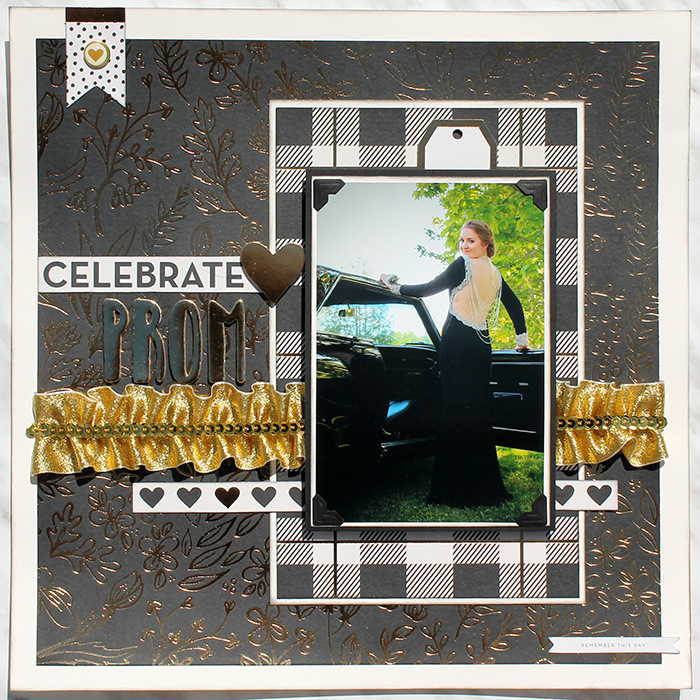
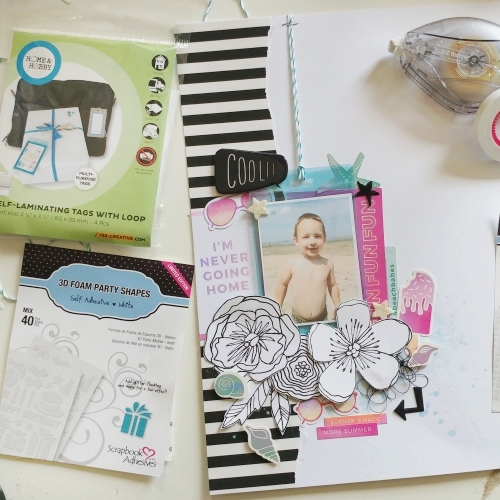
Here are the basics of what I started with to create my layout, paired with the Yes Please Collection from My Mind’s Eye.
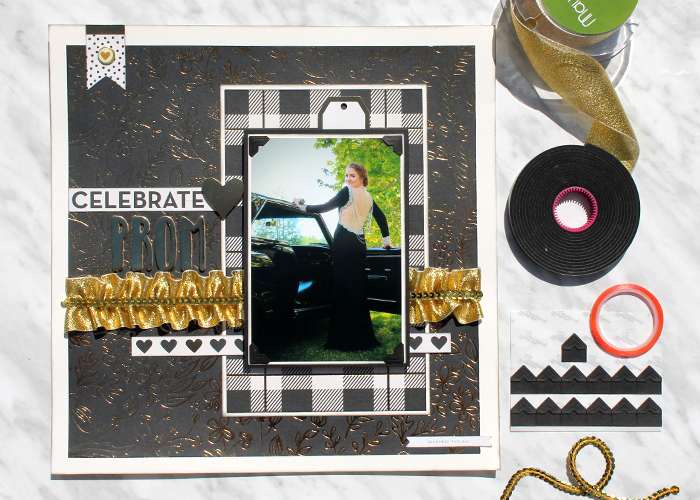
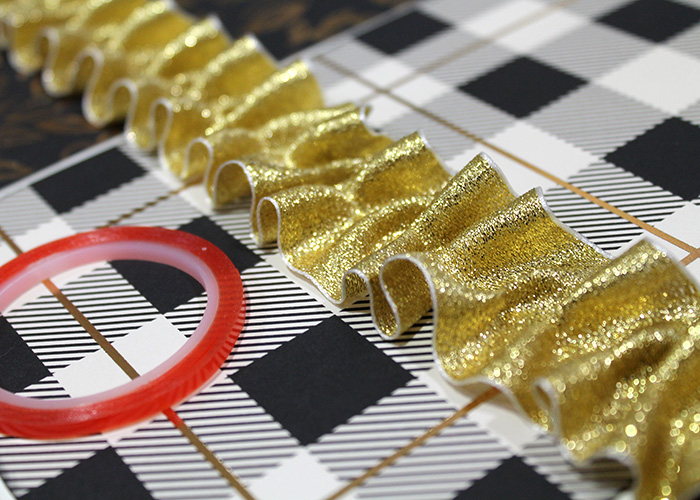
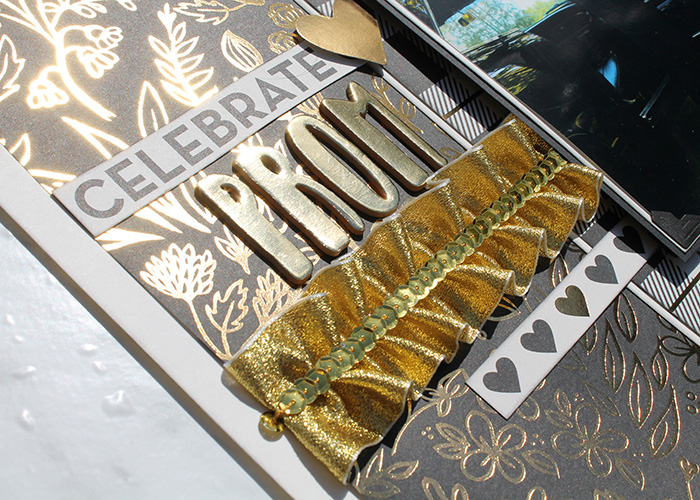
This ruffle ribbon border is SO easy to do, and can be done with all sorts of ribbon, lace and trim. Once I had the base of my layout created, I adhered a strip of my Extreme Double Sided Tape 1/8″ across the entire layout. I also added a small piece of the same adhesive on the back side of my layout on both sides of the strip that you laid down for the border. Remove the adhesive covering from one of the strips on the back side and attach your piece of ribbon.
Flip to the front side and remove the adhesive covering from the long strip across your layout. Then I simply took the ribbon and tapped it onto the adhesive in a tight ruffle pattern. If you see your ruffle is going off kilter…not a problem, just pull the ribbon up and re-ruffle.
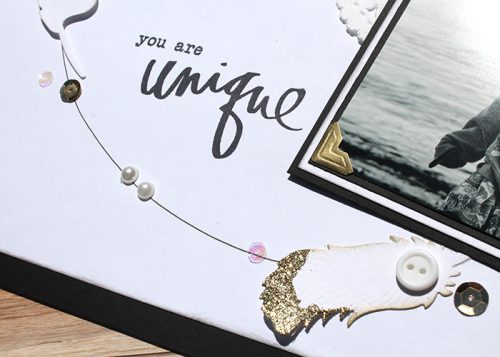
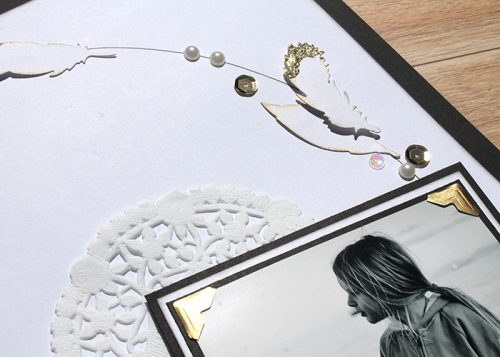
I added a second strip of the Extreme Double-Sided Tape on top of the ruffle I just created to add the sequins trim.
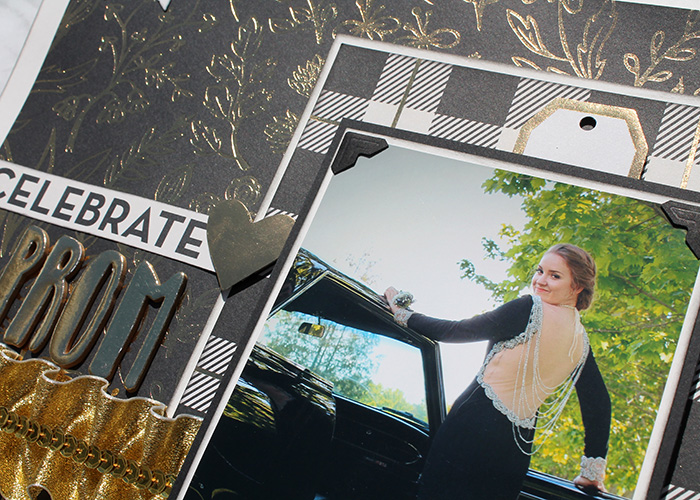
My ribbon ruffle is pretty thick, so when it came to attaching my matted photo I used my Crafty Foam Tape. I actually doubled it, 2 layers of the foam tape at the top and bottom on my photo. Another classic looking favourite of mine are Creative Photo Corners.
Thanks so much for stopping by!
Scrapbook Adhesives by 3L®:
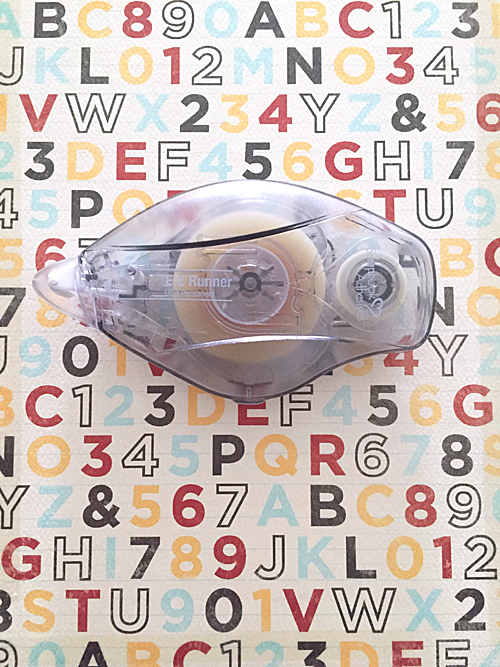
E-Z Runner® Permanent Strips
Creative Photo Corners Mix Pack
Crafty Foam Tape Black
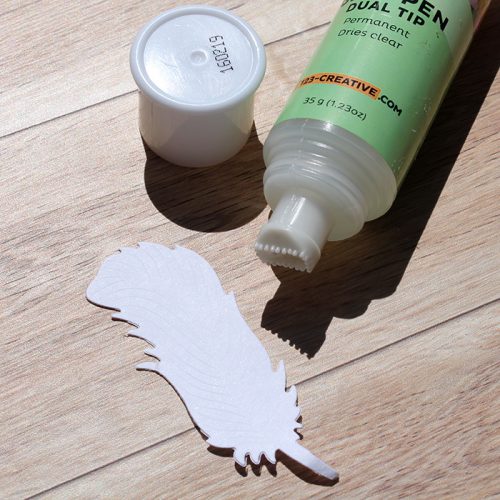
Extreme Double-Sided Tape 1/8″
Other:
My Mind’s Eye: Yes Please Collection
May Arts Ribbon: Gold Ribbon and Sequins Trim
American Crafts: Thickers Alpha Stickers Gold
Cream and Black Cardstock