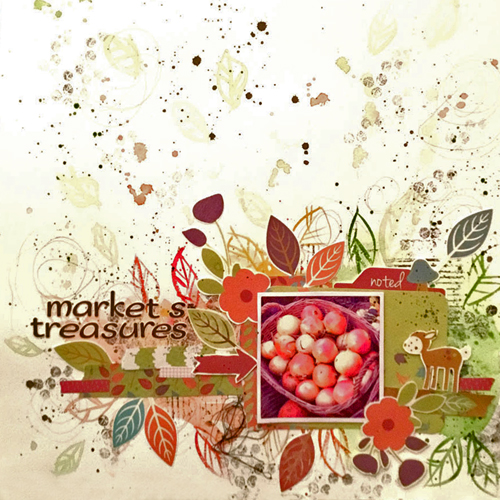
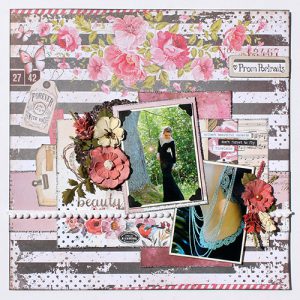
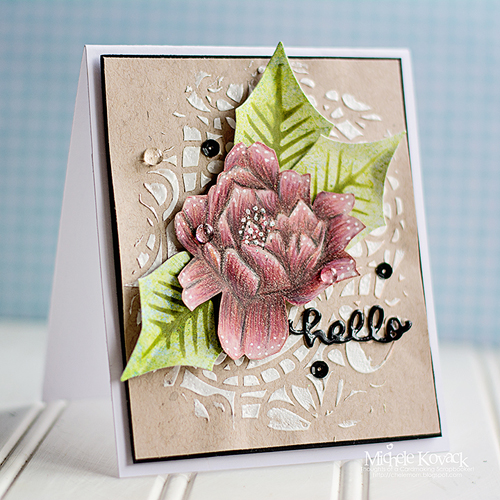
Hey crafty peeps! Tracy here with a confession: I am addicted to dimension! Adding Crafty Foam Tape to today’s scrapbook page is fabulous, along side using flowers, metal, trim and ribbon…anything that adds texture and dimension that compliments my photos. With thicker items, my photos also needs to meet that same thickness which means lots of fabulous 3D Foam products!
Tracy’s Favorite Adhesives
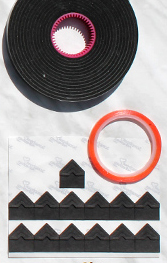
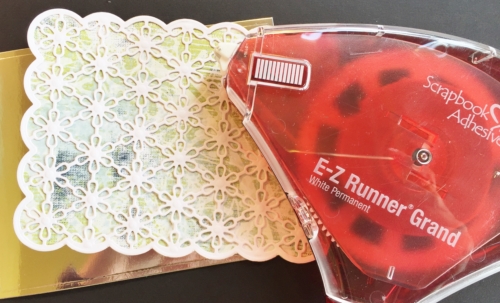
These are a few of my crafty go-to’s that came in handy for this layout. First and foremost for this dimensional layout is my Crafty Foam Tape. The roll of Crafty Foam Tape is perfect to have on hand, so that you can hand cut what ever size piece of foam that you may need. My favourite adhesive for adding trim or ribbon is the Extreme Double-Sided Tape 1/8″. And then of course my obsession with Creative Photo Corners Black continues.
Adding Dimension to Photos
When I teach scrapbook classes, and it comes to adding photos using 3D Foam; I always say “Make sure you use enough 3D Foam Squares, you do not want to have a saggy photo on a stunning layout.” Then people will always ask how many 3D Foam Squares do YOU use on a matted 4 x 6″ photo?
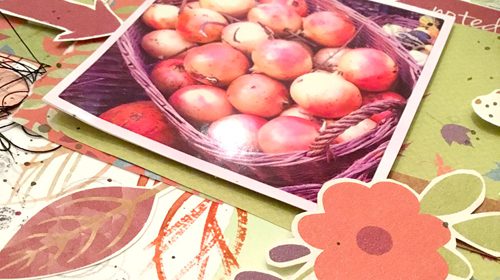
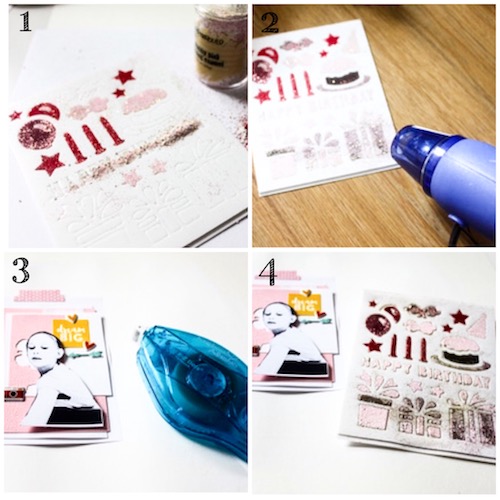
Well here is an image for that answer. Below I have used my Crafty Foam Tape cut into square chunks. I always use eight chunks or 3D Foam Squares to pop up my matted 4 x 6″ photos.
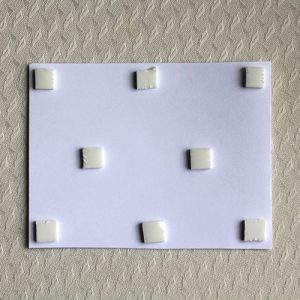
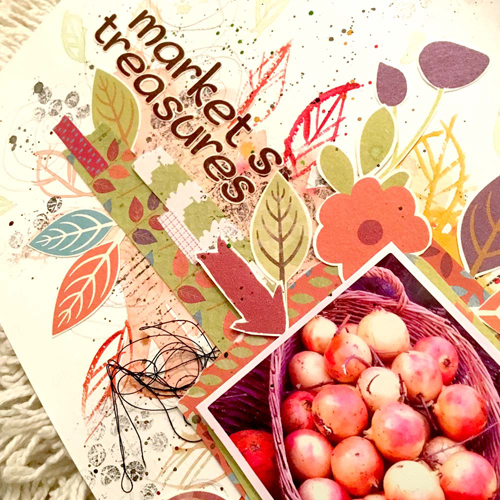
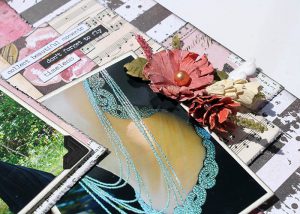
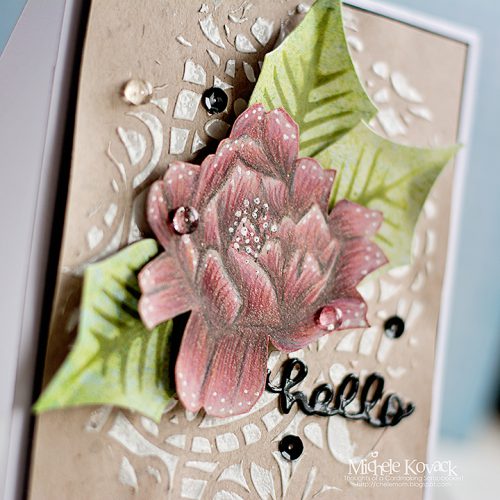
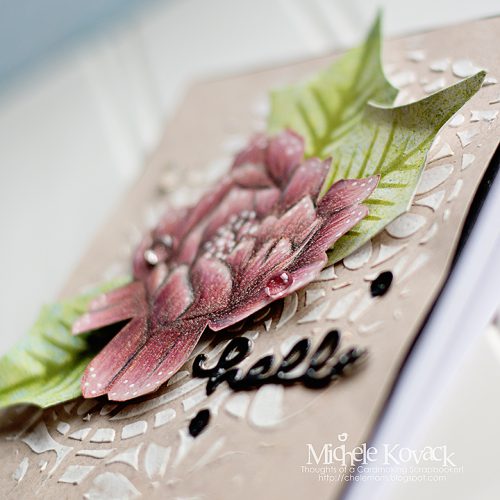
In the image below, you can see that the flowers that I used on my layout are pretty thick. I will usually make sure that my matted photos come up to the height of those dimensional items.

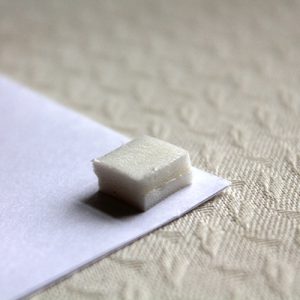
To do that is pretty simple…just double it up! You can stack Crafty Foam Tape or 3D Foam Squares on top of each other!
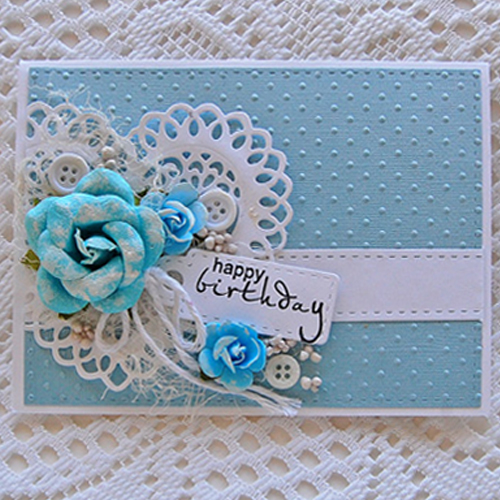
I added all of that pretty dimensional foliage using my Adhesive Dots Large. These will ensure that these bulky items will stay in place AND be safe around my photos.
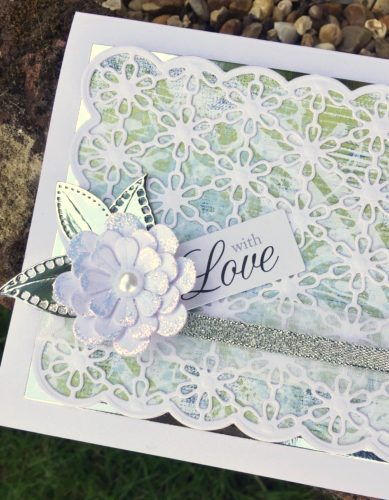
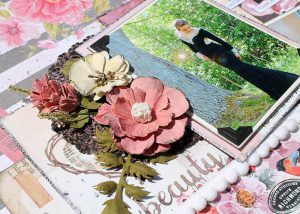
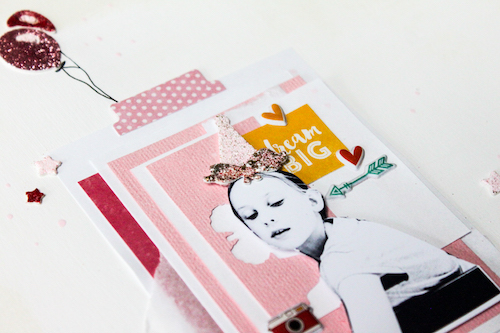
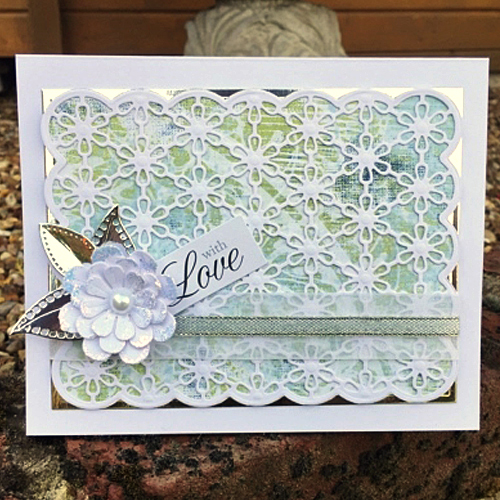
I think the Creative Photo Corners Black are just perfect for this layout and the images of Zoe in her beautiful prom dress. And again as always I used my Extreme Double-Sided Tape 1/8″ to add that super cute pom pom trim.
Thanks so much for stopping by!
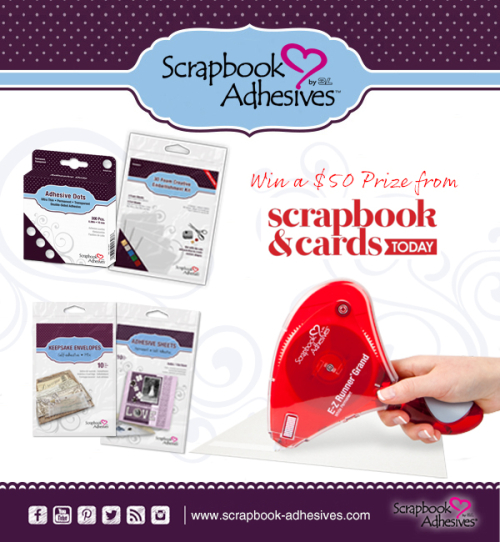
Scrapbook Adhesives by 3L®:
Crafty Foam Tape Black
3D Foam Squares White Regular
E-Z Runner® Grand Dispenser
Creative Photo Corners Black
Extreme Double-Sided Tape 1/8″
Adhesive Dots Large
Others:
Patterned Paper and Flowers: 49 and Market
Pom Pom Trim: May Arts Ribbon
Word Stickers: Advantus
Cream Cardstock
Dyed Doily
Black Ink
Save


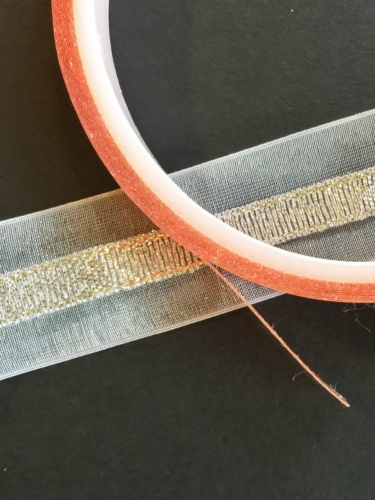
 To adhere silver ribbon to satin