Hello! AJ here with a easy mixed media tutorial for you card makers!

I have been busy playing with my Art Medium and the cheesecloth lately and have decided, it’s the best for making flowers with!
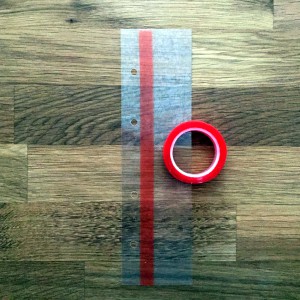
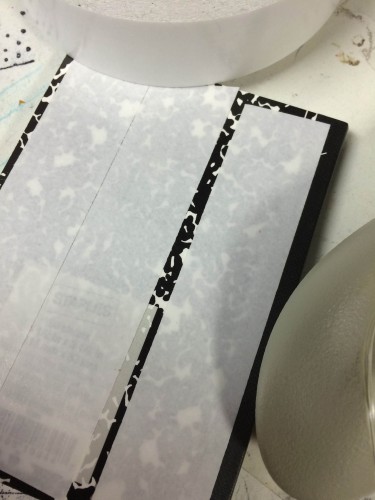
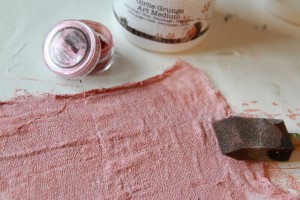
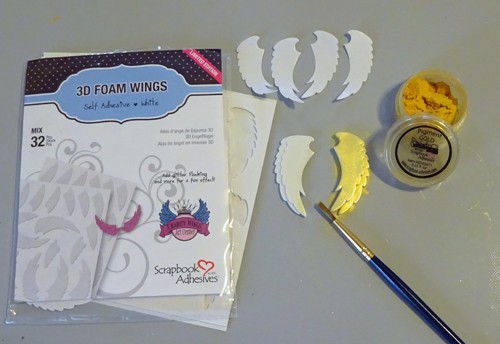
To start, take a strip of gauze and lay it out on your work mat. I just used a cheap-o foam brush, and actually used my fingers as well. Start brushing the medium over your gauze, liberally covering all areas. Set aside to dry.
Pour out more medium, and sprinkle a bit of wine pigment powder color and mix in. I decided I wanted more color to work with, and added a bit more of each here.
 Next, take a second strip of gauze, and repeat covering with your brush. My medium was in a pile on my work space, so you can also just mix in with you fingers if you like. Set aside to dry.
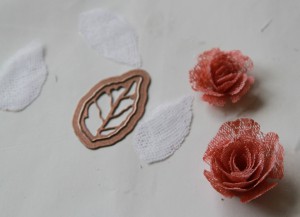
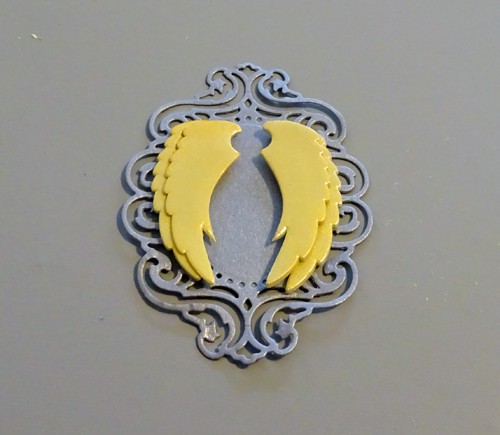
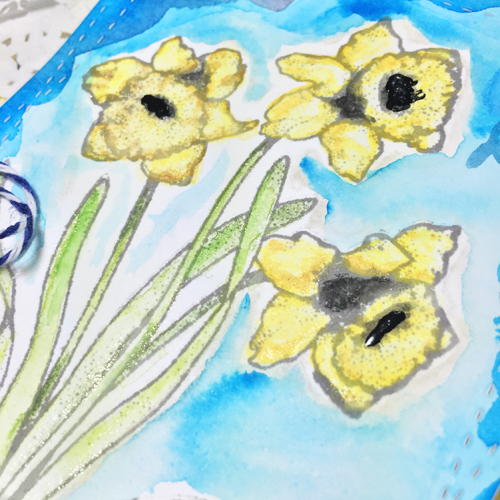
I waited over night, and came back to two amazingly stiff but totally workable pieces of gauze. Dies cut it like butter and there is no fraying of the gauze. Here you can see the few blossoms I cut and rolled, and the leaves I cut from the plain white gauze.
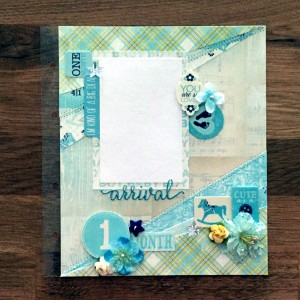
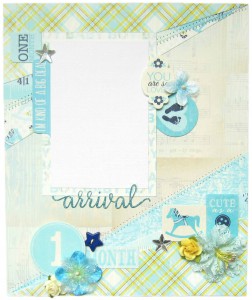
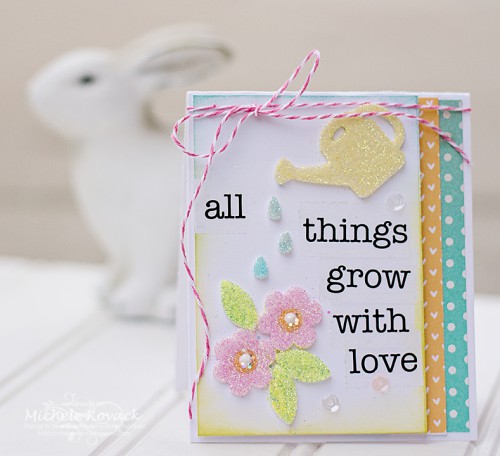
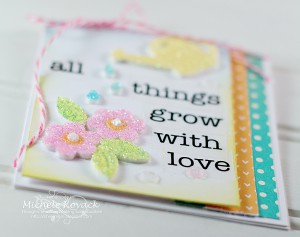
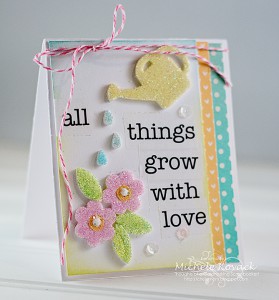
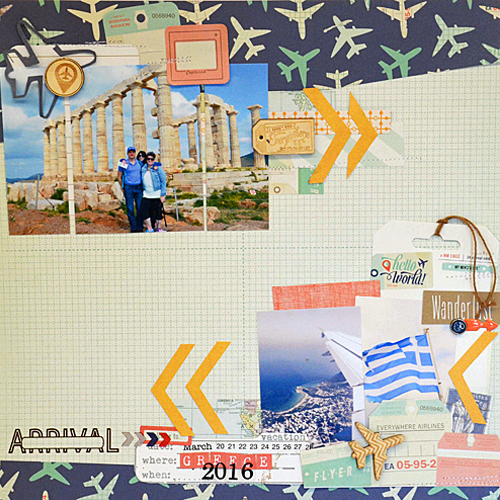
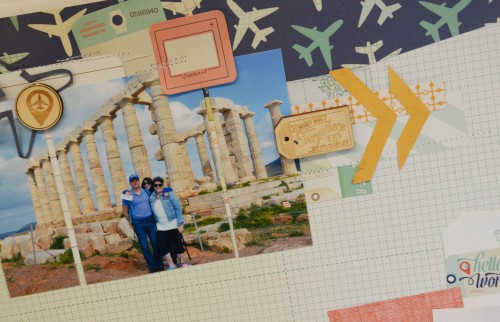
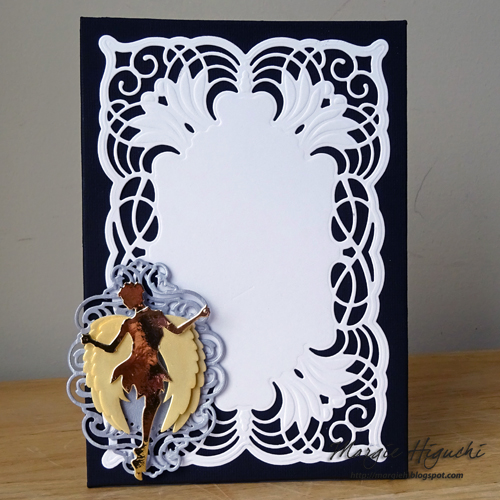
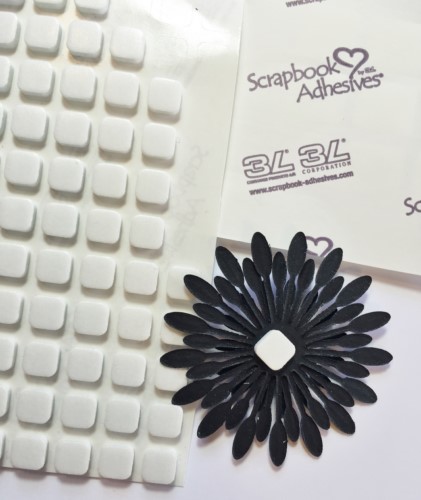
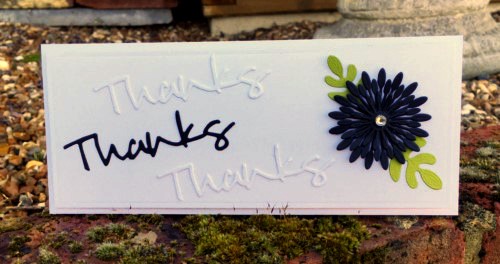
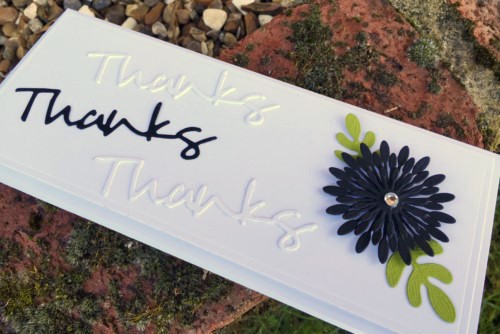
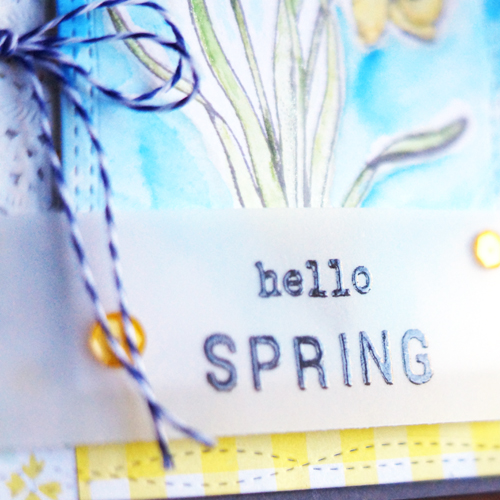
For your leaves, they are easily colored with either a spray ink, or dabbing your distress ink pad over it. (I did both to color mine) I then die cut my rectangle, stamped the sentiment and adhered my flowers to the leaves with DODZ 3D, and then to my die cut. Once assembled, you can curl your petals and give your flower shape and depth.
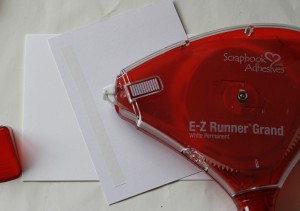
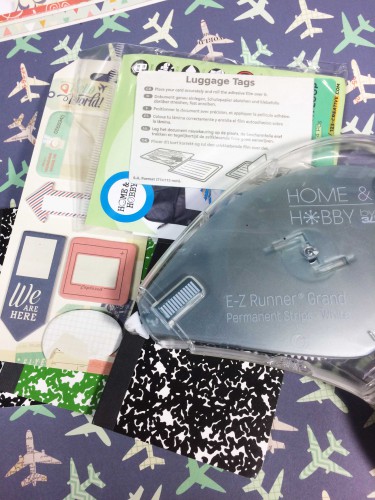
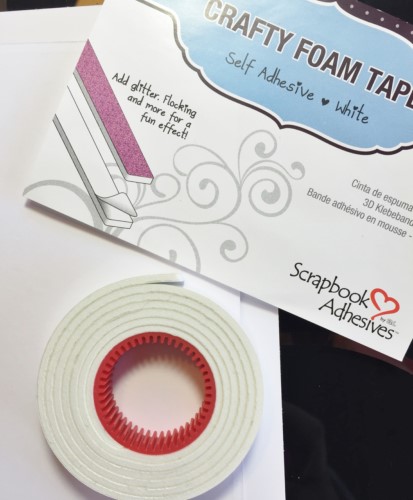
To adhere my patterned paper to the card front, I used the new E-Z Runner® Grand, and to finish of the card, I added a few sequins with the new DODZ Mini.
enjoy! 🙂 AJ
Scrapbook Adhesives by 3L® Products used: DODZ Small; DODZ Mini, DODZ 3D; Crafty Foam Tape; E-Z Runner® Grand
Other
Art Medium; Pigment Powder in Wine; cheesecloth


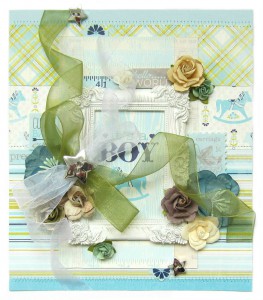
 Making a Mini Album