Hello~! I am excited that it’s September! I love fall and its beautiful colors 🙂 I picked out Bella Blvd’s Hello Autumn Collection as the backdrop to my scrapbook page of my mother/daughter outing in Japan last year, using some of my favorite Scrapbook Adhesives by 3L® products.
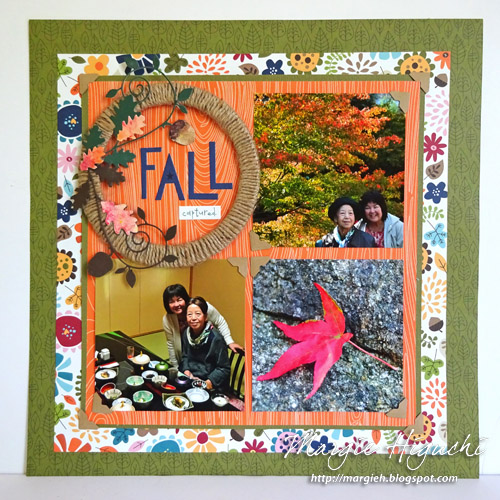
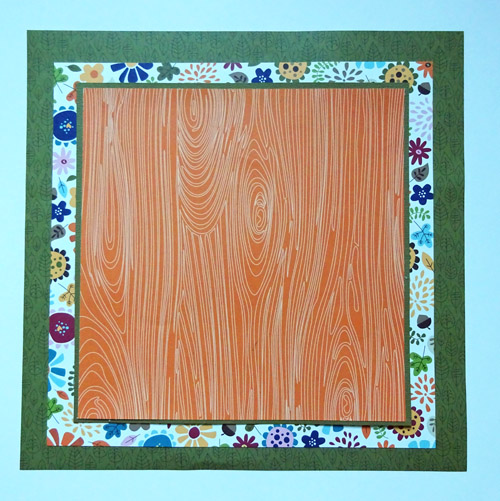
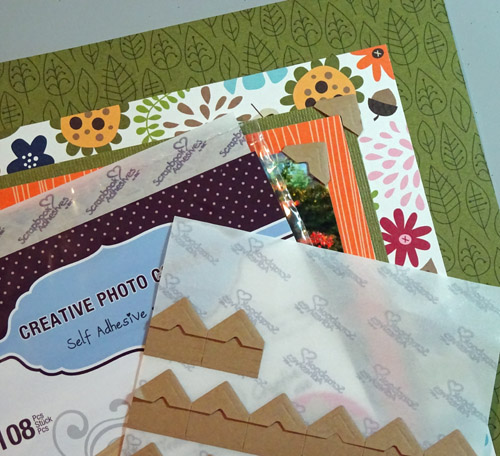
Let’s start with the background. From the smallest mat, cut: 8¾ x 9″ Autumn Floral patterned paper, 9⅛ x 9¼”, Crushed Olive cardstock and 10⅜ x 10½” Borders Hello Autumn (Side B) patterned paper. Layer all with E-Z Runner® Permanent Strips and place on top of 12 x 12″ Time To Rake patterned paper.
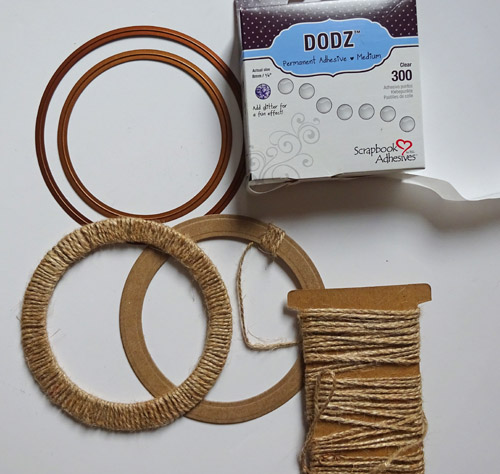
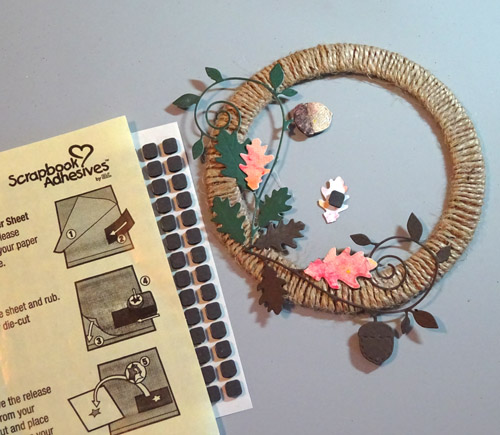
Now for the wreath, start with the base. Nest Grand Circles Die #1 (the smallest size die is #1) and Classic Circles LG Die #7 together, secure with washi tape and place over thin chipboard. Cut through a manual die cutting machine. Secure twine end with DODZ™ – Small and start wrapping 4½ yards of twine to cover the chipboard ring. At the end, use another DODZ™ – Small to secure and trim/tuck in the excess twine into the ring.
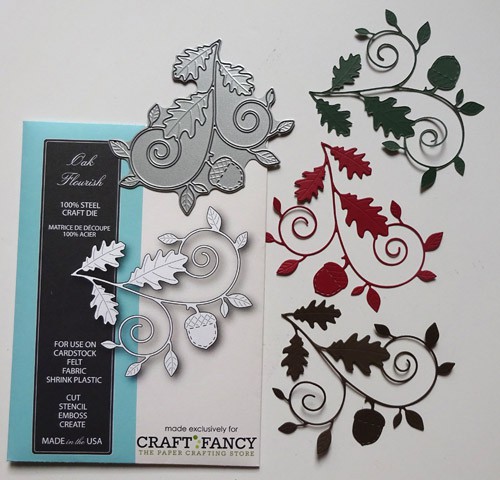
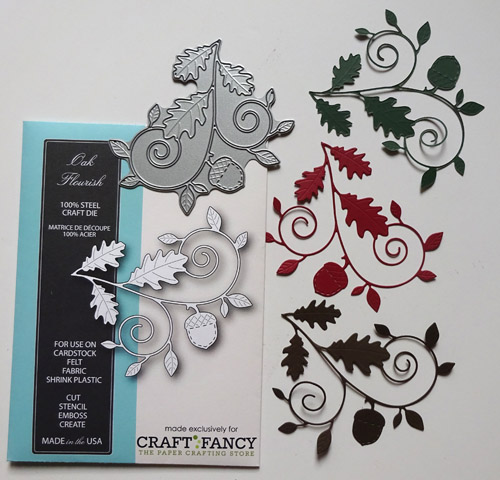
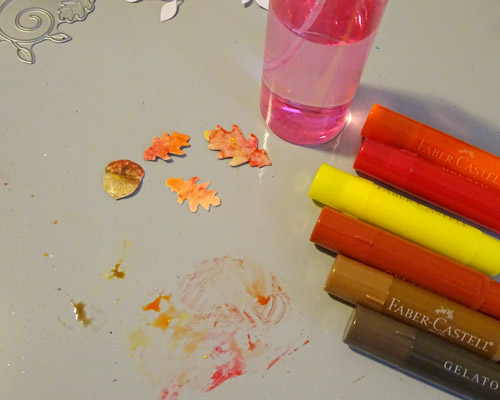
Cut Oak Flourish die with green, brown and while cardstock. Trim off the leaves from the white cardstock die cut. Color with Design Memory Craft® Gelatos® – Chocolate, Ice Chai, Lemon Lemon, Red Cherry, Tangerine and Cinnamon sticks. I colored on a non-stick craft sheet, spray water and drag the die cuts around for the desired look. After they dry, assemble the wreath using a combination of 3D Foam Squares – Black, Small and Adhesive Sheets – 4 x 6″.

Place the 4 x 4″ square pictures and embellished wreath (I secured the wreath with DODZ™ – 3D) on the scrapbook page. Then add sticker letters to spell “FALL” in the wreath. Add Creative Photo Corners – Kraft as an accent verses as a functional item for the finishing touch.
Here’s a second look..
Supplies List:
Scrapbook Adhesives by 3L: E-Z Runner® Permanent Strips, Adhesive Sheets – 4 x 6″, DODZ™ – Small, DODZ™ – 3D, Creative Photo Corners – Kraft and 3D Foam Squares – Black, Small
Patterned Papers and Stickers: Bella Blvd (Hello Autumn Collection)
Cardstock: Core’dinations ColorCore® Cardstock (White and Tim Holtz Distress Cardstock Collection – Crushed Olive)
Dies: Memory Box (Oak Flourish) and Spellbinders® Creative Arts (LF-114 Grand Circles and S4-114 Standard Circles LG)
Coloring: Faber-Castell® Design Memory Craft® (Design Memory Craft® Gelatos® – Chocolate, Ice Chai, Lemon Lemon, Red Cherry, Tangerine and Cinnamon)
Other: Twine; Chipboard; Green, Brown and While Cardstock; Non-Stick Craft Sheet
Blog Hop Alert: We will be hopping with Bella Blvd. next week (9/7 – 9/11). SO excited to see what everyone will be creating 🙂 Stay tuned to our Blog for loads of inspiration!!
Speaking of inspiration, click Fall projects by Scrapbook Adhesives by 3L for more eye candy!
Thanks for stopping in!
MargieH


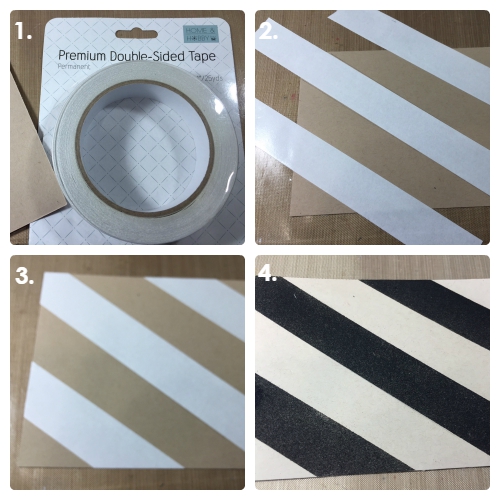
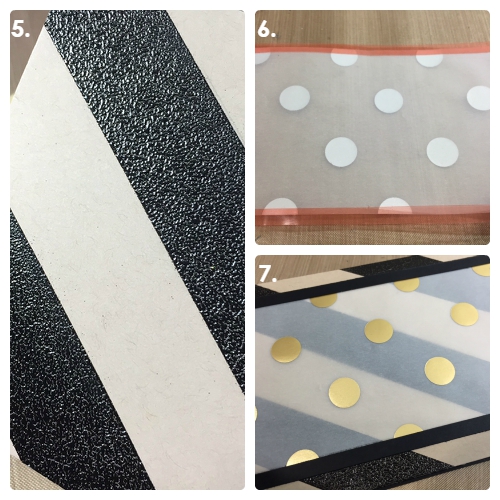

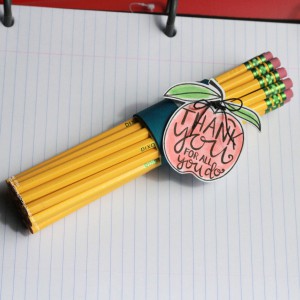
 Remember
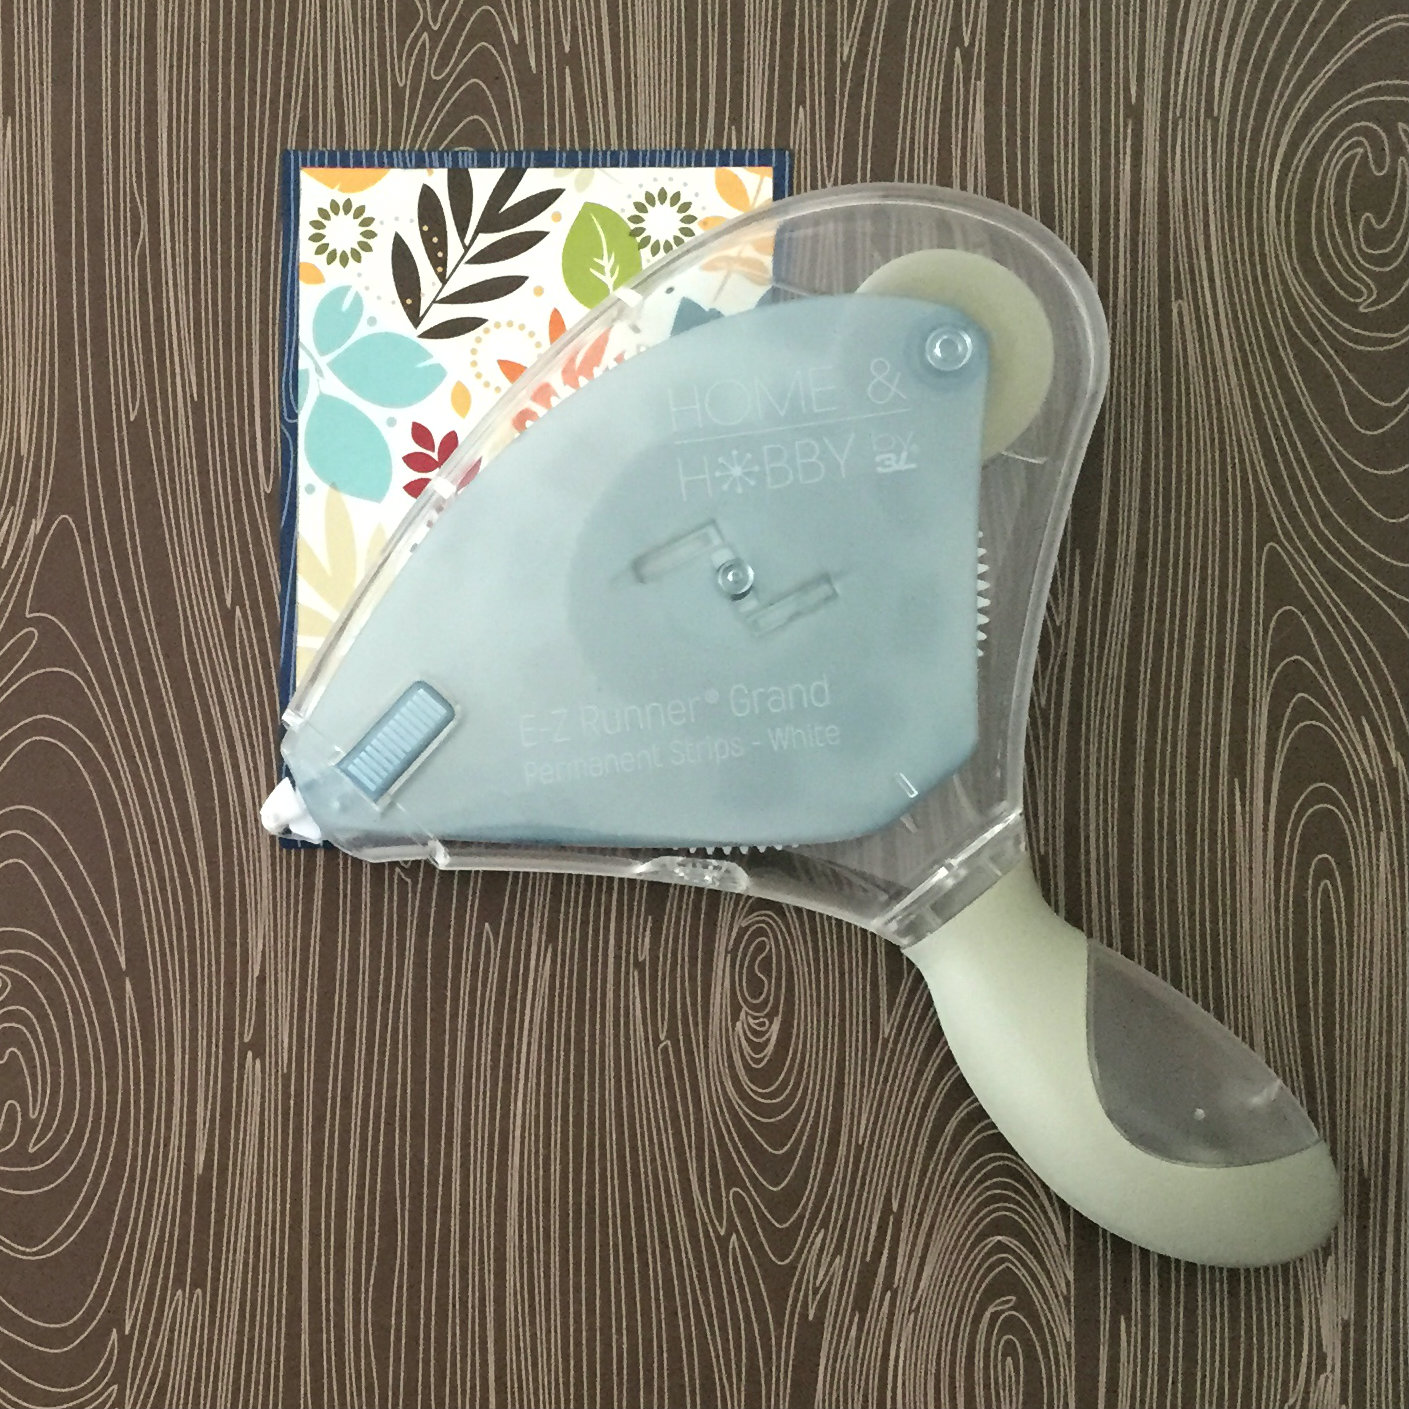
  Next, I used the Home & Hobby by 3L®
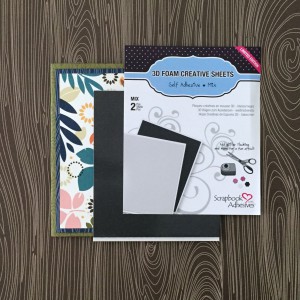
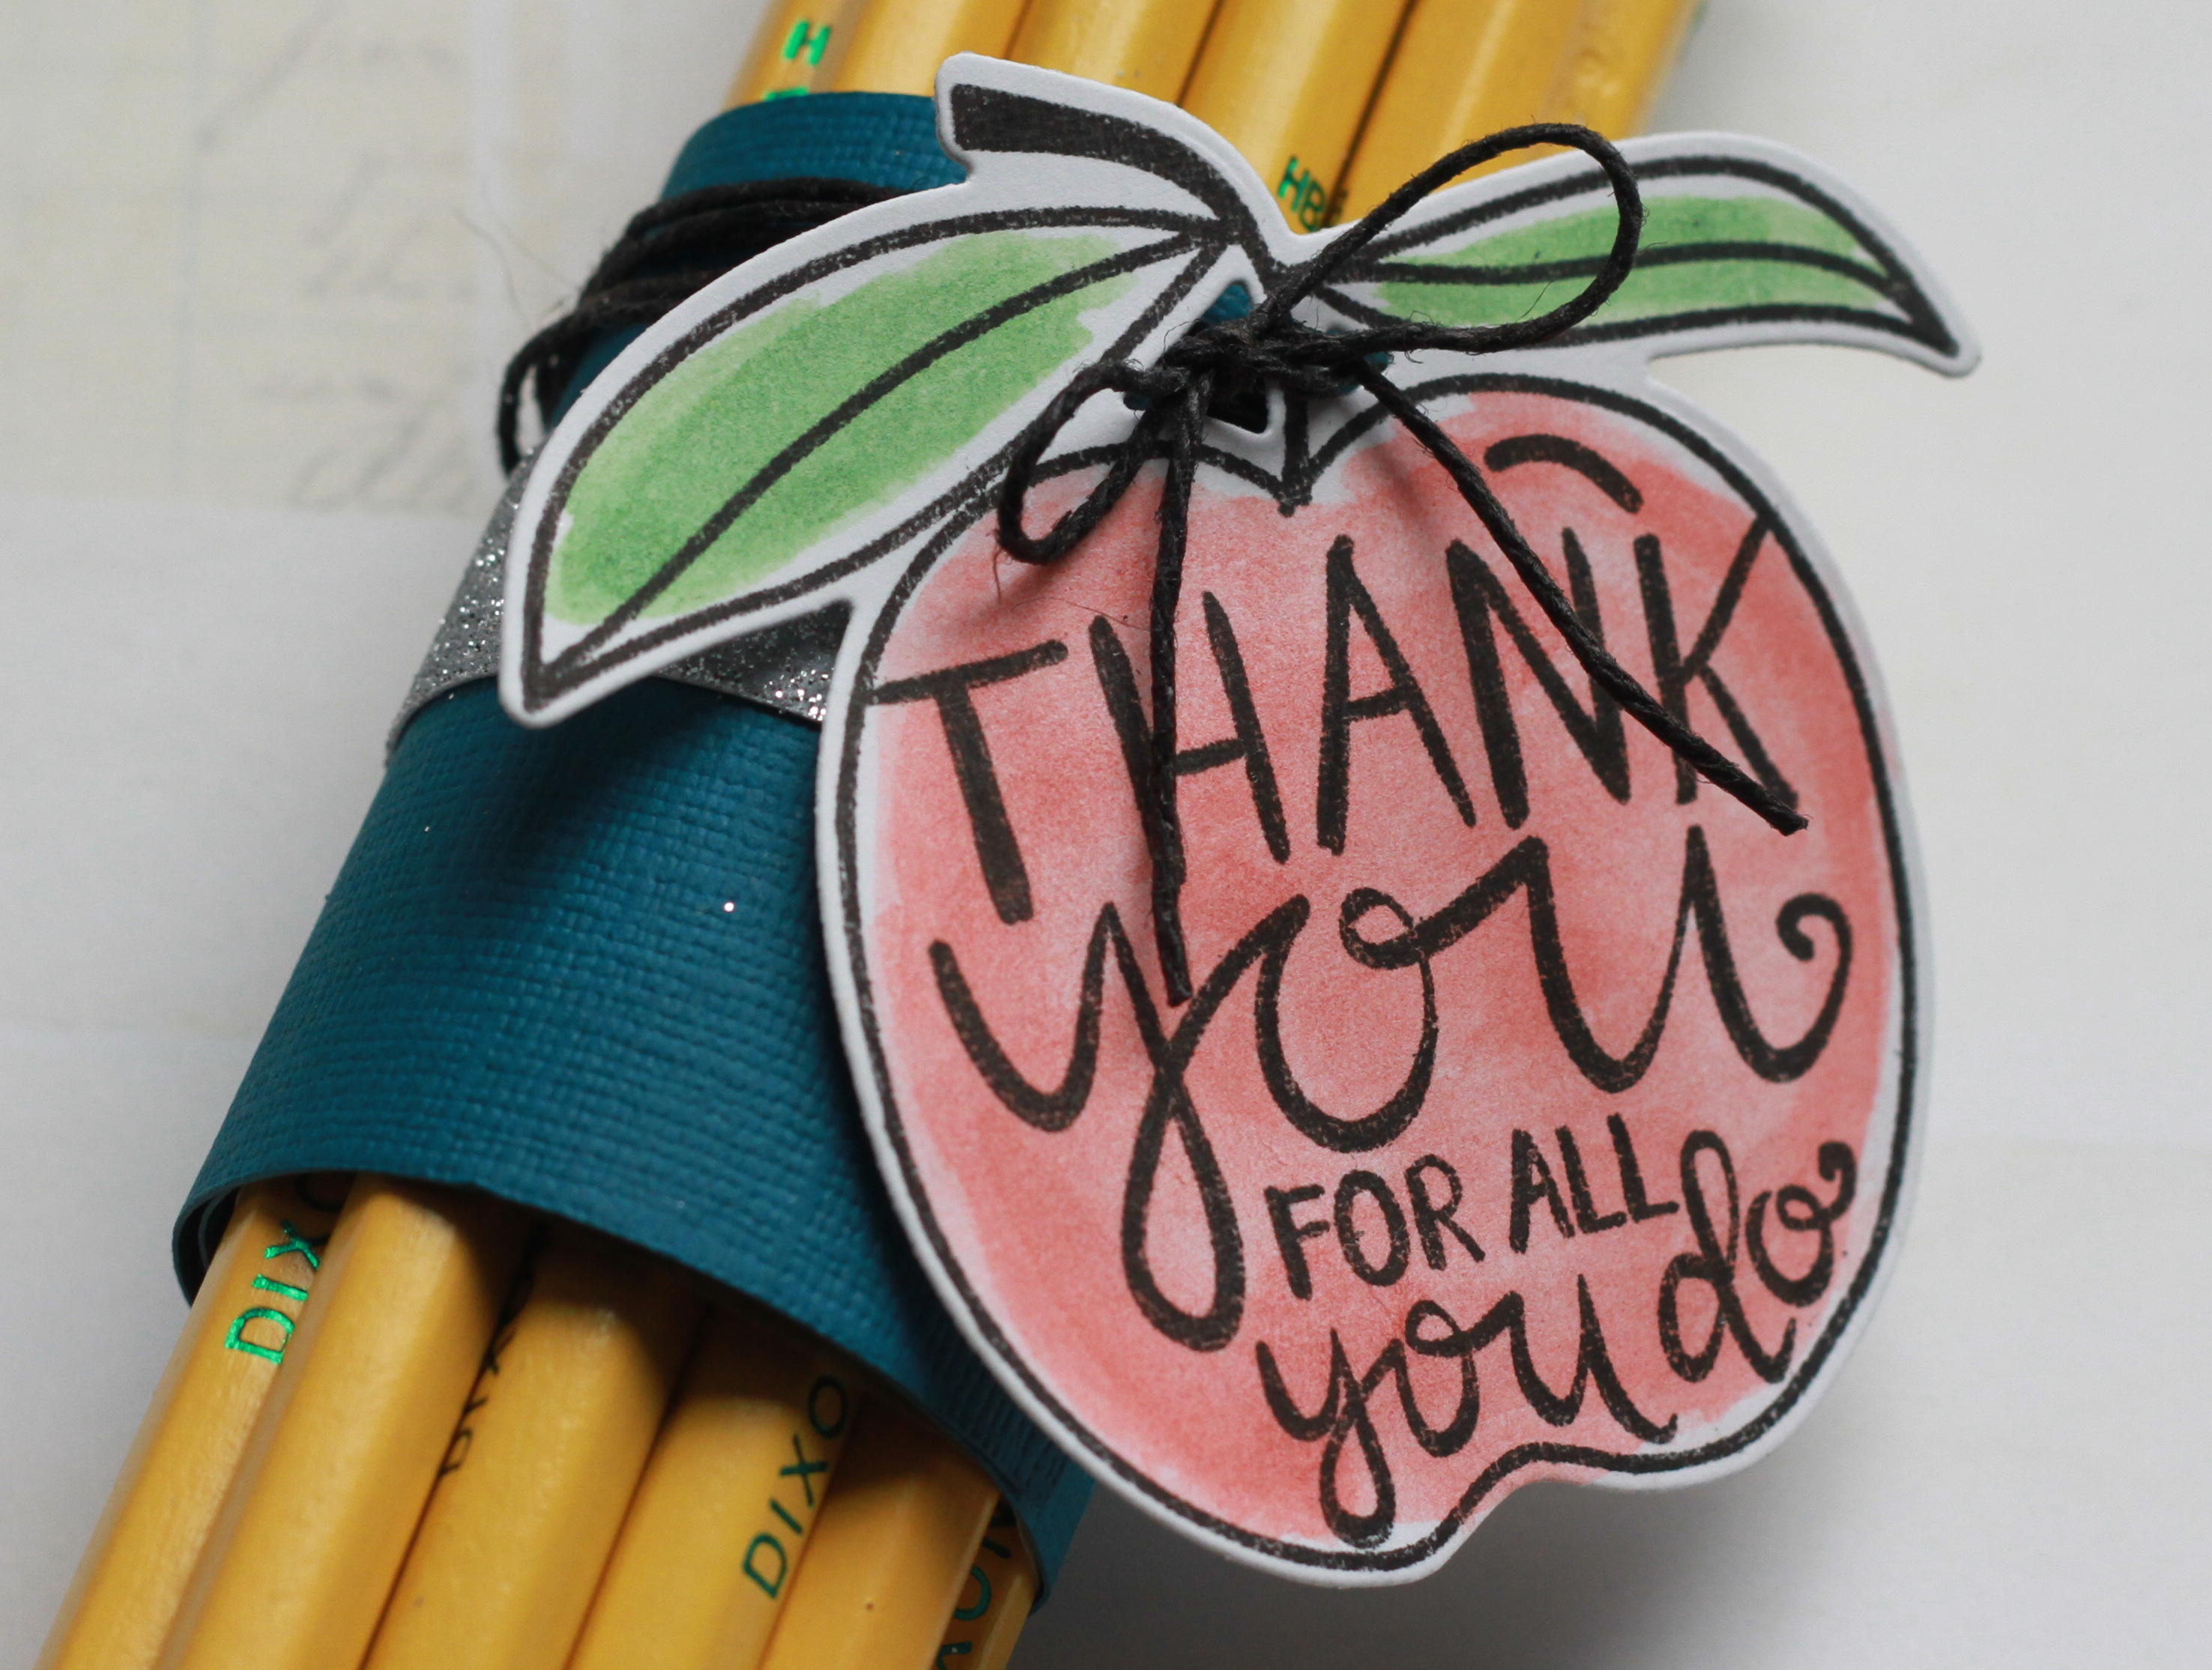
  To hold the apple in place, just place a

