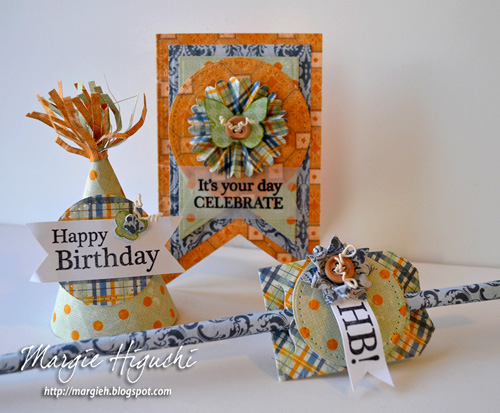
I am excited to share with you a tutorial on how to create a three piece Happy Birthday Ensemble. What’s a party without a hat and a straw decor to celebrate a special day?!
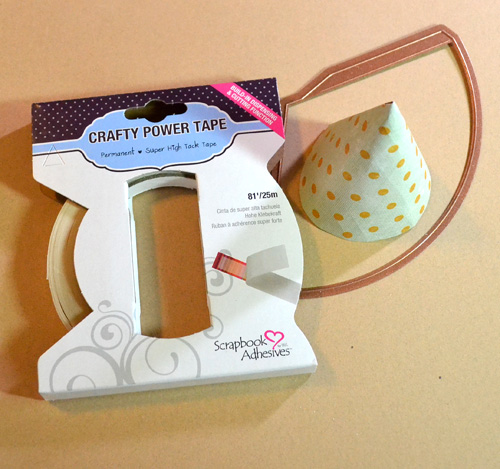
Party Hat:
Using the die, create a cone shape and secure with Crafty Power Tape.
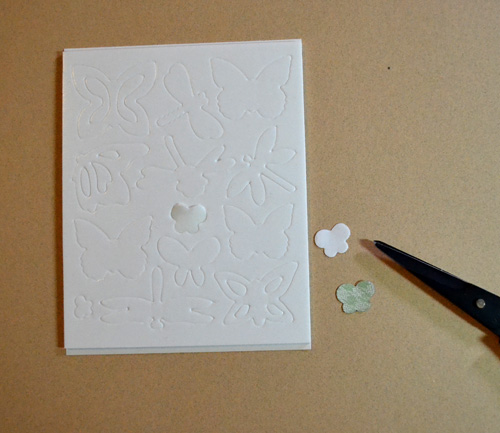
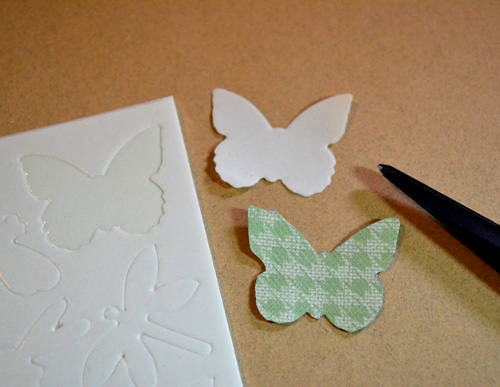
With a strip of patterned paper cut the edge with a pair of fringe scissor, roll and thread through the narrow top of hat. Using the smallest butterfly liner as a guide from the 3D Foam Butterflies set, trace the shape onto patterned paper and hand cut out. Repeat with the middle sized butterfly.
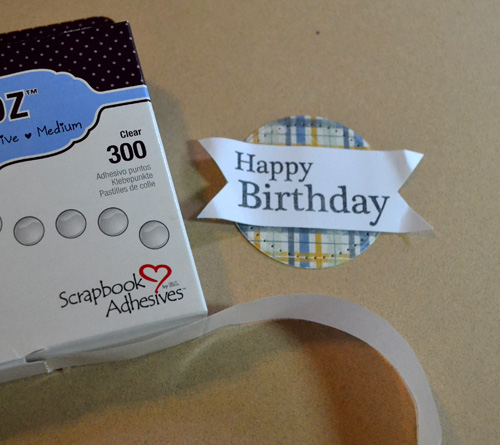
Stamp sentiment in white cardstock and hand cut to create a banner. Cut a circle with patterned paper. Adhere the sentiment with Dodz™ Medium.
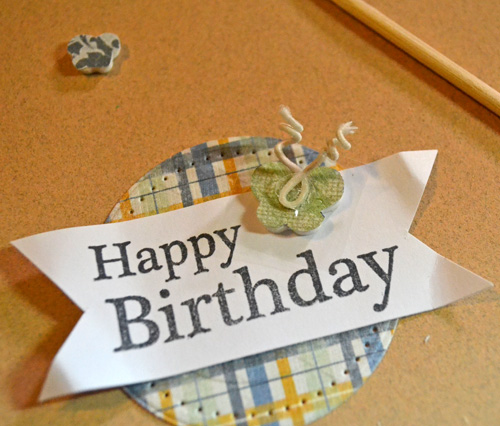
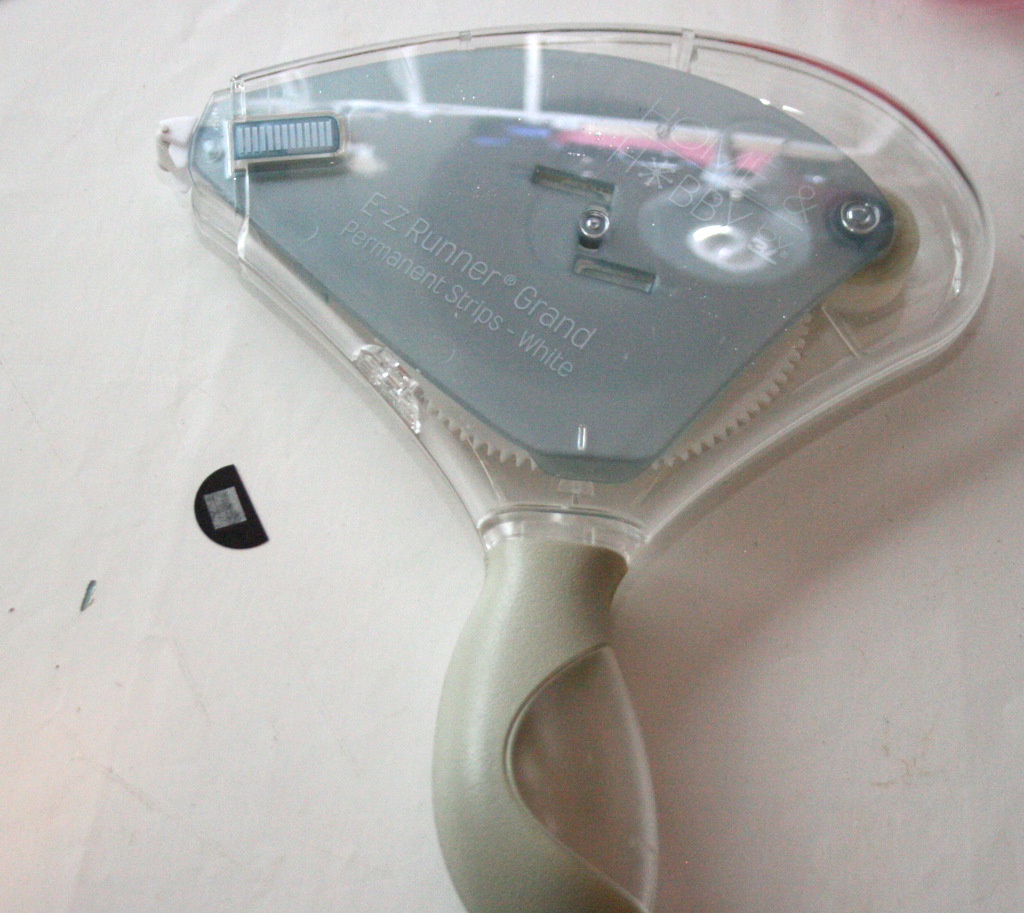
Add the middle 3D Foam Butterfly, adhere the butterfly antenna with Dodz™ Medium and layer the small 3D Foam Butterfly on top. With E-Z Runner® Permanent Strips Refillable, adhere on to party hat.
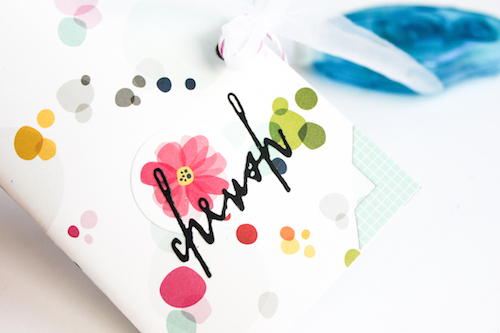
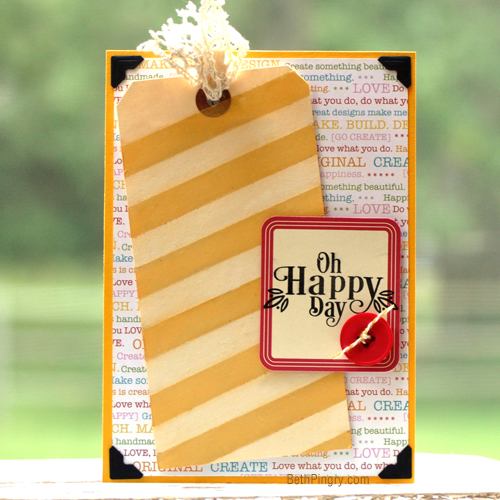
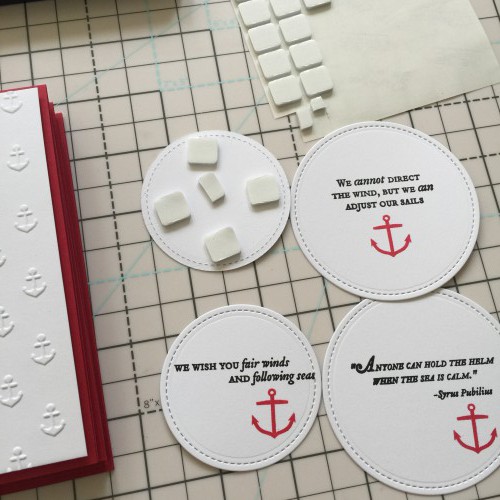
Straw Decoration:
- Stamp sentiment in black ink with white cardstock and hand cut a banner shape around it.
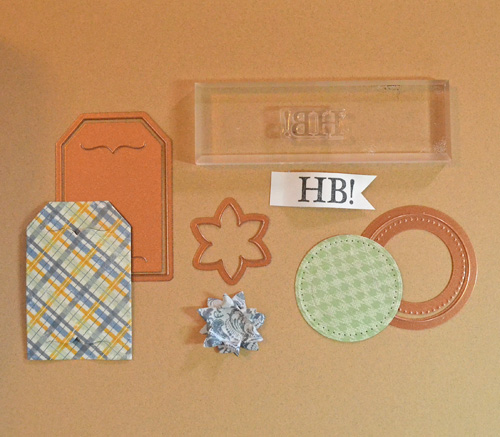
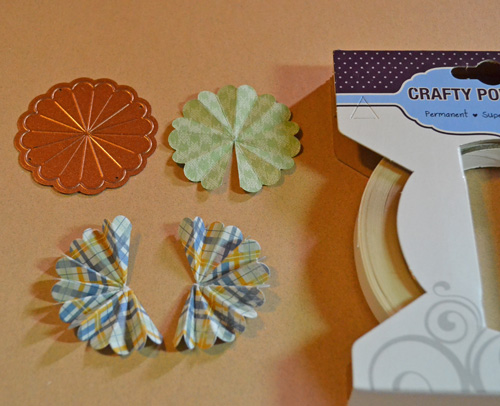
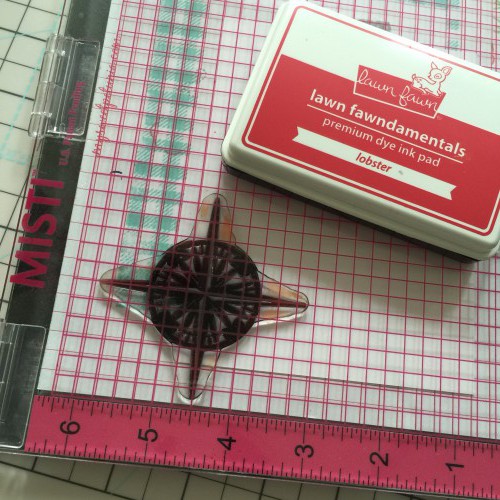
- Cut/emboss all the die cuts from die templates shown with patterned papers.
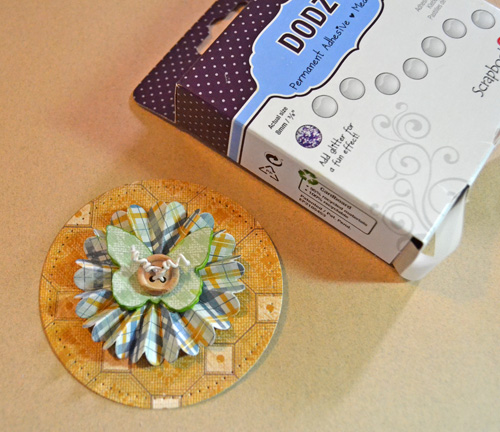
- Layer and adhere the pieces (circle shape with E-Z Runner® Permanent Strips Refillable and banner, flower, button and wire with Dodz™ Medium).
- Adhere the embellished circle with E-Z Runner® Permanent Strips Refillable to tag and slip straw through.
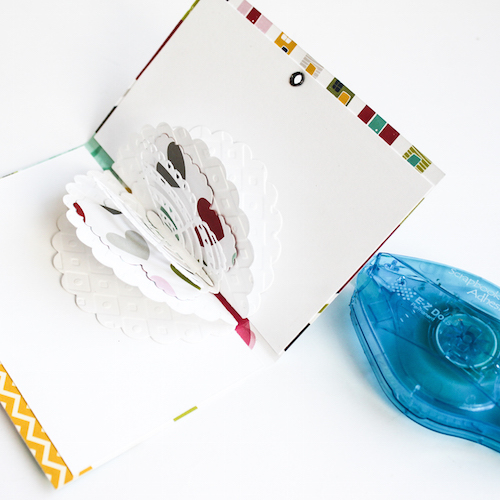
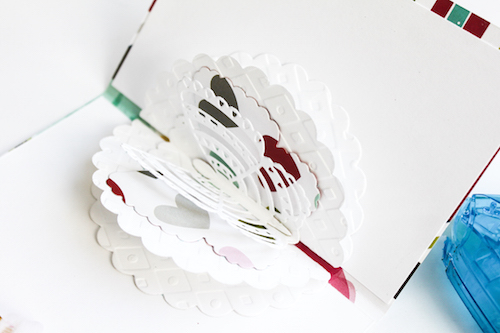
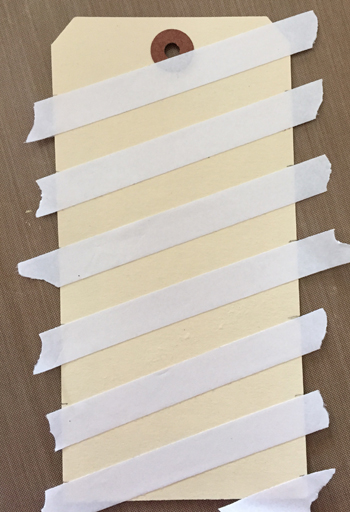
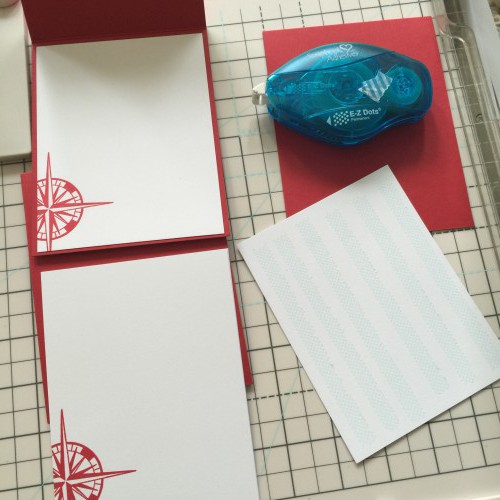
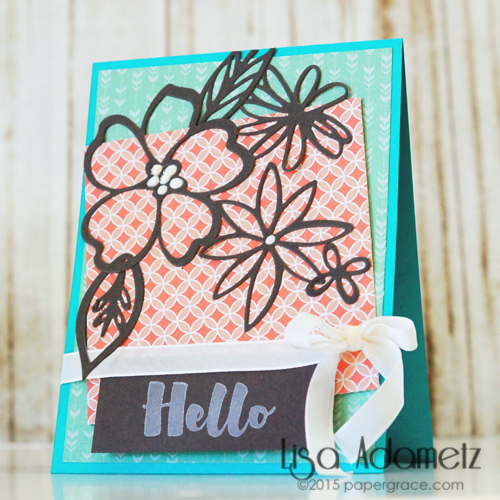
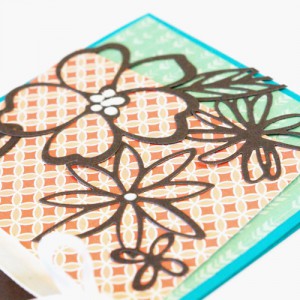
Shaped Card:
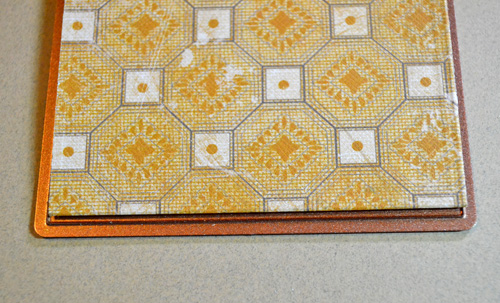
To create a shaped card, I folded a piece of patterned paper a little wider than the die’s width and the fold was placed UNDER the top blade (see below). This will keep the fold in place without it being cut.
I cut/embossed two smaller banners to create a matted card front.
Using the butterfly liner as a guide from the 3D Foam Butterflies set, trace the shape onto patterned paper and hand cut out.
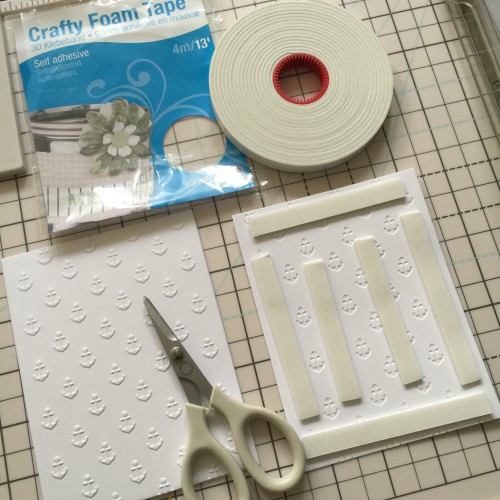
I cut/embossed two flower die cuts, folded them and adhered them with Crafty Power Tape to create a bigger flower.
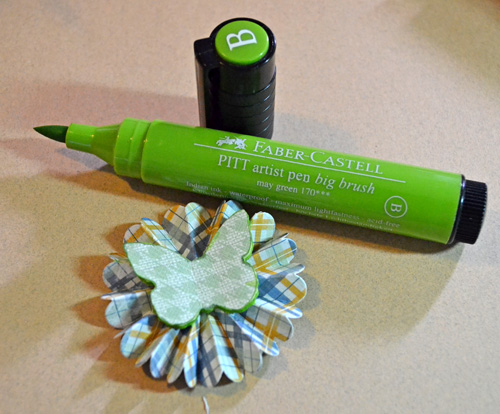
Next I edged the 3D Foam Butterfly with green marker for a subtle look.
Then I adhered each layer with Dodz™ Medium on top of the Pierced Circle die cut.
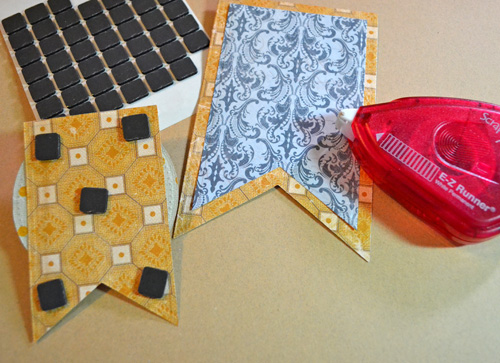
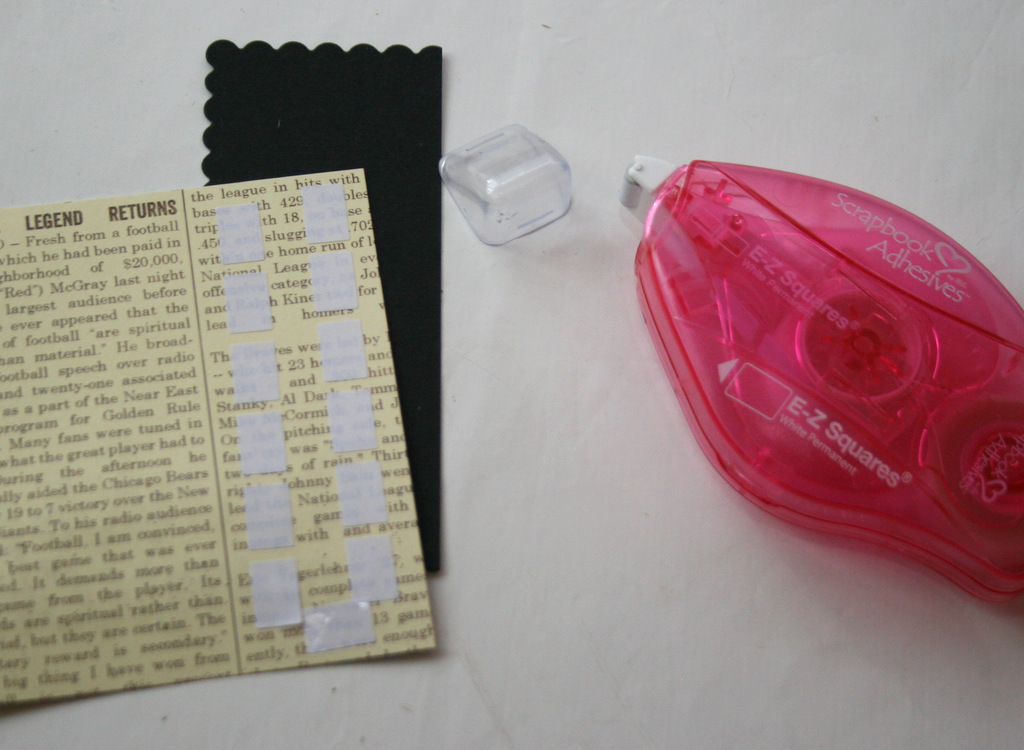
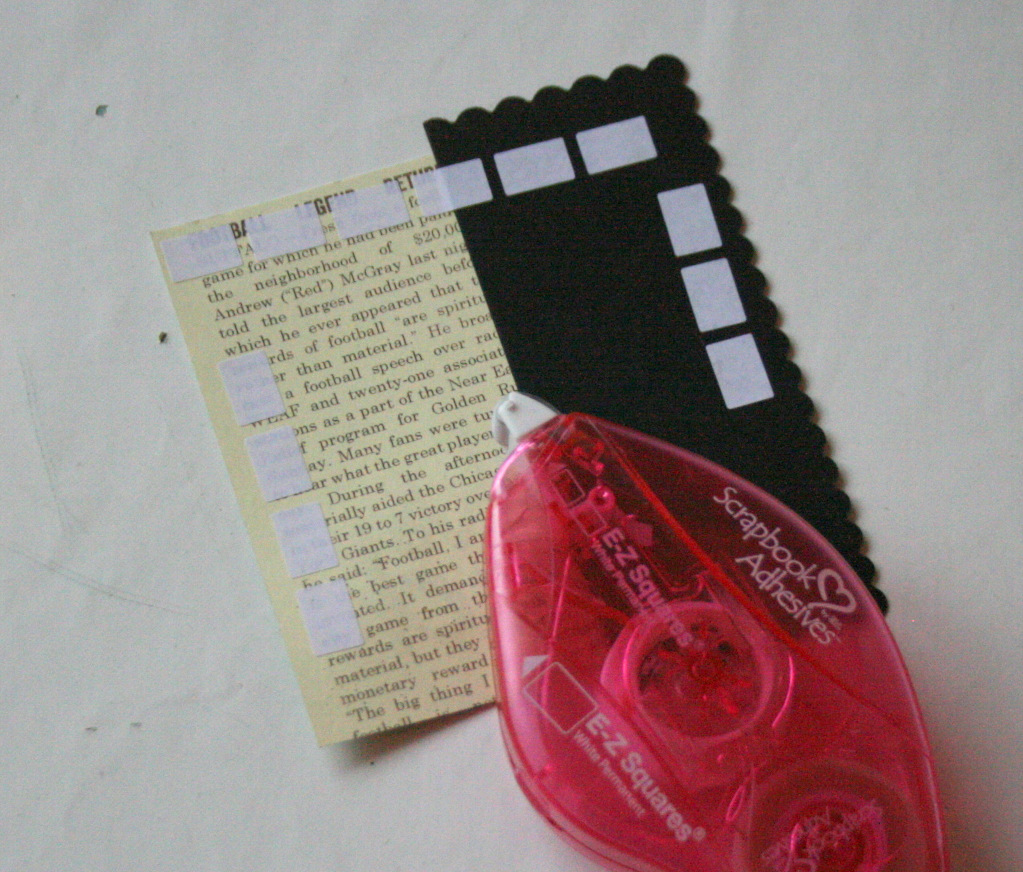
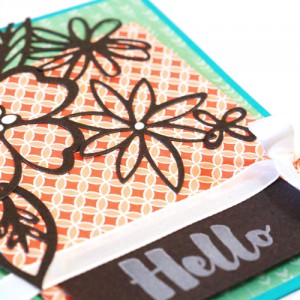
Using a combination of E-Z Runner® Permanent Strips Refillable and 3D Foam Squares – Black, Regular, I assembled the card.
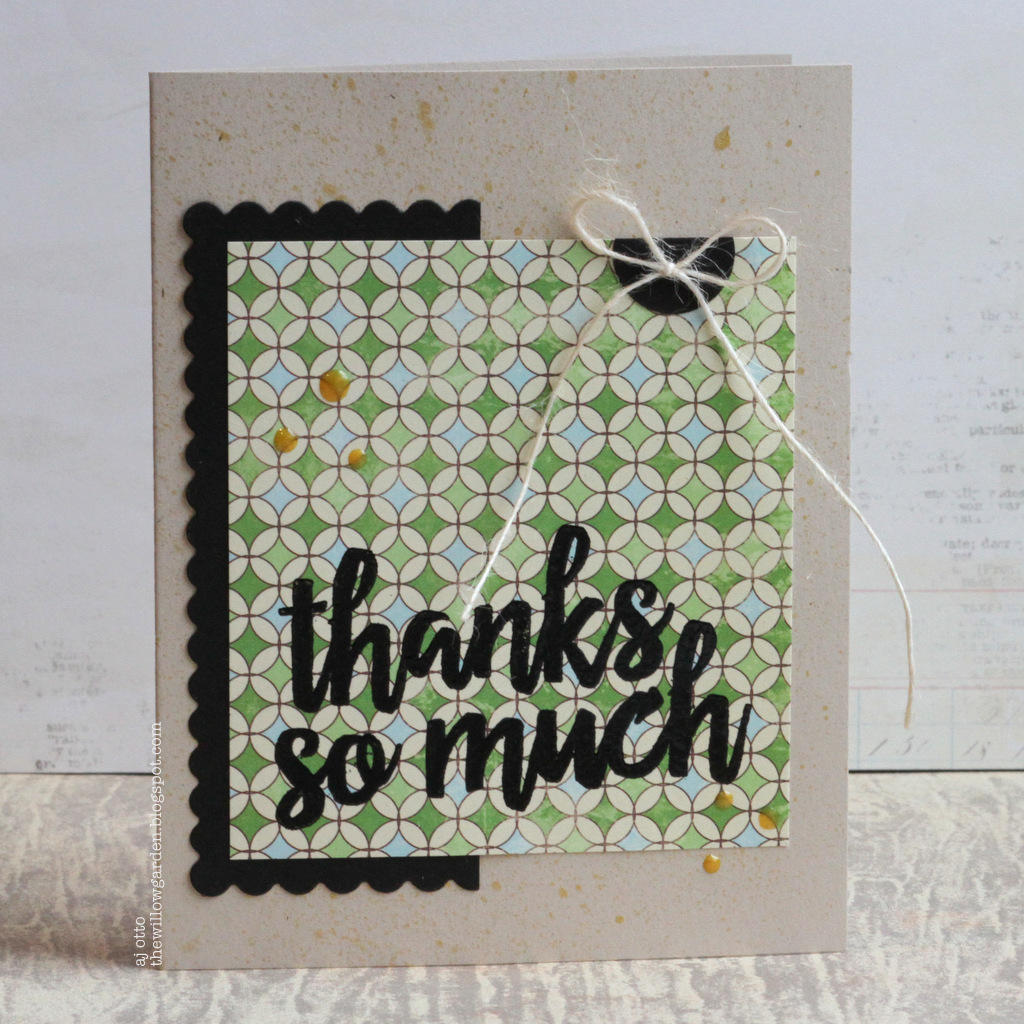
The finishing touch was adding the sentiment stamped with vellum and adhered with E-Z Runner® Permanent Fine Adhesive. LOVE this adhesive – you cannot see it once it’s placed!
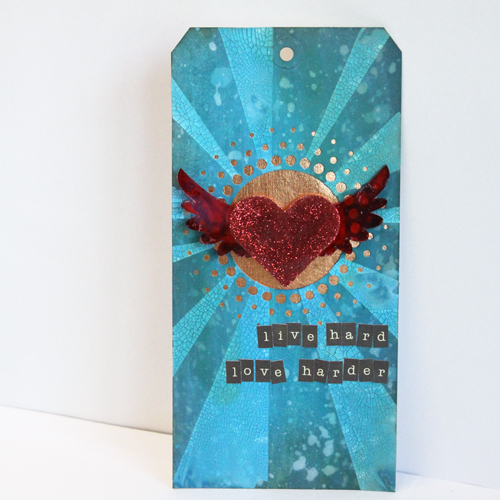
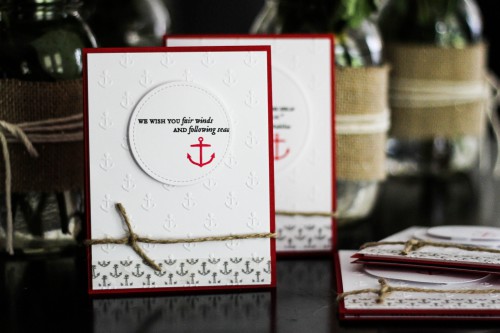
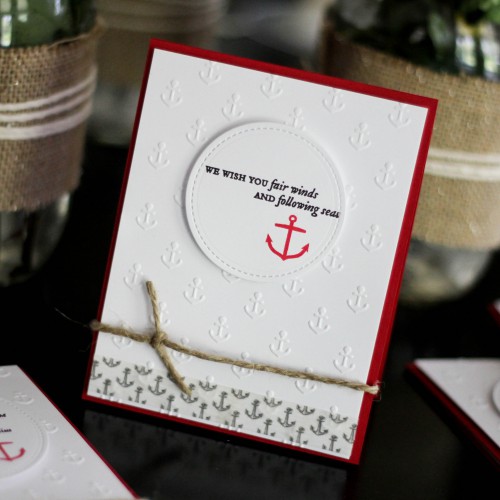
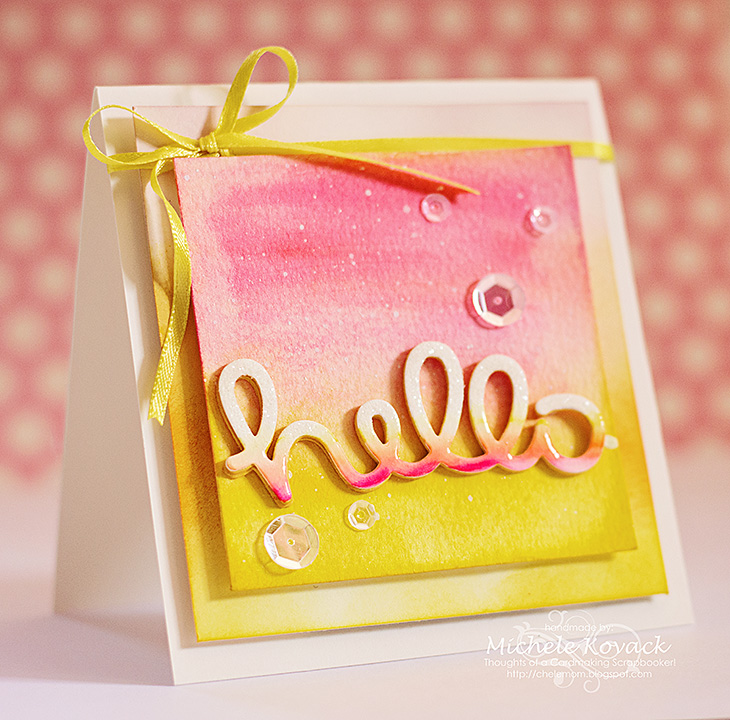
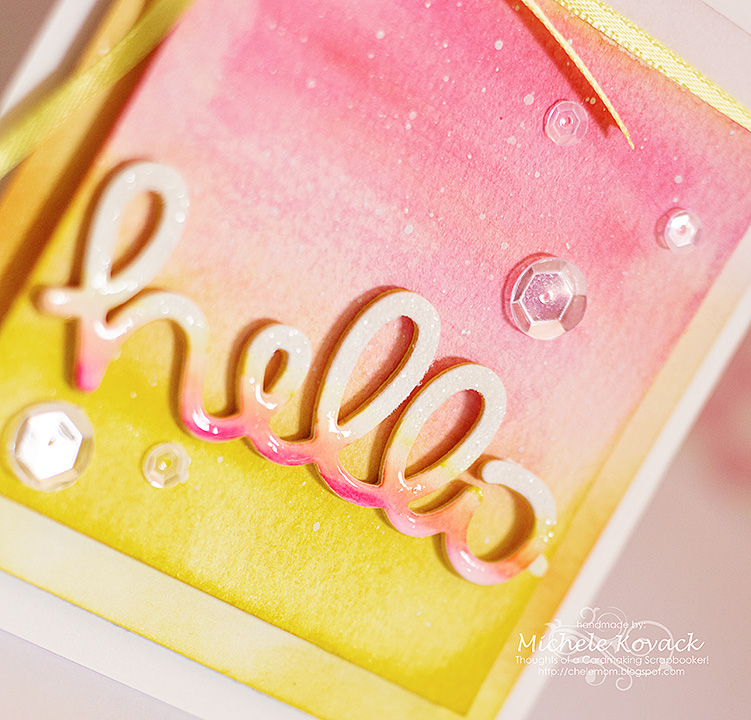
Here’s another look at the ensemble…
Supplies:
Scrapbook Adhesives by 3L®: 3D Foam Butterflies, Dodz™ Medium, E-Z Runner® Permanent Strips Refillable, E-Z Runner® Permanent Fine Adhesive, Crafty Power Tape and 3D Foam Squares – Black, Regular
Dies and Stamp: Spellbinders® Creative Arts (GLD-016 Baby Buntings, SCD-005 Rosette Blooms, SCD-009 Pierced Circles, SCD-010 Build-a-Tag One, SCD-013 Create-a-Cone, SCS-005 Your Day Stamp Set and SCSD-008 Just Because Stamp and Die Set)
Marker: Faber Castell® Design Memory Craft® (Stamper’s Big Brush – Green)
Patterned Paper: Authentique Paper (Strong Collection)
Buttons: Maya Road
Wire: Prima Marketing Inc.
Other: Vellum
Thanks for stopping by!
Margie Higuchi