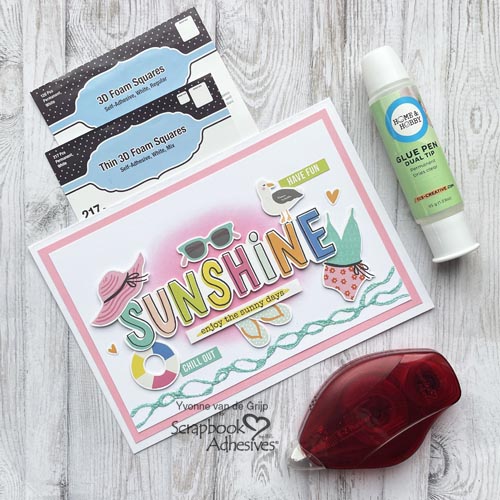
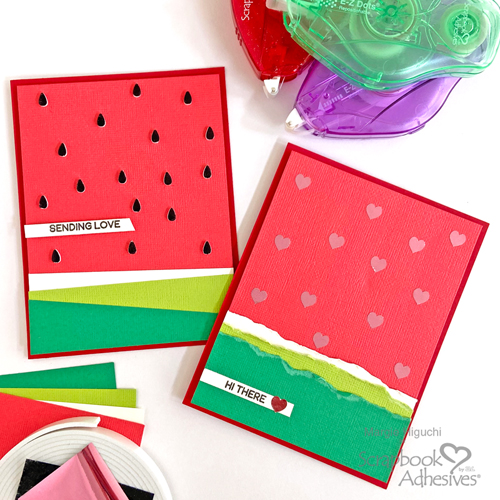
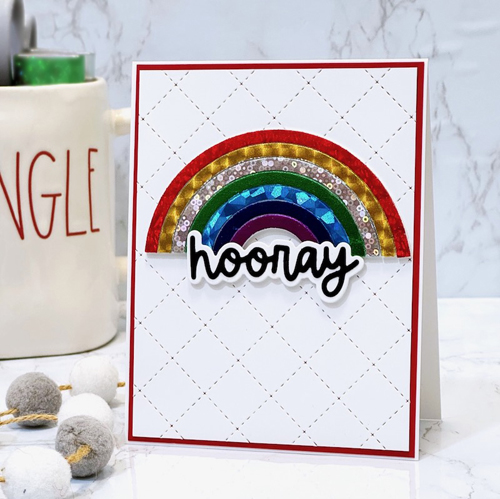
Fall season is right around the corner so I wanted to create a seasonal seed packet for the occasion. Featuring the 3D Foam Circle Frames White, I couldn’t resist a wreath design! Hi, Margie here with my process on how to create this. Come join me!
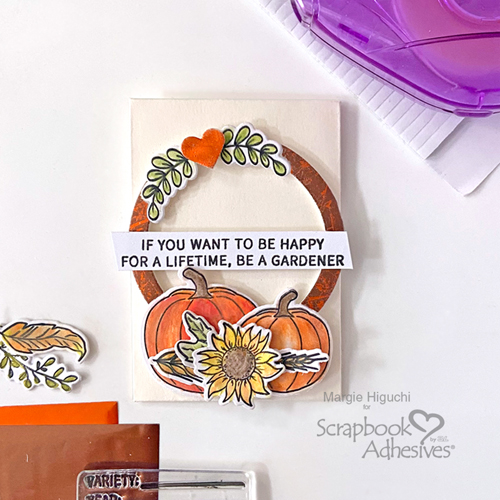
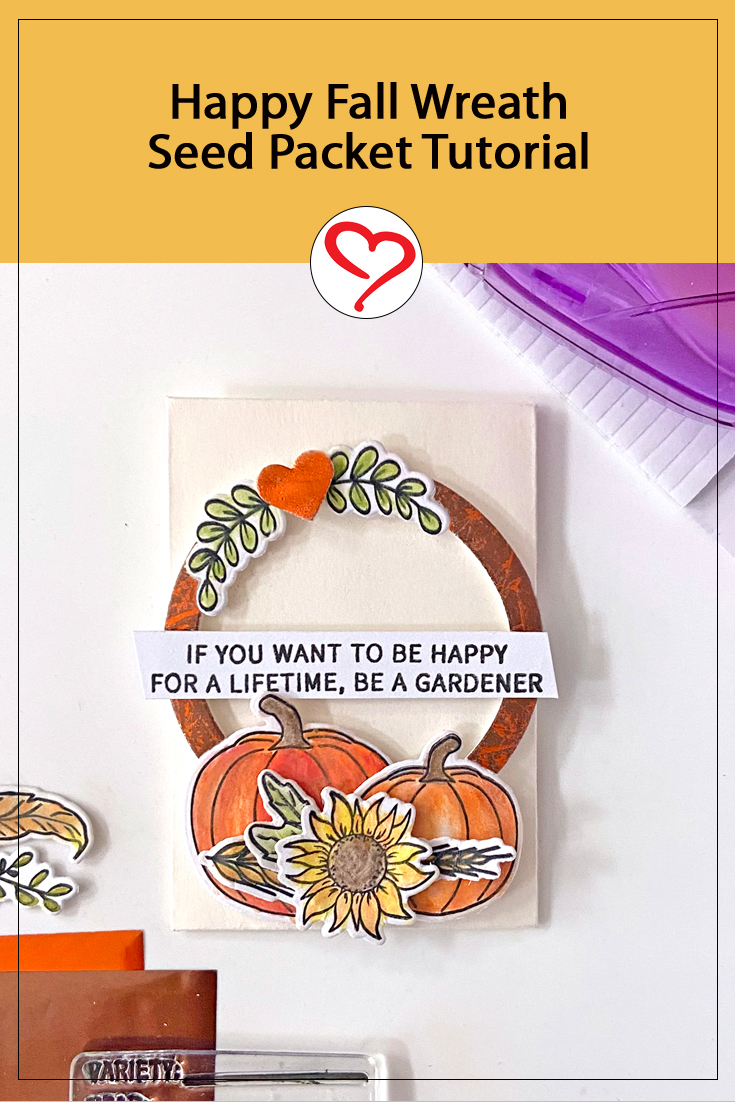
Happy Fall Wreath Design
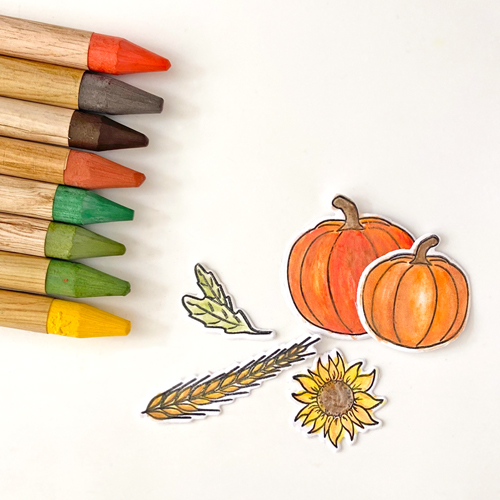
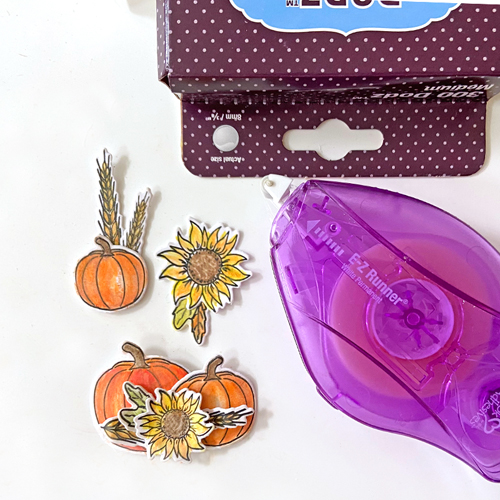
Stamp, watercolor, and die-cut fall elements. Using a combination of the E-Z Runner® Micro Refillable Dispenser and Adhesive Dots Medium, I created little clusters…some of them I will use in other future projects #ThinkAhead 😊
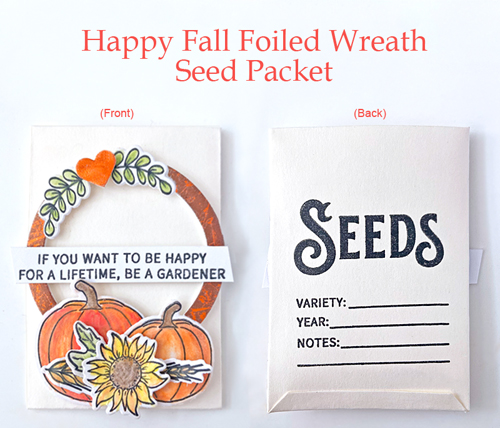
Seed Packet
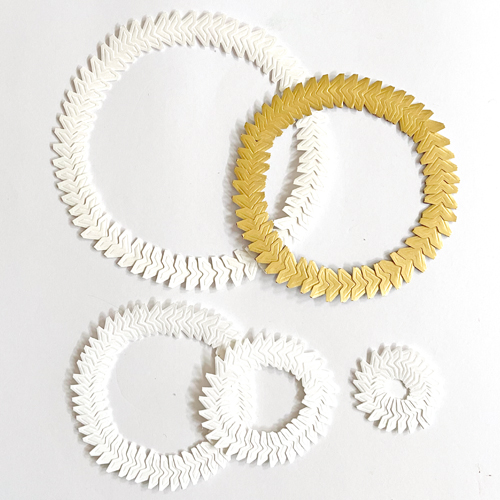
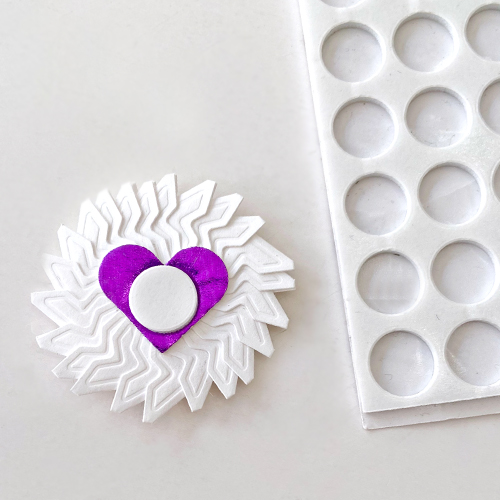
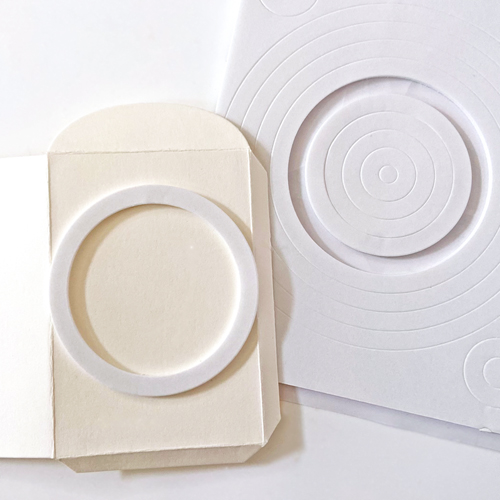
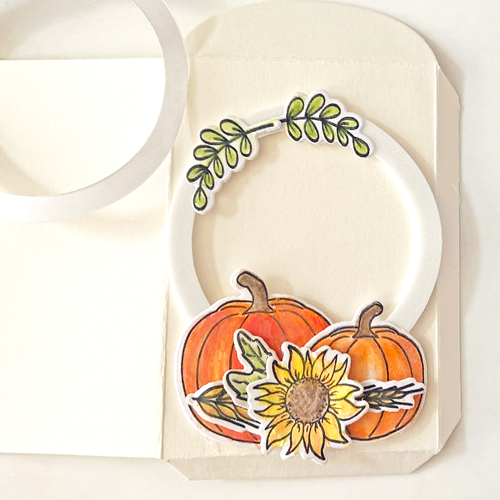
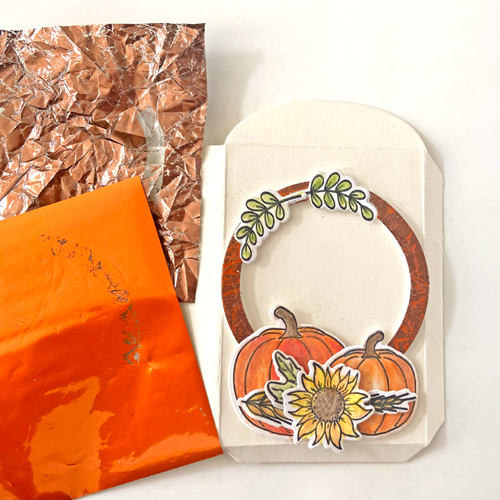
Die-cut a seed packet in cream cardstock. There is no need to assemble yet. Center the fifth largest ring from the 3D Foam Circle Frames White on the front of the packet.
Embellish the Packet Front
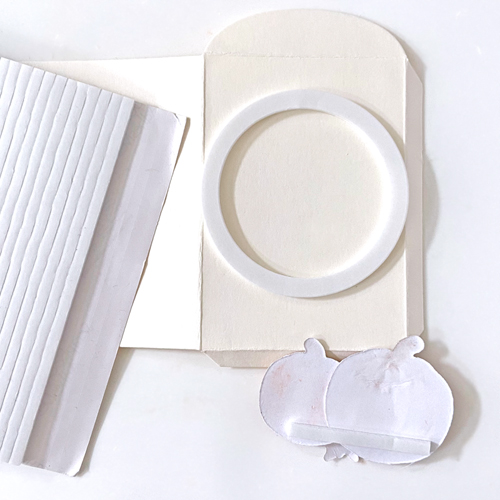
I am using the pumpkin and sunflower cluster. Place behind it a strip of 3D Foam Strips toward the bottom. Remove the top liner at the bottom part of the foam ring and place the cluster. With the top liner still intact, I can determine my smaller accent before committing. LOL!
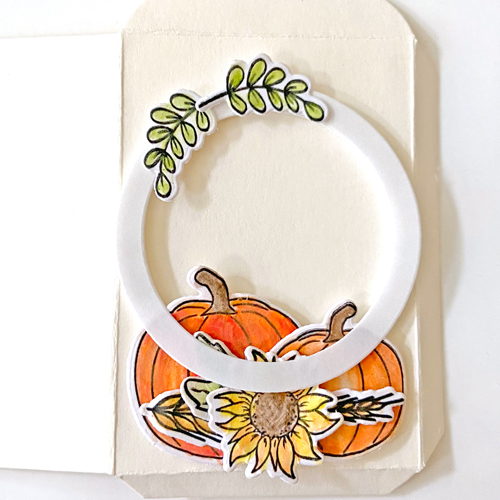
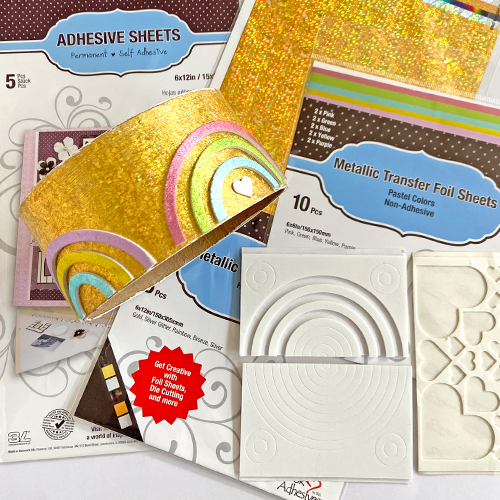
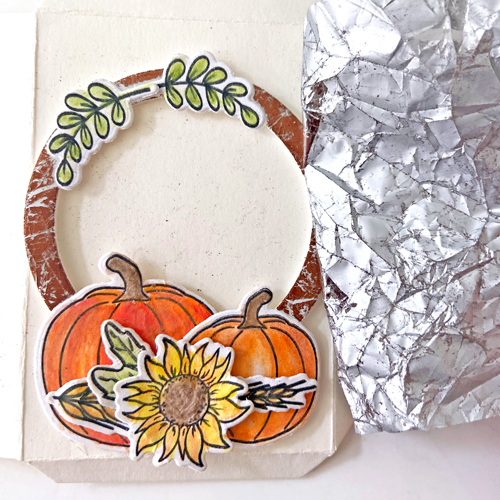
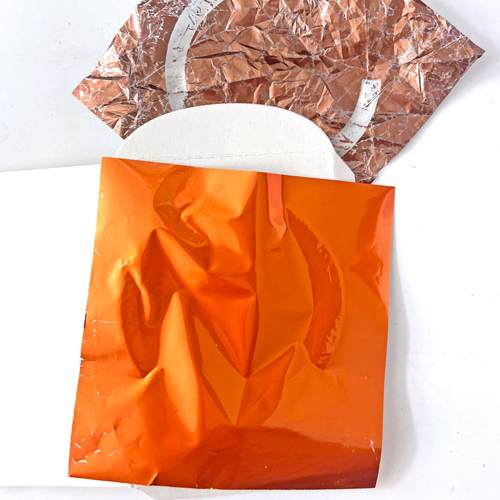
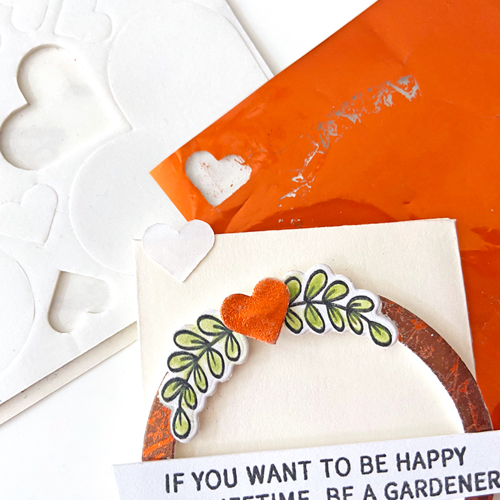
Wear Your Adhesive on the Outside with 3D Foam Circle Frames and Metallic Transfer Foil Sheets
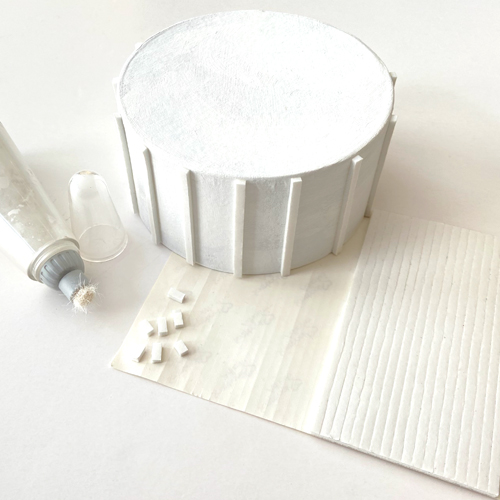
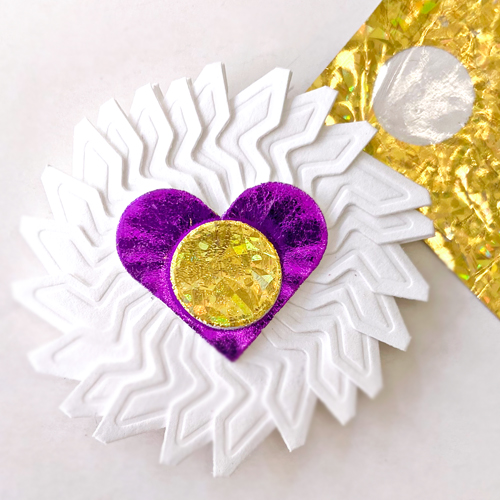
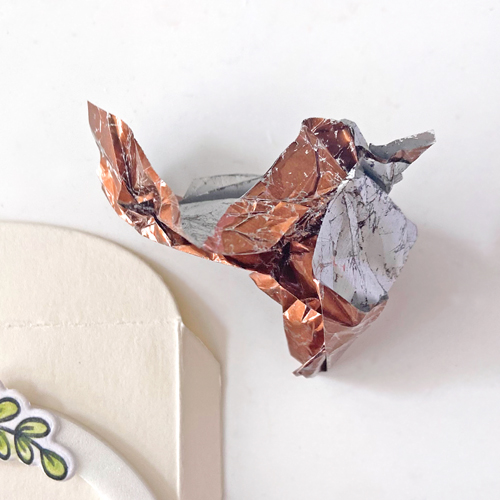
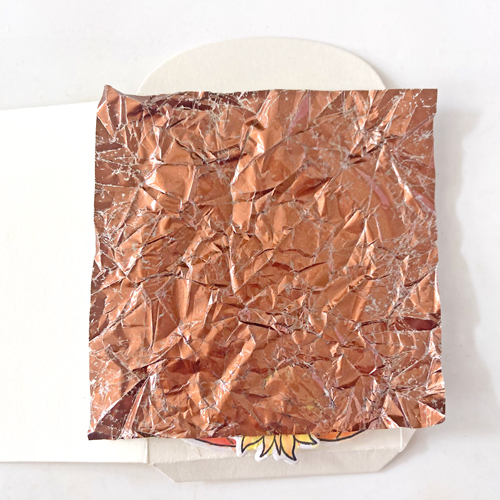
Cut a piece of brown foil from the Metallic Transfer Foil Sheets Nature Colors and crumple it to create wrinkles. Next, flatten it out, place it over the exposed adhesive (color side facing you) and rub to transfer the design to the foam. The white wrinkles are exposed adhesive so take a piece of contrasting color like orange/copper from the same foil pack and apply it over the wreath. No need to crumple it. The result is beautiful!
Stamping the Sentiments and Packet Assembly
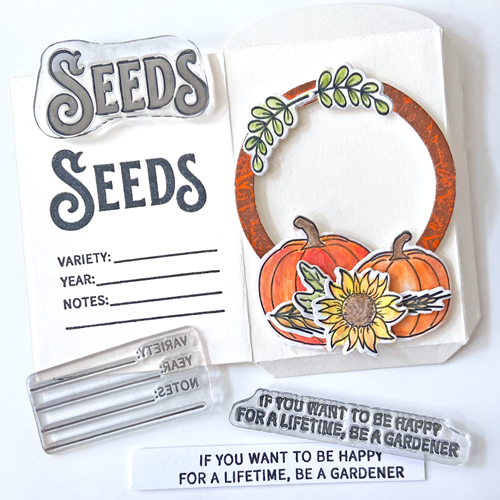
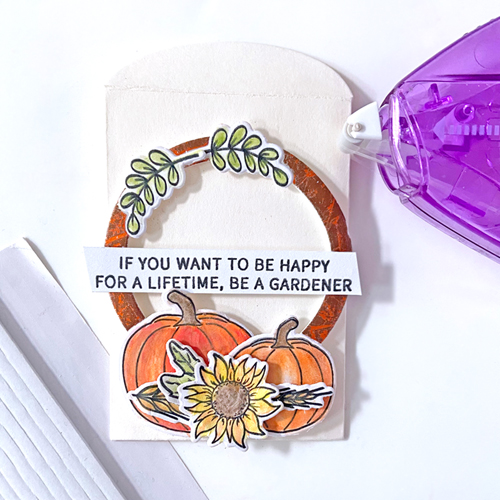
Since it is a seed packet, I stamped the related information on the back of the packet. I wanted a sentiment strip to go across the wreath and found one in the same stamp set. With a 3D Foam Strip, I place the sentiment on the packet front. Next, I assembled the packet with the E-Z Runner® Micro Refillable Dispenser.
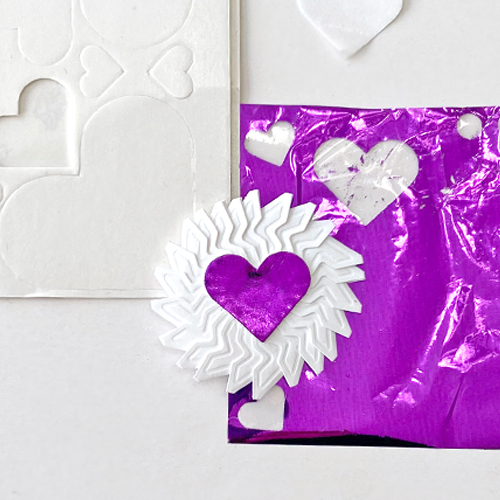
The Finishing Touch
I used the smallest heart from the 3D Foam Hearts and centered it between the sprigs. Then foil with the same copper foil on the heart. Makes the perfect accent for my wreath 😊
I hope you enjoyed my Happy Fall Wreath Seed Packet tutorial! Till next time, I wish you a wonderful crafty day!
Thanks for stopping by!
Margie Higuchi
Creative Time: 45 mins
Skill Level: Intermediate
Materials Needed:
Scrapbook Adhesives by 3L®
E-Z Runner® Micro Refillable Dispenser
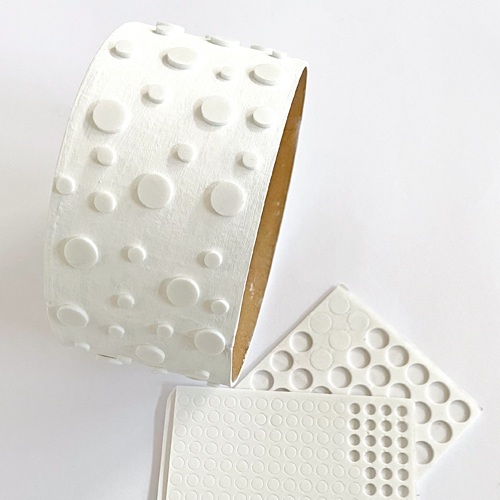
3D Foam Strips, 3D Foam Hearts, and 3D Foam Circle Frames White
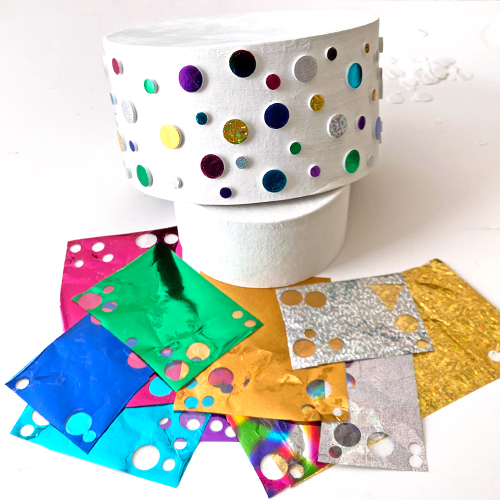
Metallic Transfer Foil Sheets Nature Colors
Other: Stamps & Craft Dies: The Ton Stamps (Garden Goddess Stamp Set, Autumn Coloring Bits and Coordinating Dies, and Seed Envelope Die); Watercolor: Ranger Ink (Tim Holtz Distress Watercolor Pencils); Ink: Hero Arts (Intens-ified Ink in Black); Stamp Positioner; Bone Folder; White and Cream Cardstock
Click Preferred Retailers List
Save to Pinterest!
Visit our Website and Blog!
Sign up for our Newsletter so you never miss a contest or giveaway!