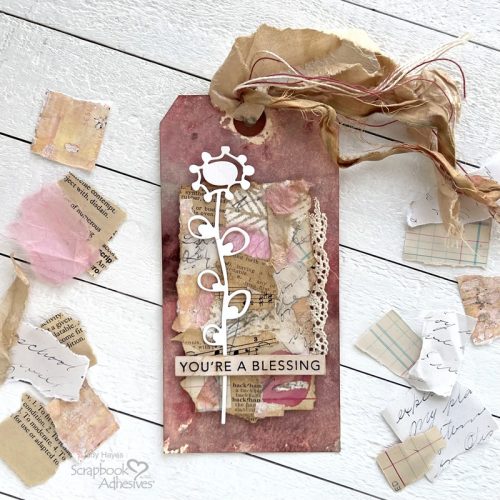
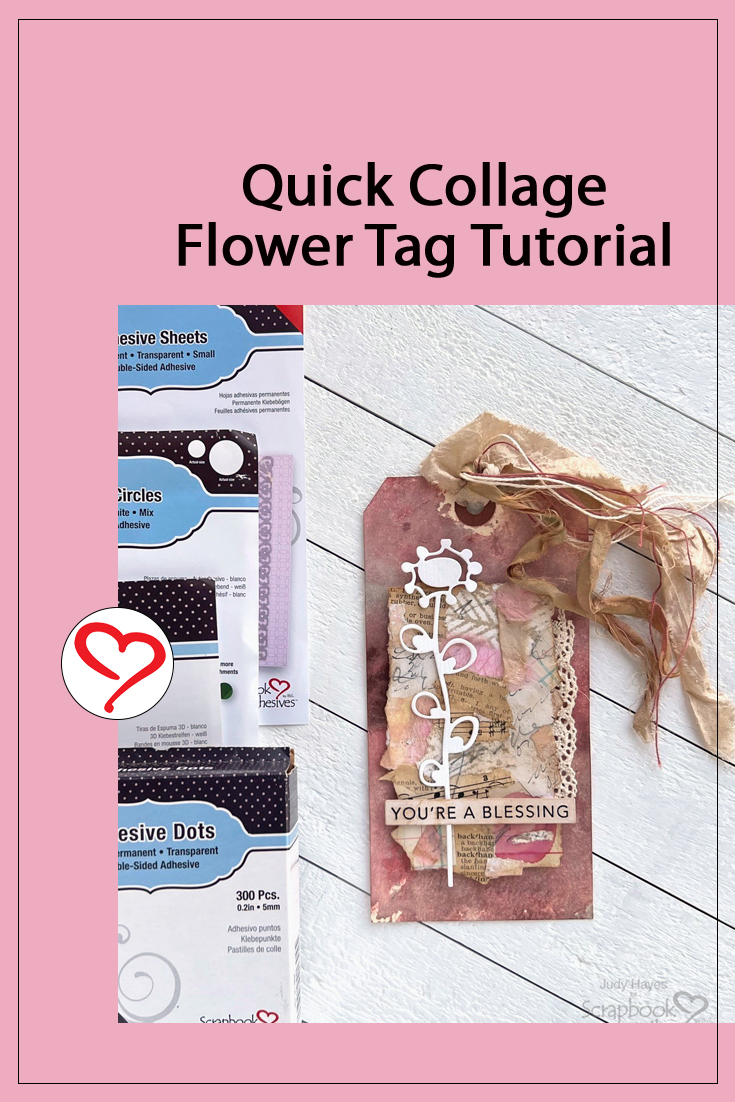
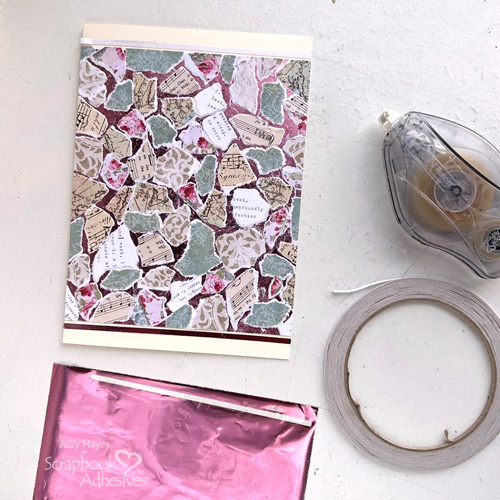
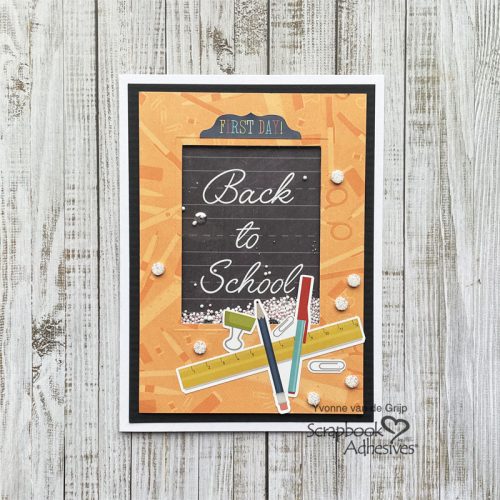
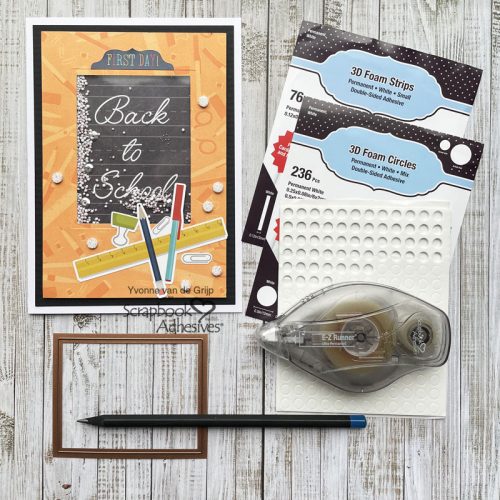
Hi everyone, Yvonne here with a Back to School Shaker Card. A new school year is about to start and a moment to encourage and wish all the best on a new adventure! Bring a smile to a child’s or teacher’s face with this easy-to-create shaker card.
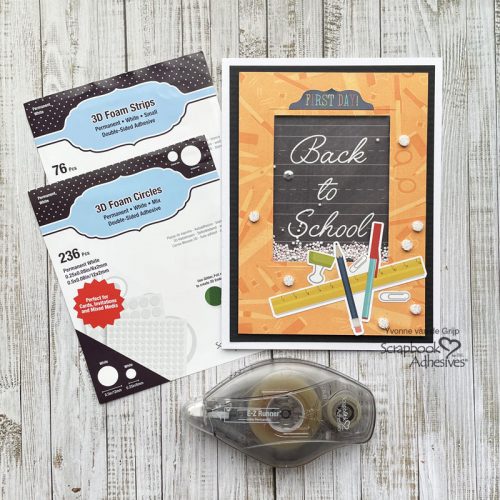
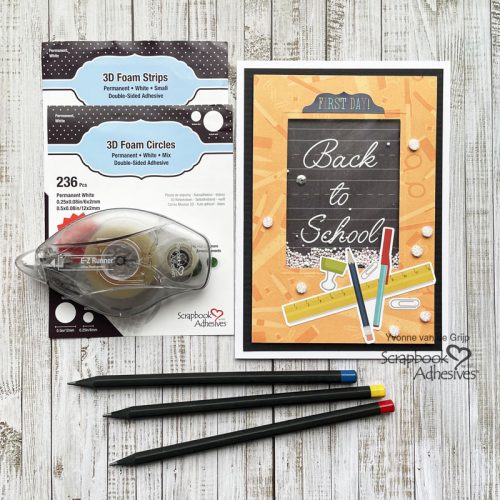
Embellishing is easy with a technique called Wear Your Adhesive on the Outside using 3D Foam Circles White Mix and glitter…more on that later. Shall we get started?
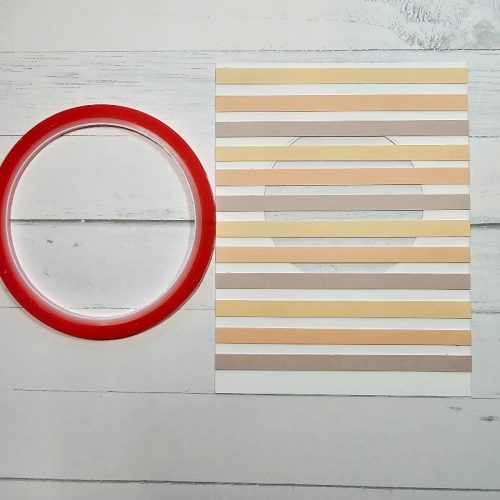
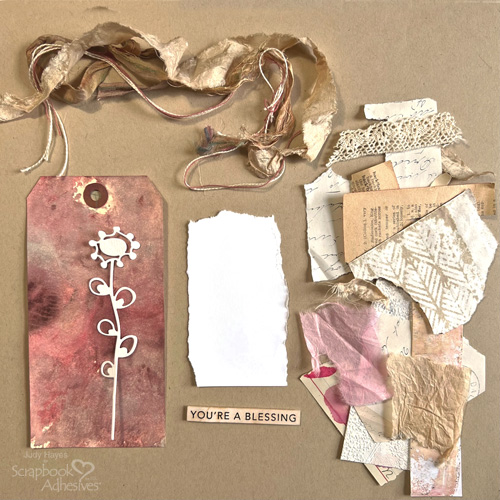
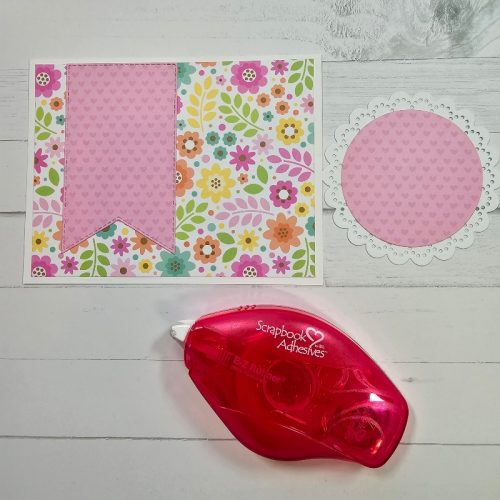
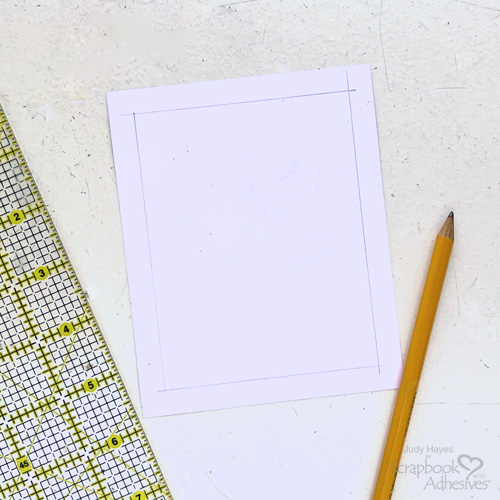
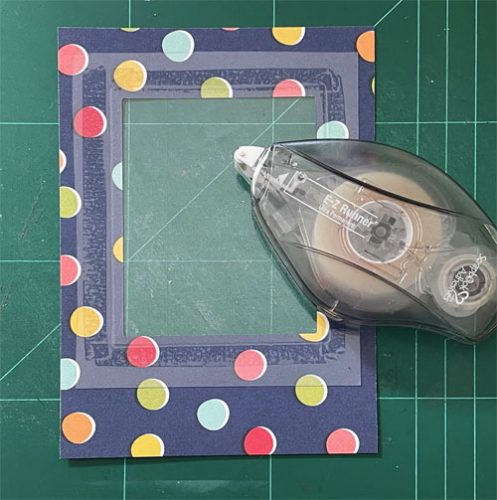
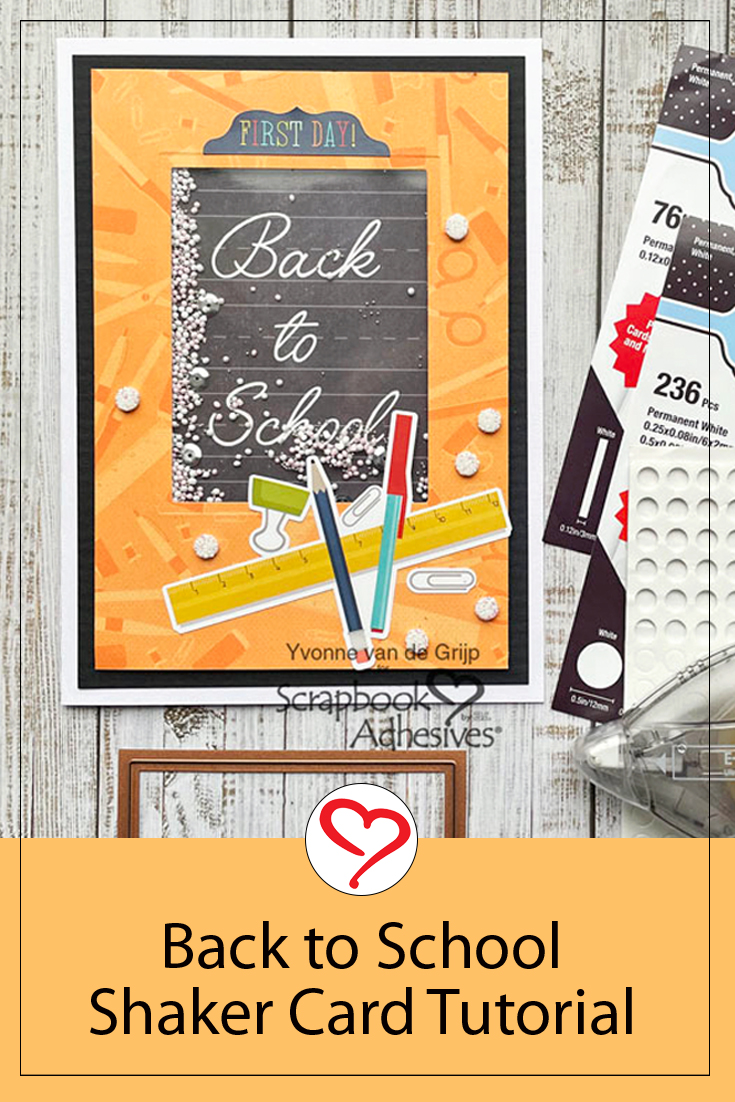
Back to School Card Panel
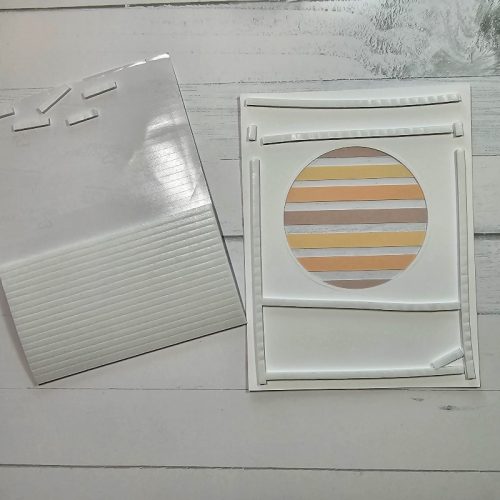
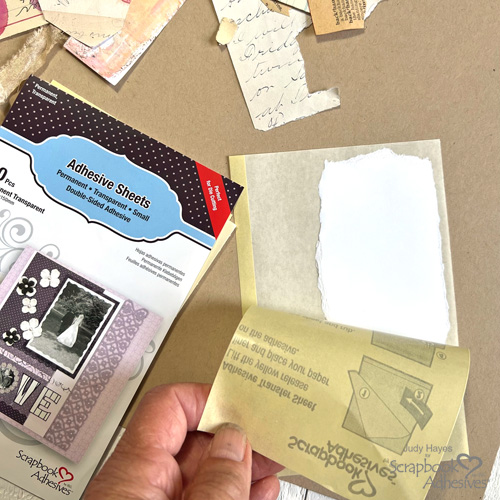
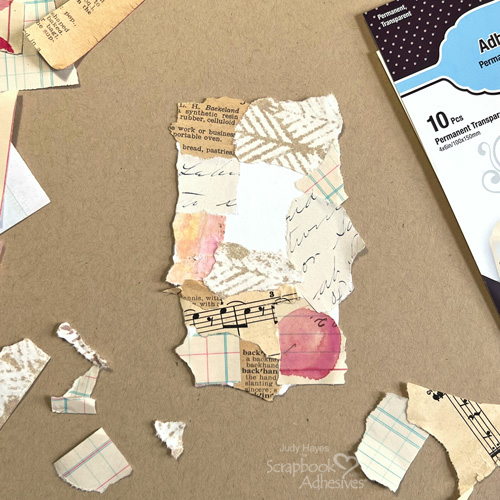
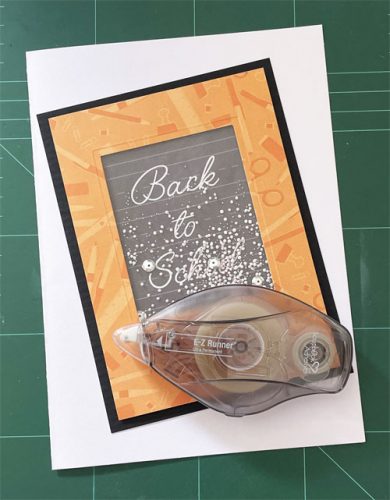
Die-cut a frame from a piece of patterned paper. Make sure the frame is slightly smaller than the Back to School panel you want to use. Next, adhere a piece of acetate on the back and cover the frame with the E-Z Runner® Ultra Strong Refillable Dispenser.
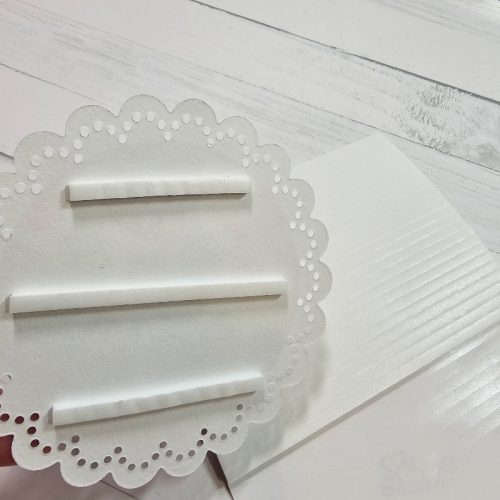
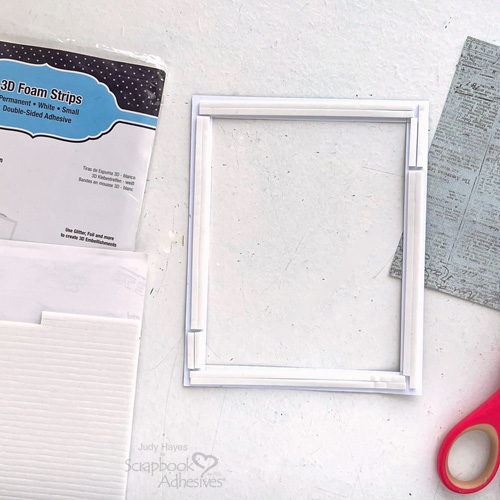
Shaker Feature
Place 3D Foam Strips to the back of the panel around the frame to enclose the shaker part to prevent shaker bits from escaping. Also, to keep the panel from sagging place the 3D Foam Strips around the outside of the frame as pictured.
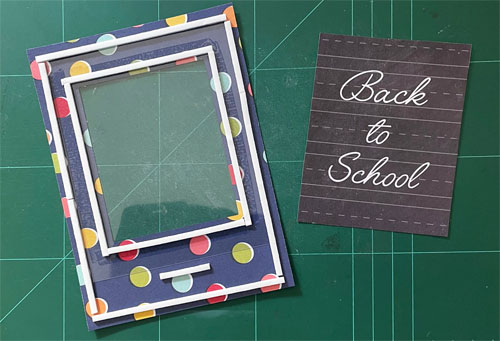
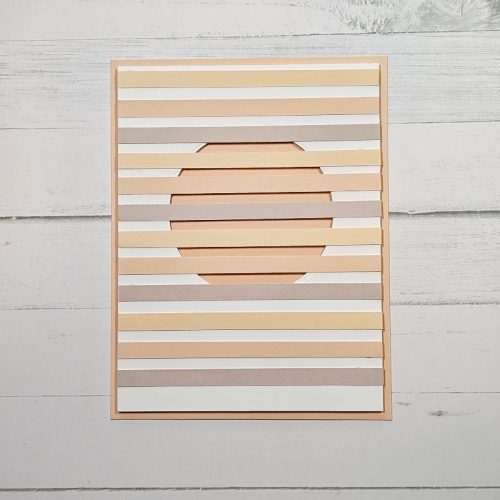
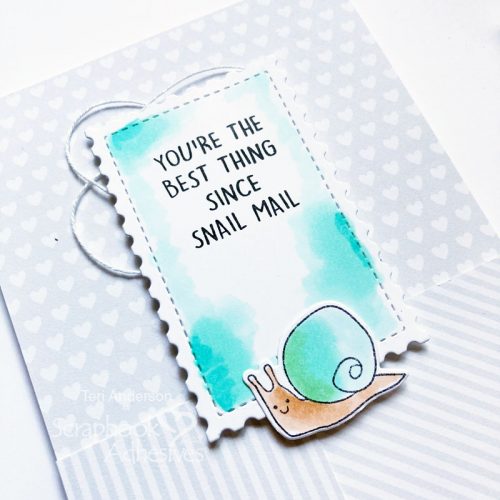
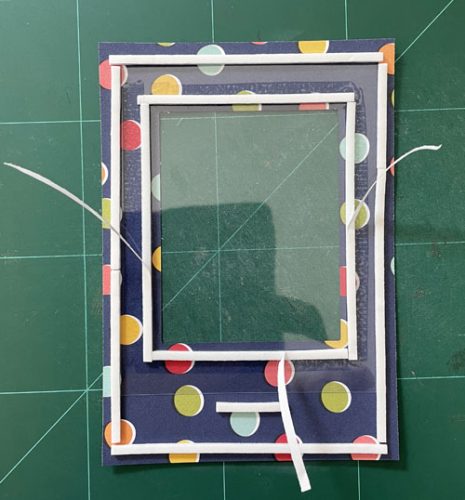
Remove the liners from the inside frame, and fill the shaker with micro beads and sequins. Cover the inside frame with the Back to School panel, and press to secure to close.
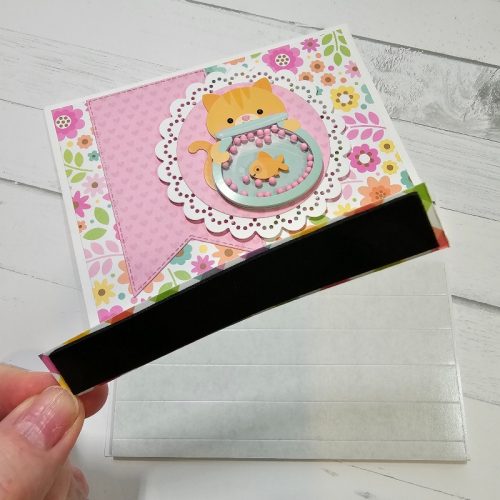
Back to School Card Base
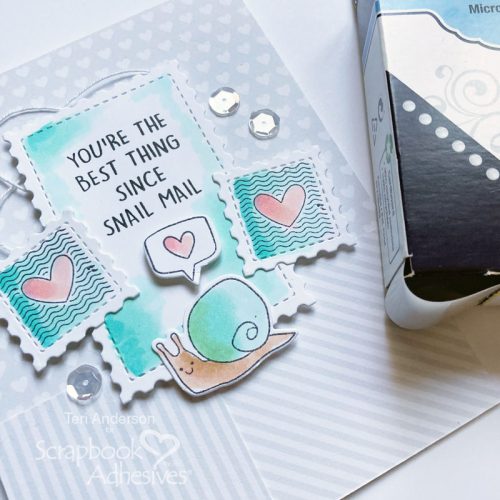
Remove the liners from the 3D Foam Strips on the outside frame of the panel and adhere to a black cardstock mat. Then adhere to a white card base using the E-Z Runner® Ultra Strong Refillable Dispenser.
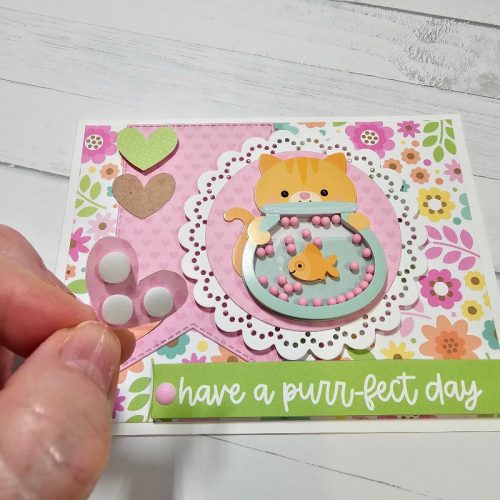
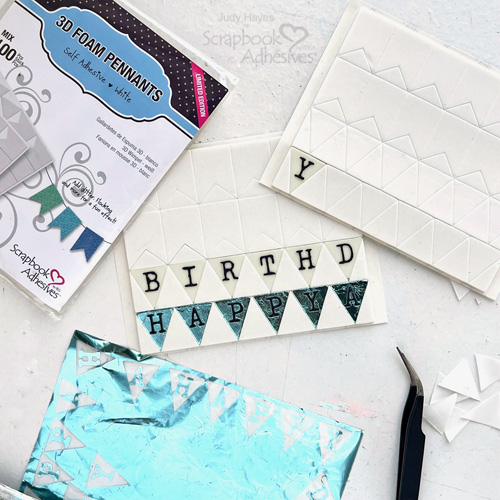
Embellish with Wear Your Adhesive on the Outside
To embellish the Back to School Card, adhere school-themed stickers on the card. For the finishing touch, use 3D Foam Circles White Mix and glitter to accent the card front. Randomly place 3D Foam Circles White Mix on the front card. Remove the liners and sprinkle glitter over the exposed adhesive. Press the glitter to secure and tap off the excess. This technique of taking your adhesive from between layers to become embellishment is called Wear Your Adhesive on the Outside.
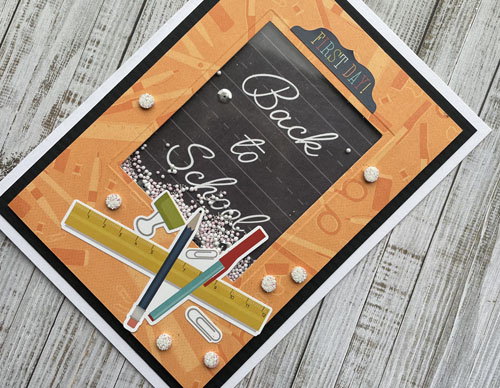
Voilá, your Back to School Card is ready to make a child (or teacher) very happy to start a new and exciting School year! Wishing you happy crafting!

Creative Time: 45 minutes
Skill Level: Intermediate
Materials needed:
Scrapbook Adhesives by 3L®
E-Z Runner® Ultra Strong Refillable Dispenser
Other
Patterned Papers: Simple Stories (School Life Collector’s Essential Kit); Craft Dies + Die-Cutting and Embossing Machine: Spellbinders Paper Arts® (Platinum 6 Machine; Classic Rectangles Small); White and, Black Cardstock; Glitter; Scissors; Paper Trimmer
Save to Pinterest!
Visit our Website and Blog!
Sign up for our Newsletter so you never miss a contest or giveaway!