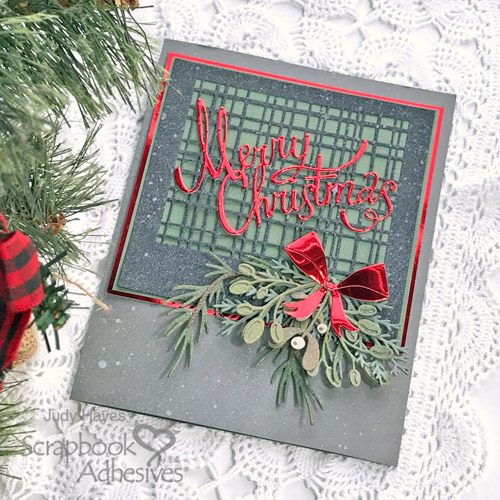
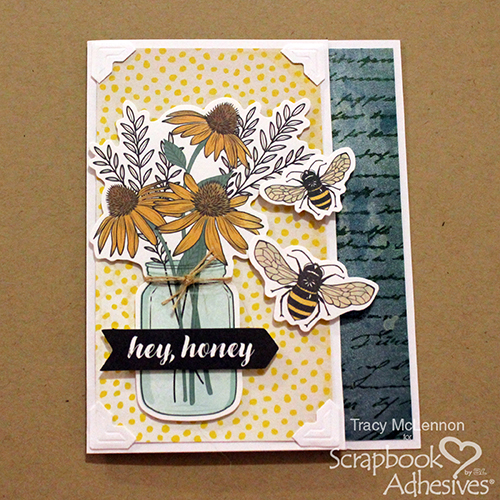
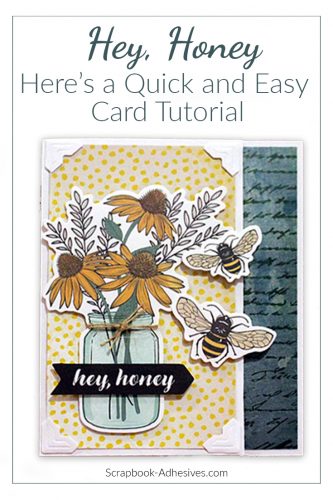
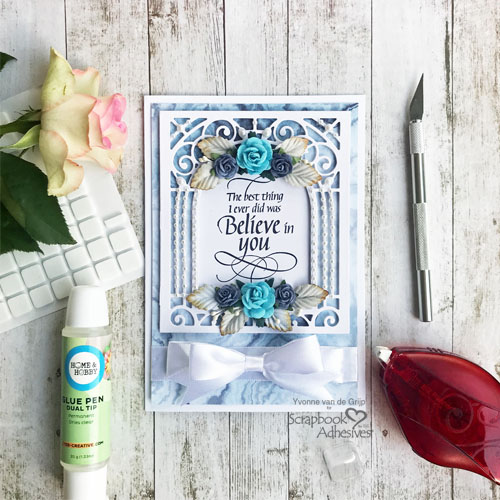
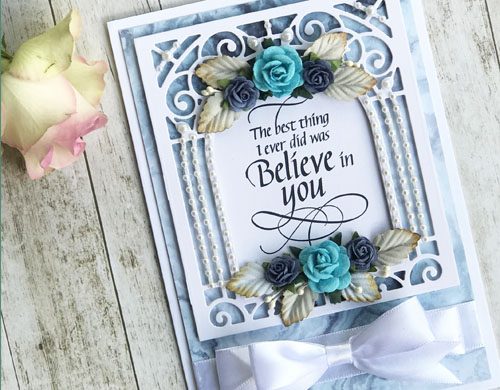
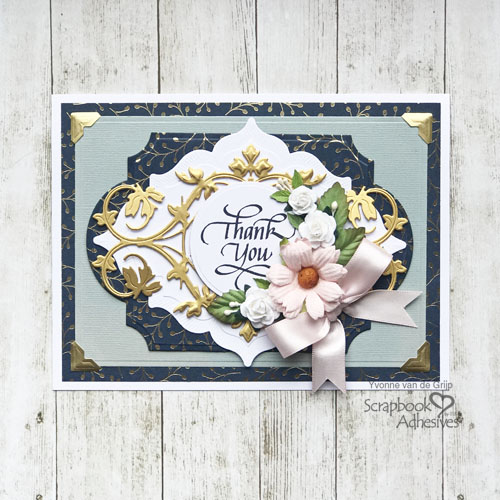
Hi everyone, Yvonne here today sharing how to make a multi-layered flourished card. I love elegant cards and thank you cards are always handy to have because you never know when you need one!

Thin 3D Foam Squares White Mix are great for layering without making the card too thick. We like to mail these cards without extra postage! HA! My card has seven layers BUT it only measures about 1/8 inch thick. Come on and let’s get started!
Multi-Layered Card Details
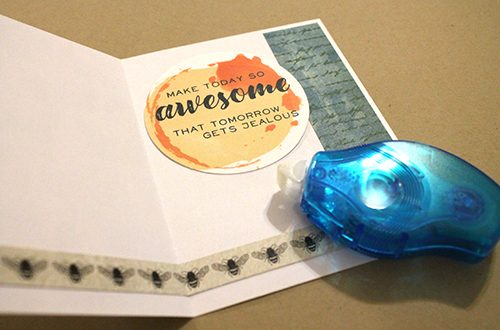
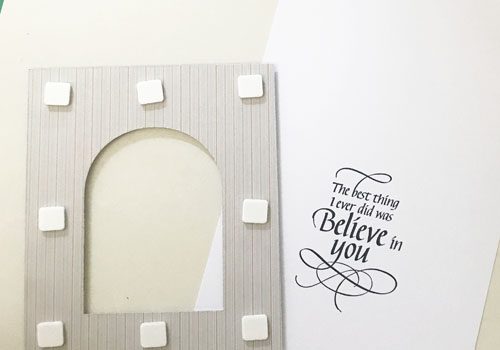
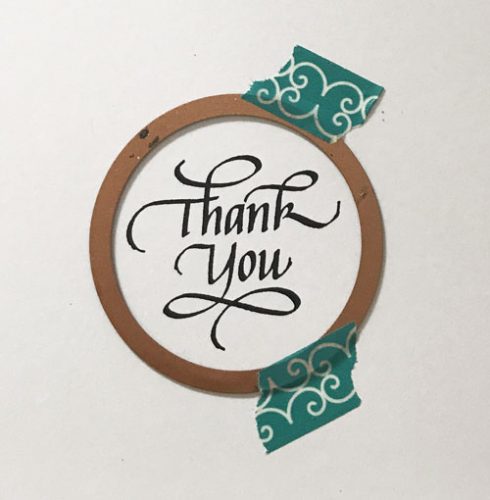
Stamp sentiment with black ink onto white cardstock. Then die-cut and emboss it into a circle shape.
Tip: Use washi tape to keep the die from shifting while die-cutting.
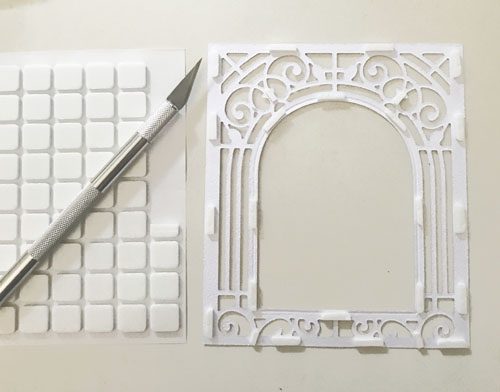
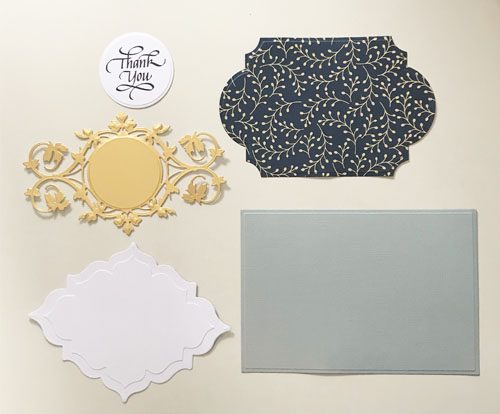
Next die-cut and emboss the golden detailed flourished layer, as well as a white label panel, a blue label and a grey rectangle panel.
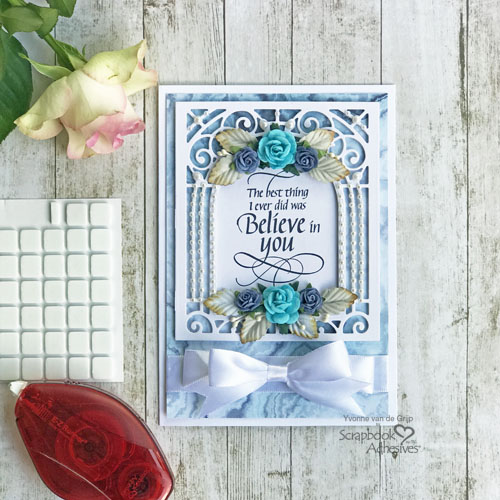
Then adhere Thin 3D Foam Squares White Mix to the back of the panels (except for the grey rectangle).
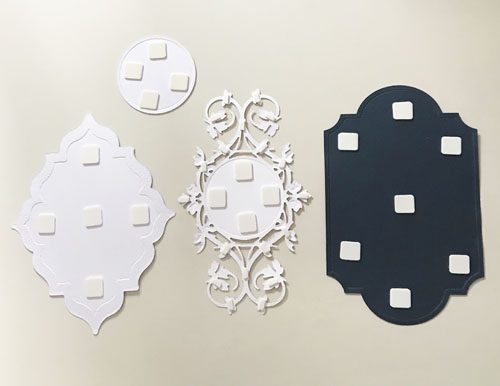
For the flourished golden panel I cut some small 3D Foam Squares into two so they fit the die-cut without foam sticking out from under the die-cut.
Then remove the liners of the Thin 3D Foam Squares White Mix and stack the panels.
Make the Card Base
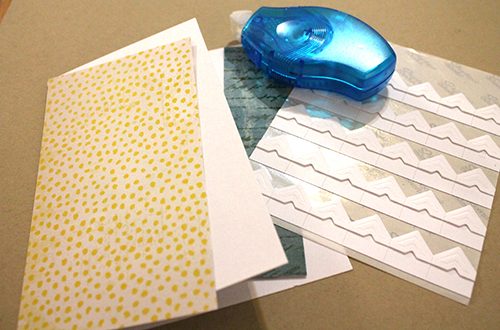
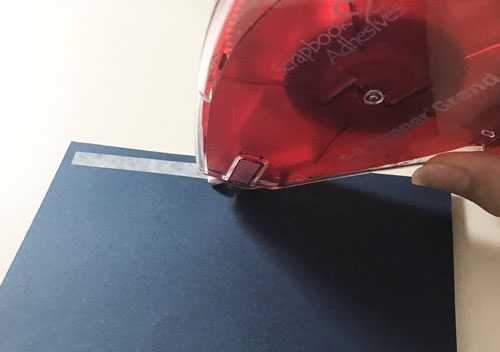
First, make a white card base and adhere a blue patterned and the grey die-cut panel.
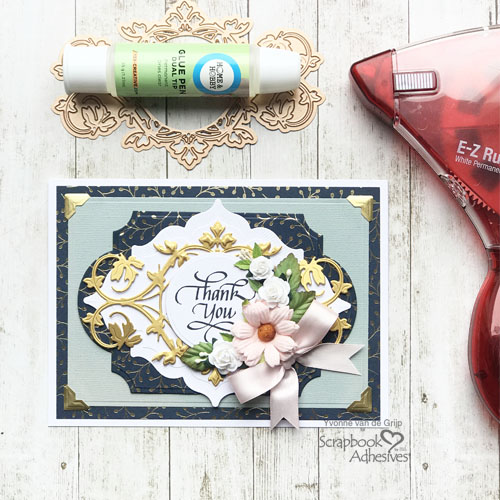
To adhere the blue panel to the card base use the E-Z Runner® Grand Refillable Dispenser.
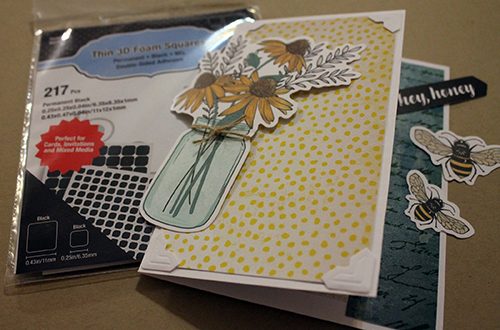
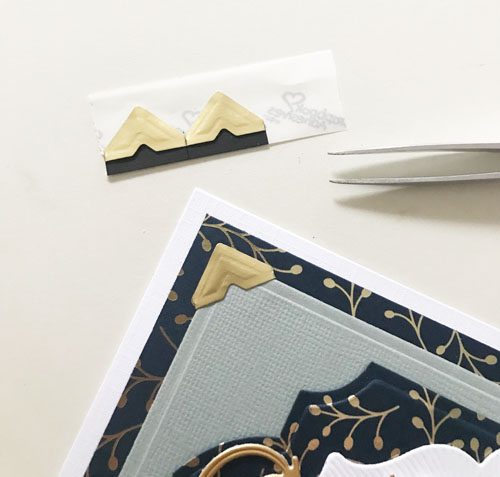
Before adhering the grey panel to the card base, place Creative Photo Corners Gold to all four corners.
Finally, adhere the stacked label and flourish panel to the card base with Thin 3D Foam Squares White Mix.
The Final Embellishments
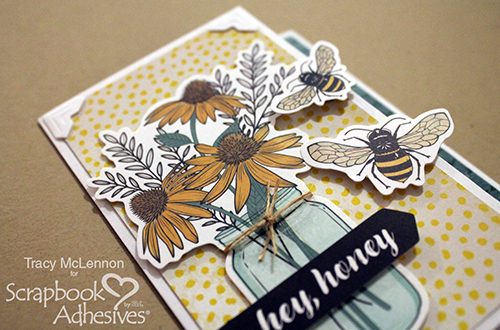
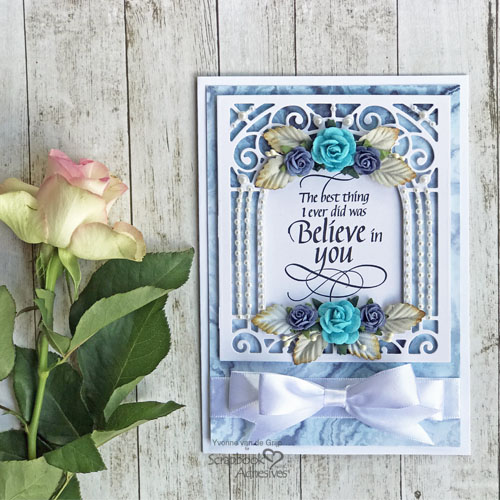
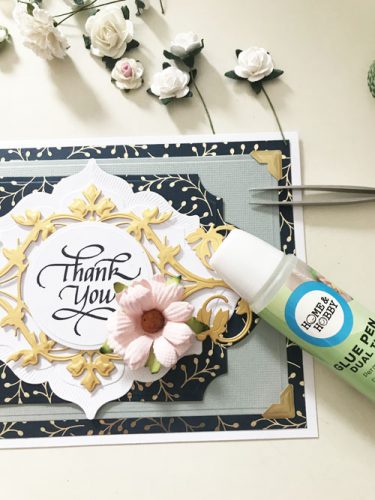
First I adhered some mulberry flowers and leaves to the card using Adhesive Dots. For the flowers and larger leaves, I used Adhesive Dots Large and for the small leaves, I used Adhesive Dots Micro.
Then I used the Dual Tip Glue Pen to adhere stamens. Then add a satin bow with Crafty Foam Tape.
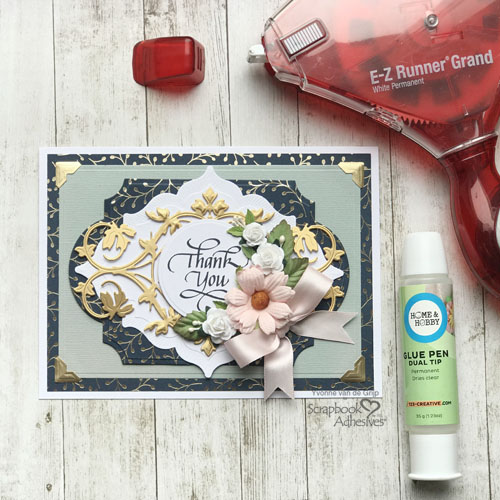
And voila…your multi-layered flourished Thank You card is ready!
I hope you enjoyed the tutorial and wish you happy crafting.
Creative Time: 50 minutes
Skill Level: Intermediate
Materials Needed
Scrapbook Adhesives by 3L®
Thin 3D Foam Squares White Mix
E-Z Runner® Grand Refillable Dispenser
Adhesive Dots Large
Adhesive Dots Micro
Creative Photo Corners Gold
Crafty Foam Tape White
HomeHobby by 3L®
Other
Etched Dies: Spellbinders® Paper Arts (Standard Circles Small Etched Dies, Round Leaf Label by Stacey Caron Etched Dies, Labels Twenty-Eight Etched Dies, Renaissance Jubilee by Stacey Caron Etched Dies, 5×7 Matting Basics A Card Creator Etched Dies, Platinum 6 Die-cutting and Embossing Machine); Cardstock (white, gold); Patterned Cardstock (Recollections™: Indigo Kraft & Champagne); QuietFire Design (Thank You Stamp set); black ink pad; Mulberry flowers, Leaves, Stamens; Satin Ribbon; Paper Trimmer; Bone Folder
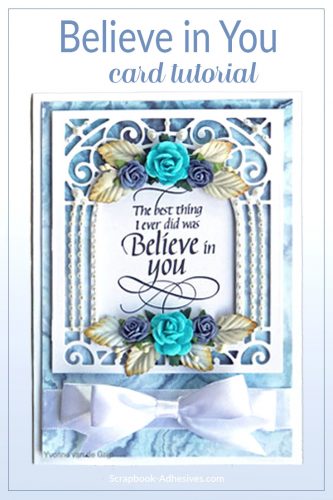
Love It. Pin It!
Visit our Website and Blog!
Sign up for our Newsletter so you never miss a contest or giveaway!