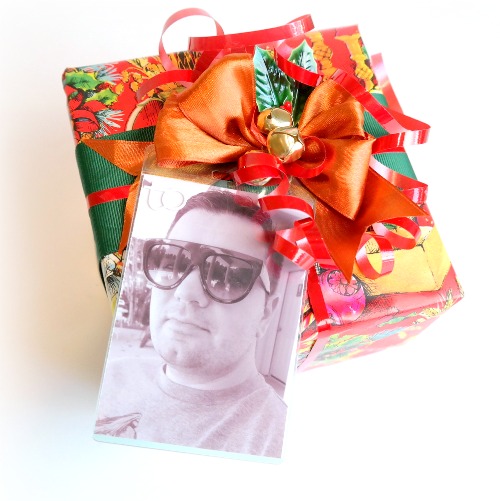
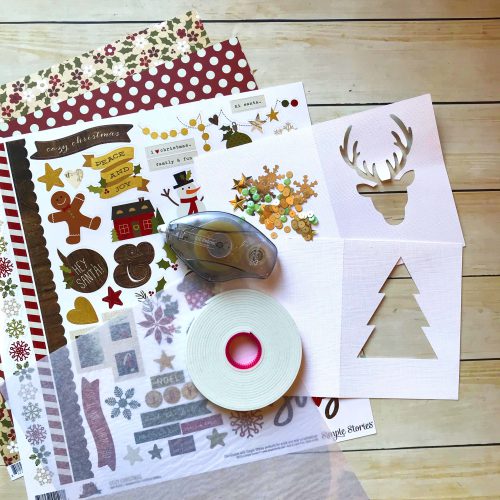
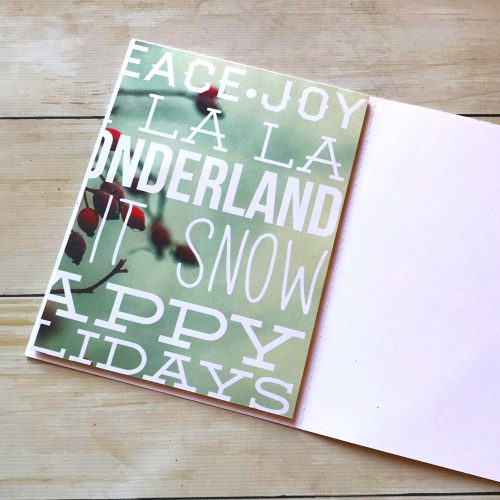
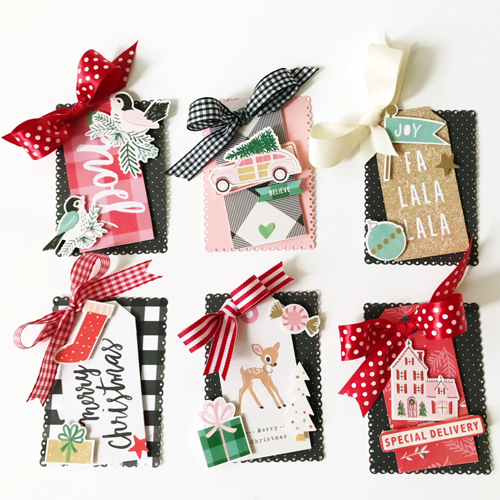
Bring interest and fun to your holiday gift wrapping with layered Christmas tags! Today I’m sharing a way to use up your holiday patterned papers, especially collections that have a full sheet of fun tags.
Hello friends, Latisha here with you! With just a few supplies like patterned papers, stickers, ribbons and adhesive, you will have beautiful tags to put on your gifts this holiday season.
Layered Christmas Tags Tutorial
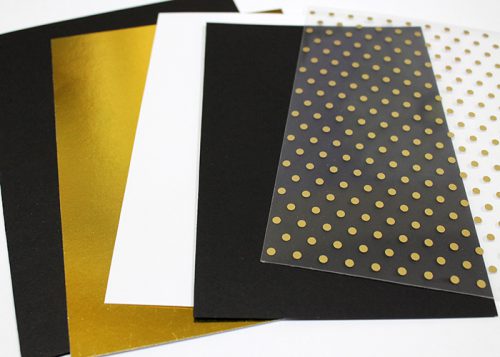
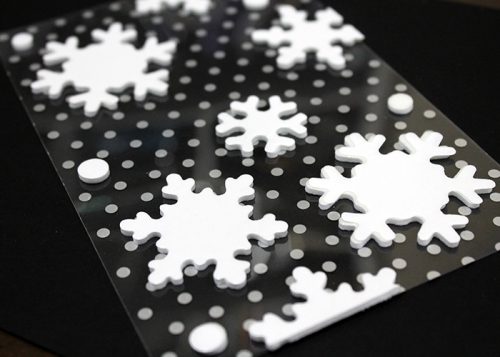
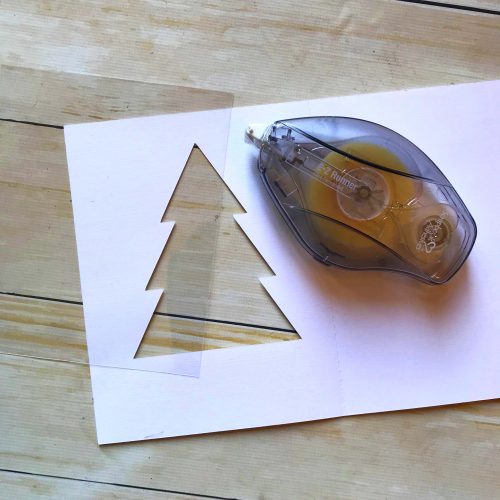
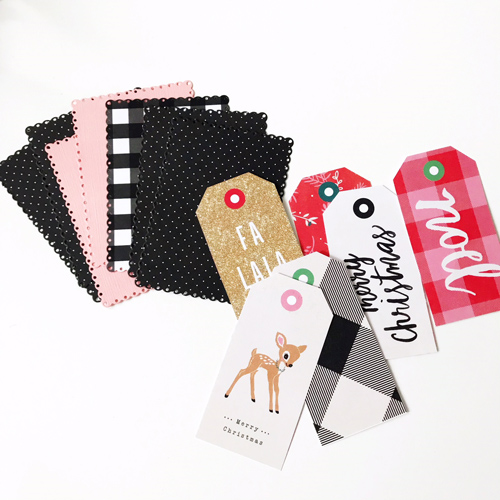
Scissor cut the tag shapes out of the patterned papers.
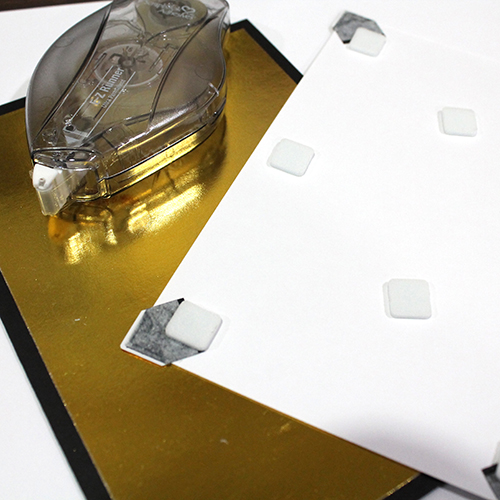
Choose coordinating patterned papers and cardstock to die-cut scalloped rectangles with a manual die-cutting machine. If you do not have a die-cutting machine, cut rectangles using a paper trimmer.
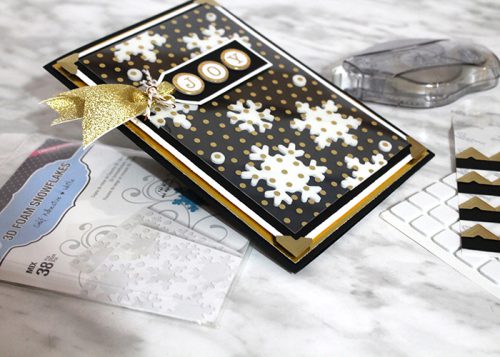
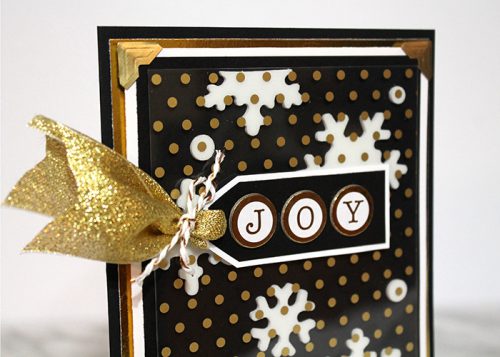
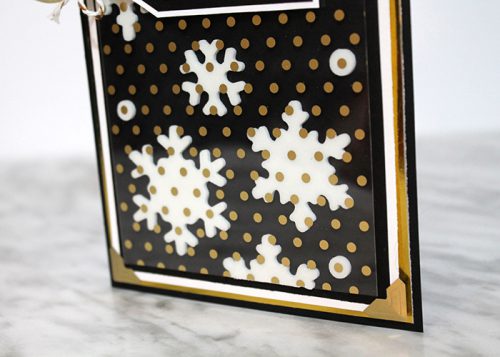
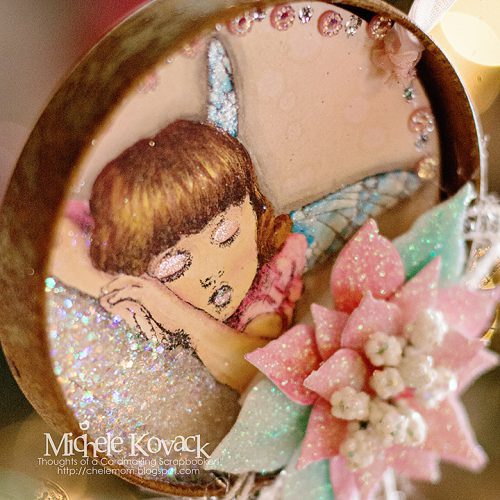
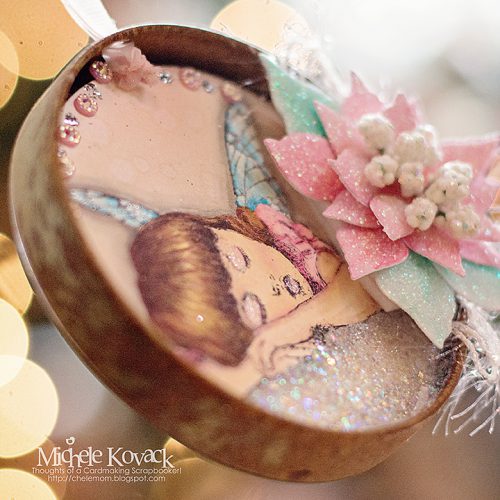
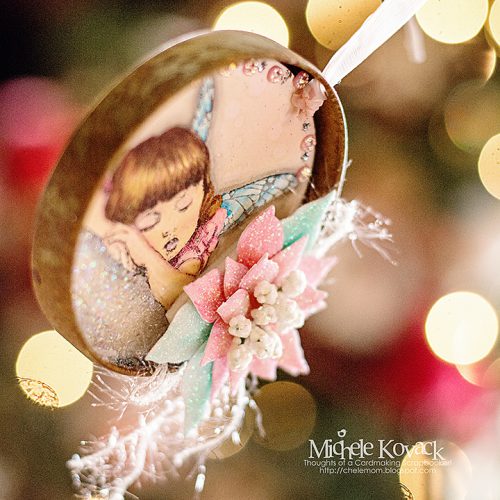
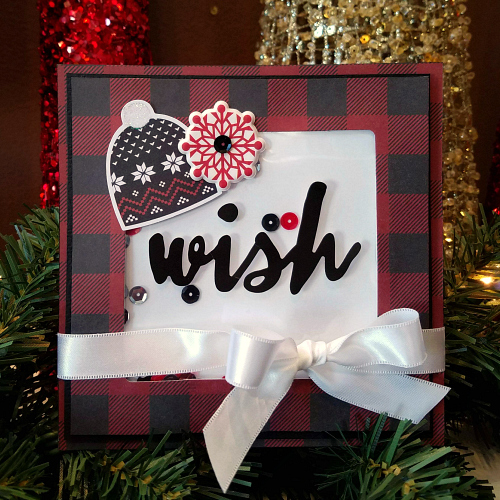
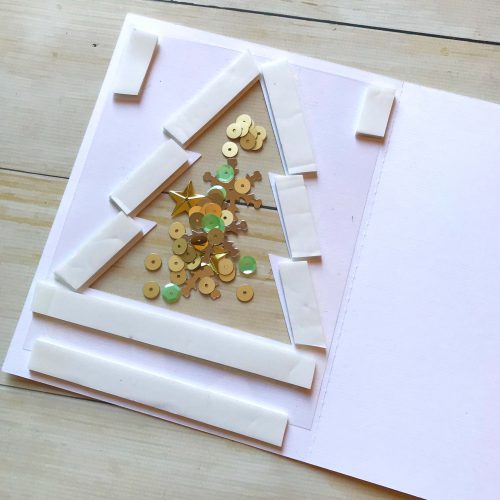
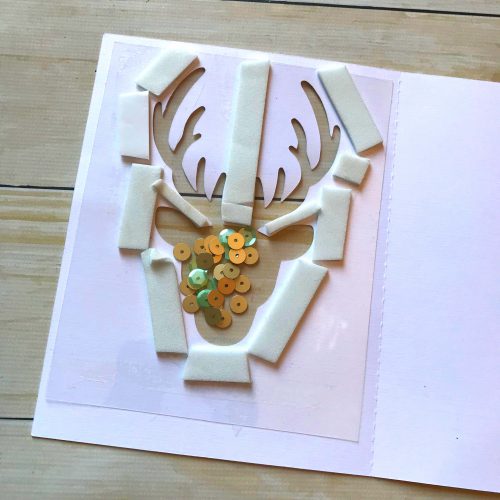
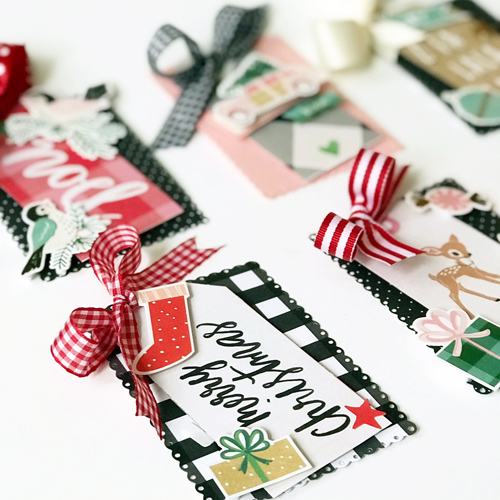
Use coordinating stickers, paper tags and embellishments to adhere and layer with a combination of Crafty Foam Tape White and 3D Foam Squares White Small Size. This will bring your tags to the next level with dimension and interest!
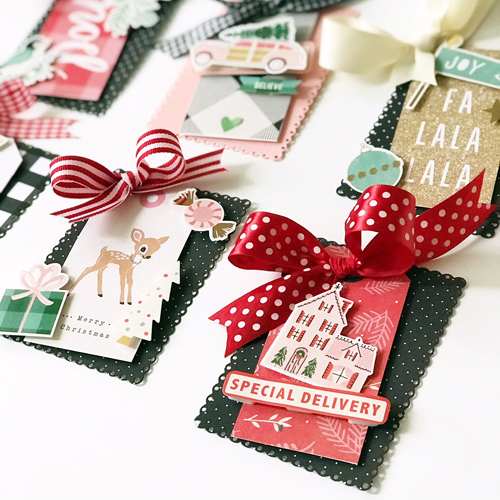
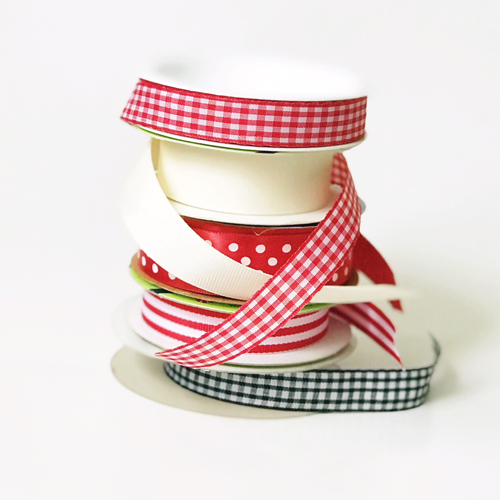
Use assorted ribbons to tie large bows ready to adhere to each tag with Adhesive Dots Small. They are double-sided, extremely strong and clear circle shaped adhesive, and perfect for adhering embellishments.
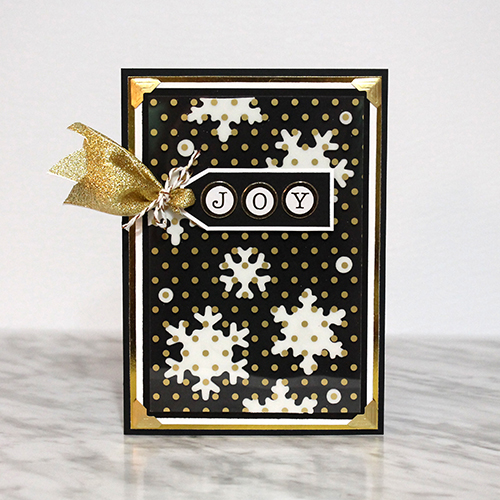
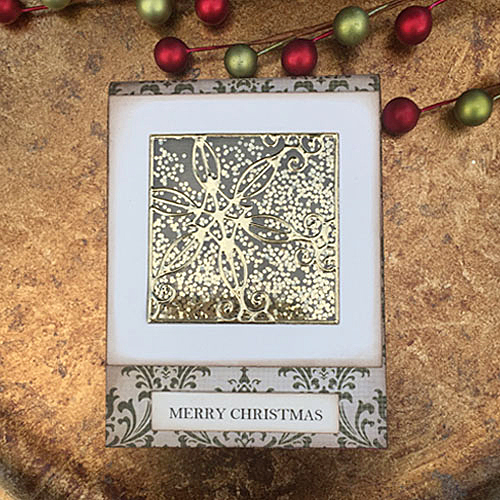
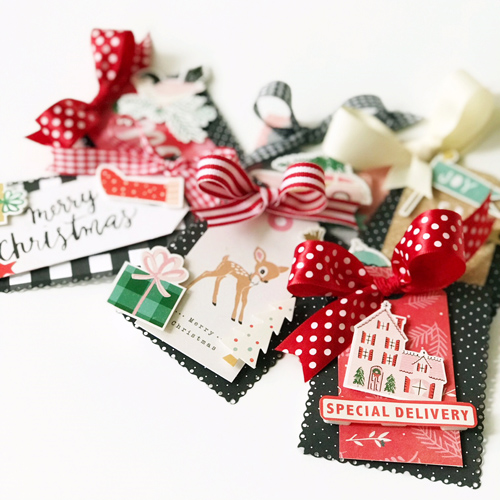
Now you have a set of beautiful layered Christmas tags ready to be placed on presents! Who knows, they may end up on the tree as ornaments!
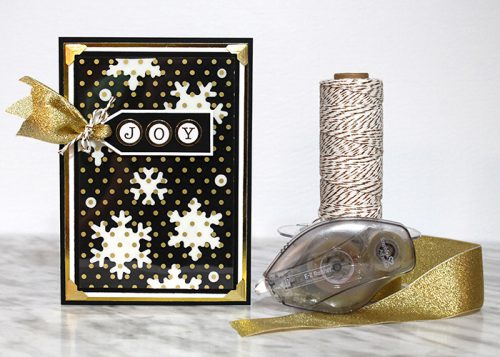
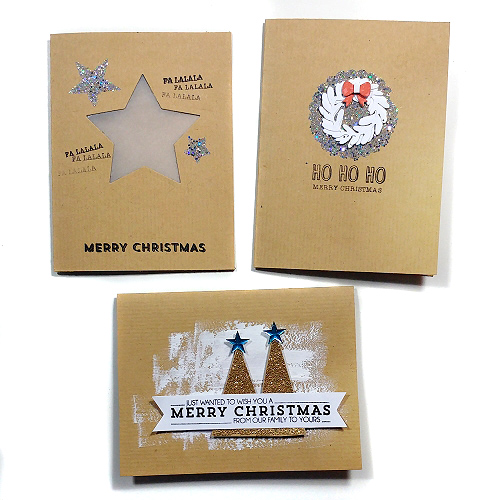
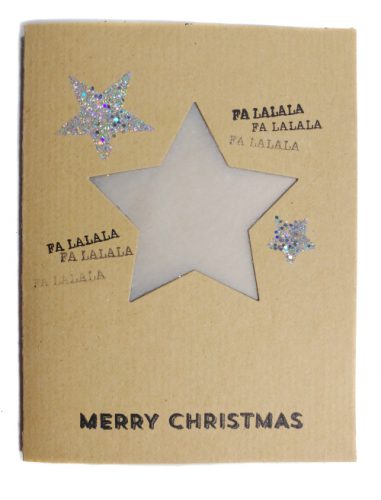
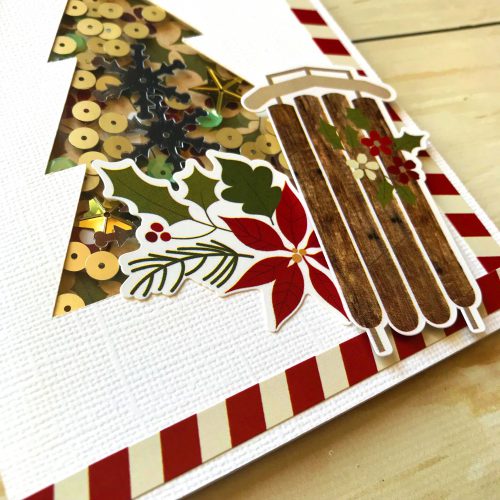
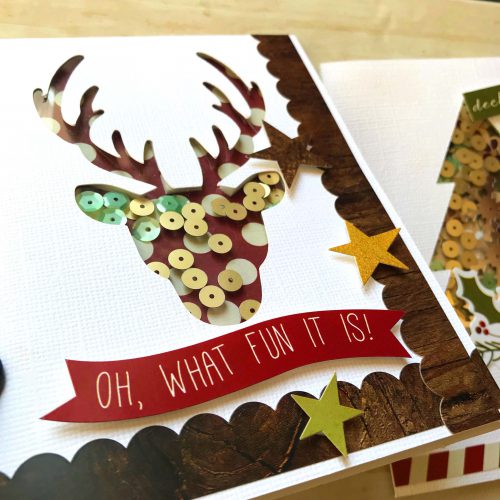
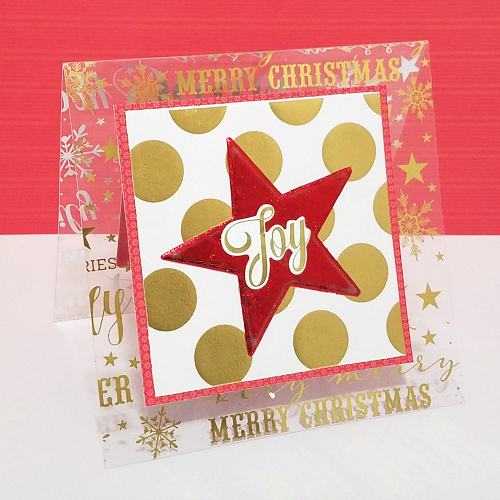
Here are more looks at the finished tags…
Share your handmade tags by putting your links in the comments! Thanks for stopping by!
Latisha
Scrapbook Adhesives by 3L® Used:
3D Foam Squares White Small Size
Crafty Foam Tape
Adhesive Dots Small
Other:
Patterned Papers: Fancy Pants Designs and Crate Paper
Stickers: Crate Paper
Cardstock: Bazzill Basics Paper
Ribbon; Scissors
Visit our Website and Blog!
Sign up for our Newsletter so you never miss a contest or giveaway!