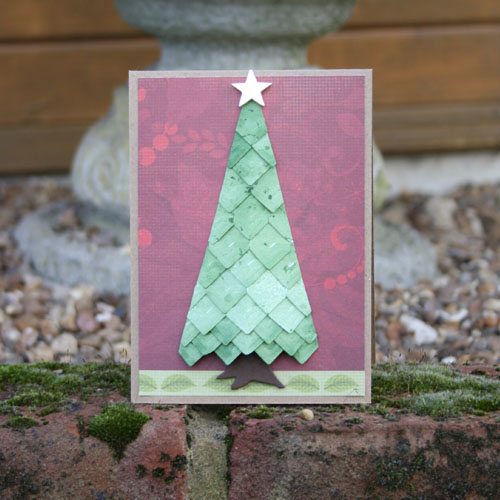
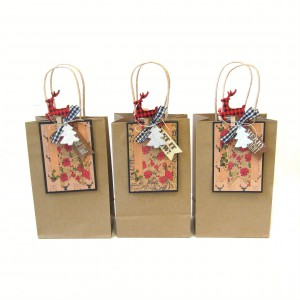
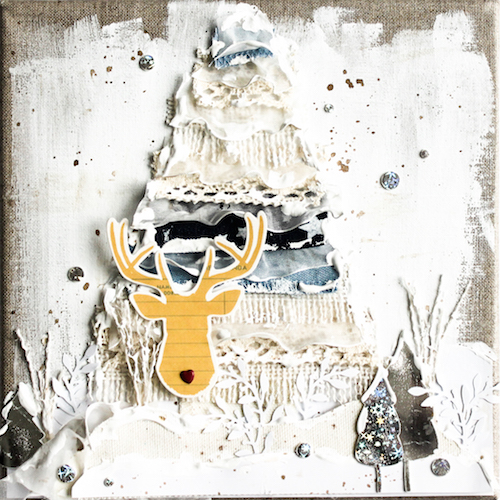
Hi everyone, it’s Christine with a festive dimensional and textured Christmas Tree card using Creative Photo Corners.
Christmas Tree Tutorial
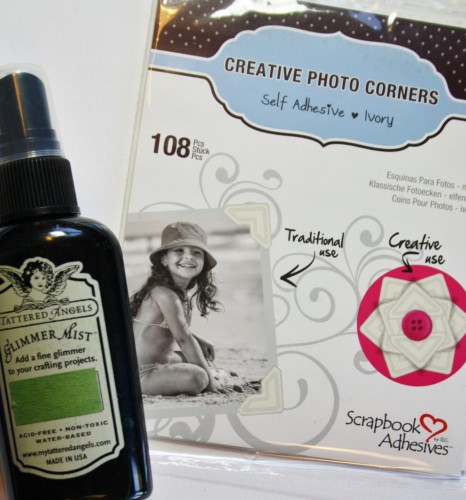
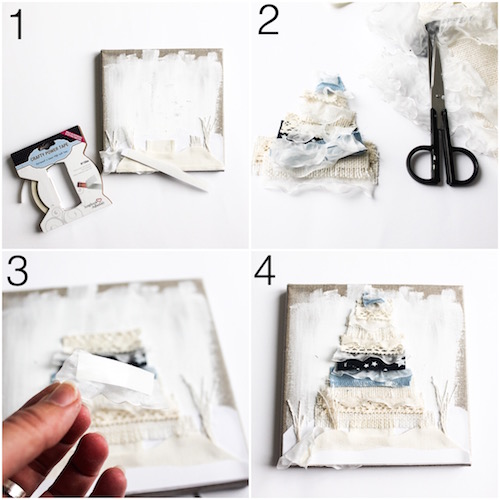
Take a sheet of Creative Photo Corners and spray with green Glimmer Mist.
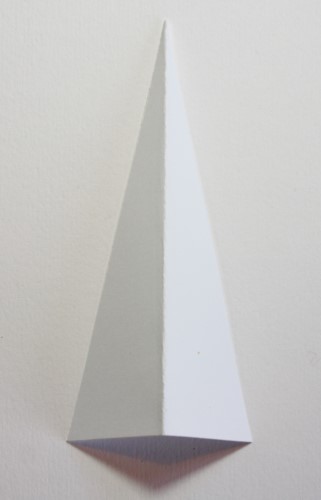
Fold a piece of card in half and cut an angle to create a tree shape.
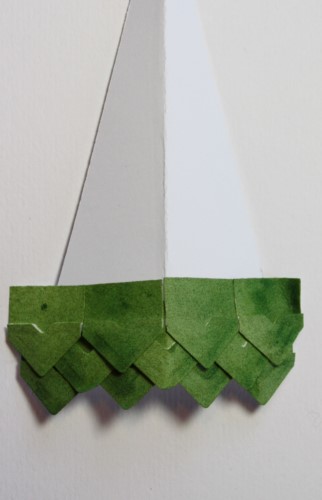
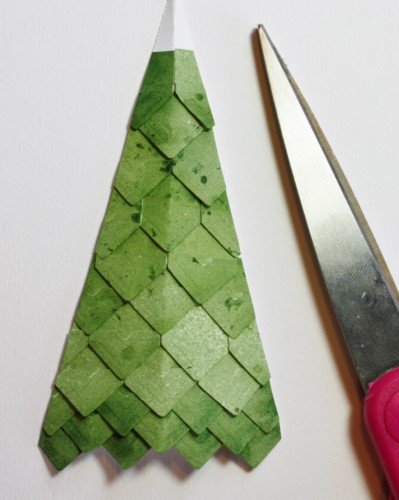
Once the Glimmer Mist is dry, begin to apply the Creative Photo Corners in lines working upwards from the bottom.
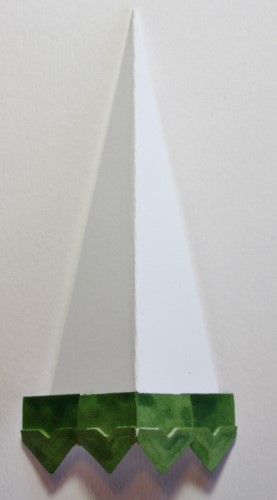
Stagger the lines (brick fashion) to achieve a nice overlap. Continue upwards until the triangle is covered.
Flip over the tree to the reverse side and trim away excess overlap with scissors.
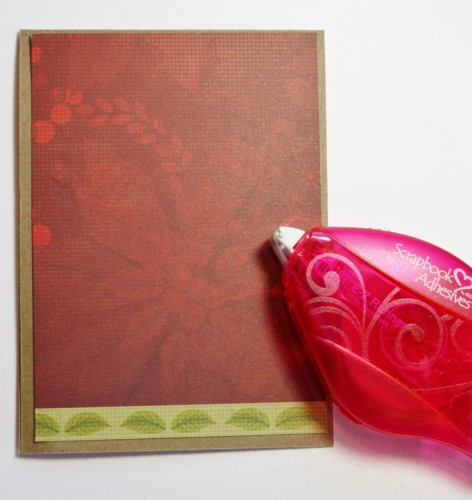
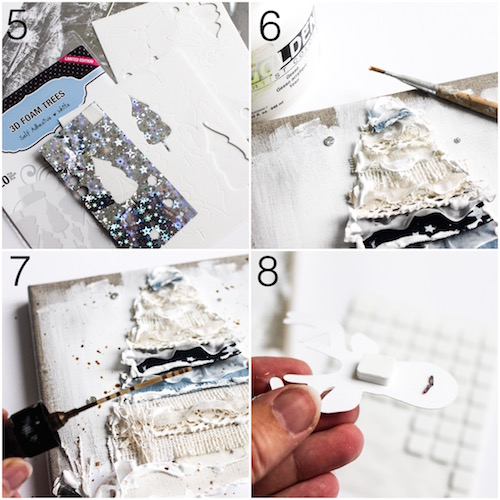
Prepare a card base from kraft card and attach a piece of patterned paper using E-Z Runner Permanent Strips Refillable.
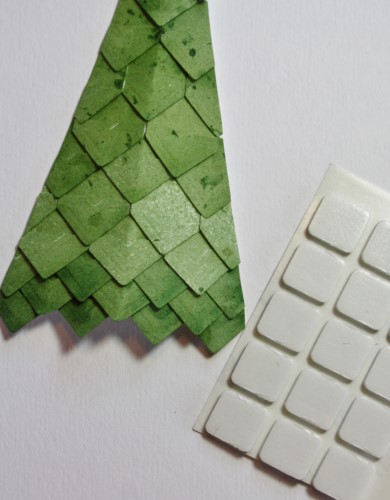
Attach the tree to the card using 3D Foam Squares White Regular.
Final touch – a gold star atop the tree!

Fun and easy to make, and a great project to make with kids too.

Thanks for stopping by today and don’t forget to check out all the great products on the website.
- Creative Time: 30 Minutes
- Skill Level: Beginner
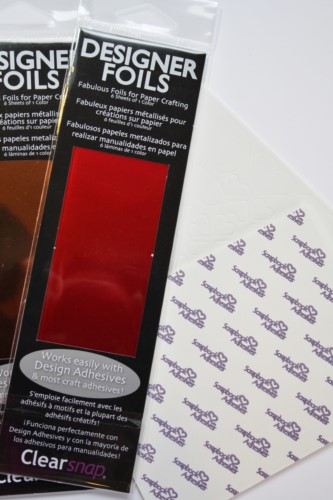
Products used:
- Creative Photo Corners Ivory
- E-Z Runner Permanent Strips Refillable
- 3D Foam Squares White Regular
- Spellbinders dies: Stylized Trees
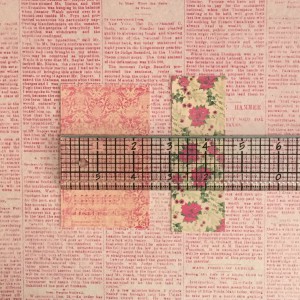
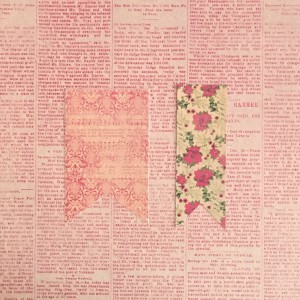
- Paper: Simple Stories – Clause & Co
- Glimmer Mist, kraft, brown cardstock and gold mirror card.
See more unique texture with Creative Photo Corner ideas here:


