You are in our US store • Switch to Europe store

A Festive Thank You with Adhesive Sheets

Hello everyone, Christine here today with a festive thank you card..I know it’s August but you can never start too early! 
CEmberson - Festive Thank you 1

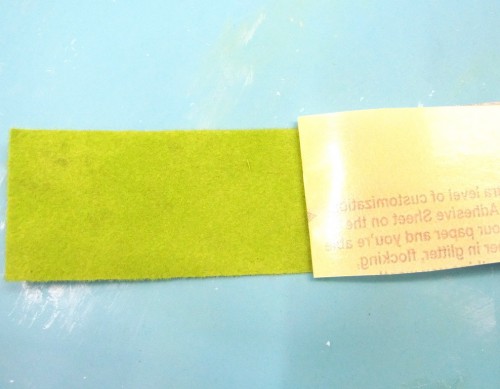
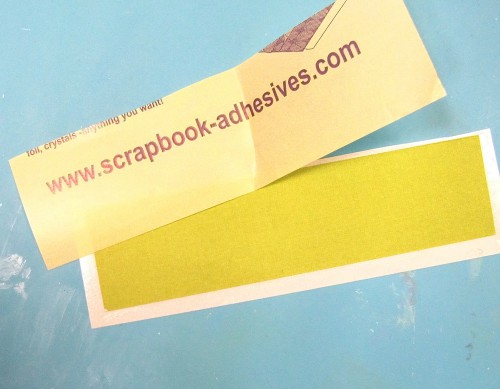
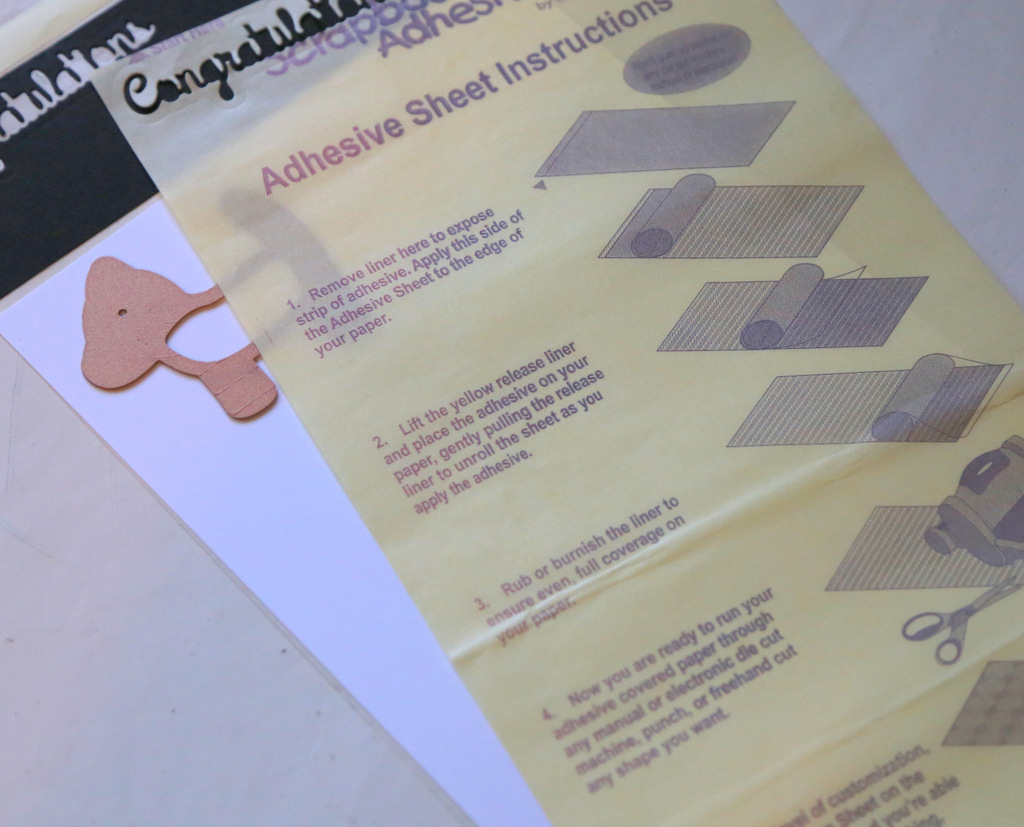
Die cutting and Adhesive Sheets are a match made in heaven!  Really simple, just lift the yellow release liner and place your card/paper onto the sticky adhesive.  Position your die and run through your die cutting machine.  CEmberson - Festive Thank you 2

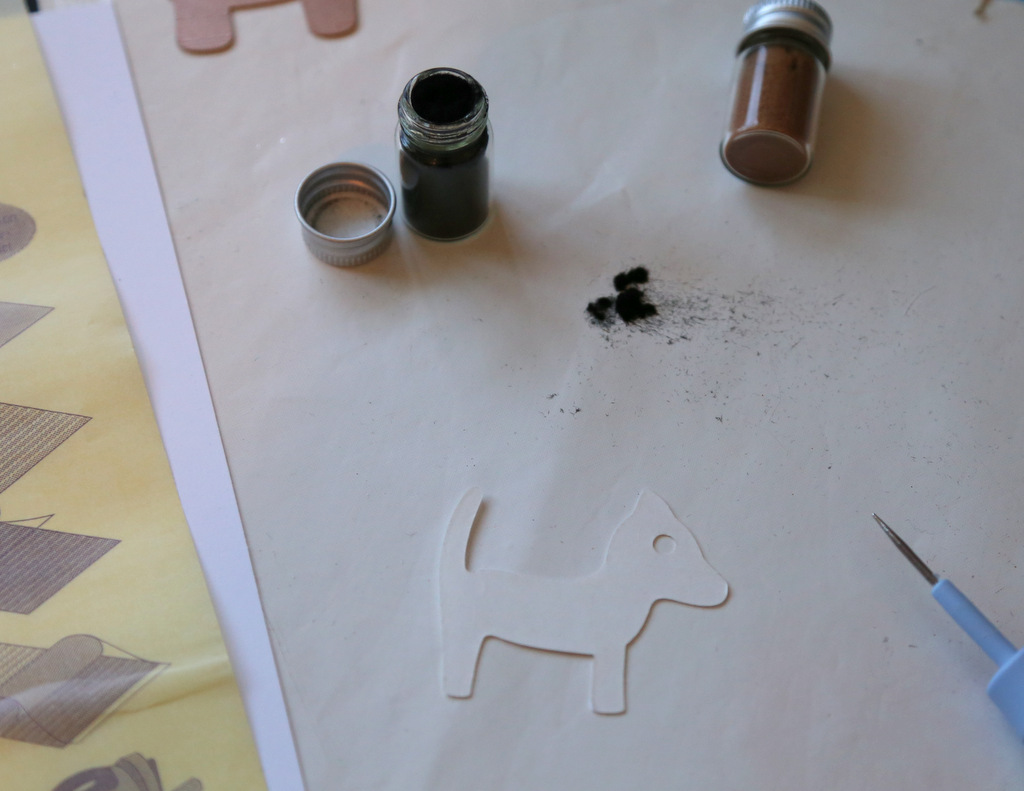
Your die cut then has the perfect amount of adhesive to affix to your project. CEmberson - Festive Thank you 3

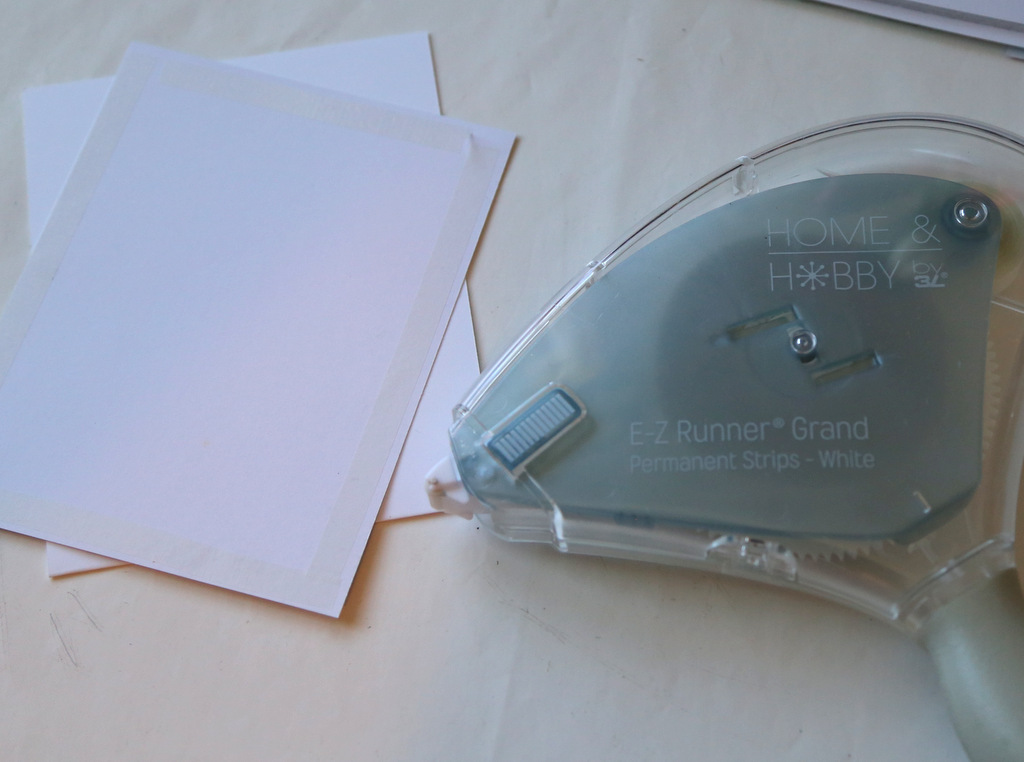
I created my card base with layers of white card and strips of the matching patterned paper affixed with  E-Z Runner® Permanent Strips Refillable.  I stamped the thank you sentiment twice vertically. CEmberson - Festive Thank you 4

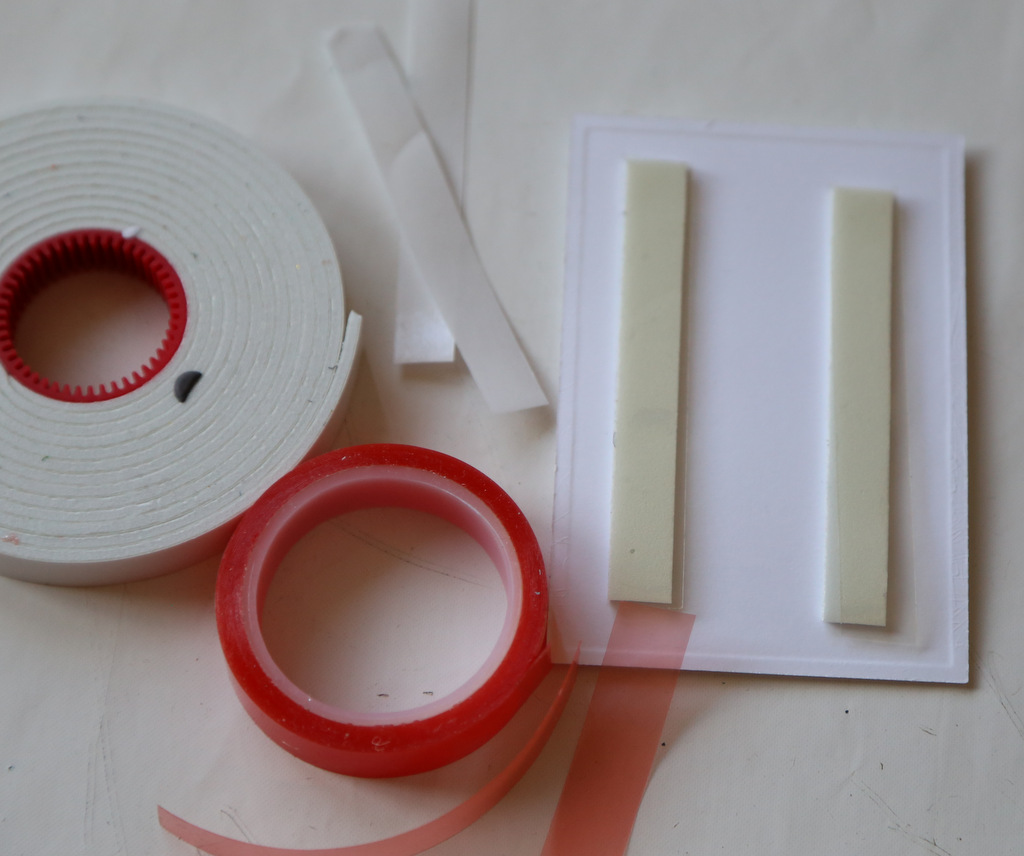
My final piece of white card with the festive die cut attached is affixed with Crafty Foam Tape – White.CEmberson - Festive Thank you 5

The finished card.CEmberson - Festive Thank you 6
CEmberson - Festive Thank you 7


Thank you for joining me today, festive wishes to you all!

Christine 

Supplies:

Scrapbook Adhesives by 3L:  E-Z Runner® Permanent Strips Refillable, Crafty Foam Tape – White, Adhesive Sheets

Spellbinders dies: 6 x 6 Matting Basics A, Shining Star.

Stamp: Lawn Fawn – Scripty Sayings

Happy Day Tag with Stripes

Hello, it’s Beth today, with another tag project. This one is quick and easy, I hope you’ll give it a try.

Happy Day Tag with Pigment Powder by Beth Pingry

First I have to thank AJ Otto – I was inspired by her Thanks So Much card.

I used Premium Double-Sided Tape 1/2″ on a manila tag. I marked 1″ in pencil then set the tape diagonally across the tag. Be sure to go light on the pencil and erase before removing the liner.

BethPingry-HappyDayTag2

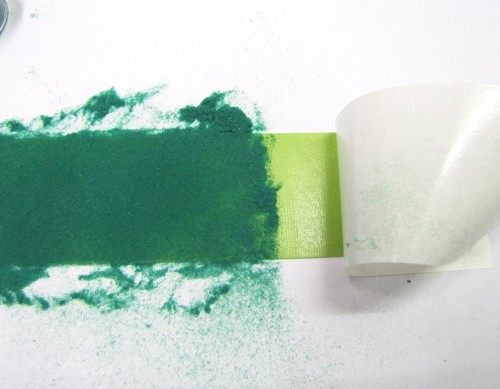
Next I removed one liner at a time, and added Pigment Powder across the adhesive with my finger. Note that you can use glitter, embossing powder, flock with the adhesives!

For the rest of the card I trimmed cardstock and patterned paper to the size of the tag, then stamped onto pre-printed paper and added a button. I pulled Lace Ribbon through the top of the tag and added Black Creative Photo Corners to complete the look.

Thanks for visiting!

Beth Pingry

Supplies I Used:

Save

Happy Birthday Ensemble Tutorial

I am excited to share with you a tutorial on how to create a three piece Happy Birthday Ensemble. What’s a party without a hat and a straw decor to celebrate a special day?!

Happy Birthday Ensemble Tutorial by MargieHiguchi

Party Hat:

Using the die, create a cone shape and secure with Crafty Power Tape.

MargieHiguchi HappyBirthdayEnsemble Hat Step1

With a strip of patterned paper cut the edge with a pair of fringe scissor, roll and thread through the narrow top of hat. Using the smallest butterfly liner as a guide from the 3D Foam Butterflies set, trace the shape onto patterned paper and hand cut out. Repeat with the middle sized butterfly.

MargieHiguchi HappyBirthdayEnsemble Hat Step2

Stamp sentiment in white cardstock and hand cut to create a banner. Cut a circle with patterned paper. Adhere the sentiment with Dodz™ Medium.

MargieHiguchi HappyBirthdayEnsemble Hat Step3

Add the middle 3D Foam Butterfly, adhere the butterfly antenna with Dodz™ Medium and layer the small 3D Foam Butterfly on top. With E-Z Runner® Permanent Strips Refillable, adhere on to party hat.

MargieHiguchi HappyBirthdayEnsemble Hat Step4

Straw Decoration:

  1. Stamp sentiment in black ink with white cardstock and hand cut a banner shape around it.
  2. Cut/emboss all the die cuts from die templates shown with patterned papers.
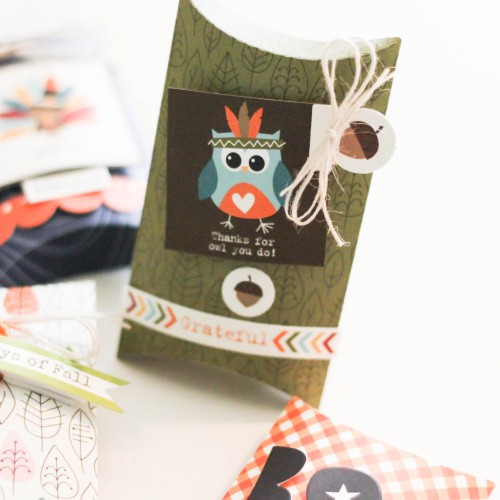
  3. Layer and adhere the pieces (circle shape with E-Z Runner® Permanent Strips Refillable and banner, flower, button and wire with Dodz™ Medium).
  4. Adhere the embellished circle with E-Z Runner® Permanent Strips Refillable to tag and slip straw through.
MargieHiguchi HappyBirthdayEnsemble Straw Step1

Shaped Card:

To create a shaped card, I folded a piece of patterned paper a little wider than the die’s width and the fold was placed UNDER the top blade (see below). This will keep the fold in place without it being cut.

MargieHiguchi HappyBirthdayEnsemble ShapedCd Step1

I cut/embossed two smaller banners to create a matted card front.

MargieHiguchi HappyBirthdayEnsemble ShapedCd Step2

Using the butterfly liner as a guide from the 3D Foam Butterflies set, trace the shape onto patterned paper and hand cut out.

MargieHiguchi HappyBirthdayEnsemble ShapedCd Step3

I cut/embossed two flower die cuts, folded them and adhered them with Crafty Power Tape to create a bigger flower.

MargieHiguchi HappyBirthdayEnsemble ShapedCd Step4

Next I edged the 3D Foam Butterfly with green marker for a subtle look.

MargieHiguchi HappyBirthdayEnsemble ShapedCd Step5

Then I adhered each layer with Dodz™ Medium on top of the Pierced Circle die cut.

MargieHiguchi HappyBirthdayEnsemble ShapedCd Step6

Using a combination of E-Z Runner® Permanent Strips Refillable and 3D Foam Squares – Black, Regular, I assembled the card.

MargieHiguchi HappyBirthdayEnsemble ShapedCd Step7

The finishing touch was adding the sentiment stamped with vellum and adhered with E-Z Runner® Permanent Fine Adhesive. LOVE this adhesive – you cannot see it once it’s placed!

MargieHiguchi HappyBirthdayEnsemble ShapedCd Step8

Here’s another look at the ensemble…

Happy Birthday Ensemble Tutorial by MargieHiguchi

Supplies:

Scrapbook Adhesives by 3L®: 3D Foam Butterflies, Dodz™ Medium, E-Z Runner® Permanent Strips Refillable, E-Z Runner® Permanent Fine Adhesive, Crafty Power Tape and 3D Foam Squares – Black, Regular
Dies and Stamp: Spellbinders® Creative Arts (GLD-016 Baby Buntings, SCD-005 Rosette Blooms, SCD-009 Pierced Circles, SCD-010 Build-a-Tag One, SCD-013 Create-a-Cone, SCS-005 Your Day Stamp Set and SCSD-008 Just Because Stamp and Die Set)
Marker: Faber Castell® Design Memory Craft® (Stamper’s Big Brush – Green)
Patterned Paper: Authentique Paper (Strong Collection)
Buttons: Maya Road
Wire: Prima Marketing Inc.
Other: Vellum

Thanks for stopping by!
Margie Higuchi

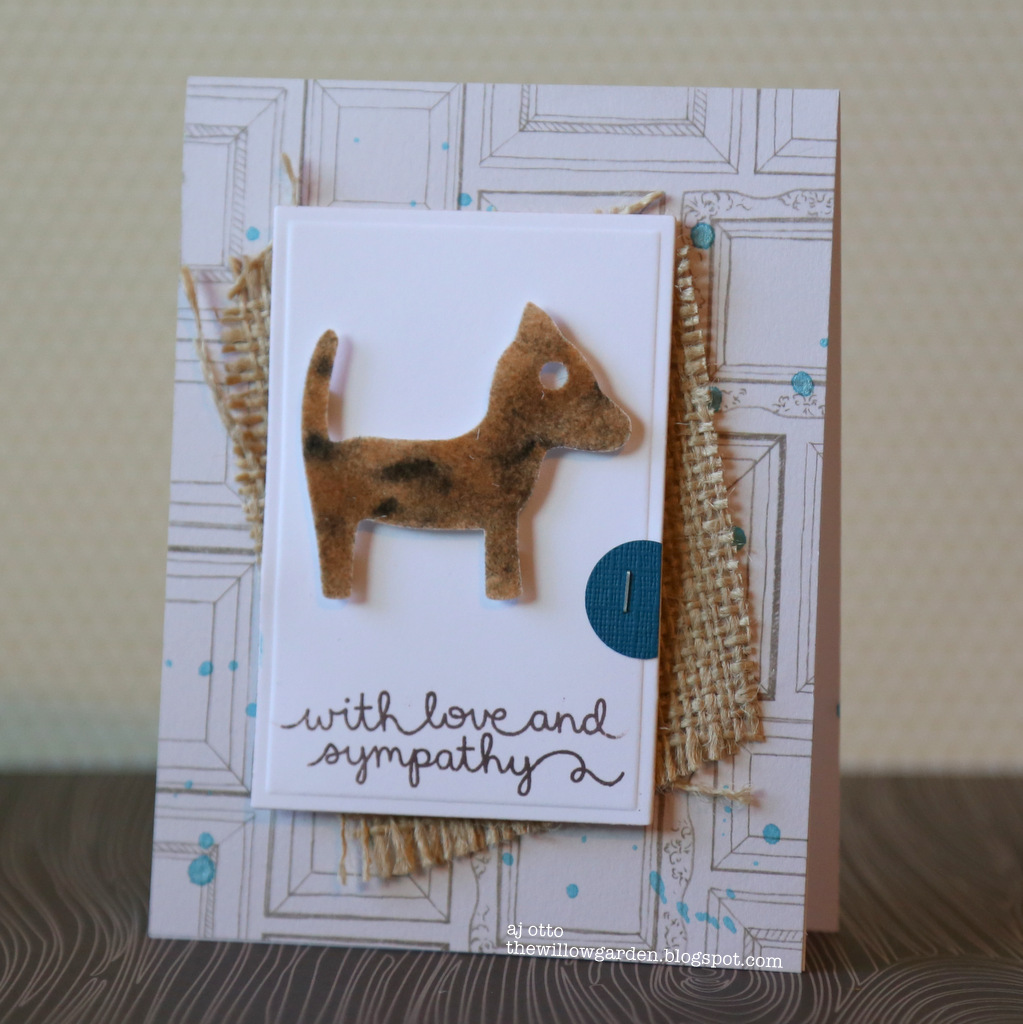
Thanks So Much Card

Hello- Happy weekend! AJ here with a thank you card to share today.

AJOtto-thanksSoMuch-1This is going in the mail with a gift card, so I needed to keep the actual card layers FLAT, but still have some depth and dimension to it.  I first spritzed a bit of gold shimmer to my card base.

AJOtto-ThanksSoMuch-2Then I adhered of piece of patterned paper that was heat embossed with a thank you sentiment to a black scalloped piece of card stock using the E-Z Squares® Refillable Dispenser.

AJOtto-ThanksSoMuch-3Again, needing to keep it flat, I adhered that layer to my card base using the same E-Z Squares® Refillable Dispenser.

AJOtto-ThanksSoMuch-4Lastly, I thought a small thin twine bow would help when baked with a semi circle cut from black card stock.  I LOVE this Home & Hobby by 3L® E-Z Runner Grand®  Permanent Strips! It has SO much adhesive, and no silly threading new adhesive.  Simply pop out the cartridge, pop in the new one!  Plus, it has the same great strips of adhesive, you can customize how many strips you use.  My circle is small, so I opted to just put 3 strips on.   I’m still getting used to this one on my desk, it’s slowly replacing my beloved E-Z Squares! 😉

enjoy! AJ
Scrapbook Adhesives by 3L®: Home & Hobby by 3L® E-Z Runner Grand®  Permanent StripsE-Z Squares® Refillable Dispenser

Stamps & cardstock- MFT, Dies- Spellbinders, Shimmer Spritz, & irRESISTible from Tsukineko, Embossing Powder- Stampendous, Twine- May Arts


Creating an Easy Card Set

Latisha here with you today, with a gift card set. Card sets seem like a lot of work, but with a little pre-planning they are super easy to create with just a few supplies.

0815LYnavyset1


Instructions:

1.  Cut/score red cardstock, so you have 4 card bases measuring 4.25 x 5.5 inches.

2.  Trim white cardstock for the inside of the cards. 8 panels measuring 4 x 5.25 inches. 4 for the inside and 4 for the front.

3. Stamp the compass rose onto the white cardstock using red ink.


IMG_9745


4.  Adhere the stamped panels to the inside of the cards using Scrapbook Adhesives by 3L E-Z Dots Permanent Refillable.

IMG_9747


5.  With the remaining 4 white panels.  Emboss them using and embossing folder and die cut machine of your choice. (check the sandwich for embossing)

6.  Adhere the embossed panels to the card front using Scrapbook Adhesives by 3L Crafty Foam Tape (white).

IMG_9748


7.  Die cut circles using a circle die and white cardstock.

8.  Stamp images and sentiments onto the diecuts.

9.  Adhere the circle diecuts to the card front using Scrapbook Adhesives by 3L 3D Foam Squares (white, regular).

IMG_9749


10.  Add twine and washi tape to the bottom of the card to embellish.


0815LYnavyset2


0815LYnavyset3


Materials Used:

Scrapbook Adhesives by 3L E-Z Dots Permanent Refillable

Scrapbook Adhesives by 3L Crafty Foam Tape white

Scrapbook Adhesives by 3L 3D Foam Squares (white, regular)

Lawn Fawn Ink & dies

stamps

white cardstock

red cardstock

washi tape

scissors

twine

embossing folder


Hello Card with Adhesive Sheets and Die Cuts

Hello everyone! It’s Lisa and I have a fun card using your dies and our awesome Adhesive Sheets today.  I love using the Adhesive Sheets to create a focal point for cards and it’s SO super easy to do!

LisaAdametz-HelloCard-08112015-1

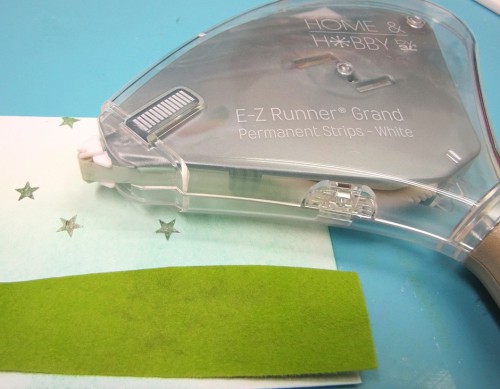
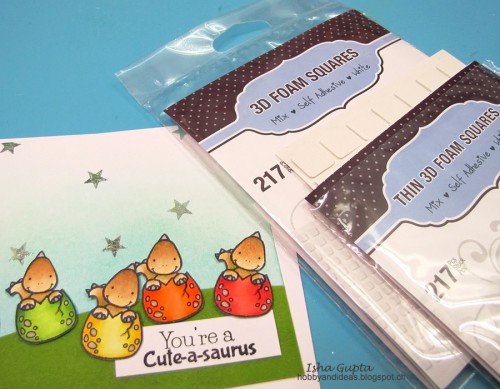
I first used my E-Z Runner® Grand Permanent Strips to adhere my patterned paper to the base card, then I cut a separate piece of patterned paper in a square and popped it up using the Thin 3-D Foam Squares for just a teeeeeeeny bit of dimension and to offset the two pieces of patterned paper.

Then using cutting a piece of cardstock large enough to place all of my floral dies I made sure that I had a matching piece of Adhesive Sheet in the exact same size. I peeled off the backer to the Adhesive Sheet and adhered the two together. I like to use a bone folder and burnish lightly to make sure the two pieces have completely adhered.

Place the dies on the cardstock side of your newly adhered cardstock/Adhesive Sheet piece and run through your die-cutting machine (I run it through twice) and you have perfectly die cut pieces ready to be adhered to your card. No messy glue and amazingly strong adhesive! Also no glue strings either. Ick!

LisaAdametz-HelloCard-08112015-2

I positioned the flowers as I want them, Added some accents to the centers. Wrapped ribbon around the front and secure with a Dodz™ Medium. When I stamped the sentiment I knew how I wanted to secure it so I used the Extreme Double Sided Tape – ¼” at the top of the stamped piece to adhere it under the ribbon. Strong stuff!
LisaAdametz-HelloCard-08112015-3

This was such a fun and easy card to put together, but I love how it looks. 🙂 The Adhesive Sheets are the best thing EVER!

SUPPLIES:
Scrapbook Adhesives by 3L®:
Adhesive Sheets 6″ x 12″
E-Z Runner® Grand Permanent Strips
Thin 3-D Foam Squares – Mix, White
Dodz™ – Medium
Extreme Double-Sided Tape – ¼”, Permanent

Stamps and Dies by Ellen Hutson, LLC.

Patterned paper by Pebbles, Inc.

LisaAdametz-sig


Hello Card

Hello there! Michele here with a fun, simple, water colored card to share with you!  I have definitely joined the water coloring craze! I played around with yellows and pinks to create the background and then splattered it with a bit of white acrylic paint.  I adhered the panel onto a second panel using Crafty Foam Tape in white.

water color hello

I die cut the sentiment 6 times and adhered them together.  The top piece was inked with pinks and yellows just at the bottom.  The sequins were placed using Dodz™-small.

watercolor hello2

I tied a yellow ribbon (around the old oak tree…..okay, totally showing my age!) around the top of the card.  I adhered the entire colored portion to the card front using E-Z Squares®.

water color hello2

Have a great day! Thanks so much for popping by!

Supplies:

Enjoy Layout with E-Z Runner® Grand

It’s Erica and today I’m sharing a layout I created using the E-Z Runner® Grand Permanent Strips and Crafty Foam Tape – White.

Enjoy Layout with E-Z Runner® Grand by Erica Houghton

Have you tried the NEW E-Z Runner® Grand Permanent Strips? I absolutely LOVE it! It’s my go-to adhesive; I use it especially when adhering my many layers together. I also used Crafty Foam Tape White to give my photographs, flowers and ‘fun’ and ‘enjoy’ titles dimension.

Enjoy Layout with E-Z Runner® Grand by Erica Houghton

Scrapbook Adhesives by 3L

Paper

  • Kaisercraft, Secret Garden

Embellishments

  • Kaisercraft, Secret Garden – stickers
  • Heidi Swapp – ephemera, ‘fun’ & ‘enjoy’ stickers
  • Petaloo & Prima Marketing – flowers
  • Prima Marketing, Butterfly – brads

Products

  • Ranger Ink – Tim Holtz – distress ink

Thanks for joining me today!

Erica Houghton

Creating a Summer Thank You Card With 3D Foam Creative Sheets

Hello! I am thrilled to share a summer thank you card using our 3D Foam Creative Sheets to make my sentiment POP! So think of this type of card to THANK your host after the next summer gathering! It’s real easy to create, let me show you how.


Summer Thank You Card Using 3D Creative Foam Sheets by Margie Higuchi


First I cut and embossed the card front three times – nest the Inset and Border dies of the Diagonal Chevron set with white cardstock (Die Cut #1); cut the Border die with blue patterned paper (Die Cut #2); and cut the chevron design from the Border set (the bottom half) with darker blue patterned paper (Die Cut #3).


MargieHiguchi DiagonalChevronThankU Step123


Next using the Adhesive Sheets – 4×6″, I placed top half of Die Cut #1 and rubbed to transfer the adhesive on its back. Then I repeated the same process for Die Cut #1 for the bottom half. Then adhered it on top of Die Cut #2. Using the same adhesive sheet, I placed pieces from Die Cut #3 in areas where there were adhesive on the sheet…a great way to use up the sheet 🙂


MargieHiguchi DiagonalChevronThankU Step4


For the sentiment, I wanted it to pop so I pulled the paper liner back from the 3D Foam Creative Sheets and placed the patterned paper on top. After I trimmed the part I needed, the “Thank You” die was placed on top and cut through my manual die cutting machine.

Tip: When cutting through a thick material, make sure to shim and cut a couple of times through your die cutting machine.


MargieHiguchi DiagonalChevronThankU Step5
MargieHiguchi DiagonalChevronThankU Step6


Adhere all the pieces on the card panel such as sequins with the Adhesive Dots Small and the sun die cut with Adhesive Sheets – 4×6″. Use the E-Z Runner® Grand Permanent Strips from Home and Hobby by 3L® Line to adhere the embellished card panel to a A2 size white card base. It’s ready to go! Here’s a second look…


Summer Thank You Card Using 3D Creative Foam Sheets by Margie Higuchi

Supplies:

Scrapbook Adhesives by 3L®: 3D Foam Creative Sheets, Adhesive Sheets 4×6″, Adhesive Dots Small and E-Z Runner® Grand Permanent Strips from Home and Hobby by 3L®
Die: Spellbinders® Creative Arts (S4-453 Diagonal Chevron, SCD-026 All You and SCSD-009 Sunny Days)
Patterned Paper and Sequins: Lawn Fawn (Pint-Sized BeachSide Collection and Into The Woods Mixed Sequins)
Cardstock: WorldWin Papers (ColorMates Textures White Twill Cardstock)

If you are interested in other ways to use the 3D Foam Creative Sheets, click Projects Created with 3D Foam Creative Sheets!

Thanks for stopping by!
Margie Higuchi

Notecard Holder with Extreme Double-Sided Tape

Hello everyone, Christine here today with a Notecard Holder tutorial.  First off it looks like a card but it actually consists of an outer cover with two pockets inside.  These make great gifts for special friends and family and they are fun to make.

Notecard Holder by Christine Emberson for Scrapbook Adhesives by 3L

First, cut a piece of cardstock to 5″ x 11″ and score at 5″ and 6″.  This is your outer cover, place to one side.

CEmberson - Notecard Holder 1

For the inner pockets, cut two pieces of card measuring 3.25″ and 6.25″.  Score each pocket at 0.5″ and 1″ on all three sides.

CEmberson - Notecard Holder 2

Cut the bottom square sections from each of the scored pockets – see picture.


CEmberson - Notecard Holder 3

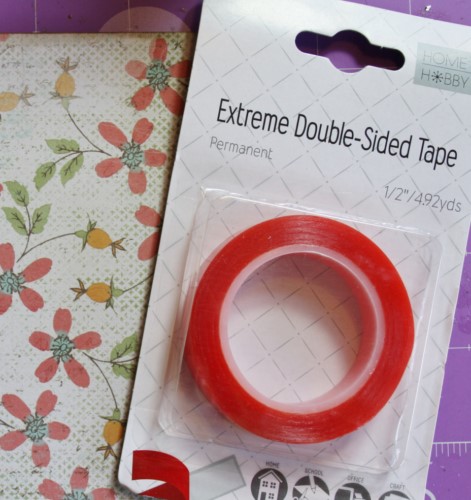
Using a bone folder, fold along the score lines and attach Extreme Double-Sided Tape – 1/4″.  This is a new tape from the HomeHobby by 3L® range and it is super strong!


CEmberson - Notecard Holder 4

Once you have your pockets taped collect your cover, position and affix them as pictured.


CEmberson - Notecard Holder 5

Now to decorate the outer cover and inner pockets.  I’ve chosen a gift tag as part of my cover decoration and attached pretty paper from Bella BLVD using my trusty  E-Z Runner® Permanent Strips Refillable.


CEmberson - Notecard Holder 6

To attach little die cuts and stickers I went straight to my  3D Foam Squares – White, Small.

CEmberson - Notecard Holder 7

Decorating the inner pockets.

CEmberson - Notecard Holder 8

And this is how they look finished with notecards and envelopes placed inside.


Notecard Holder by Christine Emberson for Scrapbook Adhesives by 3L


Many thanks for stopping by and don’t forget to regularly check out all the inspirational projects on the blog.

Christine Emberson Signature

Pin this!