You are in our US store • Switch to Europe store

With Love & Sympathy card

Hello, AJ here with a not so fun sympathy card.  I always say I am going to stock up on a few sympathy cards, they aren’t ever easy to make on demand.

AJOtto-Love&Sympathy-1

I decided to create one with a somewhat happier color scheme, with a light and airy feel to it.  AJOtto-Love&Sympathy-2To start, I adhered the blue patterned paper to my card base using our newest brand of adhesive Home & Hobby by 3L® Premium Double Sided Tape in 1″. Because I only need to use two strips of it. 😉AJOtto-Love&Sympathy-3I wanted to pop up my watercolor panel, so I used a few strips of our Crafty Foam Tape in Black to do just that.  To finish the card off, add a few enamel dots, and thinking of you message.  I hope the recipient will enjoy it!


enjoy- AJ

Scrapbook Adhesives by 3L® Products used:Home & Hobby by 3L® Premium Double Sided Tape in 1″,  Crafty Foam Tape

Other supplies- Stamps- Lawn Fawn, Watercolors- Kuretake Gansai, Sheer Shimmer Spritz in Frost, Fancy Pants Designs patterned paper


Remember Card

Hi everyone and Happy Monday! It’s Lisa here with you and I have a sweet and simple card to share with you today.

LisaAdametz-Remember-07272015-1

Create the card base with the fold at the top. This is a standard A2 card. (4¼” x 5½”). The patterned paper was trimmed ¼” smaller than the card base. Two strips of additional patterned paper were also cut at ½” each.

Adhere the patterned paper strips to the main piece of patterned paper using the E-Z Dots® Permanent Refillable Dispenser.

Stamp the sentiment in embossing ink and heat set it with a brown embossing powder. Then add the stars at the bottom. Coat the stars with a white embossing powder and heat set them.

Die cut the word “Remember” and it’s backer — again, out of patterned paper. Using the E-Z Dots® Permanent Refillable Dispenser adhere the Remember to the backer and then add 3D Foam Squares White Small to the back before applying to the card front.

LisaAdametz-Remember-07272015-3

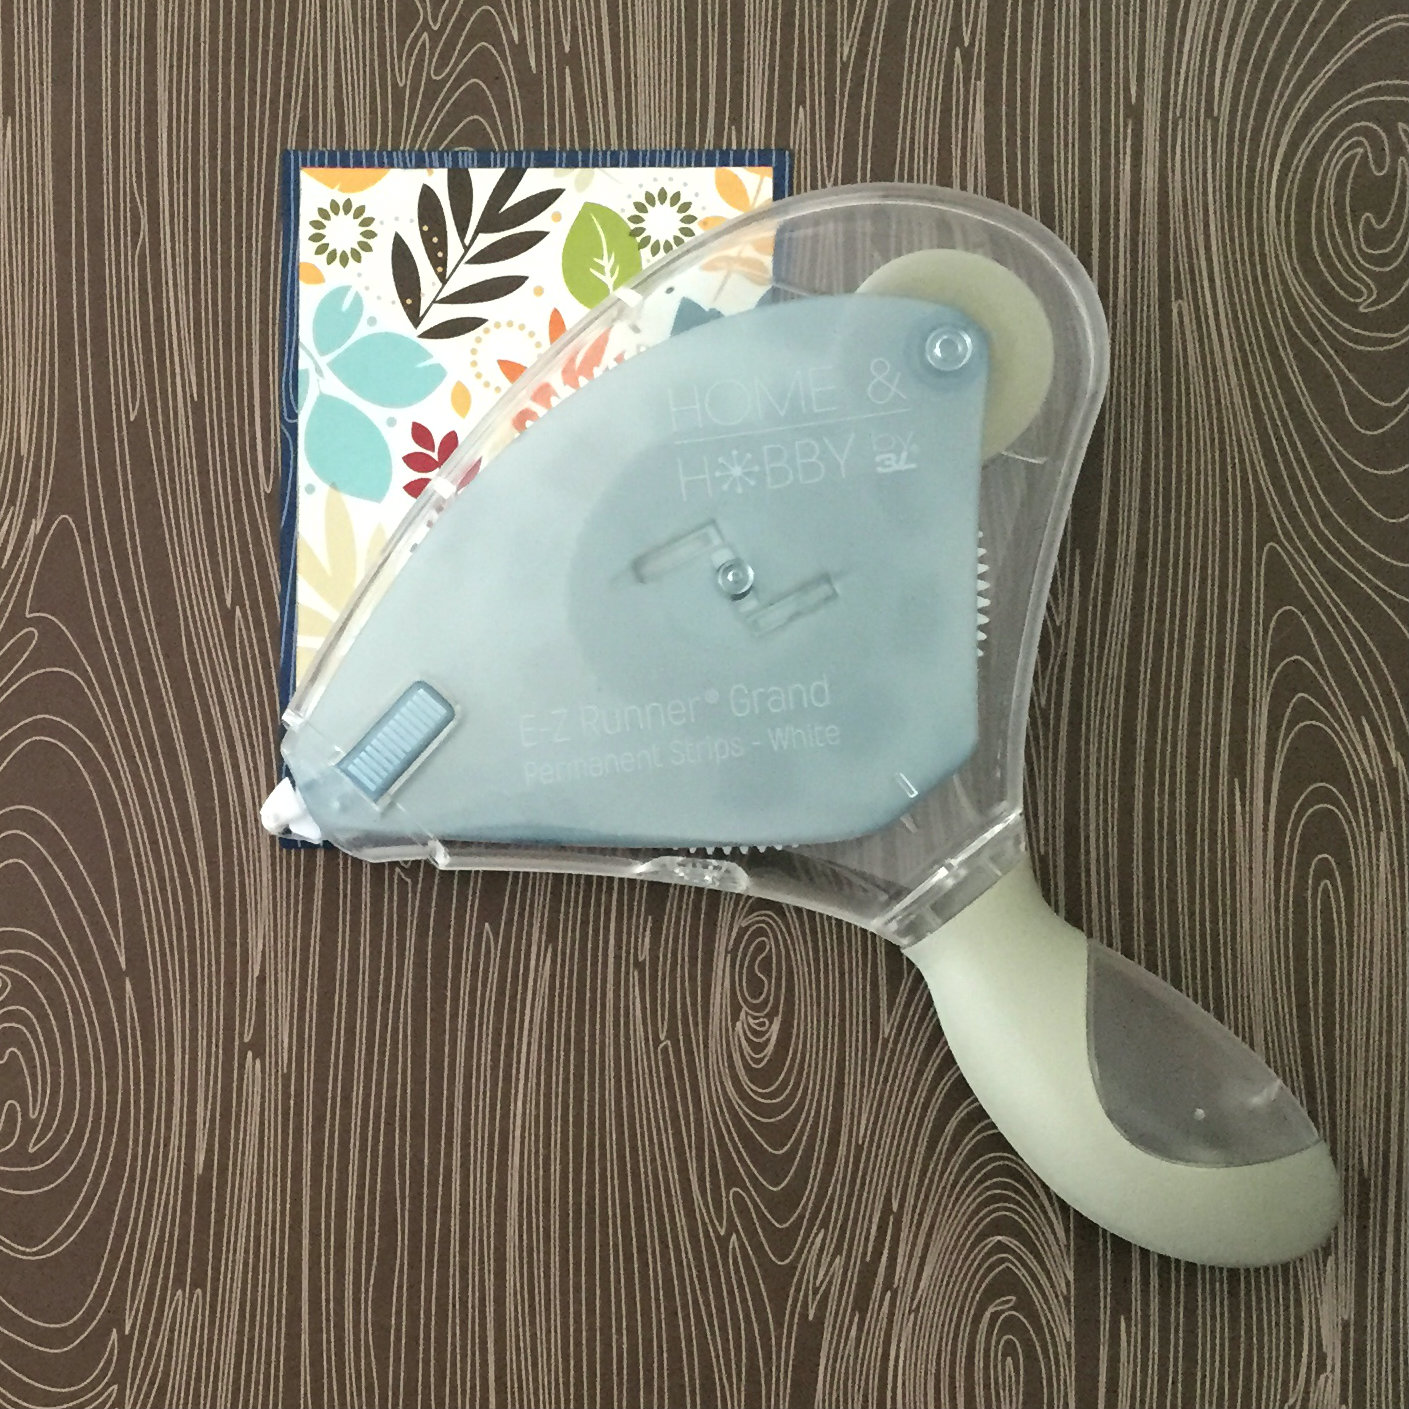
To adhere the card front to the card base I used my VERY favorite E-Z Runner® Grand Permanent Strips. I love this thing!! If you don’t have one yet? Get it! NOW!

To finish off the card wood veneer stars were added which were adhered with Dodz Small. Twine was wrapped around the top of the card and a small pearl was added and secured with a Dodz Small.

I added a little sparkle to one of the stripes, as well. I thought it was just the right finishing touch. Here’s a close-up:

LisaAdametz-Remember-07272015-4

Thanks for joining me today and I hope that you all have an amazing week!

Supplies:
E-Z Runner® Grand Permanent Strips
E-Z Dots® Permanent Refillable Dispenser
Dodz Small
3D Foam Squares White Small

LisaAdametz-sig

Vacation Layout with E-Z Runner® Grand

It’s Erica and today I’m sharing a layout I created using the E-Z Runner® Grand Permanent Strips.

Vacation Layout with E-Z Runner® Grand by Erica Houghton

1. I adhered two cardstock accents to my layout using the E-Z Runner® Grand Permanent Strips.

Vacation Layout with E-Z Runner® Grand by Erica Houghton

2. I removed the back and glass from a small photo frame, added a photo and adhered it to my layout using the E-Z Runner® Grand Permanent Strips.

Vacation Layout with E-Z Runner® Grand by Erica Houghton

Vacation Layout with E-Z Runner® Grand by Erica Houghton

3. I adhered flowers to my layout.

Vacation Layout with E-Z Runner® Grand by Erica Houghton

4. I finished my layout with a few sequins and a bow.

Vacation Layout with E-Z Runner® Grand by Erica Houghton

Here are a few close-ups:

Vacation Layout with E-Z Runner® Grand by Erica Houghton Vacation Layout with E-Z Runner® Grand by Erica Houghton Vacation Layout with E-Z Runner® Grand by Erica Houghton

Scrapbook Adhesives by 3L

Paper

  • Authentique Paper, Seaside

Embellishments

  • Authentique Paper, Seaside – components, journaling cards
  • Prima Marketing & Petaloo – flowers
  • Celebrate It – ribbon
  • Misc. – sequins

Products

  • Ranger Ink – Tim Holtz – distress ink

Thanks for joining me today!

Erica Houghton

Creating Plaid Backgrounds!

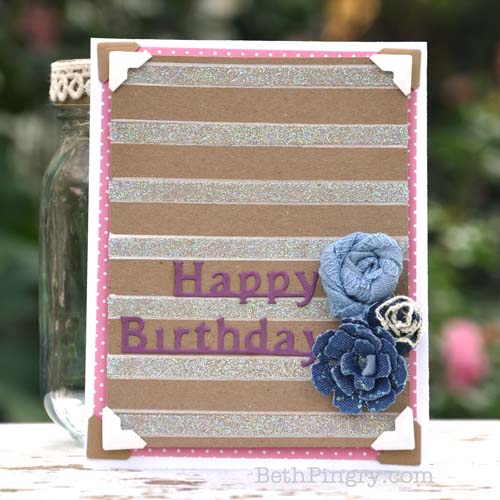
Good morning! Michele here with two cards to share with you using a fun technique! I’ve created my very own plaid background using Home and Hobby by 3L Premium Double-Sided tape! I have a masculine version as well as a more feminine version.

The first was a card I had created for Father’s Day.

fathers day

fathers day3The second card is a  more girly version and would be perfect for a graduation or new job!

shine1

shine2

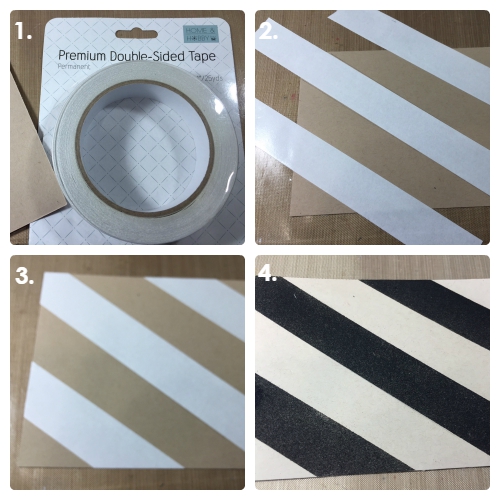
So here is how I did it.  First grab 3 sizes of the Premium Double-Sided Tape. (1/2, 1/4, and 1/8 inches)  (Next time I should take the picture before taking them out of the package! LOL!)shine3

I adhered the widest tape down first.  I went over the edge and simply took scissors and cut off any excess.shine4

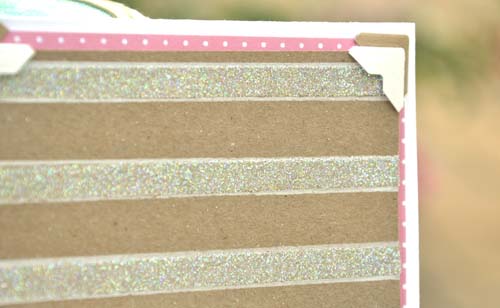
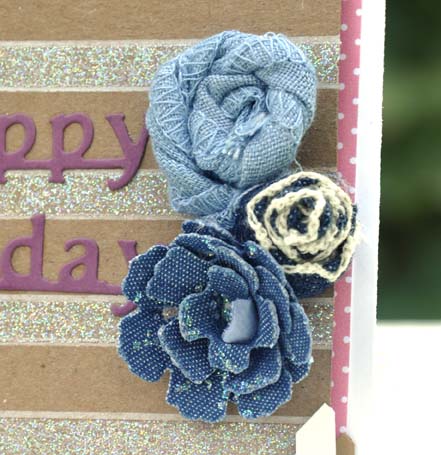
I love my glitters, so these were the 3 colors I chose for this project.

shine5

These tapes are perfect for adhering glue or flock because they are sticky on both sides! No messy glues to contend with!

shine6

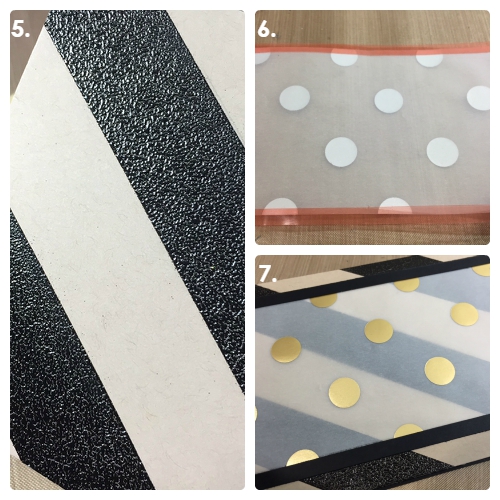
I laid my next widest strip down….

shine7

And of course sprinkled with glitter.  If any glitter gets in between, or on your other strip, just simply take a clean dry paint brush, and brush the excess off.

shine8

My final step was to adhere the thinnest strips in the opposite direction.  shine9

I then sprinkled it with a pale pink glitter.

shine10

I felt I needed a pop of color, so I water colored a scalloped  strip.shine11

As you all know, I prefer lumpy, bumpy cards with depth and dimension. So using the Crafty Foam Tape is a must!

shine12

shine13

I adhered my finishing touches, like the butterfly and sequins using Dodz Adhesive Dots Small.

How about one more look at both cards?

shine1

fathers day

I hope you will give plaid backgrounds a try!  It is easy and it’s a fun way to customize your cards!

Supplies:

Save

First Birthday Party Hat

Hi everyone Laurel here today with a birthday party hat.First Birthday Party Hat by Laurel Seabrook

My grand daughter will be turning one in September and being a teacher, September is a busy month with school start up so I decided to begin the party prep early 🙂

IMG_7275

I die cut the hat and embellishments from pattern paper and then assembled.  Whenever I assemble 3D projects I like to use the Premium Double-Sided Tape Home and Hobby by 3L as it is easy to apply and shape.  The 1/8″ is perfect for small areas.

IMG_7277

The DODZ™ work well for adhering bulky items like the fabric ribbon and of course one can never craft without some of the 3D Foam Squares to add some quick and easy dimension.

2015 07 20_1013

Tip: Assemble your embellishment cluster and adhere to one of the party hat pieces.  This will become the front.  Do any stitching and such before adhering to the back piece of the hat.

2015 07 20_1012

Products used:

Home and Hobby by 3L:  1/8″ Premium Double Sided Tape

DODZ™ – Medium

3D Foam Squares


Other products used:

Pattern Paper & Embellishments: Pebbles

Cardstock: American Crafts

Dies: Papertrey Ink


Thanks for visiting and have a great day!

Monochromatic Layout with E-Z Dots® Permanent – Refillable and Die Cutting

Hi there,

today I want to show you a monochromatic layout I made with Die cutting and the fabulous E-Z Dots® Permanent – Refillable.

Stephanie_Layout_1

I decided to go with a monochrome colorscheme and to use only white and beige for my layout. It fits perfectly with my photo.

For that Scrapbooking Page I used only my favorite adhesives, the E-Z Dots® Permanent – Refillable.

Stephanie_Layout_2

TIP: Adhere the flowers only in the middle. That will give them a dimensional look even without 3D Foam products.

As you can see I also use it for such intricate and thin Diecuts like the word “together”.

TIP: Use the E-Z Dots® Permanent – Refillable in small moves not to tear to pieces your Diecut.

Stephanie_Layout_3

Thanks for visiting us today!

Have a nice day!

Stephanie 🙂

Supplies from Scrapbook Adhesives by 3L®

E-Z Dots Permanent

Sizzix Big Shot Plus

Sizzix Thinlits Die Set – Estelle

Sizzix Thinlits Die Set – Handwritten words Love

Sizzix Framelits Set – Enchanted

TUTORIAL – Turn Your Trim into Stamps!

Hello blog readers! It’s Angela today sharing a tutorial for turning your trim into stamps using Home and Hobby by 3L Extreme Double-Side Tape 1/8″. I used the technique to create this cute card:

TUTORIAL - Turn Your Trim into Stamps! by Angela Ploegman

Tutorial:

1. Gather some supplies. In addition to all the sticky goodness Scrapbook Adhesives by 3L® provides, you’ll need some lace trim, an empty ribbon spool and a wooden dowel.

2. Remove the top and bottom of the ribbon spool, so that you only have the cylinder left. If you don’t have an empty ribbon spool, you can use an empty toilet paper roll.

angela ploegman from all of us card 2

3. Apply the Home and Hobby by 3L Extreme Double-Sided Tape 1/8″ Permanent to the lace trim.

angela ploegman from all of us card 5

4. Remove the red protective backing and apply to the empty ribbon spool. I did two strips of lace, with the loops facing outwards.

TUTORIAL - Turn Your Trim into Stamps! by Angela Ploegman

5. Ink up the lace and roll onto your card using the dowel to do the rolling – I used 3 coordinating ink colors (juicy dye or distress ink pads work best). A smaller spool will have a smaller repeating pattern – might be good for an ombre look. The image below shows the first impression (horizontal pattern) and the third impression (vertical pattern). I used the second impression on the final card.

angela ploegman from all of us card 6

6. Cut out you favorite part of the pattern and turn it into your card base.

angela ploegman from all of us card 3

The technique is really THAT easy!

I further embellished the card with a no sew organza rosette (likely going to be a future tutorial – wink wink!) using the organza ribbon, adhered with Dodz™ Adhesive Dots and a paper flower embellished with some pigment powder. Some foliage die cuts and a sentiment stamp and it’s done!

Here’s a close up of the final product! Loving it!

TUTORIAL - Turn Your Trim into Stamps! by Angela Ploegman

Thanks for stopping by today!

Angela

Scrapbook Adhesives by 3L® supplies used: Home and Hobby by 3L Extreme Double-Sided Tape 1/8″ Permanent, HomeHobby by 3L Extreme Double-Sided Tape 1/4″ PermanentE-Z Runner® Permanent Strips Refillable

Other Supplies used: Bazzill Basics Paper card stock, Ranger Distress Inks, Mama Elephant sentiment stamp, jewelry wire, Prima Marketing paper flower, Tsukineko Memento Ink, Spellbinders dies


Thinking of You Card and my Go To Favorites!

Hi everyone, Christine here today with a Thinking of You card – it uses my absolute ‘go to’ products from Scrapbook Adhesives by 3L®.  These are the items that never leave my craft desk.

CEmberson - Thinking of You 1

For every bit of matting I turn to my  E-Z Runner® Permanent Strips Refillable.

CEmberson - Thinking of You 2

And for dimension it’s always 3D Foam Squares.  To add dimension to my die cut frame I have used 3D Foam Squares – White, Small.

CEmberson - Thinking of You 3

I added a die cut with stamped sentiment and this is also raised using 3D Foam Squares.

CEmberson - Thinking of You 4

Some further die cuts added.  Don’t forget the Dodz™ range is brilliant for adhering embellishments, not just card ones – use them for metal, wood and plastic.

CEmberson - Thinking of You 5

Thank you for stopping by today, don’t forget to check out all the other Scrapbook Adhesives by 3L® products.

Christine 

Supplies:

Scrapbook Adhesives by 3L:  E-Z Runner® Permanent Strips Refillable3D Foam Squares – White, Regular.

Spellbinders dies: Fancy Diamond, Pierced Rectangles, Ivy.

Papers: My Mind’s Eye – Miss Caroline.

Other supplies: Sentiment stamp.

Thanks So Much Card using Premium Double-Sided Tape

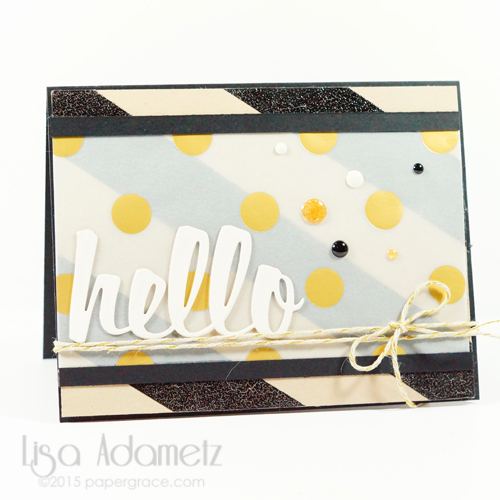
Heya!  Do you love stripes? I personally think stripes will NEVER go out of style.  And do you know what is even better than stripes…creating your own striped paper with our  Double-Sided Tapes!

AJ Otto Thanks card

I love being able to create my own patterns using our tapes, whether it’s with glitter or foil. I thought I would give our HomeHobby by 3L Premium Double-Sided Tape 1/2″ Permanent a little love creating my own HEAT embossed background. 🙂
AJOtto-DoubleSidedTape-2To get started, line your card stock up on your guidelines.  I placed the first strip about 1/2″ from the top, and then placed the remaining every 1/2″.

AJOtto-DoubleSidedTape-3Working a few strips at a time, remove the backing, and cover generously with your embossing powder, then heat set.  Continue until your background is complete.

AJOtto-DoubleSidedTape-4

Flip over your panel and place a few strips of Crafty Foam Tape to pop up on your card base.

I finished off my card with a stamped sentiment popped up using 3D Foam Squares and a layer of red to add some pop of color, along with some twine and a mini clothes pin.

I just love this size tape for creating backgrounds-  Think of all the possibilities! 🙂

Enjoy- AJ 🙂

Scrapbook Adhesives by 3L® Products used: 3D Foam SquaresCrafty Foam Tape, HomeHobby: Premium Double-Sided Tape 1/2″Permanent

other: My Favorite Things stamps, ink; Imagine Crafts Embossing Powder, twine, Wink Of Stella pen, card stock, mini clothes pin


Save

Save

Decorated Favor Bag

Latisha here with a fun project, on how I decorated a glassine bag and turned it into a fun party favor package.

0715LY_july12_candy

First, gather some Extreme Double-Sided tape, 3D Foam Squares, some sequins, a few diecuts and stickers, and a glassine bag.


Instructions:

1.  Take some Home and Hobby by 3L Extreme Double-Sided Tape 1/4″ and place some at the bottom of the bag.

2. Peel away the protective cover.

3. Grab some sequins that you want to use.

IMG_9304

4. Start placing the sequins on top of the tape, this is very sticky and permanent tape, so make sure you have them mapped out.

IMG_9305


5. Keep placing the sequins on the tape until you have a complete border across the bottom of the bag.

6. Place a sticker, or sentiment above the sequins.

7. Adhere the diecut banner to the top of the bag, by placing Scrapbook Adhesives by 3L 3D Foam Squares (white, regular) on the back.

IMG_9306

Latisha Yoast

Materials Used:

Home and Hobby by 3L Extreme Double-Sided Tape 1/4″, Scrapbook Adhesives by 3L® 3D Foam Squares,

Fancy Pants Designs glassine bag, Sequins, diecuts & stickers, candy

0715LY_july12_candy2