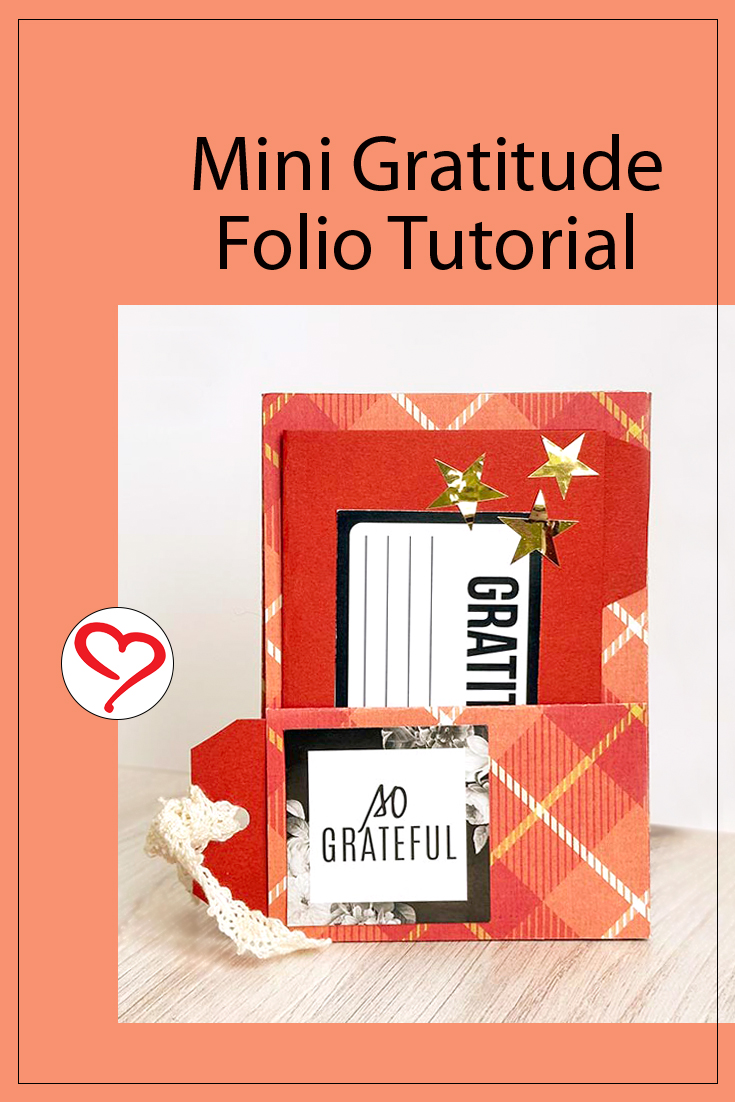
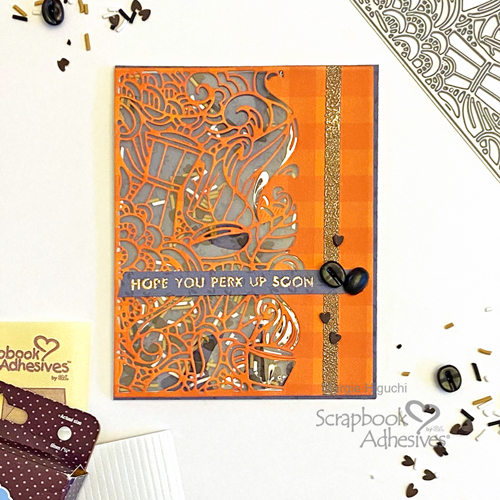
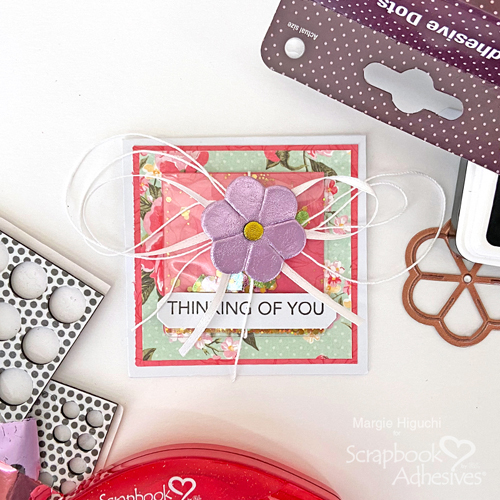
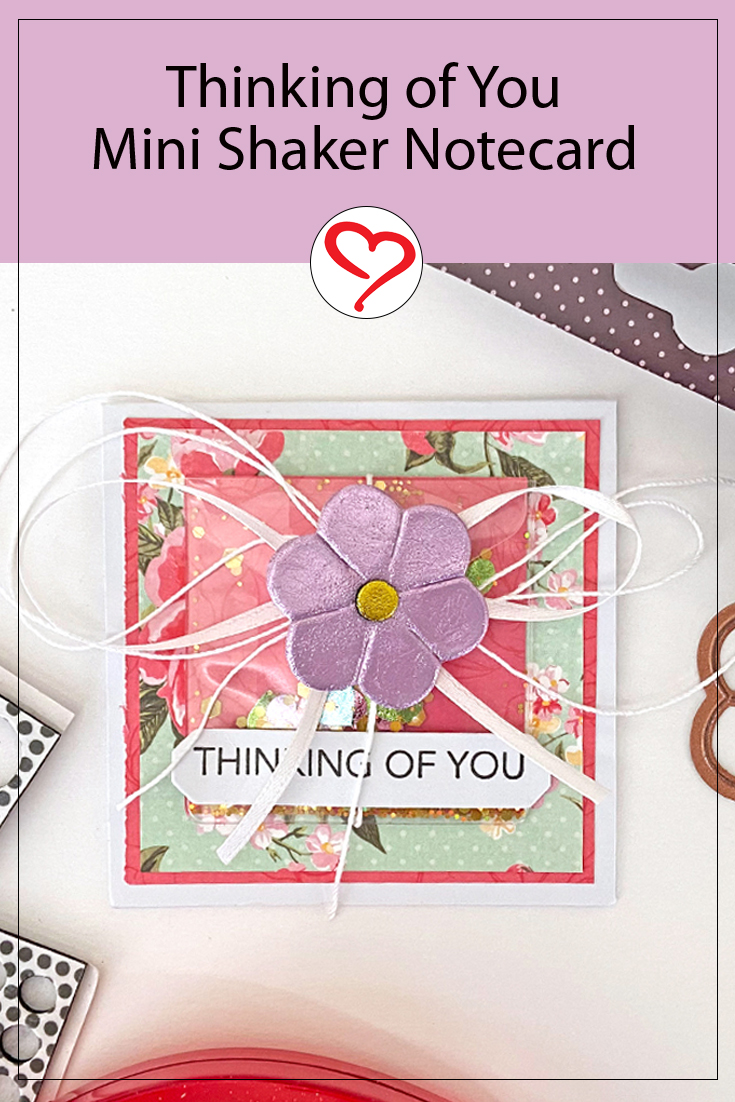
When you’re short on time but want to make a shaker card, how about a Keepsake Envelope to the rescue? These clear self-adhesive envelopes come in several different sizes. Today I am sharing a mini shaker note card with the smallest size (2-inch) and some fun ideas to create with one! Let me show you!
Assemble the Shaker Note Card
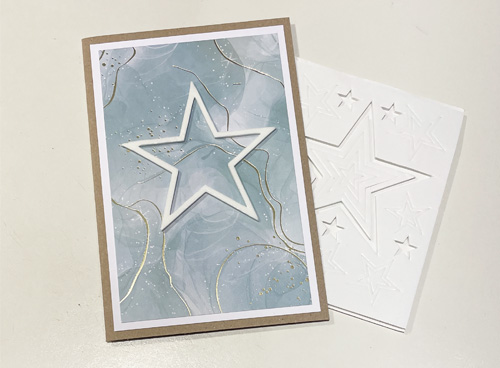
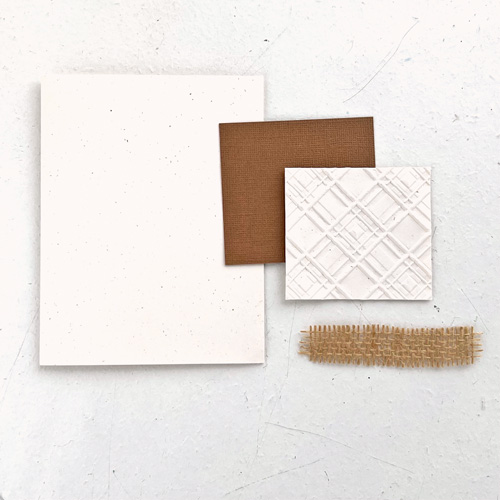
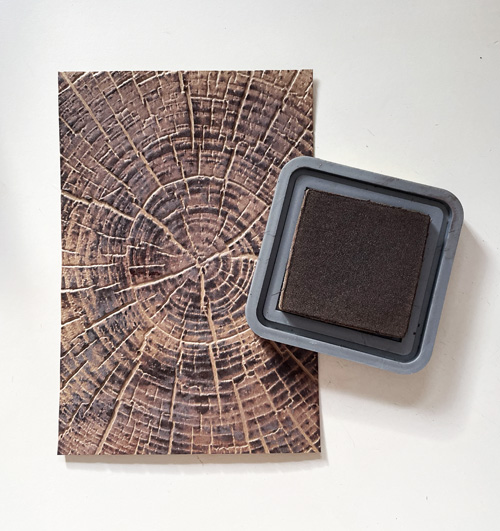
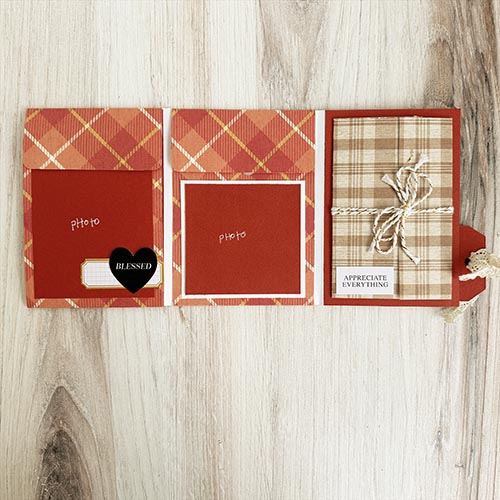
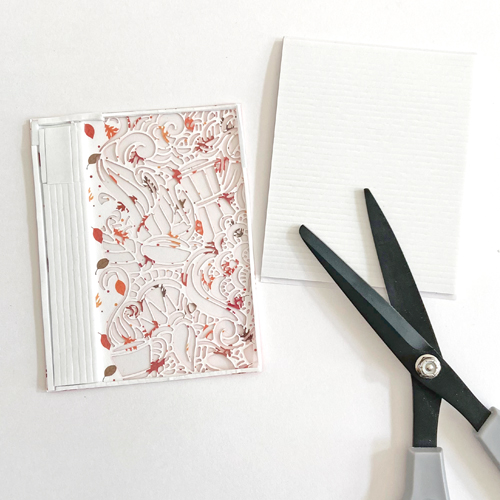
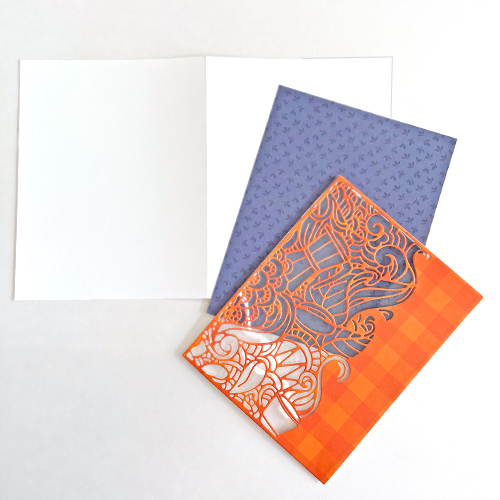
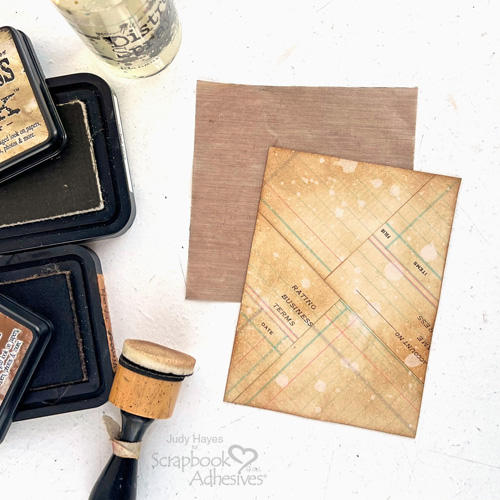
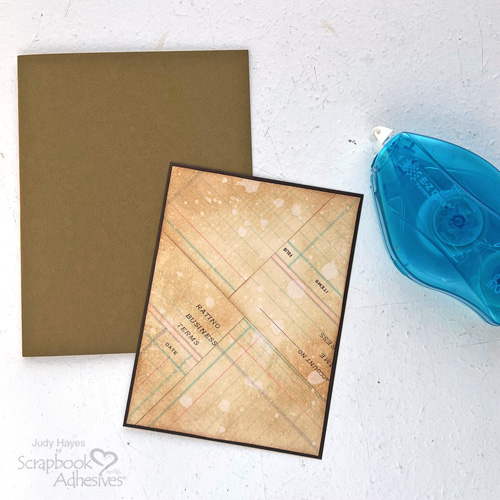
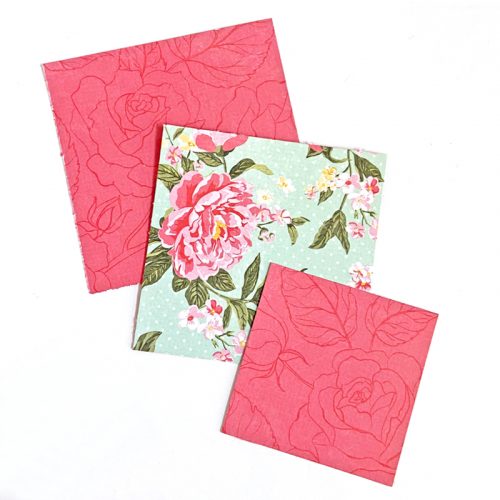
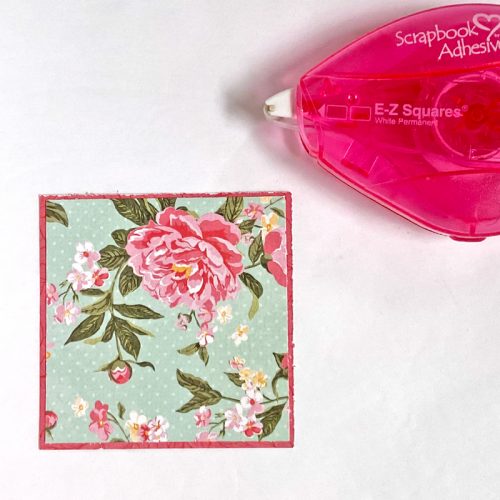
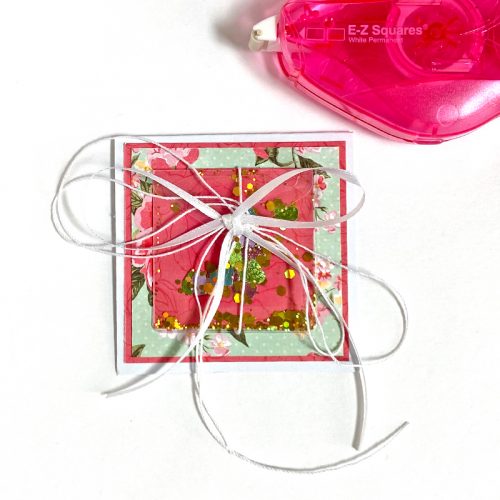
Fold a 3 x 6-inch white cardstock in half to create a 3-inch square top fold mini note card base. We’ll be using the Pretty Peonies patterned paper on both sides. On the B-side/pink pattern, cut one square piece of 2.75-inch and 2-inch. On the floral pattern side, cut a square piece of 2 5/8-inch.
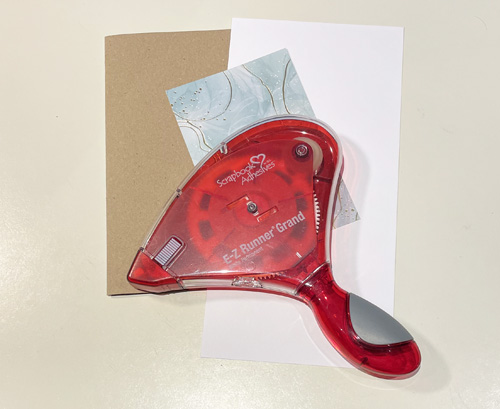
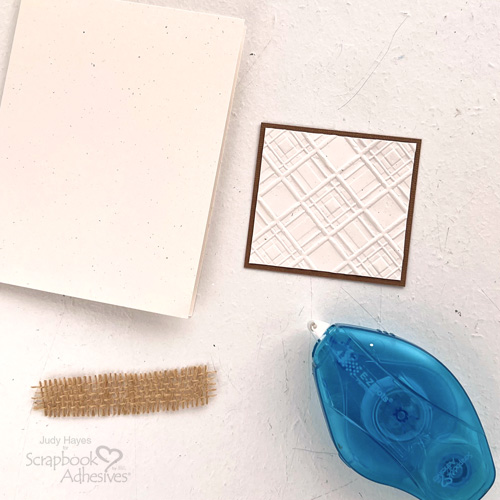
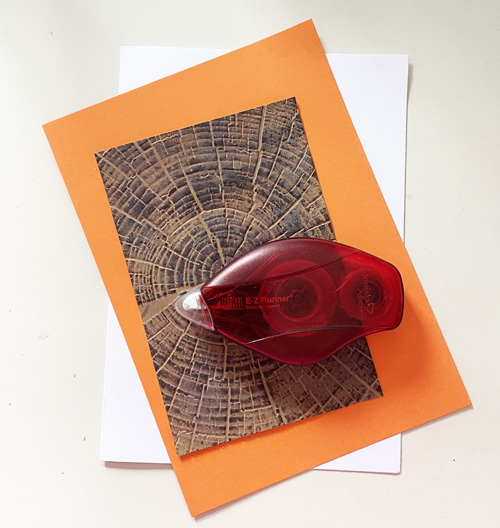
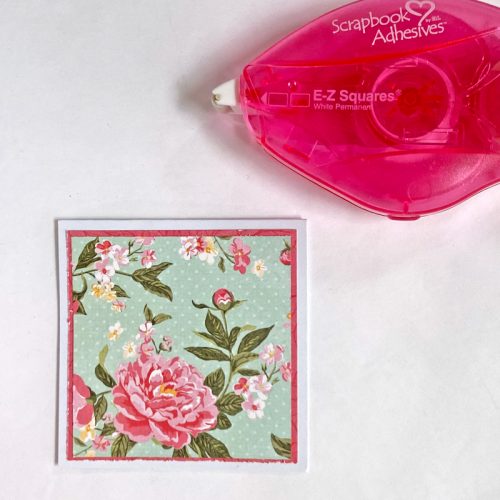
Adhere the 2.75-inch square (pink) with the 2 5/8-inch square (floral). Then add the layered square to the card base with the E-Z Squares® Refillable Dispenser.
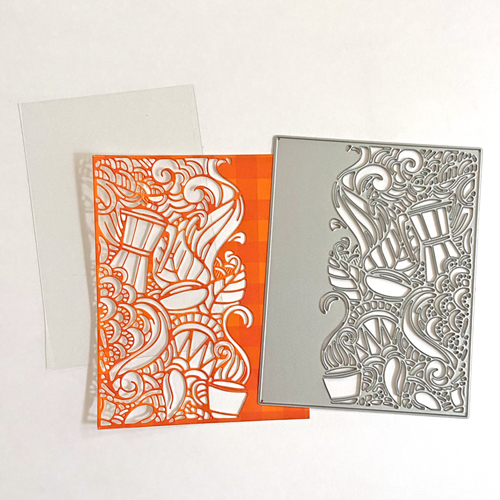
Create the Shaker
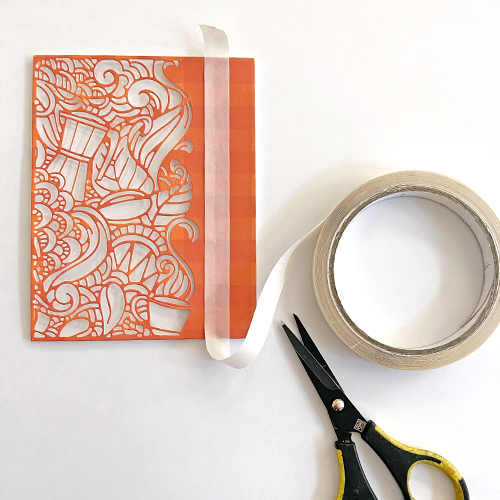
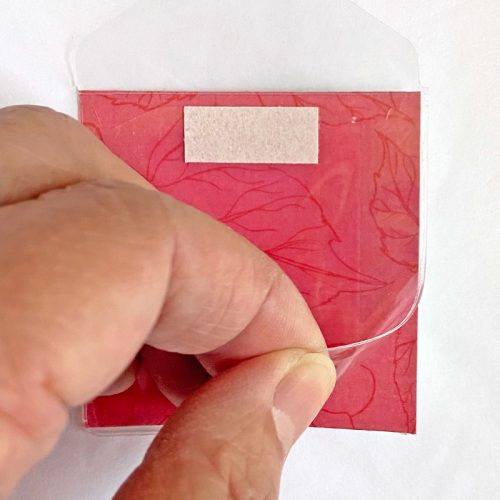
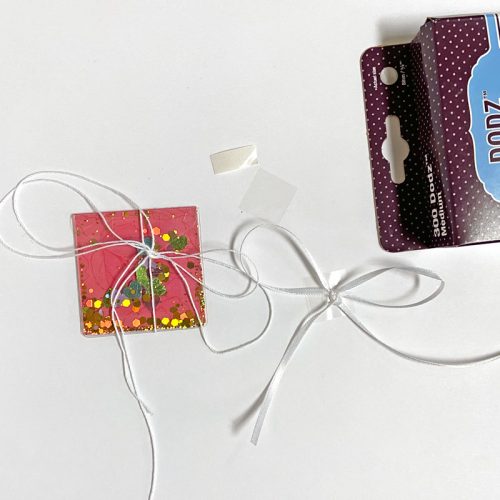
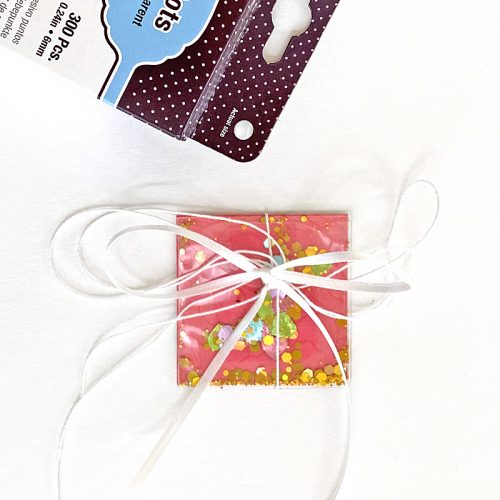
Remove one of the 2-inch envelopes from the Keepsake Envelopes Mix pack and adhere it on top of the 2-inch square (pink) so the paper is behind the envelope. Open the flap and add shaker mix…but wait!
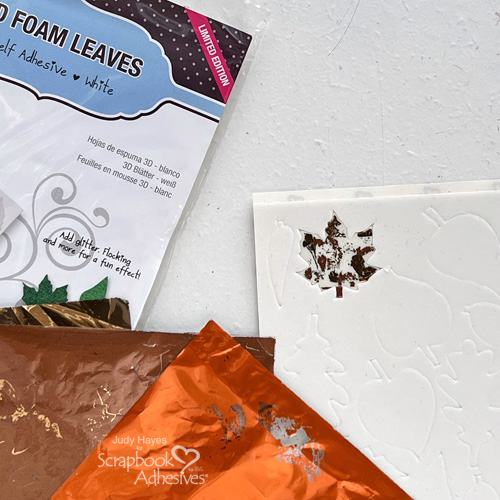
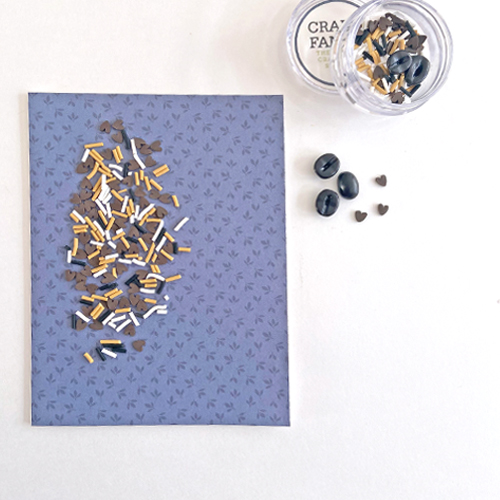
Preparing the Heart Shape Shaker Mix
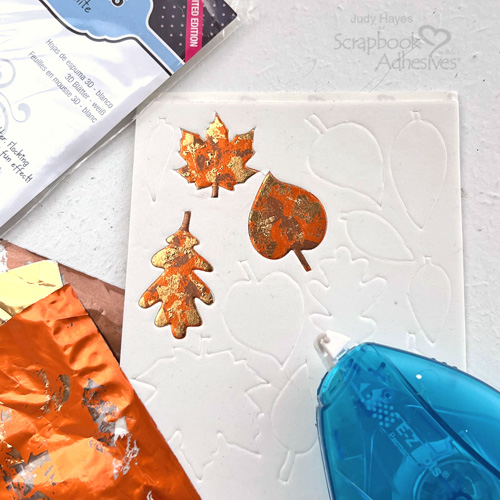
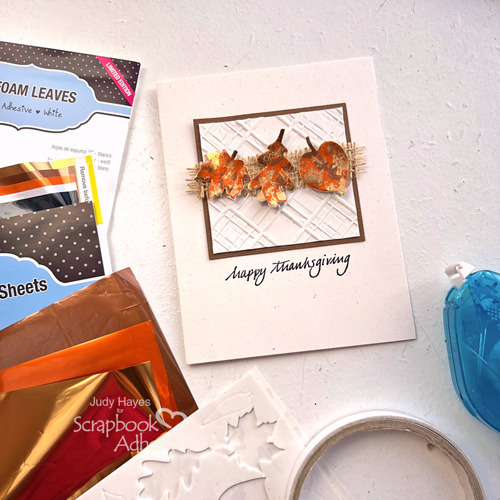
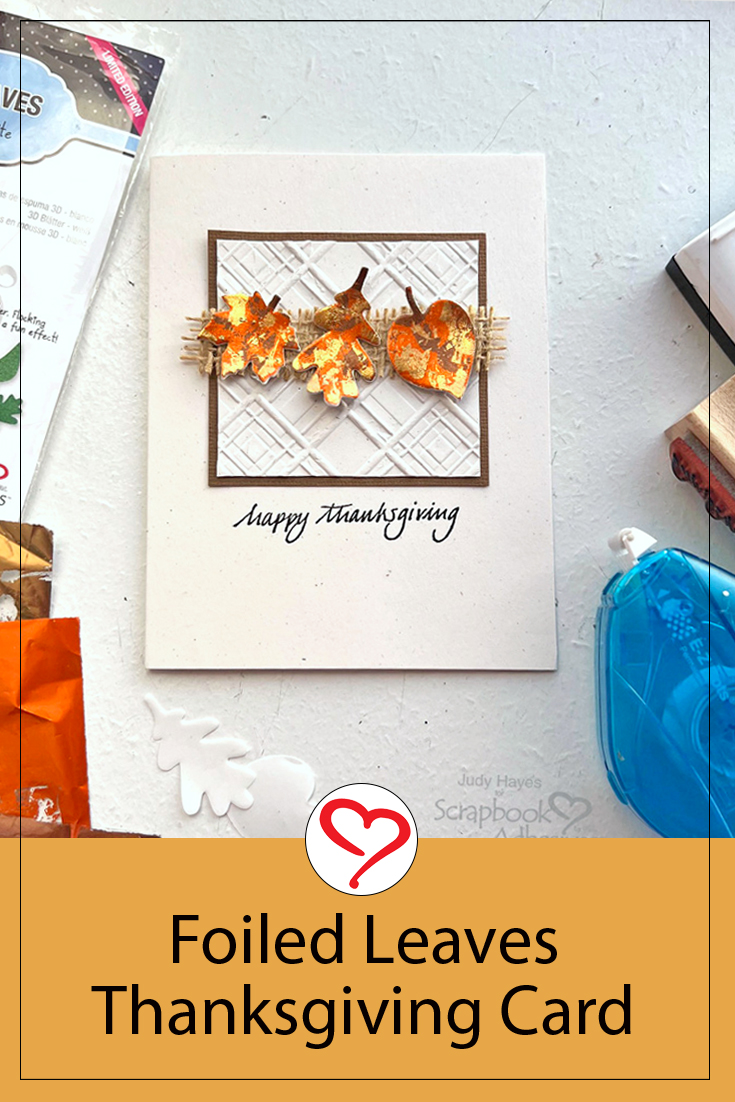
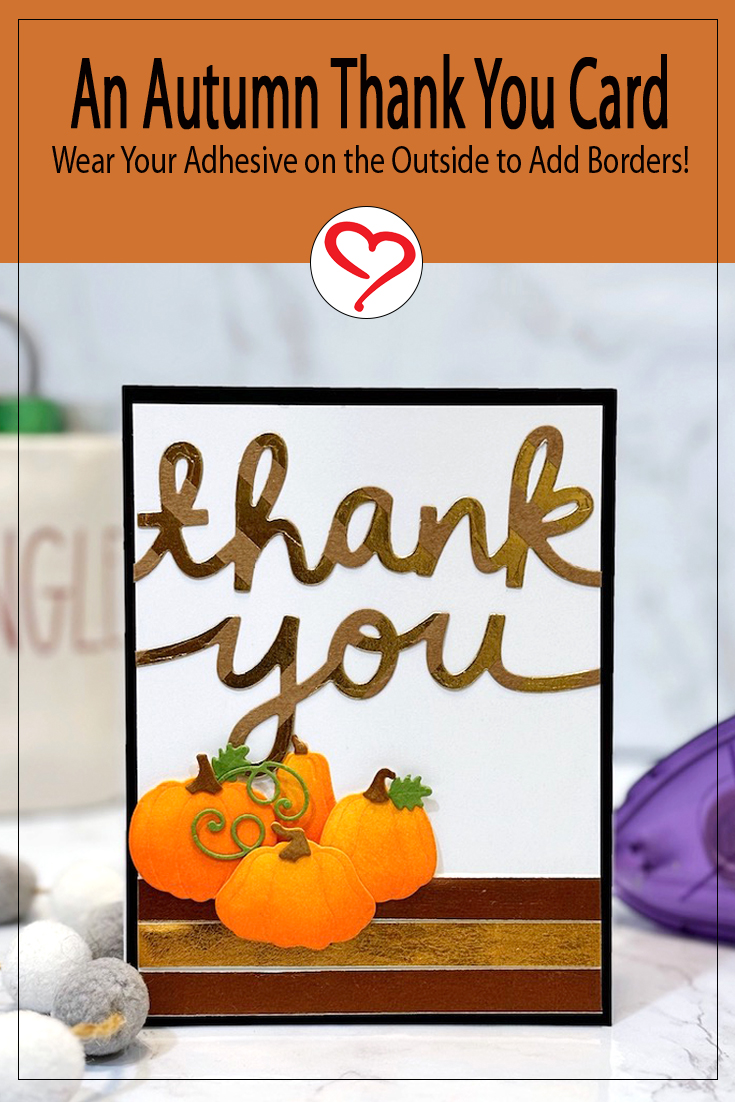
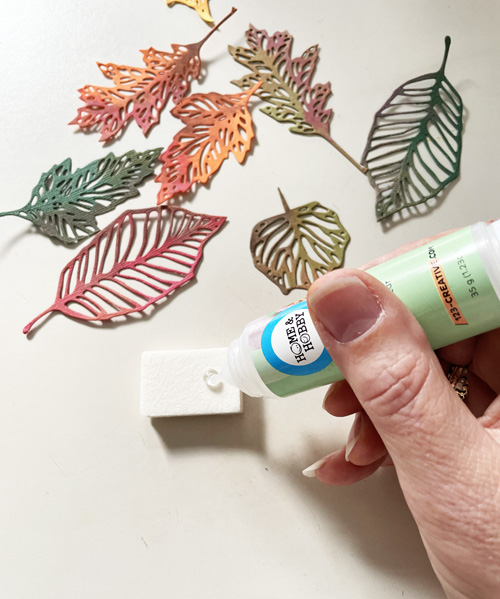
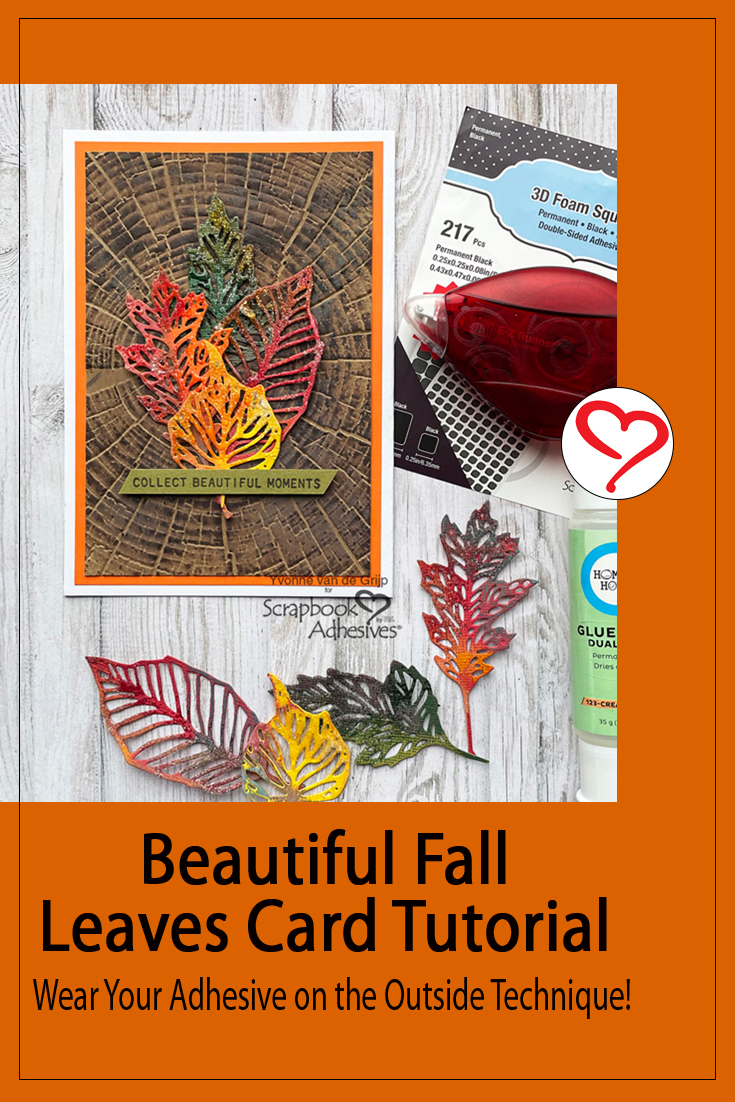
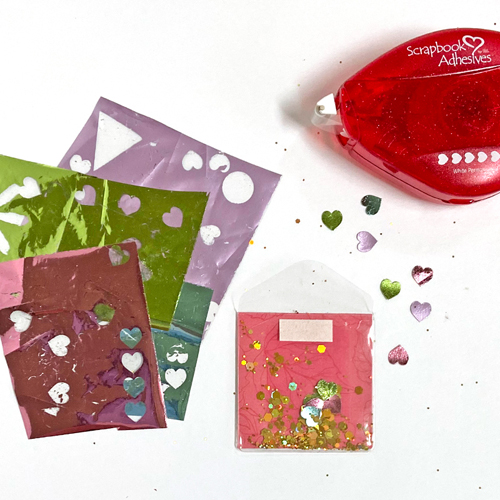
Create foiled sequin shapes with the E-Z Runner® Hearts Refillable Dispenser and Metallic Transfer Foil Sheets Pastel Colors. Apply a row of E-Z Runner® Hearts Refillable Dispenser on a non-stick craft sheet and apply your choice of foil to the shapes by placing the foil facing COLOR SIDE UP to rub it with your fingertips to transfer the color. Peel off to reveal the results. Reapply foil in missed areas. This concept is called “Wear Your Adhesive on the Outside.”
View How to Use the E-Z Runner Hearts Video
I am sharing visually how to create those shaker bits in this How to Use E-Z Runner Hearts video – it starts at the shaker bit portion of the video. Enjoy!
Use a pair of tweezers or fingernails to lift the shape from the craft sheet and flip it to its backside to repeat the foiling steps. Create as many as you like with different foil colors.
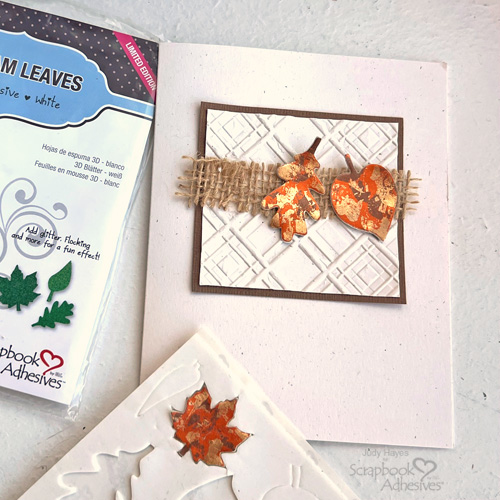
Embellish the Shaker Note Card
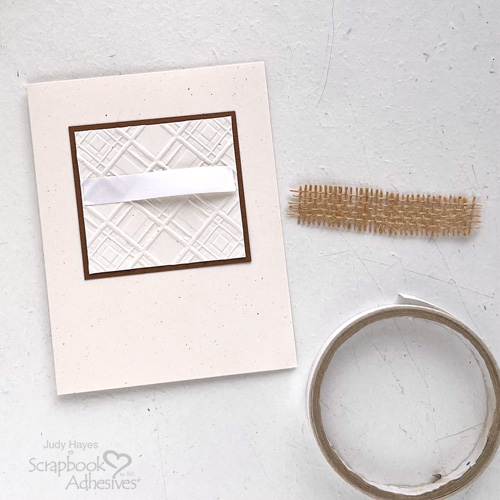
Peel off the liner from the envelope flap and close. Wrap white twine once vertically and knot to close. Tie a loopy double bow and secure it to the envelope with an Adhesive Dots Small. Tie a single bow with a thin white ribbon and secure on top of the twine bow with another Adhesive Dots Small. Use the E-Z Squares® Refillable Dispenser to secure the shaker to the center of the card base.
Finishing Touches
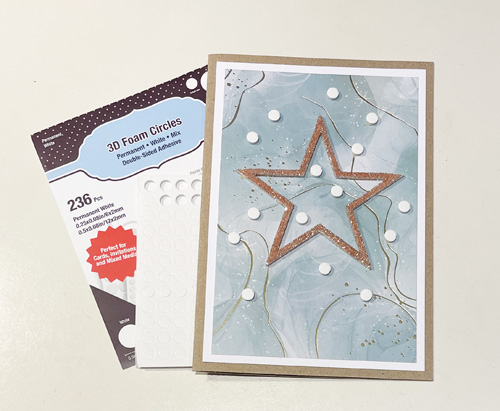
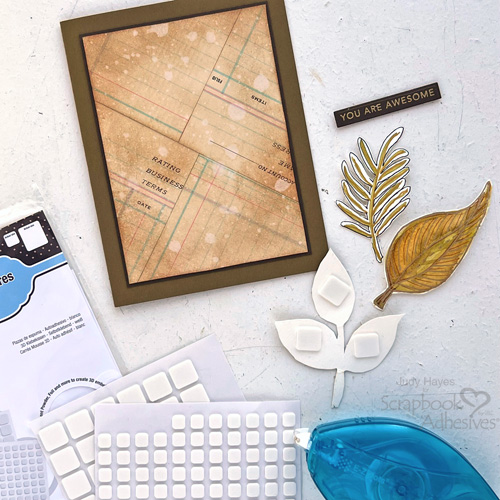
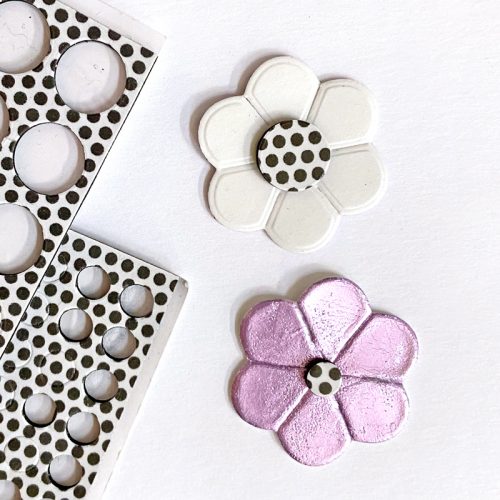
Die-cut a flower shape from a sheet of the 3D Foam Creative Sheets Small White and remove the top liner. Apply a piece of purple foil from the Metallic Transfer Foil Sheets Pastel Colors on top using the same foiling technique. Remember the foil color is facing UP!
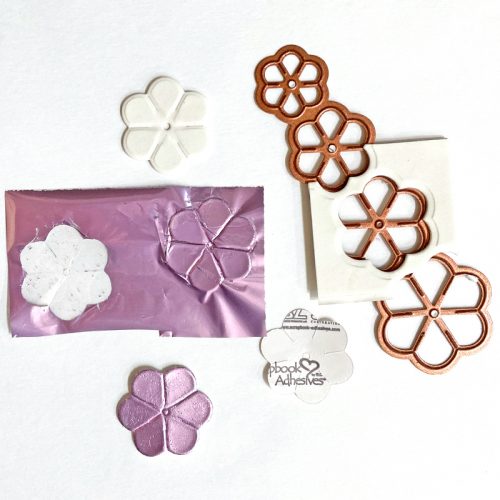
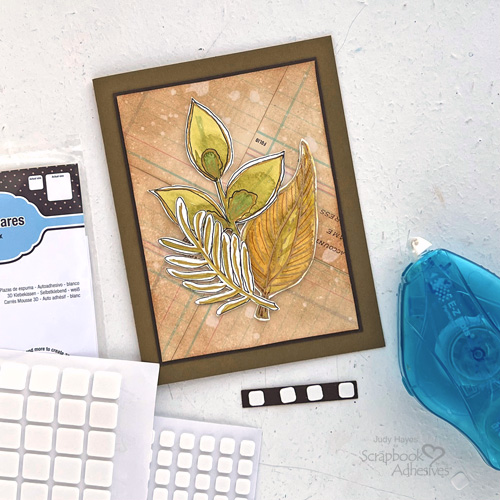
Place a regular 3D Foam Circles Black in the back of the flower and a small 3D Foam Circles Black in the flower’s center. Adhere the flower on top of the bow. Remove the small 3D Foam Circles Black liner and foil the circle.

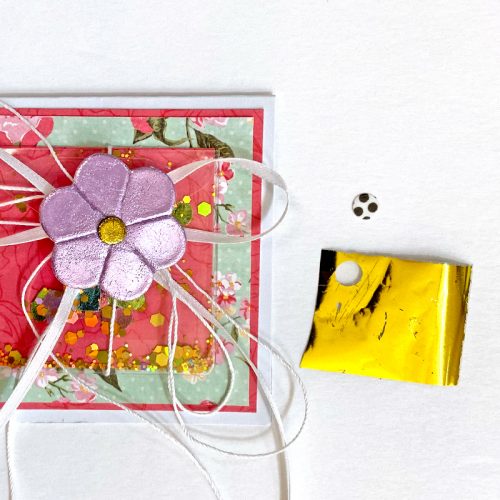
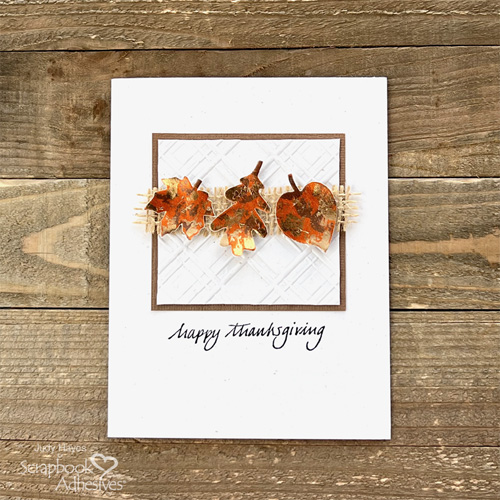
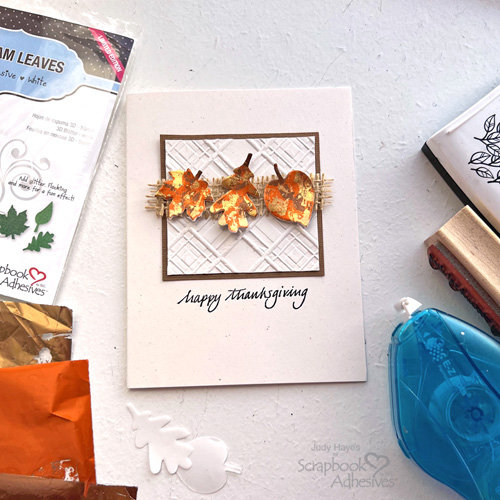
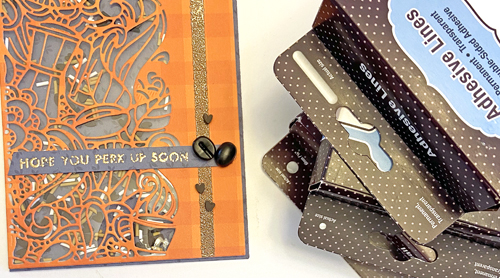
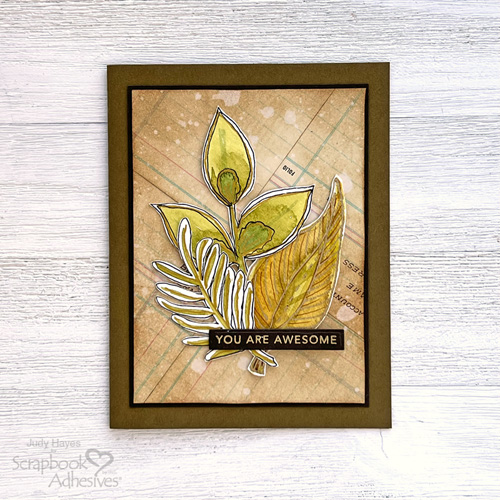
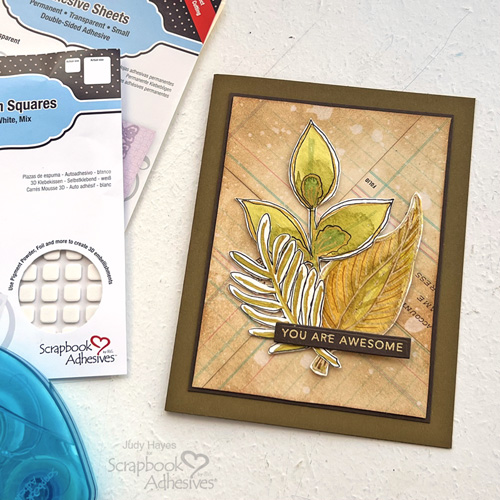
Stamp and cut the sentiment on white cardstock. Using Adhesive Dots Small, place it under the flower embellishment. Done! I hope you enjoyed the Mini Shaker Note Card project and it inspires you to create one too!
Creative Time: 20 minutes
Skill Level: Intermediate
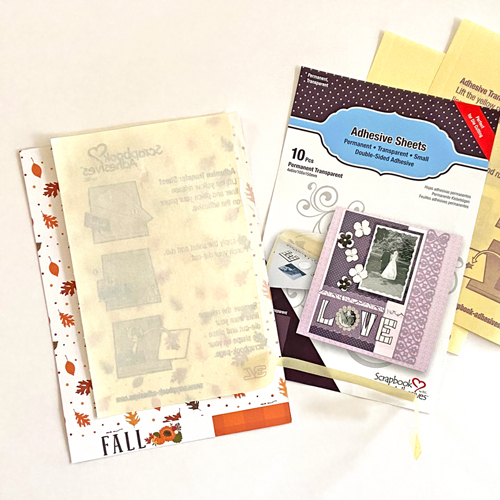
Materials Needed:
Scrapbook Adhesives by 3L®
E-Z Squares® Refillable Dispenser
E-Z Runner® Hearts Refillable Dispenser
3D Foam Creative Sheets Small White
Metallic Transfer Foil Sheets Pastel Colors
Other:
PhotoPlay Paper: Pretty Peonies Patterned Paper (Bella Fleur Collection); Spellbinders Paper Arts: Cinch and Go Poinsettia Die; Taylored Expression: Group Text – Occasions Stamp & Group Text Die Set; Hero Arts: INTENS-ified Black Ink; Scoring Board + Tool; White Cardstock; White Twine; Narrow Ribbon in White; Shaker Mix; Non-Stick Craft Mat; Tweezers
Click Preferred Retailers List
Save to Pinterest!
Visit our Website and Blog!
Sign up for our Newsletter so you never miss a contest or giveaway!