Making your own luminary is easy with SCRAPBOOK ADHESIVES BY 3L™ and some wax paper from your kitchen pantry. In order to make this luminary, I adapted what is known as a 2-5-7-10 box. If you search the internet, you are sure to find directions to making a 2-5-7-10 box. For this project, I will explain what I did to adapt it so that you can make your own!
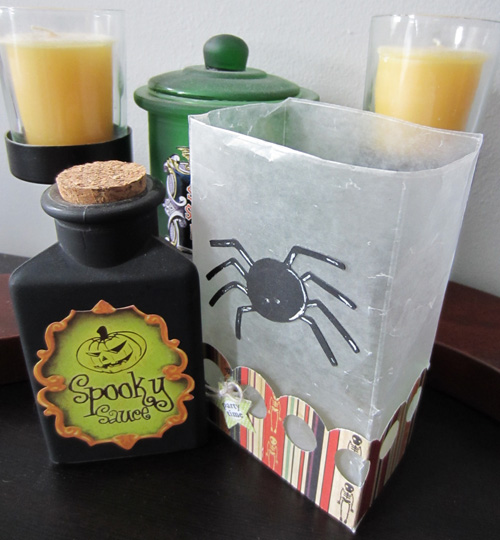
I started by cutting a piece of wax paper to 8 ½ x 11. Place the paper in landscape orientation, and from the left to right, score at 2”, 5”, 7” and 10”. Turn the paper vertically, and then score at 2” and 7”. Then, cut as noted in the photo:
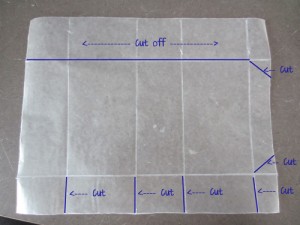
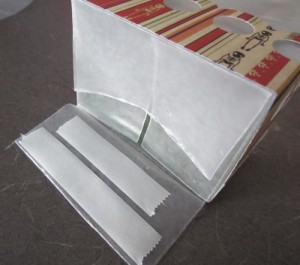
You should be left with something that looks like this:
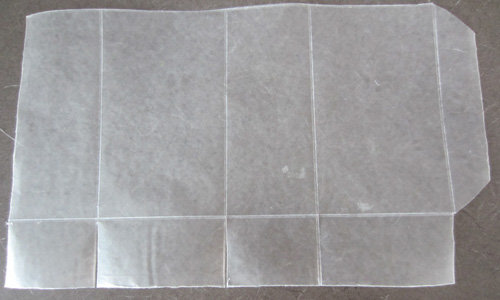
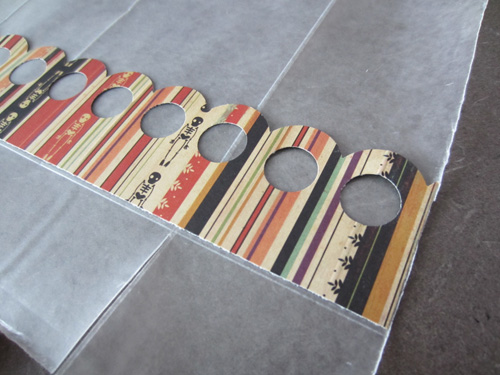
Next, I applied Crafty Power Tape to a strip that I had border punched. I adhered this to what will be the bottom of the bag. This will provide a little extra stability and help the bag to retain its shape.
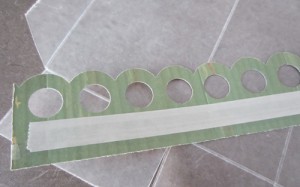
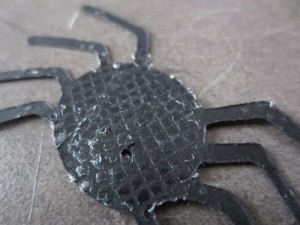
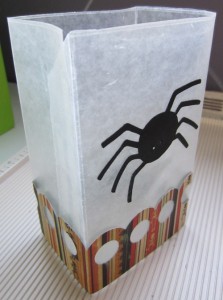
Then, before I assembled the box, I adhered the little spider decoration. I used the E-Z DOTS® Permanent to easily apply little dots of adhesive to those tiny delicate legs!
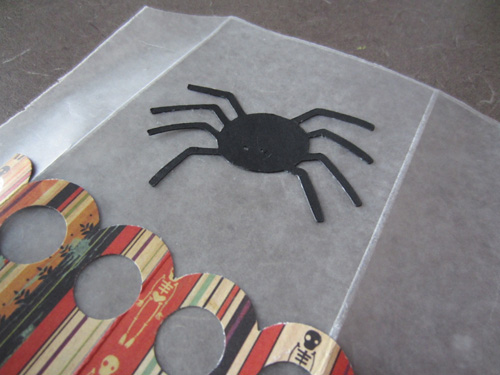
I folded up the box and adhered the flap with more Crafty Power Tape.
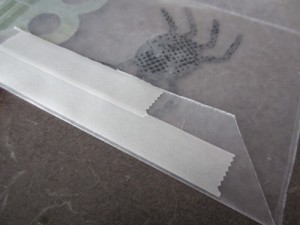
The last step is to close up the bottom flaps (yup, you guessed it! More Crafty Power Tape!!)
Once it is assembled it looks like this 🙂
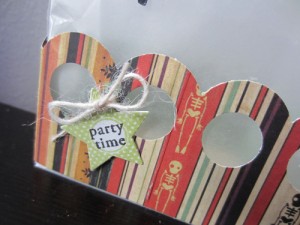
The final step is to add a little tag to announce it is officially, PARTY TIME! Just slip a battery-operated tea light inside the luminary, turn it on, and you are good to go!!!
Happy Halloween Everyone!!
-Kristen Cohen
SUPPLIES
SCRAPBOOK ADHESIVES BY 3L: E-Z DOTS Permanent, Crafty Power Tape
Visit our Website and Blog!
Sign up for our Newsletter so you never miss a contest or giveaway!






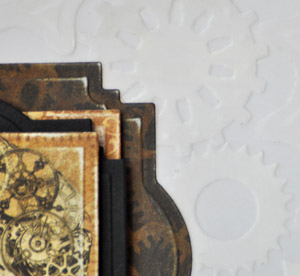
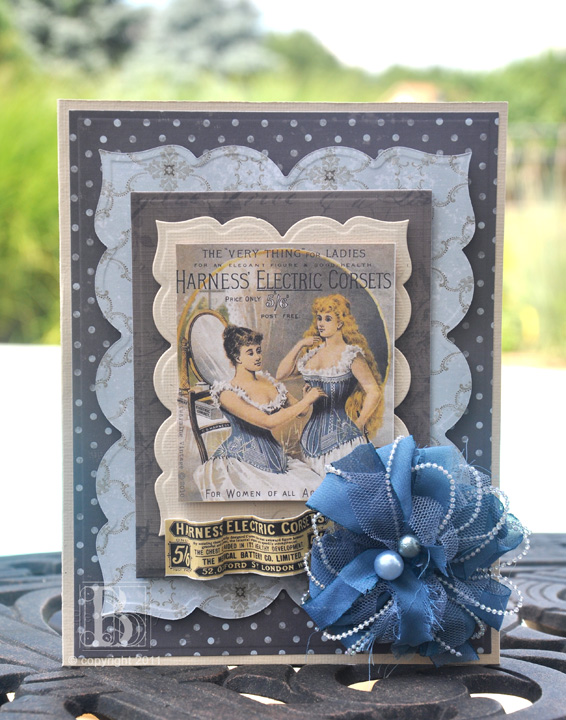
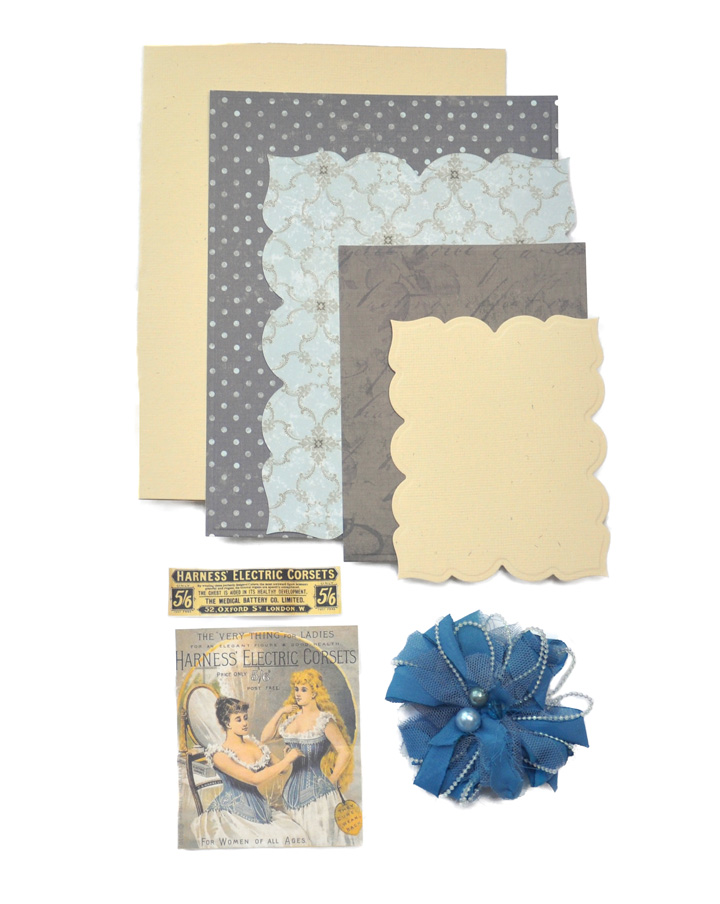
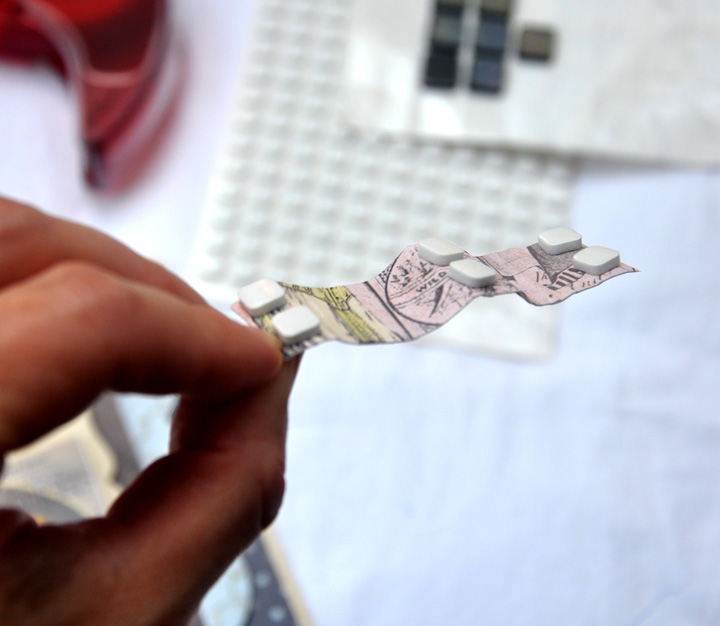
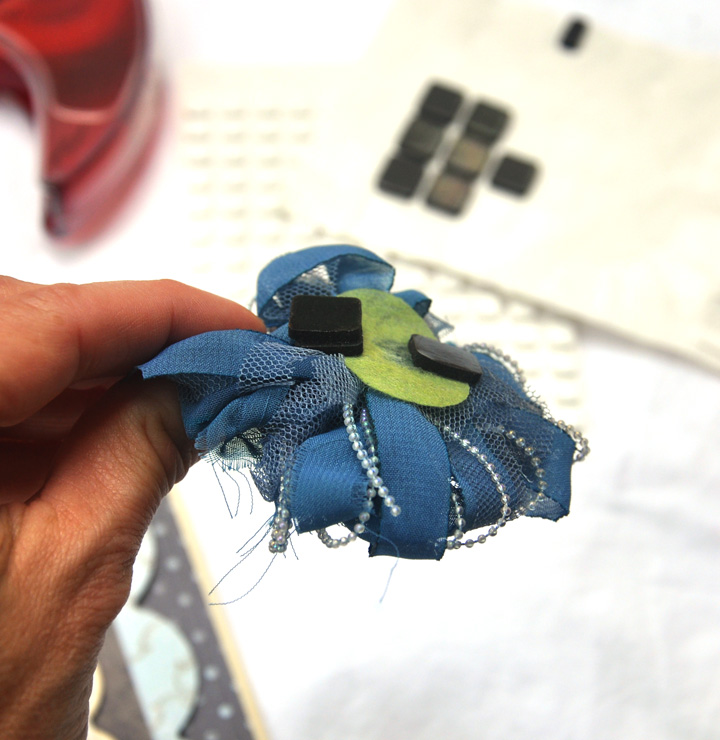
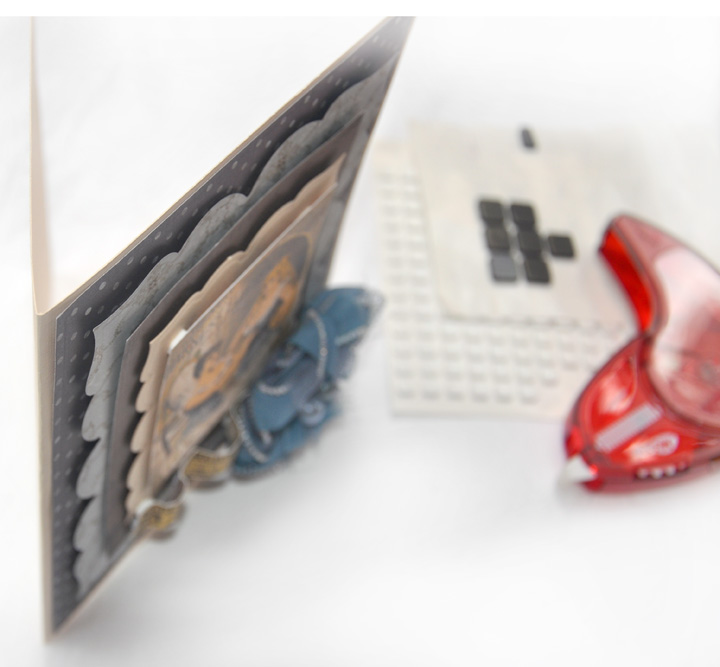
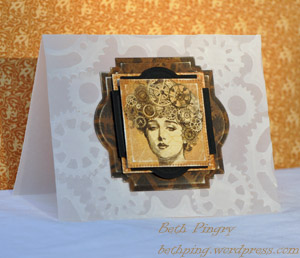 I die cut the focal point image, then stacked it onto layers of die cuts, with black cardstock and then coordinating Steampunk Debutante papers. Each layer is adhered with Crafty Foam Tape. The Crafty Foam Tape adds dimension, and allows me to cut the tape to the exact size I need.


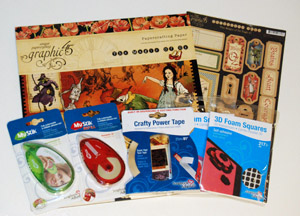
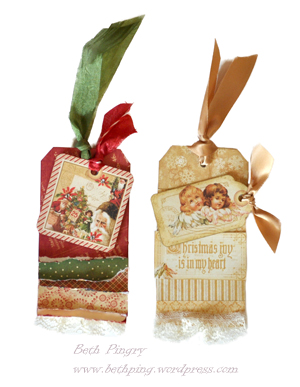
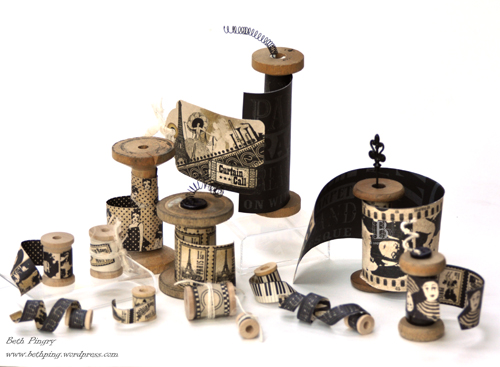 I love (sigh) the Curtain Call papers (and well, all of the papers) from Graphic 45. The patterns lend themselves to so many different projects, with a nice mix of patterns and images in many sizes.
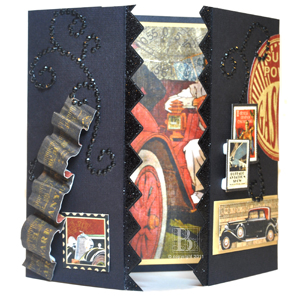
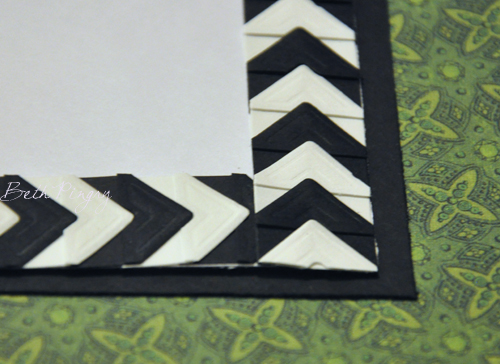
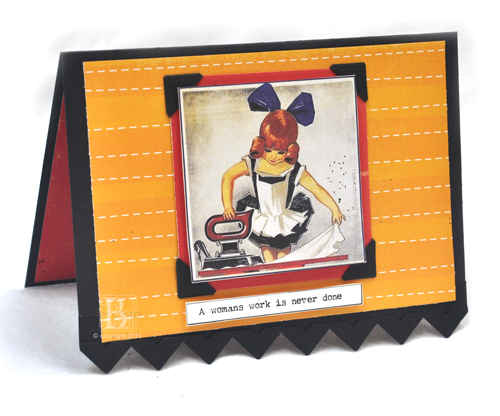
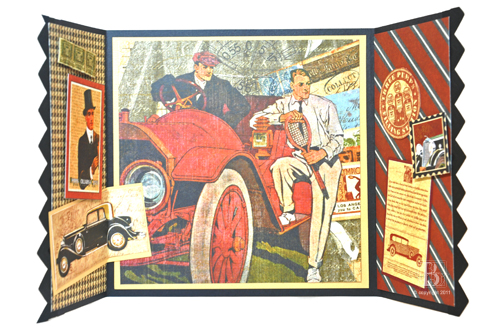 Most significantly, the Photo Corners align at the center when the card closes.
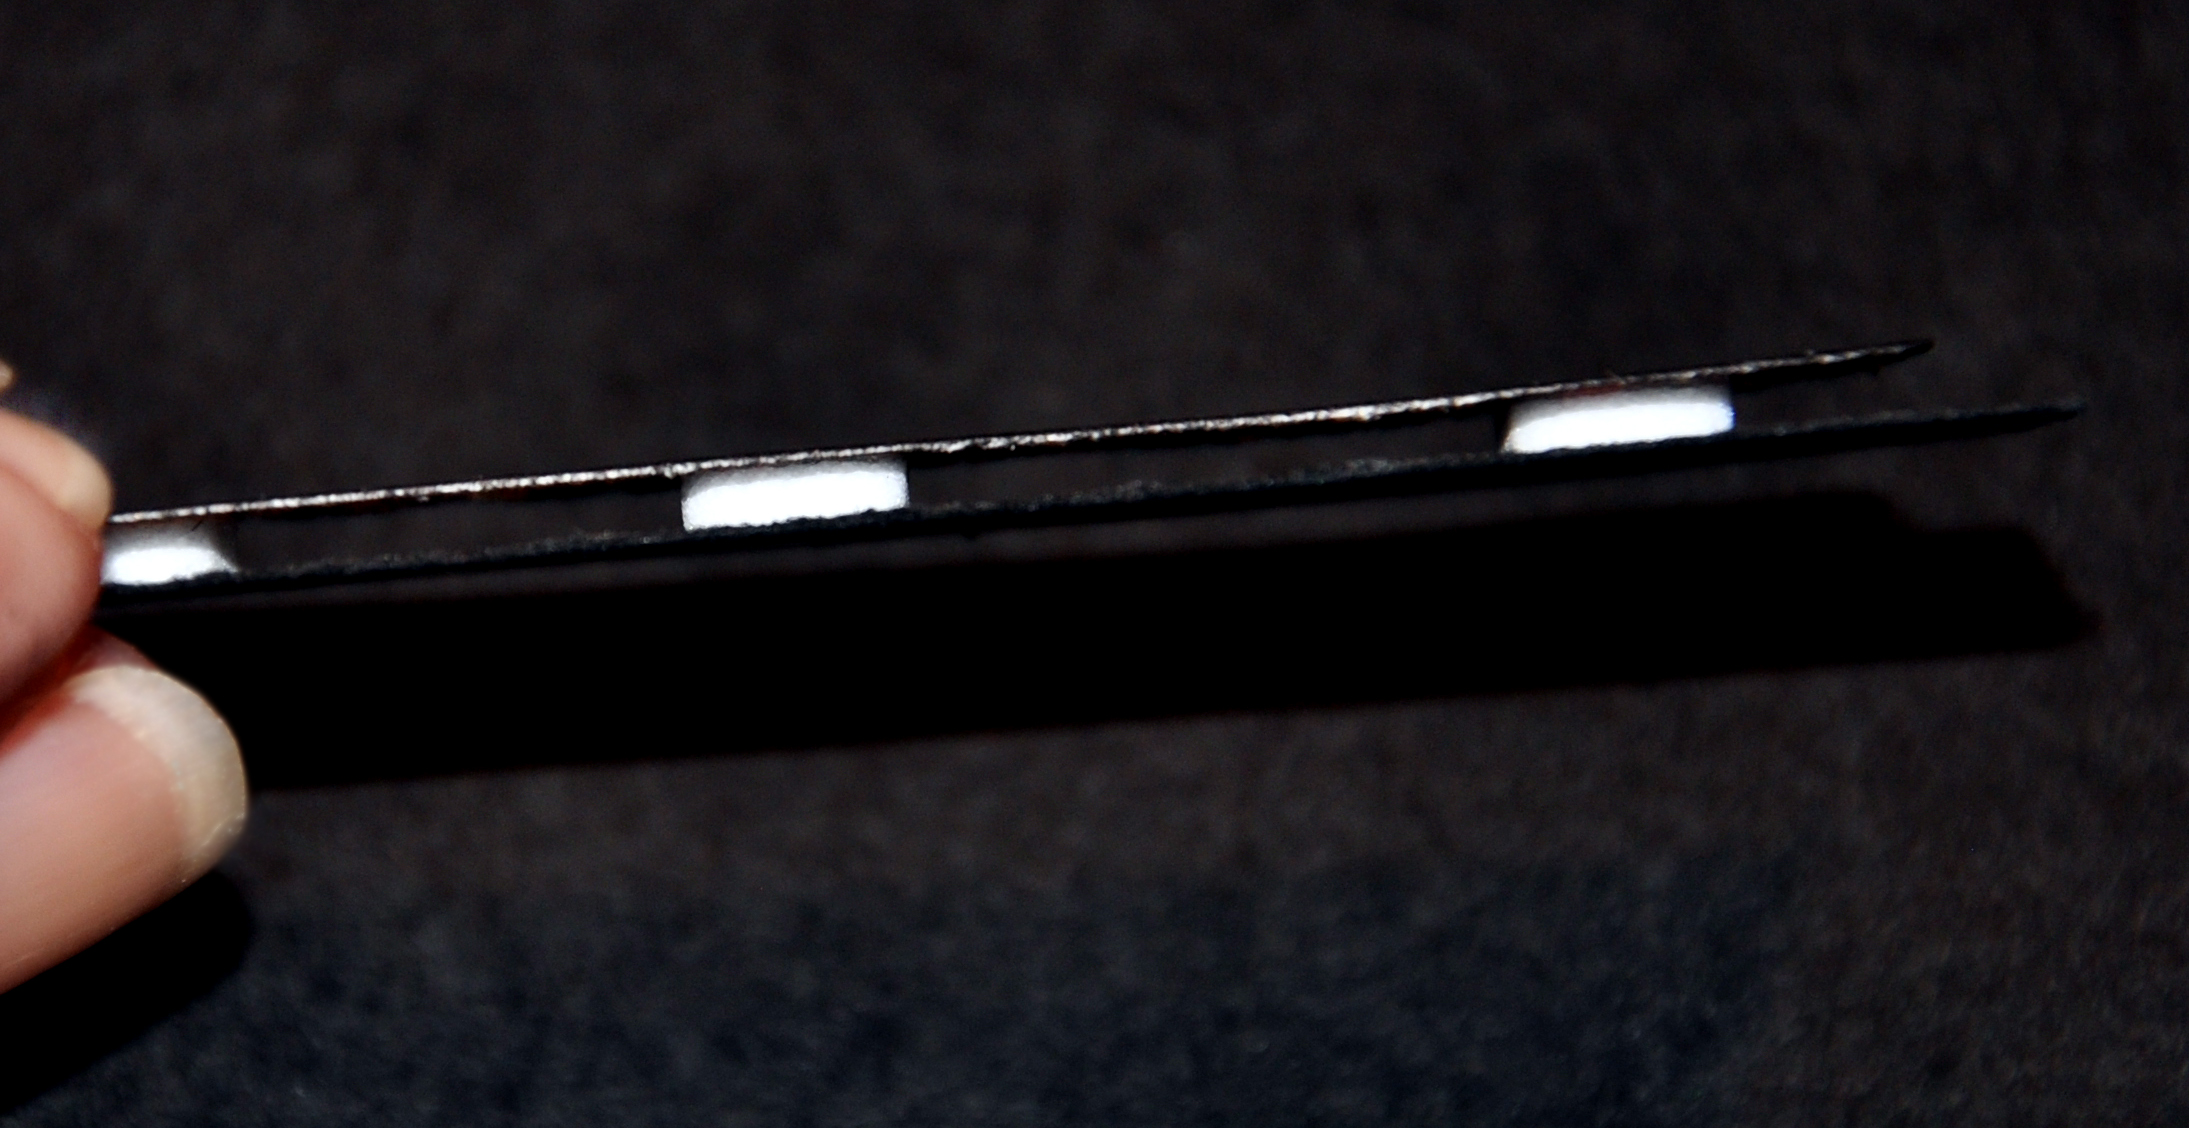
 The Photo Corners were positioned so that the adhesive ‘back’ sides were facing up, and the ‘tab’ part is adhered to the inside flap, then covered with the patterned paper.
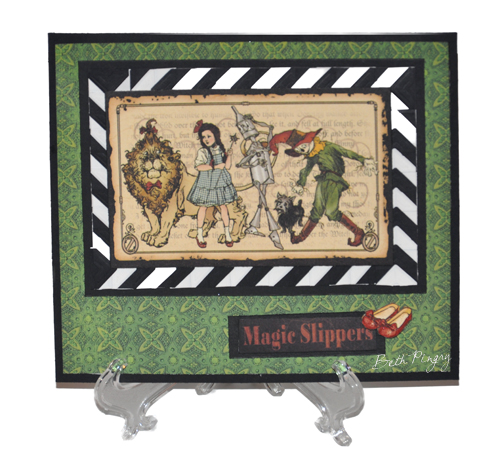
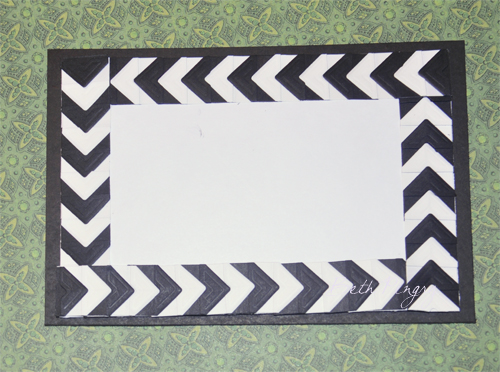
 I cut out the image from the patterned paper pack and then cut out a mat about ½-inch wider and longer than the frame.
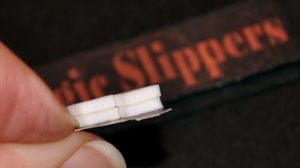
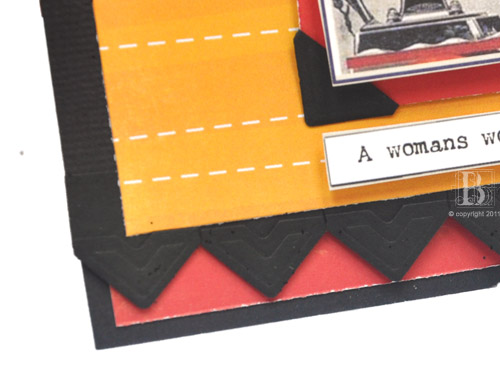 The thing with Photo Corners is that they have adhesive on the back side of them. If you used them the normal way, they stick to paper. Since I didn’t want my card stuck shut, I had to figure out a way to use the adhesive to my advantage.
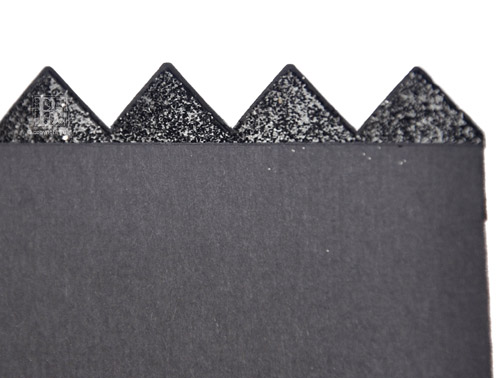
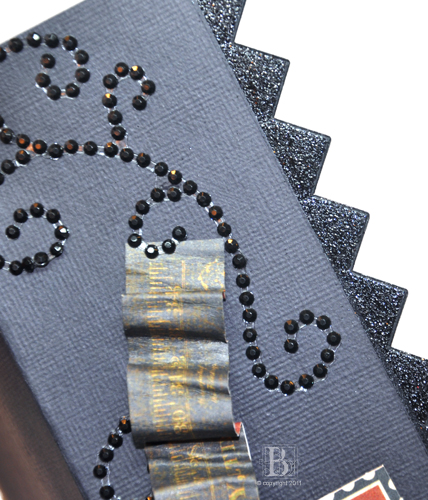
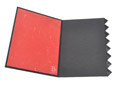 So that when the card is closed, you can really see the fun edge the Photo Corners make when lined up next to each other!
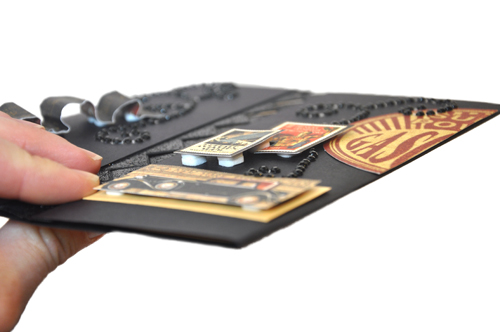
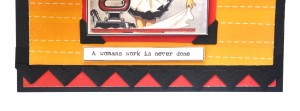 And when the card stands open, it stands on the points of the Photo Corners! You can appreciate the embossed design on the front of of the Corners too!