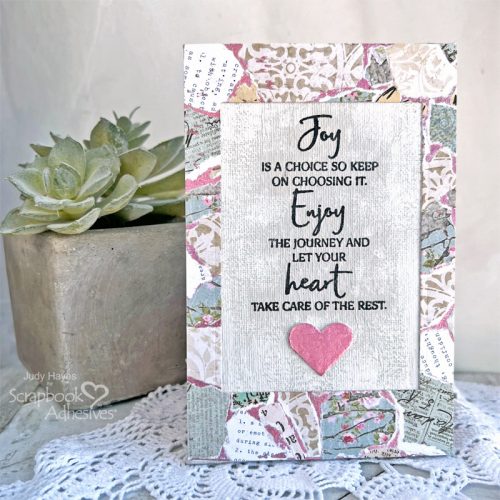
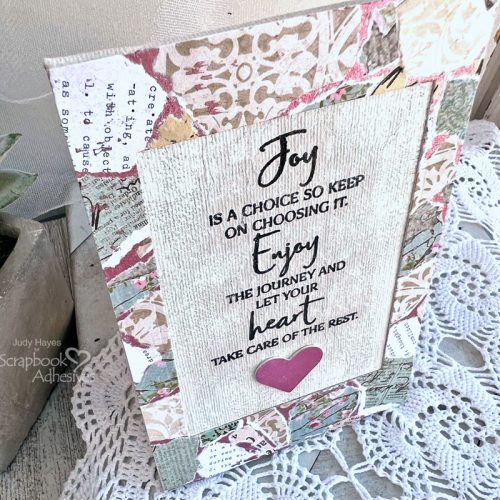
Happy (i)National Scrapbook Weekend, I am kicking off iNSD with a good grid design on a scrapbook page! Today, I am showcasing this Sending Love Grid Layout featuring the smallest clear envelope from the Keepsake Envelopes pack.
If you are looking for the Scrapbook and Cards Today Noteworthy Adhesive Giveaway, read all the way to the end on how to enter so you can re-create your own grid design! The contest ends Wednesday, May 10th, 2023 at Midnight Eastern.
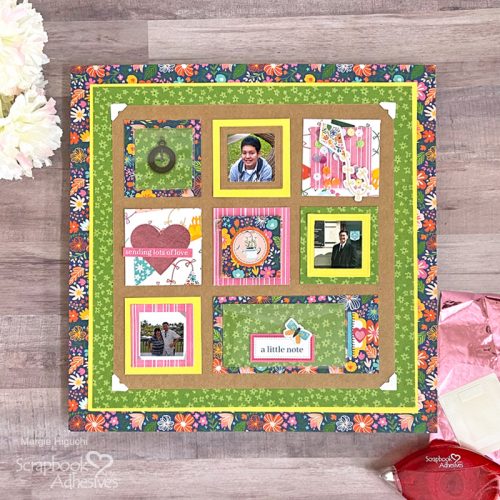
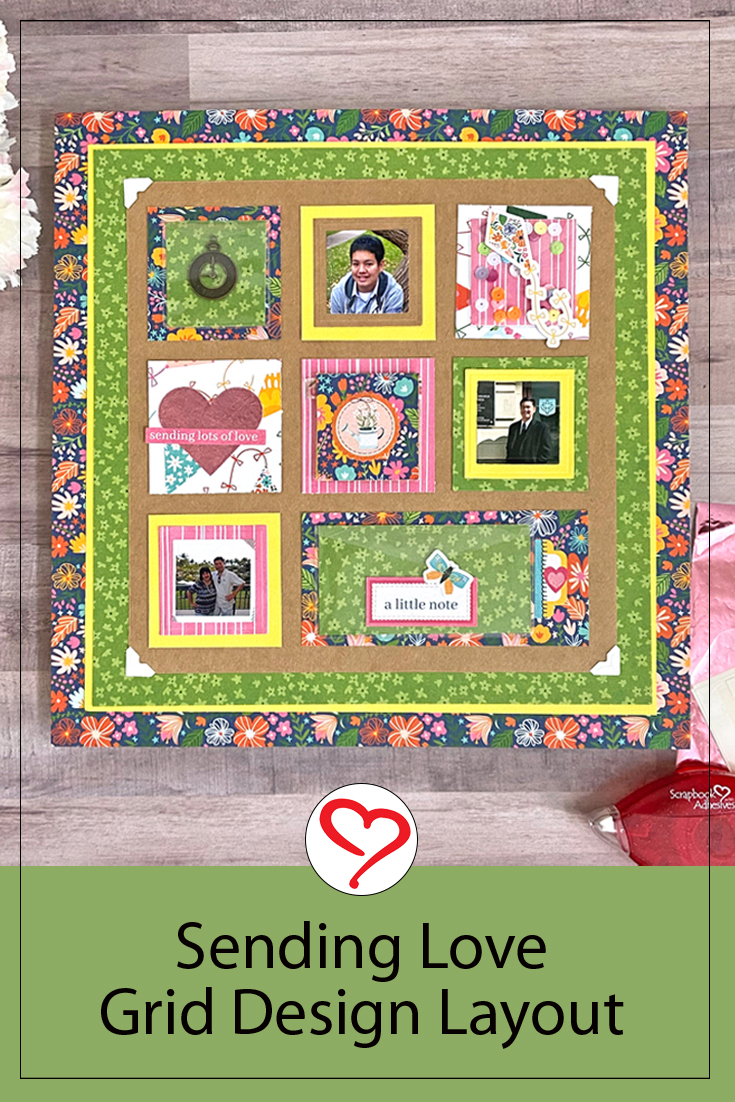
Love Grid Layers
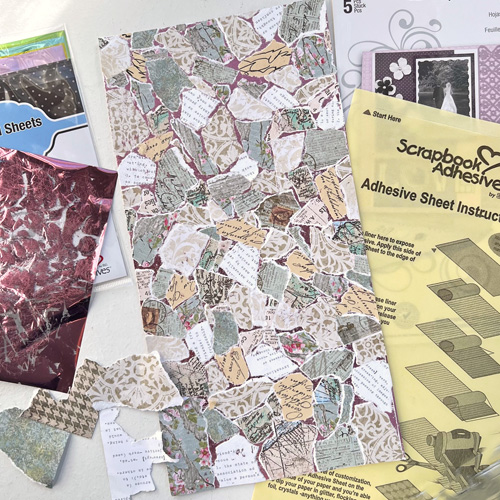
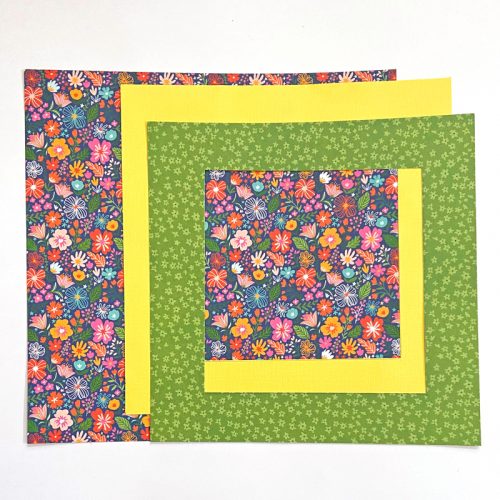
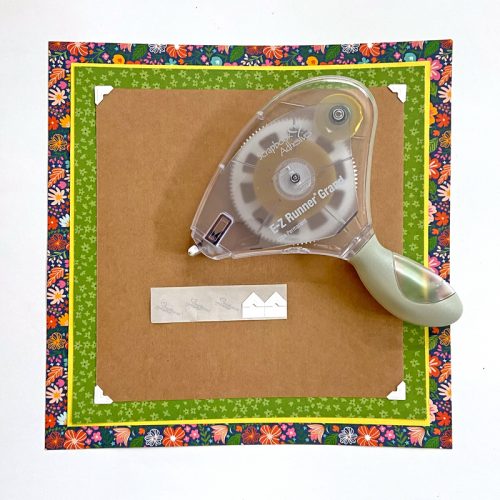
To create the background, I used 12 x 12-inch floral patterned paper. The second layer is a piece of 11 x 11-inch square yellow cardstock and the third layer is a piece of 10.5 x 10.5-inch square green patterned paper.
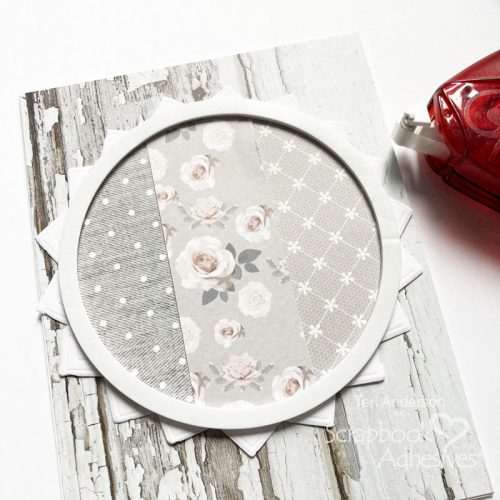
Designer Tip: cut the middle of the yellow and green patterned papers. This not only alleviates the bulk but they can be used as frames on the layout. Perfect in tying all the elements together.
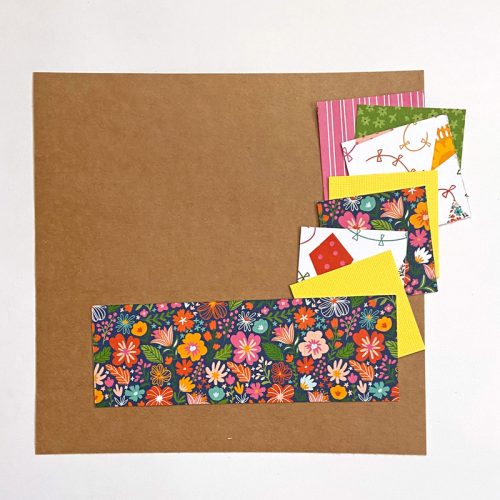
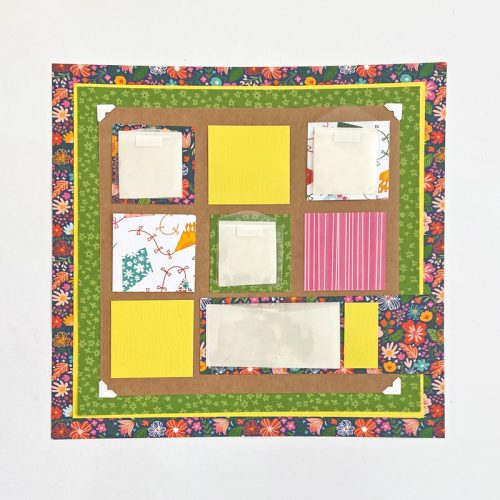
For the top layer and foundation for the layout, trim a piece of 10 x 10-inch square Kraft cardstock. Next, cut a combination of 2.5 x 2.5-inch squares from the leftover patterned papers and cardstock pieces – maybe add in another sheet of patterned paper to make a total of seven square mats.
Cut the bottom right corner mat to 5.5 x 2.5 inches. It will outline the rectangular Keepsake Envelope and hold a note/journaling. This was cut after I figured out my page design…didn’t want to waste the piece if I mismeasured! LOL!
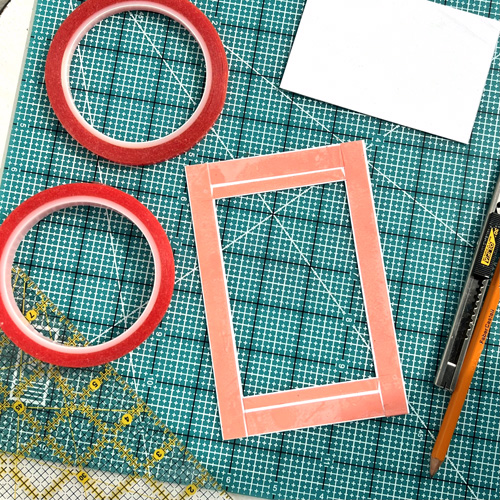
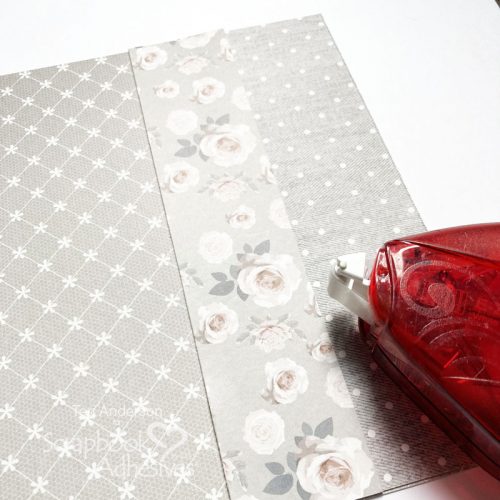
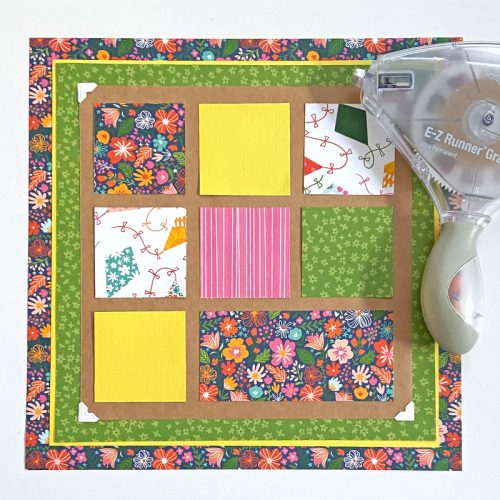
Adhere the layers with the E-Z Runner® Grand Ultra Strong Refillable Dispenser. On the corners of the top layer, I added a Creative Photo Corner in White before adhering the piece down.
Laying Out the Design
Now the fun part – designing! There are four 2 x 2-inch Keepsake Envelopes in the Keepsake Envelopes Mix pack so why not use most of it?! That was my inspiration for creating this page. Layout out the squares and determine where to place the envelopes. BTW, I cut the liner off from the smaller envelope as they come in two on one sheet so ignore the wonky cut. LOL!
Commit to the design by adhering the squares with the E-Z Runner® Grand Ultra Strong Refillable Dispenser. This is where I cut that rectangular mat. 🙂
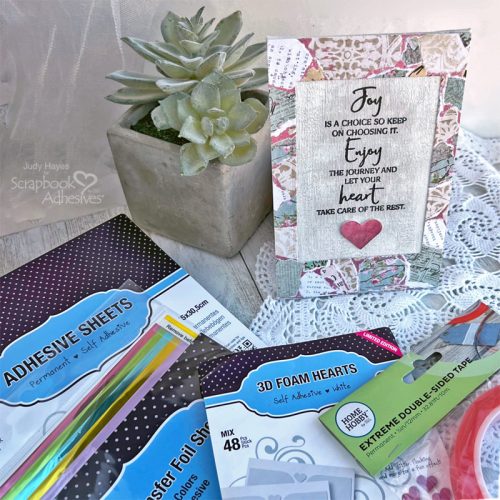
Add in photos and a charm with an Adhesive Dot Large. Make a shaker (upper right corner) by adding sequins, closing the flap, and sealing with a sticker. I’ve added the largest 3D Foam Heart from a pack of 3D Foam Hearts and a heart from the E-Z Runner® Hearts. Both were embellished with the pink foil from the Metallic Transfer Foil Sheets in Pastel. Simply place the foil color side UP and rub to transfer the color to the hearts. Peel off to reveal a shiny embellishment!
How to Use Keepsake Envelope Video
Are you unfamiliar with the Keepsake Envelope application? We have a quick video on that! See below – it’s really simple!
Make a Pocket
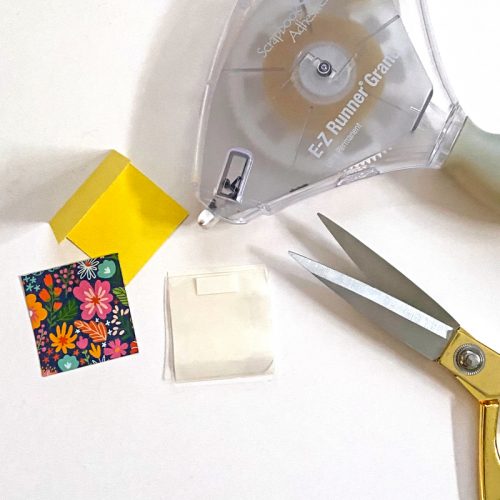
Since the others are straightforward on how to use them, I decided to alter one of them into a clear pocket. Cut a piece of 2 x 5-inch yellow cardstock and fold it in half to make a top fold 2 x 2.5-inch gift card. Adhere a piece of 2 x 2-inch floral patterned paper on the front of the card.
Next, cut off the flap of a 2 x 2-inch Keepsake Envelope, peel off the adhesive liner, and add a strip of washi tape across the top to cover it. Center on the center square of the layout and slip the card in. You can embellish the inside of the card with stickers or write a little something. Done!
Maybe this tutorial inspires you to create a grid scrapbook layout! I hope you enjoyed my Sending Love Grid scrapbook page. Tag us and show off your grid design!
Thanks for stopping by!
Margie Higuchi
Creative Time: 40 minutes
Skill Level: Intermediate
Materials Needed
Scrapbook Adhesives by 3L®:
Keepsake Envelopes Mix
E-Z Runner® Grand Ultra Strong Refillable Dispenser
Creative Photo Corners in White
E-Z Runner® Hearts
3D Foam Hearts
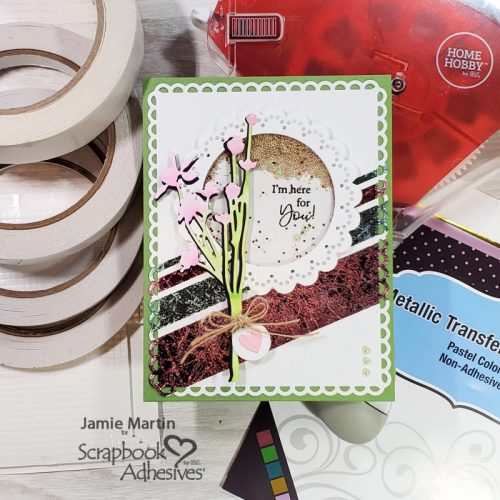
Metallic Transfer Foil Sheets in Pastel
Adhesive Dots Large
Other: Patterned Papers + Stickers: PhotoPlay Paper Co. (Oh, What a Beautiful Day Collection); Metal Charm; Washi Tape; Kraft and Yellow Cardstock; Crease Tool; Scissors; Paper Trimmer
Save to Pinterest!
Scrapbook and Cards Today Magazine Noteworthy Adhesive Giveaway
Enter to Win a Wonderful Array of Adhesives for your Paper Crafting Project! But HURRY! The contest ends Wednesday, May 10th, 2023 at Midnight Eastern. Simply Click SCT Noteworthy Adhesive Giveaway! Good Luck!

Visit our Website and Blog!
Sign up for our Newsletter so you never miss a contest or giveaway!