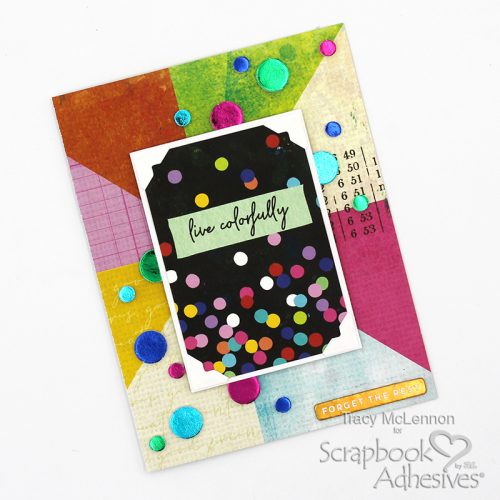
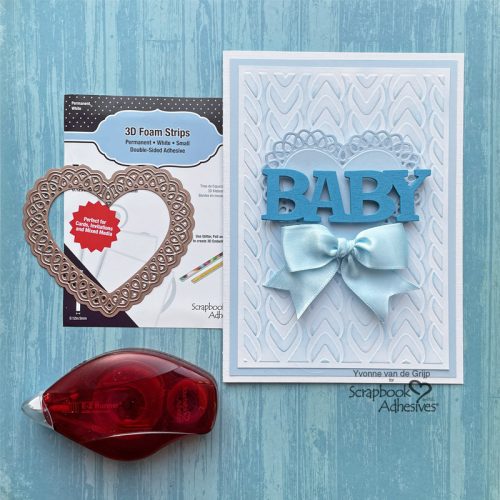
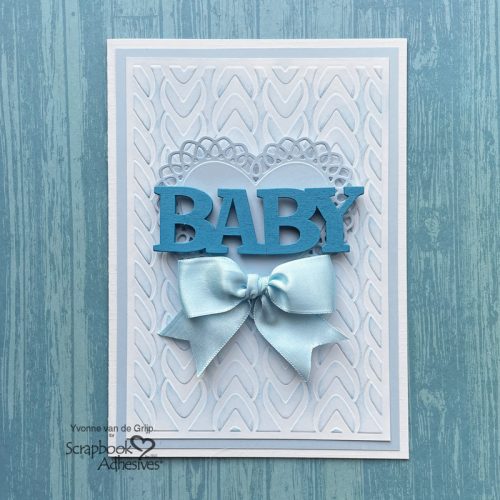
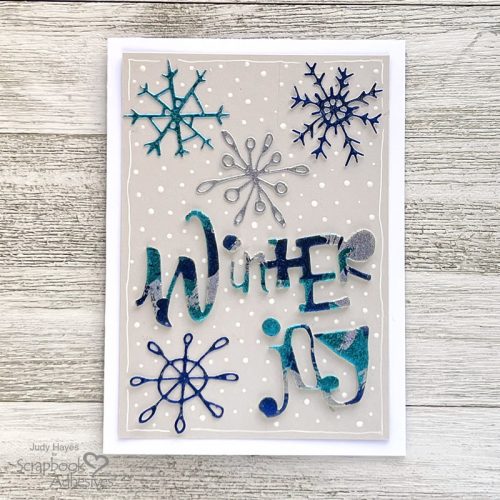
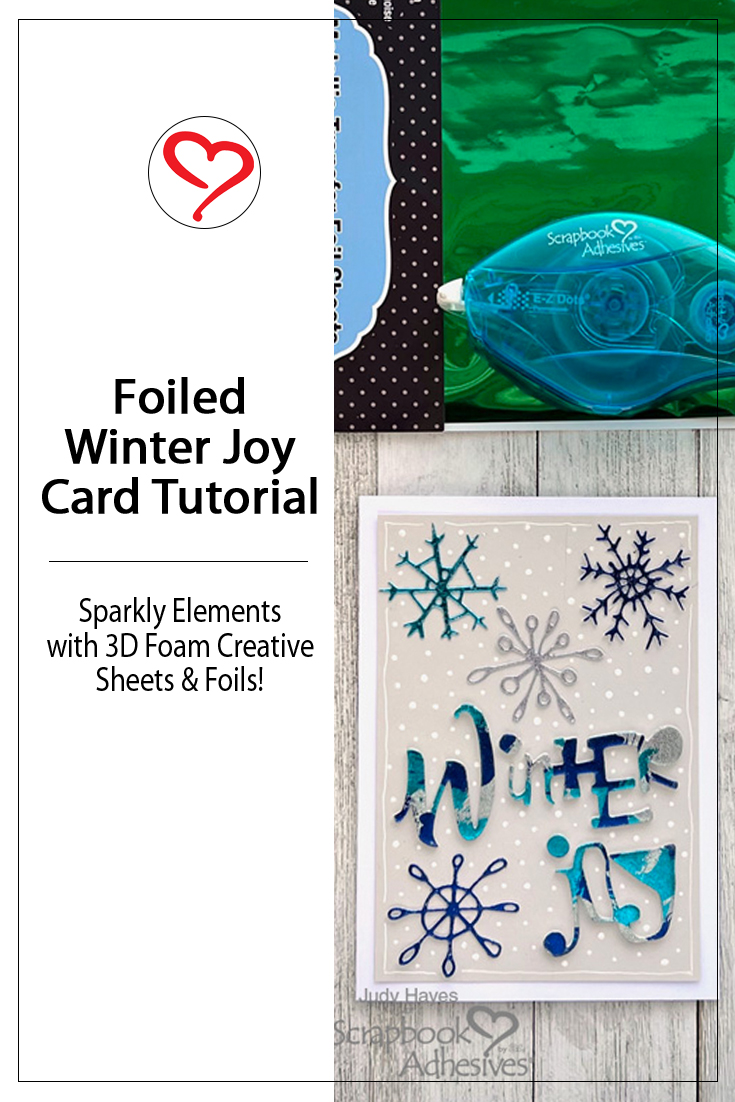
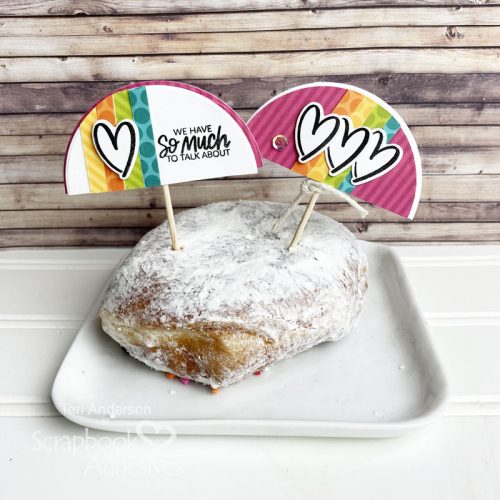
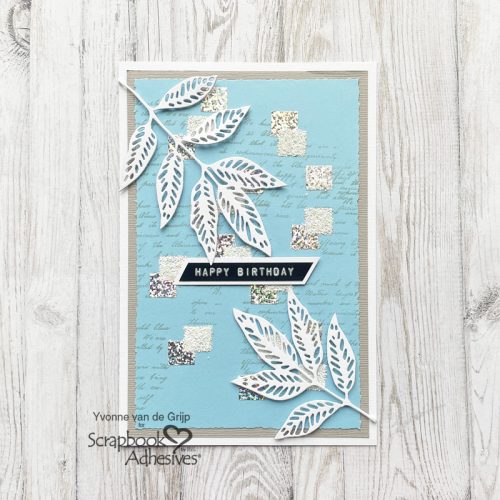
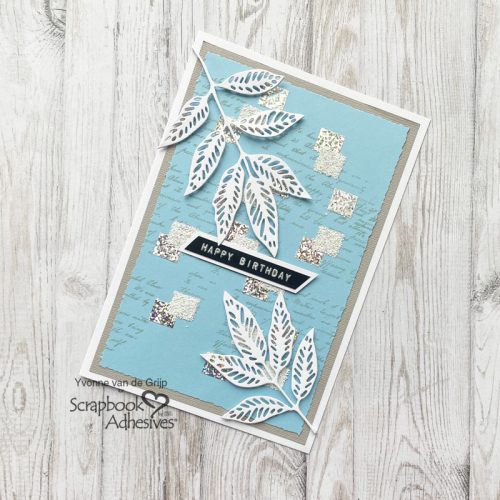
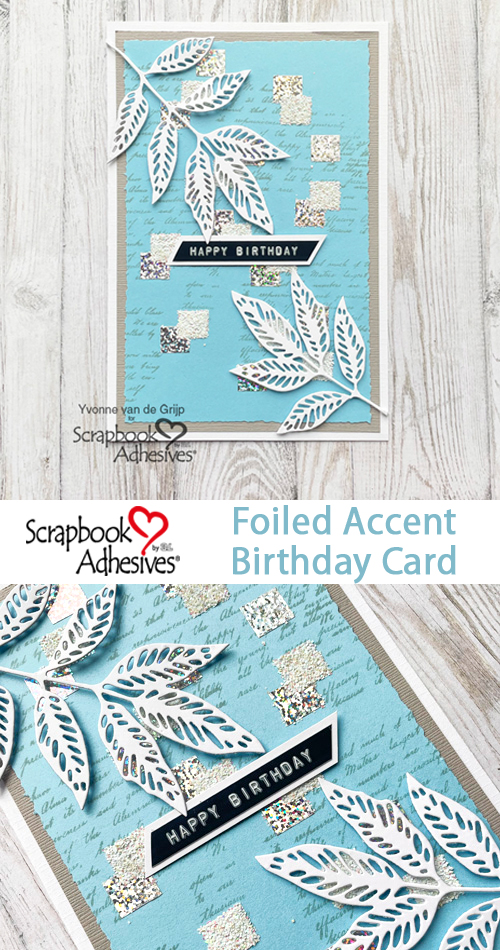
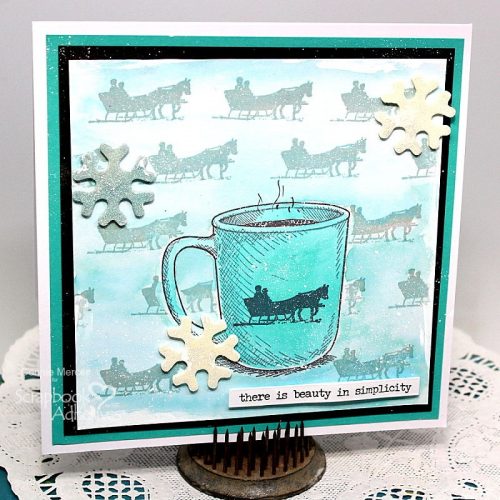
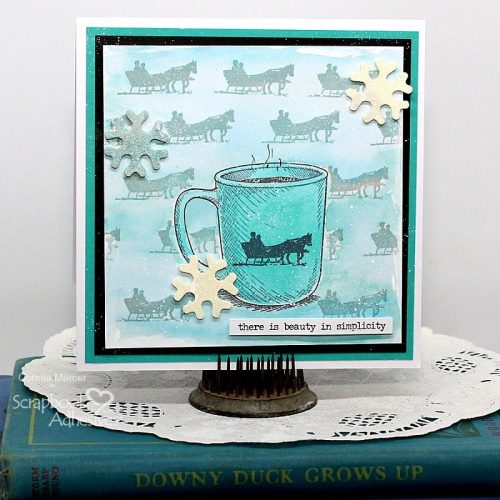
Hello crafty friends! It’s winter and snow season where I live. In honor of the season, here’s a card with shiny foiled snowflakes in nontraditional pretty colors. Check out the words “Winter Joy” that have dimension and a mix of foil colors! Keep reading to learn how to make it.
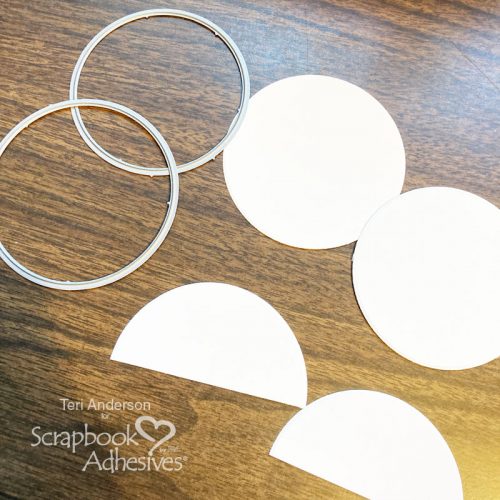
Cut Cardstock
Cut white cardstock 9 x 6.25 inches and fold to form a 4.5 x 6.25 inches card. From Fig Swirl cardstock, cut a piece 4 x 5.75 inches. Also, cut approximate 4 x 6 inches white cardstock for snowflakes
Prep + Foil Snowflakes
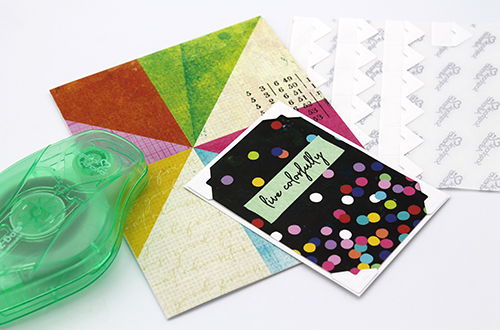
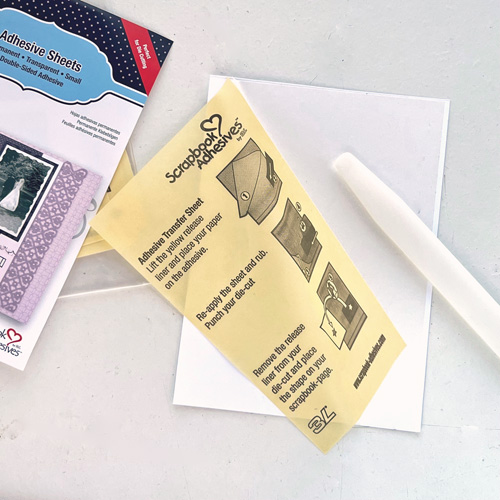
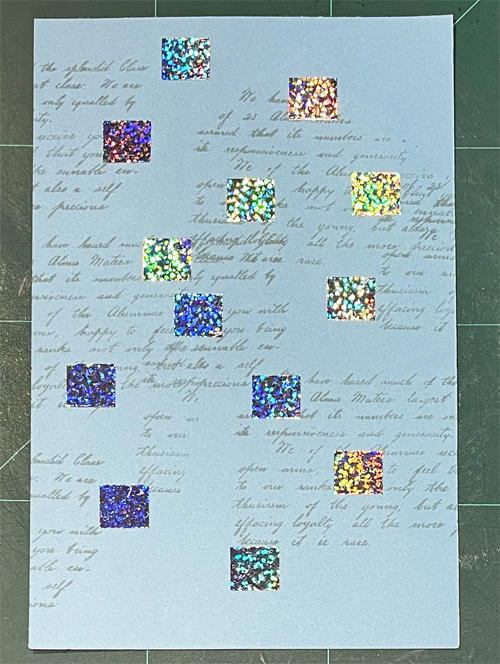
Apply Adhesive Sheets 4×6 inch to both sides of a 4 x 6 inches white cardstock and rub well with fingers or bone folder to secure adhesive. Cut into approximately 2 x 2 inches pieces to fit snowflake dies.
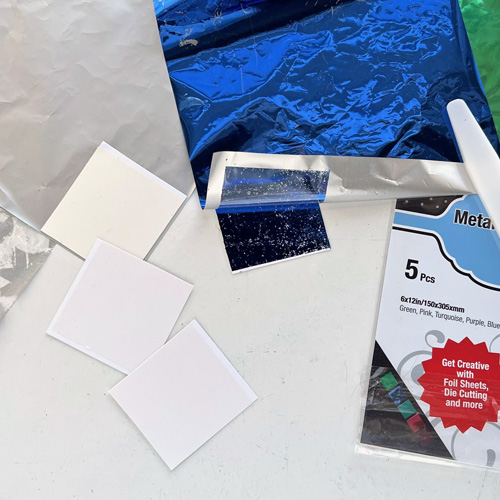
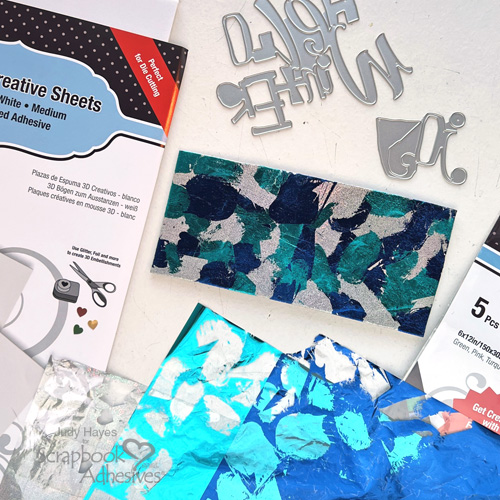
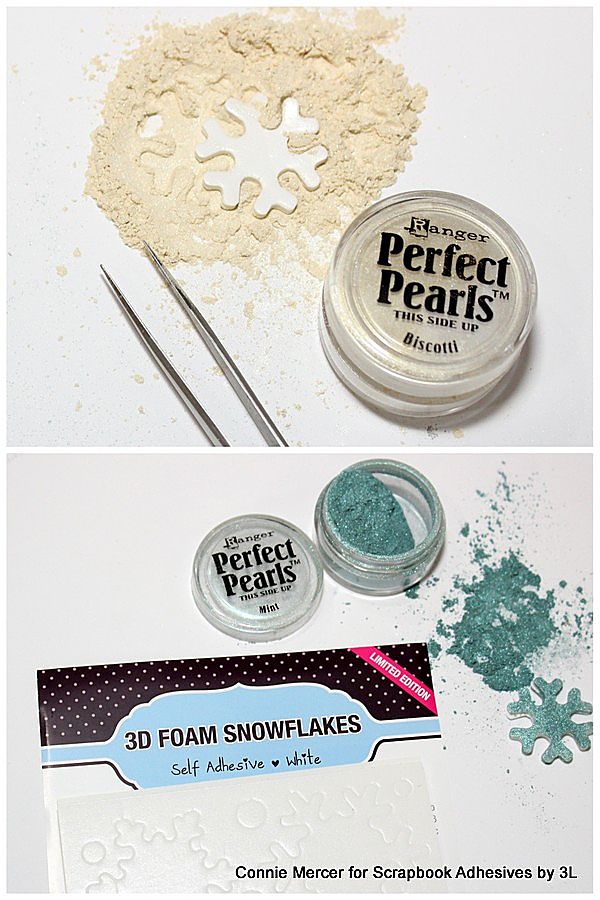
Remove the liner from one side of the cardstock square, place the adhesive side down on the backside (the dull side) of the blue foil from the Metallic Transfer Foil Sheets Variety Colors. Flip it over to the color side, rub well with a fingertip to transfer the color, and peel the foil off. Repeat to make another blue piece for a total of two and one square with turquoise foil from the same foil set. Make one from a silver fine glitter patterned foil from the Metallic Transfer Foil Sheets Holographic Colors.
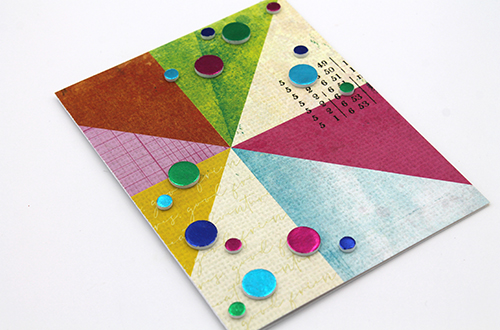
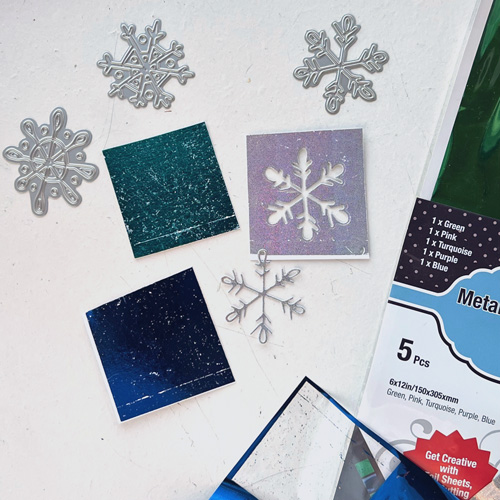
From each foil-covered piece of cardstock, die-cut four different snowflakes by placing snowflake die on the foil side. Carefully remove snowflakes from the dies and remove any inner pieces.
Fun + Crazy Foiled Sentiments
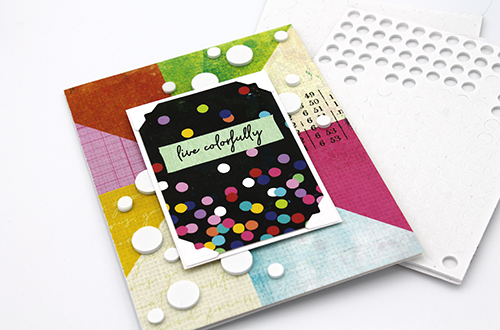
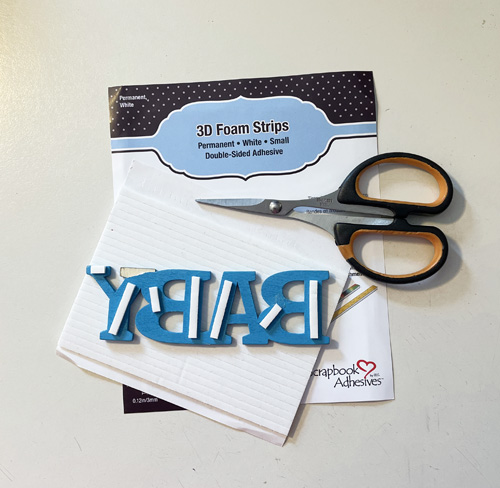
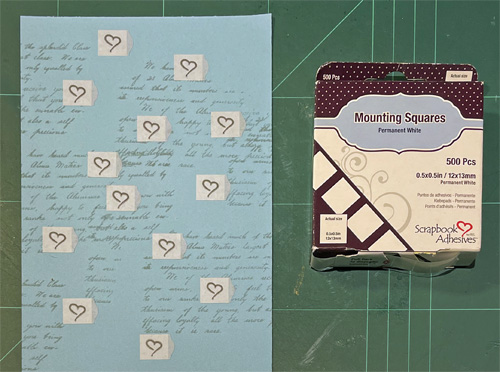
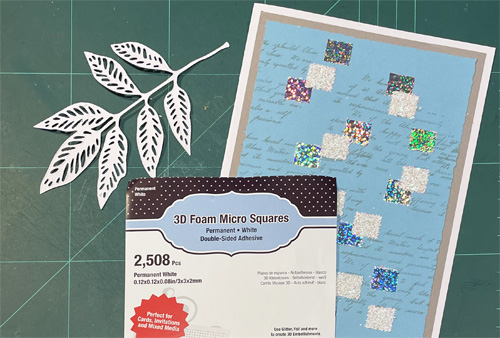
Cut a piece of 3D Foam Creative Sheets Medium White approximately 2.5 x 6 inches.
Peel back the top liner about 2 inches and press blue foil (color side up) with your finger tip randomly in 2-3 spots. Repeat with the turquoise and silver foils. Continue to peel the liner further and randomly apply foil until the entire 3D Foam Creative Sheet is covered. If needed, reapply foil on any missed areas.
Die-Cut Words
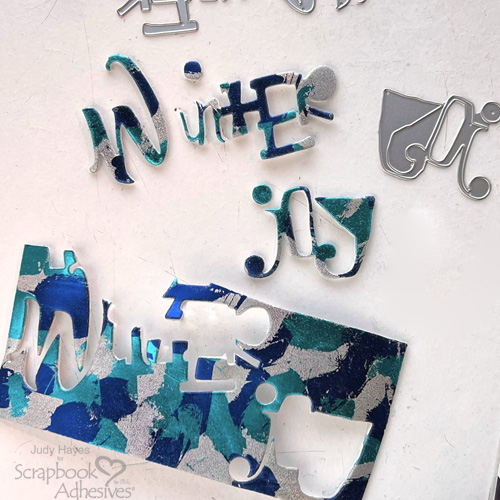
Place the “Hello Winter” die on the foil-covered side of the 3D Foam Creative Sheet, making sure the “Hello” part of the die is extending off the edge. Next, place the “Joy” die on the foam. Run through die cutting machine 2-3 times to ensure a clean cut.
Carefully remove excess foam from around each word while keeping the word in the die. Then remove the word from the die. Trim off parts of the “Hello” word from the “Winter” piece.
Assemble the Card
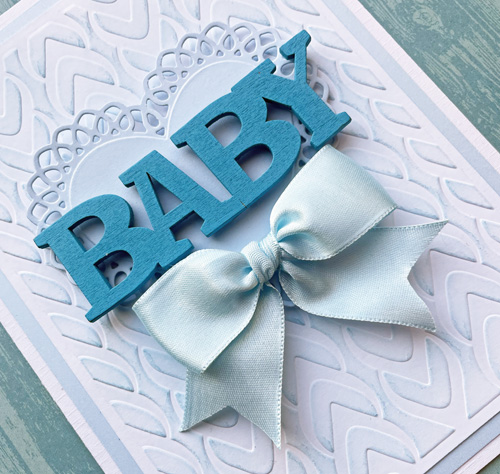
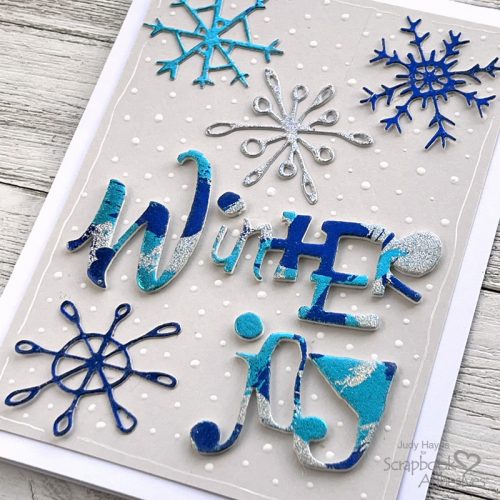
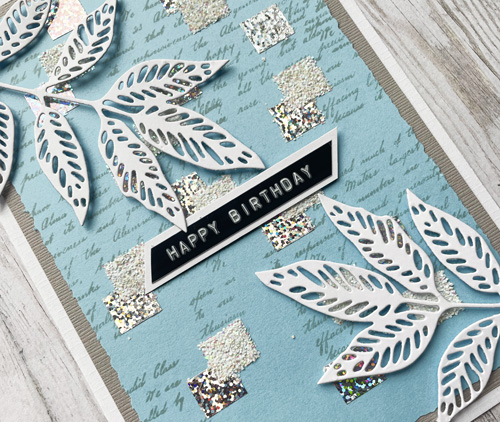
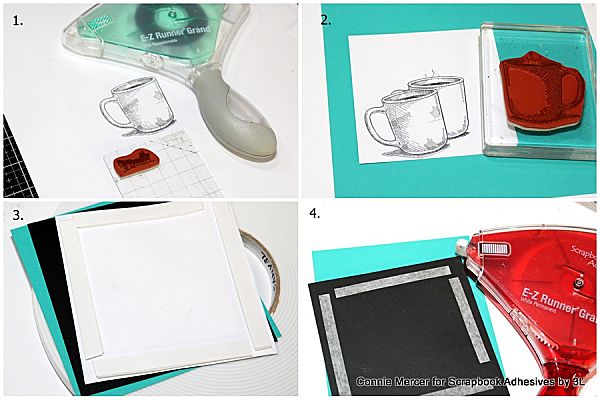
Apply E-Z Dots® Permanent Refillable Dispenser to the back of the Fig Swirl paper and fasten to white card. Arrange snowflakes and words on the card.
First, partially peel the liner from the “Joy” word and lightly place on the card. Then continue to peel the liner to adhere it completely. Next, peel the liner from the dot and place it above the “j”. Repeat process for the word “Winter.”
Lastly, peel the liner from the back of a snowflake and add one Adhesive Dots Micro to the center back of the snowflake. Then place the snowflake on the card, and press it firmly in place. Repeat with the rest of the snowflakes.
Outline and Dot Accents
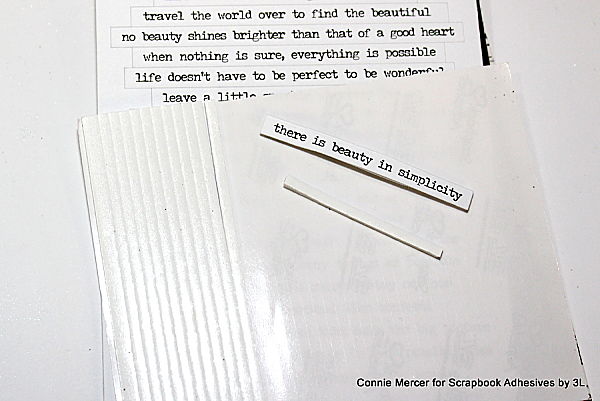
Use Uni-ball Signo white pen to draw a line along the outer edge of the snowflake panel. Randomly add dots with Neon Amplify! white. Allow it to dry. That’s it!
Thanks for Visiting!
Judy Hayes
Creative Time: 30 Minutes
Skill Level: Intermediate
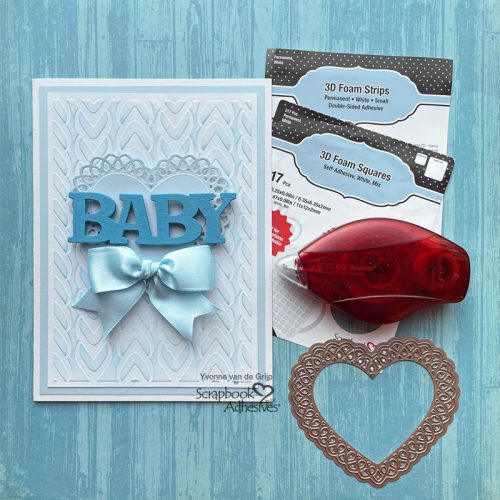
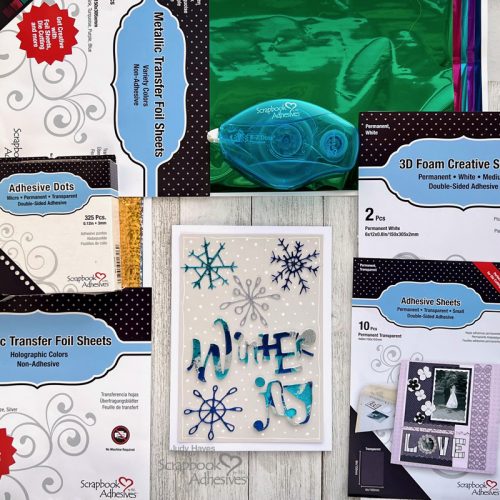
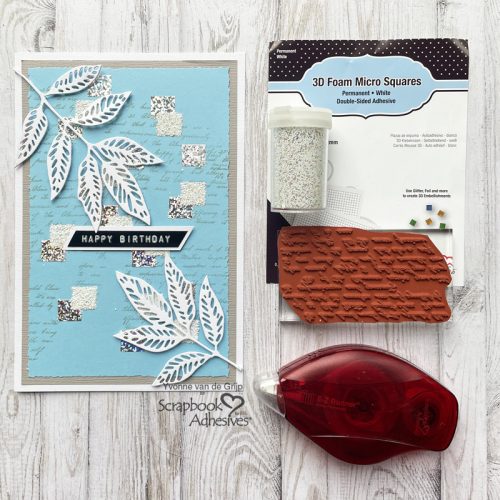
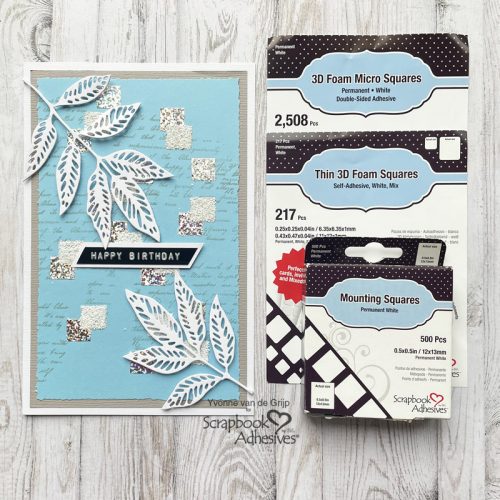
Materials Needed
Scrapbook Adhesives by 3L®
Other: Bazzill Basics Paper (Fig Swirl); Sizzix Tim Holtz Dies (Scribble Snowflakes, Festive Words); Tsukineko (Neon Amplify! White); Uni-ball Signo Pen (White); White Cardstock
Save to Pinterest!
Visit our Website and Blog!
Sign up for our Newsletter so you never miss a contest or giveaway!