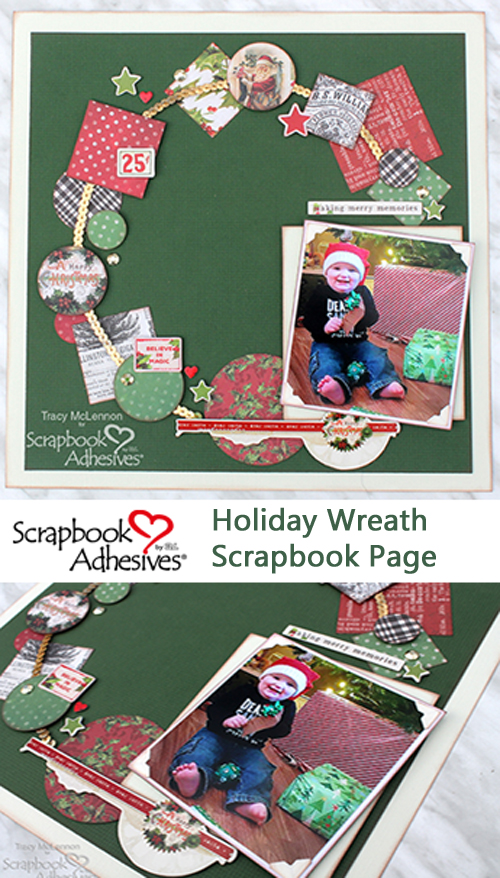
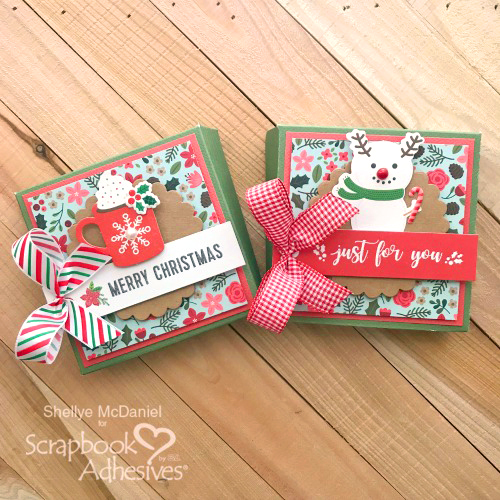
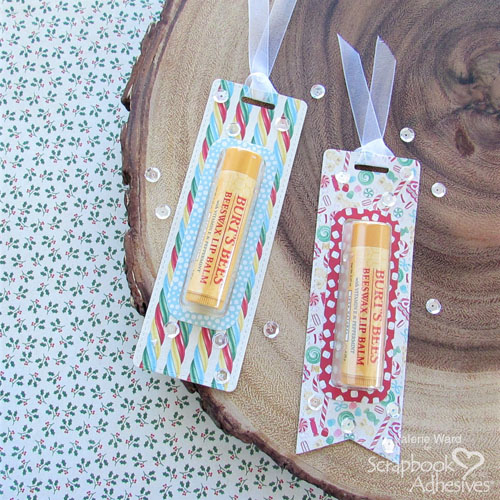
Hello, crafters! Valerie here today! The Holidays are quickly approaching, and my project, Lip Balm Tall Tags, would be great for a gift exchange, a teacher’s gift, party favors, and many other holiday situations you’ll find yourself in!
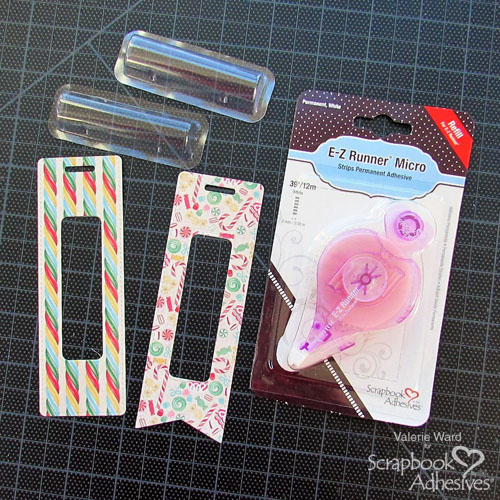
Step 1 – Die-cutting
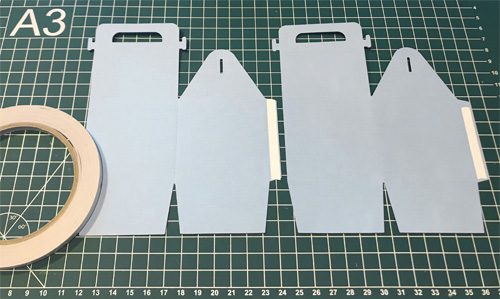
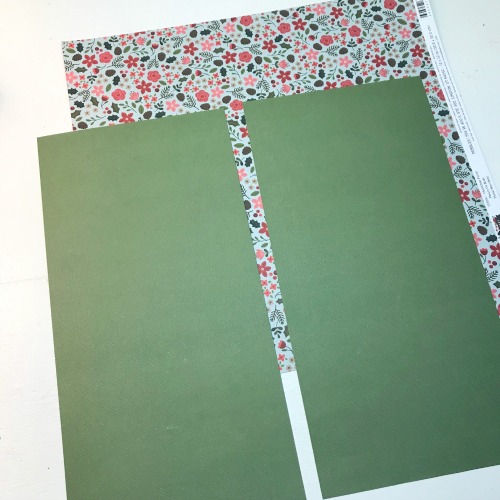
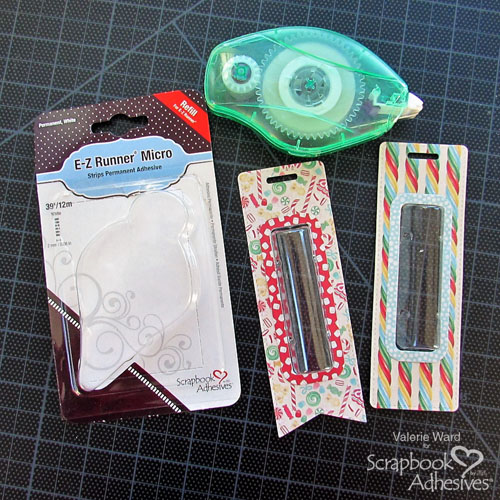
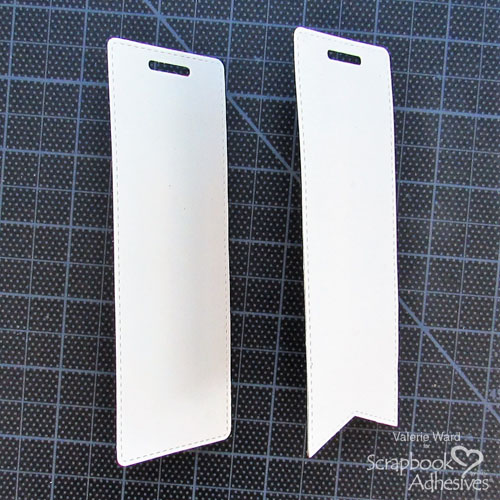
First, I used 2 tag die-cutting sets to cut the pieces needed (however, at the end of the post, I have an image showing the dimensions to cut these pieces at if you don’t have a die set &/or don’t want to buy one). One set is a Tall Tag die set, and the other set is a Lip Balm Pouch die set.
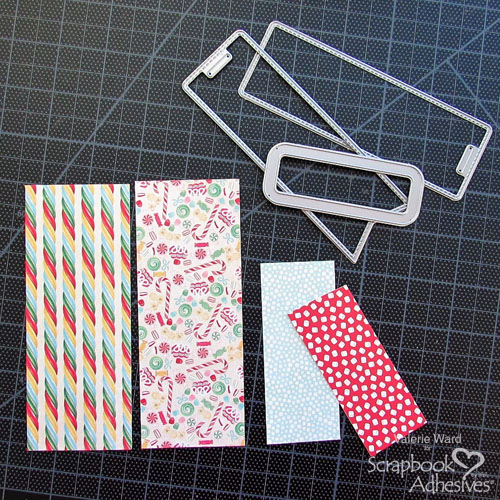
Second, I die cut the openings for the lip balm pouches (again, dimensions are provided towards the end of the post for these openings, so you can cut them yourself without dies).

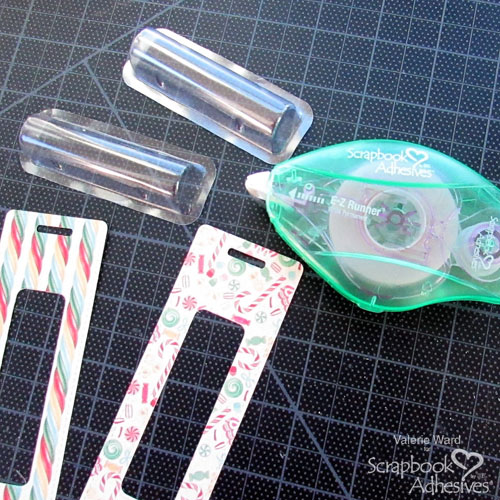
Step 2 – Adhere Lip Balm Pouches
To adhere the lip balm pouches I used the E-Z Runner Micro Refill.
I didn’t have the E-Z Runner Micro Refillable Dispenser, but that’s OK. Using a different dispenser I had on-hand works because all these E-Z Runner refills interchange with the E-Z Runner Refillable Dispensers!
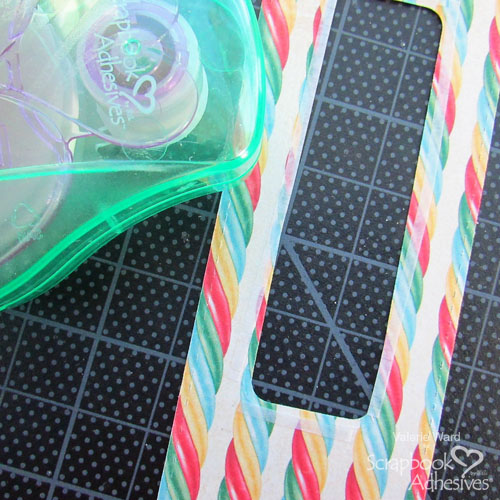
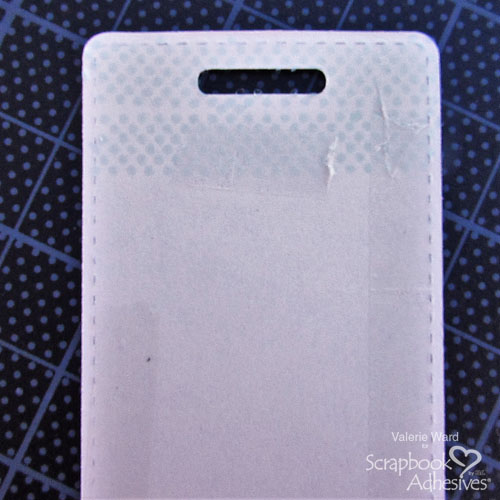
Apply the E-Z Runner Micro Refillable Dispenser adhesive all around the perimeter of the opening on the back of the tag.
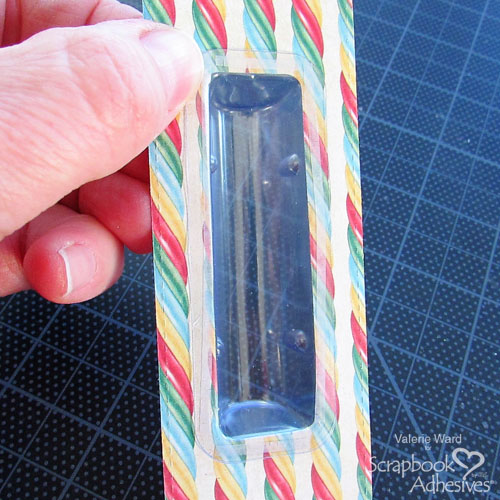
Then you stick the lip balm pouch into the opening from the back; the adhesive worked like a gem to hold the pouch in place!
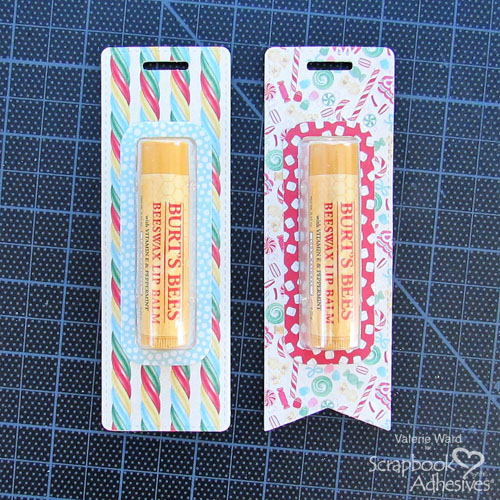
Here is the front after you attach the lip balm pouch.

You could leave the front like this, or the next steps show the opening with the frame applied around it.
Step 3 – Add Lip Balm Pouch Frames & Insert Lip Balm
Here is where I needed my E-Z Runner Micro Refill again (remember, it is shown in a different dispenser, but works just the same!): I attached the die-cut pouch opening frames with this adhesive to the front of the tags.
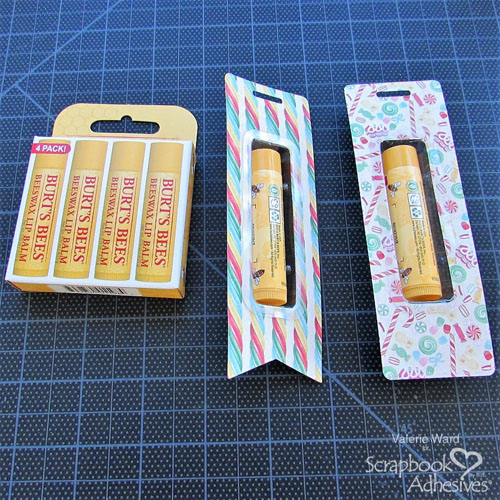
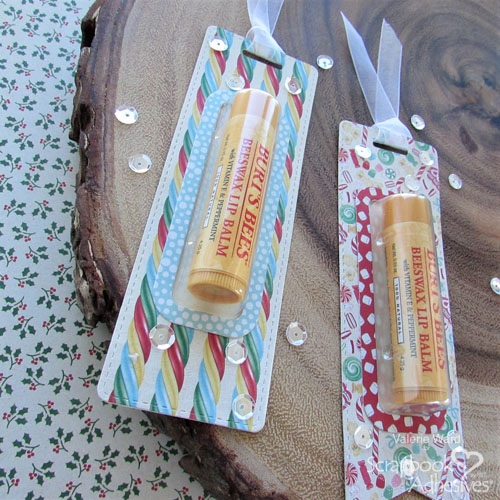
Here’s a fun part – you put the lip balm into the pouches!
So here you see the backs, with the openings where you put the lip balms in:
Step 4 – Attach Tall Tags’ Backs
Here is where I need to attach the backs to the Tall Tags. I used my E-Z Runner® Grand Refillable Dispenser that has the E-Z Runner Grand Ultra Stong Refill inside, AND my E-Z Dots Permanent Refillable Dispenser.
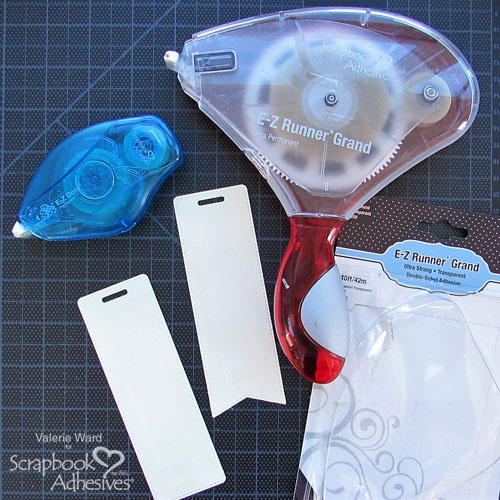
I used the E-Z Dots Permanent Refillable Dispenser adhesive on the top around the opening for the ribbon. Then I used E-Z Runner Grand Ultra Stong Refill adhesive around the perimeter of the remainder of the tag.
Adhere those to the backs of your projects. Here you’ll see them attached:
Step 5 – Add Embellishments
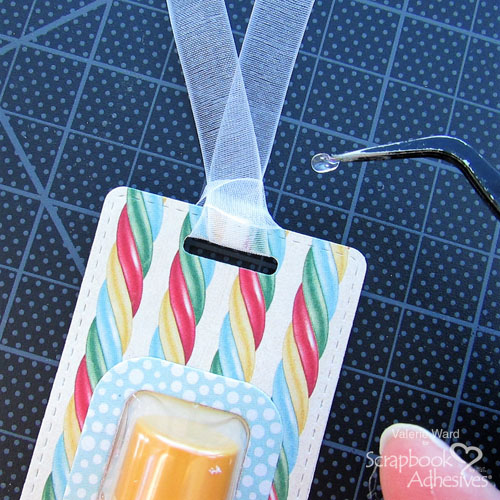
Now you are at the Finishing Touches part of this project! I added the ribbon to the tags at the tops; I wanted to make sure the ribbon did not come loose, so I added an Adhesive Dots Micro inside the knot part to hold it together.
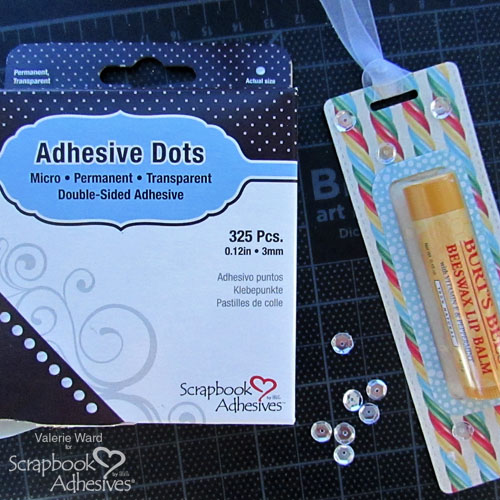
Then I decided I wanted a little bit of bling, so I used the Adhesive Dots Micro again to add sequins to the fronts of the tags. Now the project is finished!
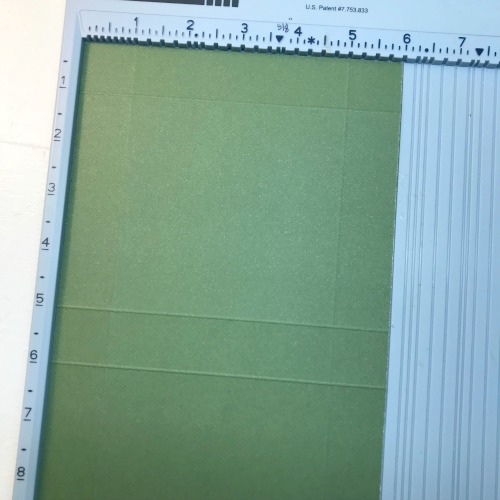
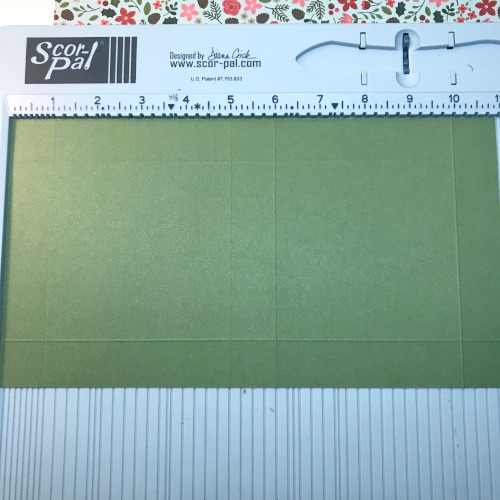
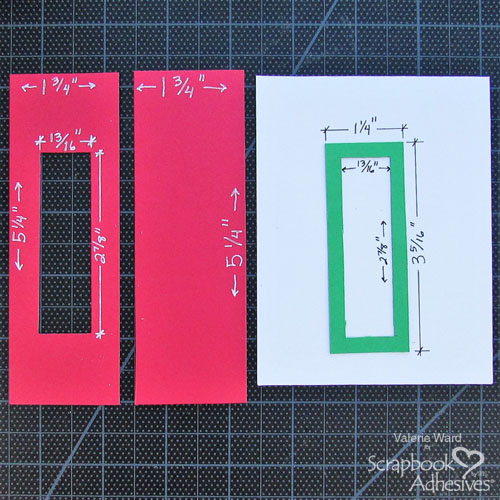
Tag Dimensions for Cutting Shapes & Openings Without a Die Set
You do not NEED to have the die set to make these tag shapes and openings; here are the dimensions so you can cut them out yourself! Then you can just use a hole punch to create a hole at the top for the ribbon.
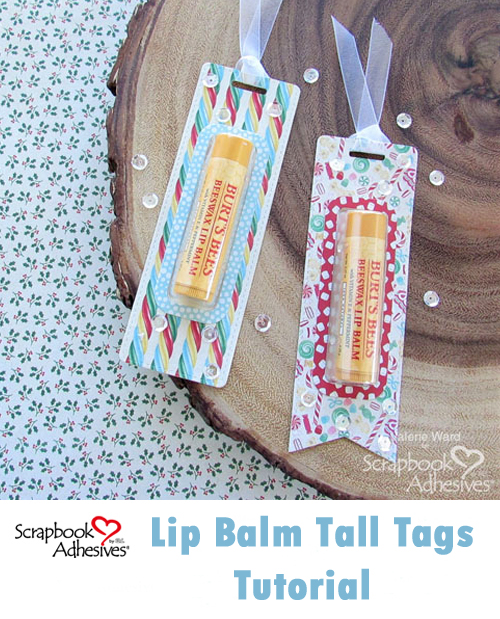
So here we are, all finished: 2 sweet little gifts perfect for many occasions!
Thank you very much for stopping by today! I hope you have a great remainder-of-the-week wrapping up all your last minute things-to-do!
Valerie
Creative Time: 30 Minutes
Skill Level: Beginner
Materials Needed
Scrapbook Adhesives by 3L®
E-Z Runner® Grand Refillable Dispenser and E-Z Runner Grand Ultra Stong Refill
E-Z Runner Micro Refill
Adhesive Dots Micro
E-Z Dots Permanent Refillable Dispenser
Other: Tags die set & lip balm die set (both not necessary, though), patterned paper, lip balm, ribbon, sequins
Pin It!
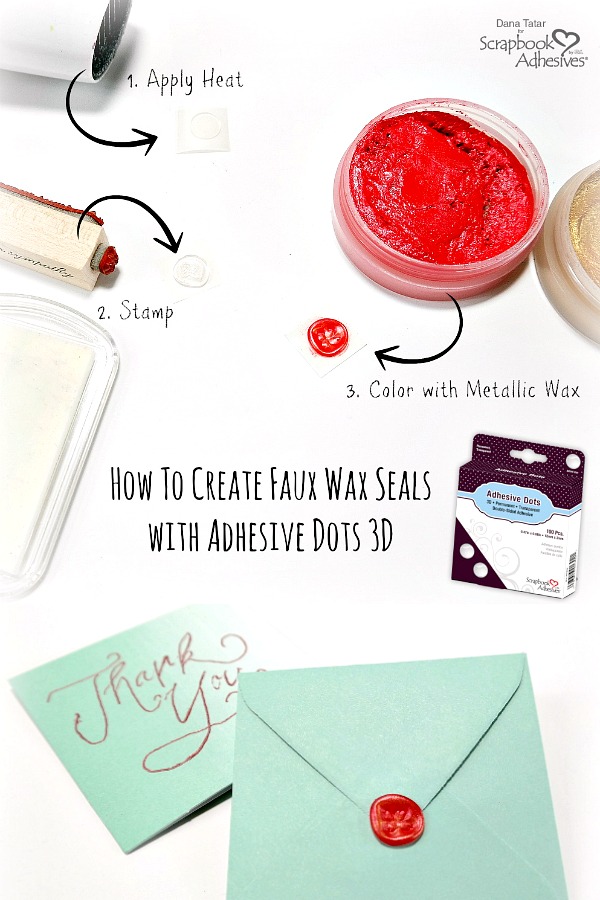
 1. Heat an Adhesive Dot 3D for 15 seconds.