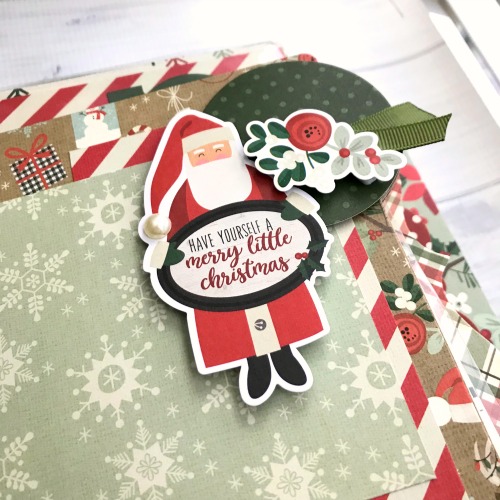
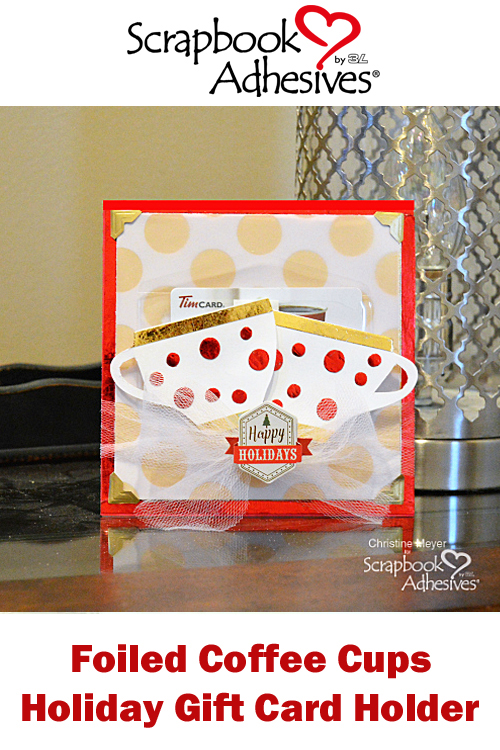
What’s not to love about this shiny Foiled Coffee Cups Holiday Gift Card Holder? Using our adhesives to Wear Your Adhesive on the Outside with craft foils is a perfect combination for this card…well, for all other occasion cards 🙂 Let Christine Meyer share details about her card.
We are again a participant and a SUPER SPONSOR too! The Coffee Lovers community is a coffee-loving (or tea or cocoa) group of card makers open to everyone. Their blog serves up inspirational coffee-related posts and bi-annual blog hops that anyone can join! Blogging participants get a chance to win giveaway -there are over 80 prizes! Link up to enter to win!
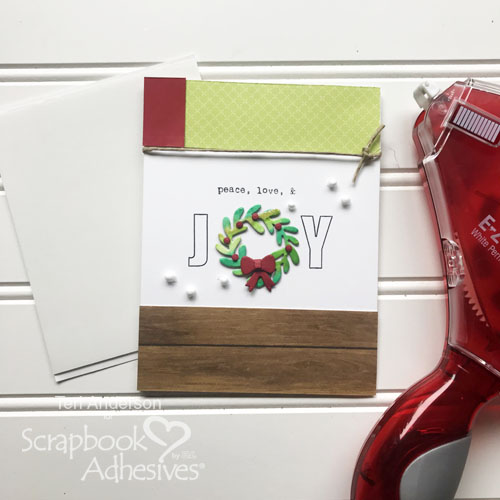
Foiled Coffee Cups Holiday Gift Card Holder by Christine Meyer
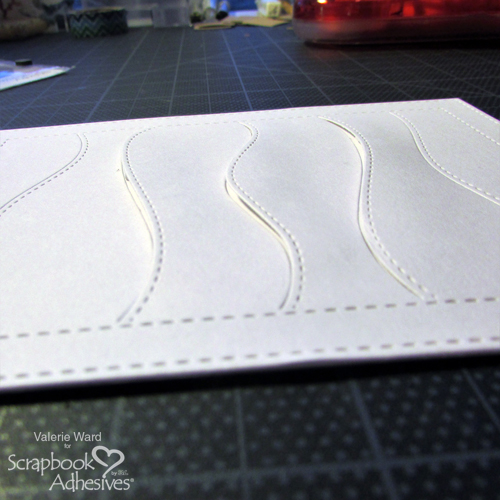
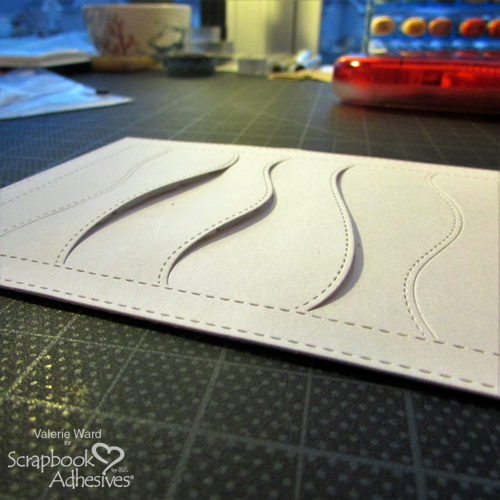
As complicated as this card may look, it’s actually fairly simple to put together.
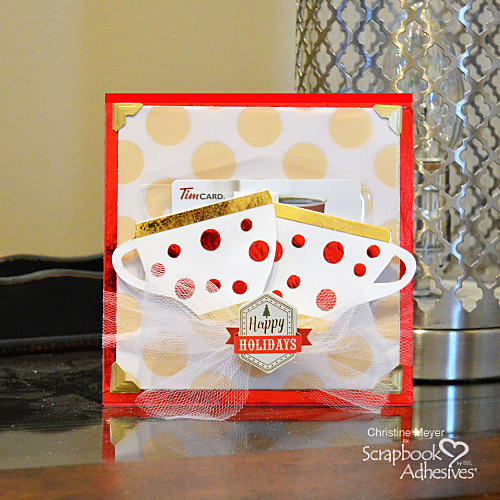
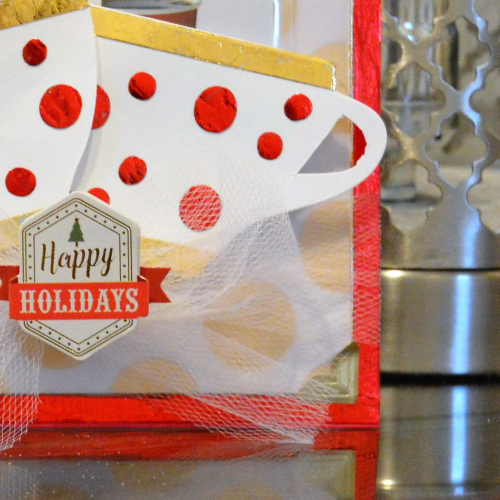
Here is a close up of the card. Love how the foil just makes this card pop!
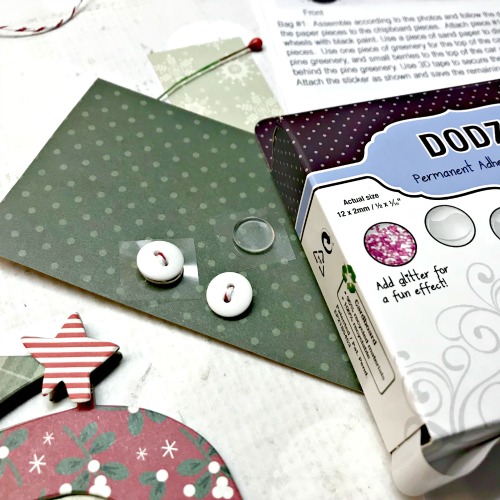
I used Extreme Double-Sided Tape 1/4-inch along the edges of my card. Then I added red foil to the top from the 3D Foam Holiday Embellishment Kit. I also added Creative Photo Corners Gold to the corners to accent the patterned paper and vellum off the card a little bit.
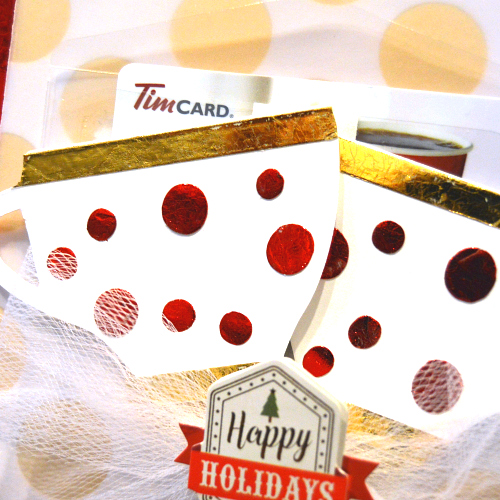
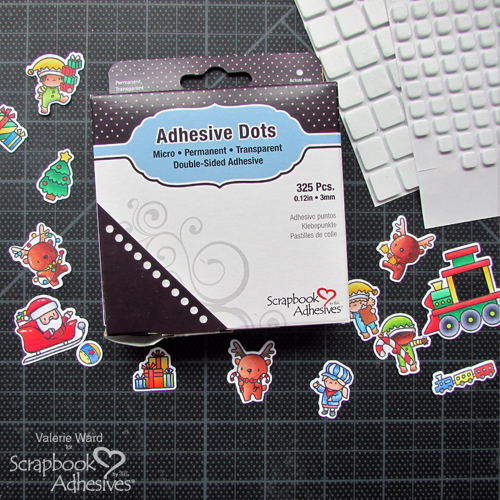
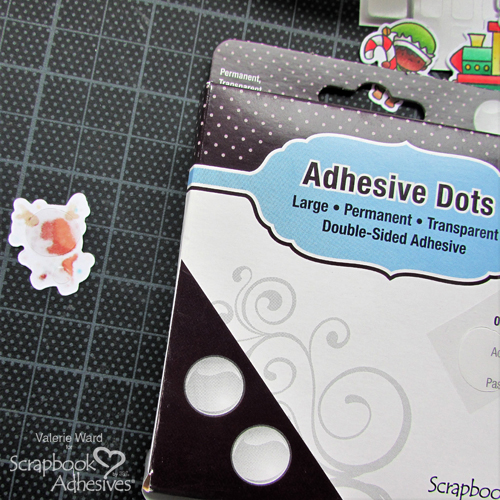
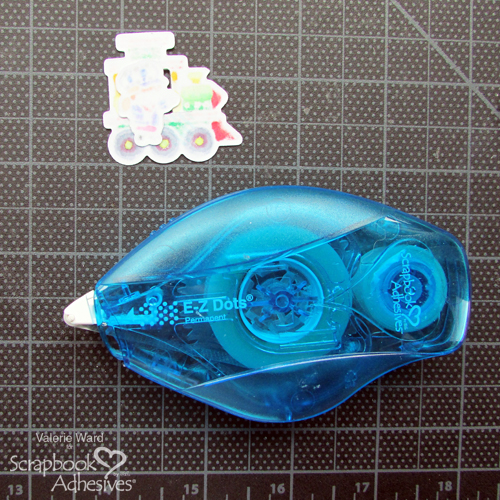
Let’s take a look at those coffee mugs! The foil was added to them using a combination of Extreme Double-Sided Tape 1/4-inch and Adhesive Dots in various sizes. When you Wear Your Adhesive on the Outside, you have an easy way to add creativity to a product that usually hides between the layers!
Lastly, before adding on the coffee mugs, I housed the gift card in a medium size Keepsake Envelope. These envelopes are clear and have permanent adhesive on the entire back-side so they don’t interfere with the design of my card.
Thanks so much for joining us today and be sure to continue along with the hop! Details are below.
– Christine
Creative Time: 30 minutes
Skill Level: Intermediate
Materials Needed:
Scrapbook Adhesives by 3L®
Adhesive Dots
Creative Photo Corners Gold
Keepsake Envelopes Mix
3D Foam Holiday Embellishment Kit
HomeHobby by 3L®
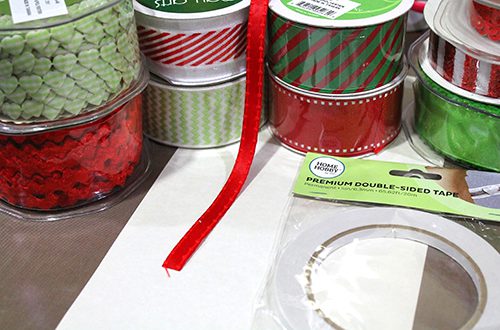
Extreme Double-Sided Tape 1/4-inch
Others:
Patterned Paper & Stickers from Paper House Productions, Coffee Mug Die from Jillibean Soup, Vellum
Pin It!
For more inspiration and to link up, click: Coffee Lovers Fall/Winter 2018 Blog Hop
The contest is over but you can still visit the link for tons of inspiration. Watch for the next hop coming in May 2019!
![]()
We would love to hear from you! If you cannot see the comment section at the bottom of this post, please CLICK: Foiled Coffee Cups Holiday Gift Card Holder and scroll down to the bottom of the post.
Connect and Stick with 3L!
Visit our Website and Bookmark our Blog!
Sign up for our Newsletter so you never miss a contest or giveaway!