Today is a beautiful day for recycling and decorating jars to bring nature into our homes! Hi everyone, Christine here today with a home decor project idea.
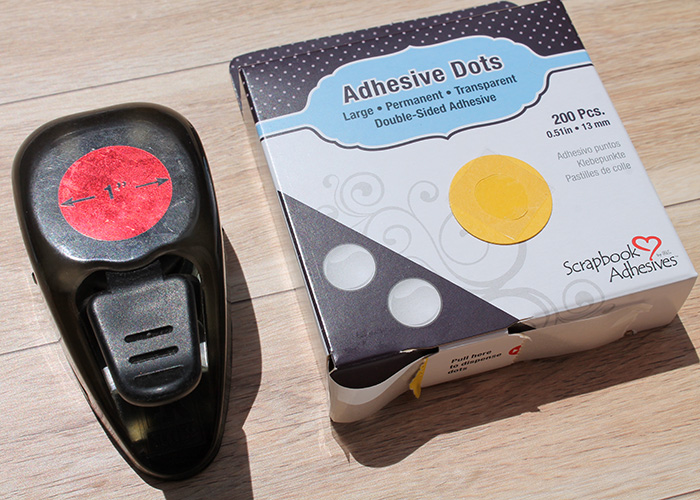
There’s something very natural and pretty about re-using a jar and filling it with flowers. It can be made even better by adding just a few decorations. Today I’m using Crafty Power Tape, Extreme Double-Sided Tape 1/4″, 3D Foam Square White Regular and MyStik® Permanent Strips.

Recycling and Decorating Jars
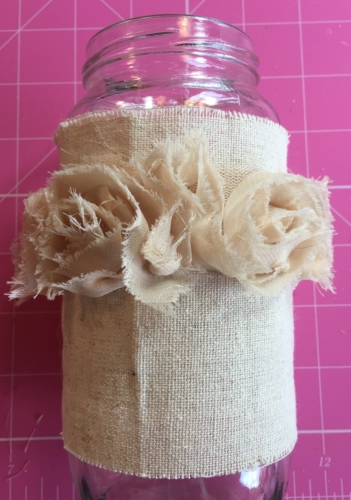
I started by cutting a strip of cotton (I didn’t worry that it needed ironing – adds to the natural look! LOL!) I applied two lines of Crafty Power Tape.
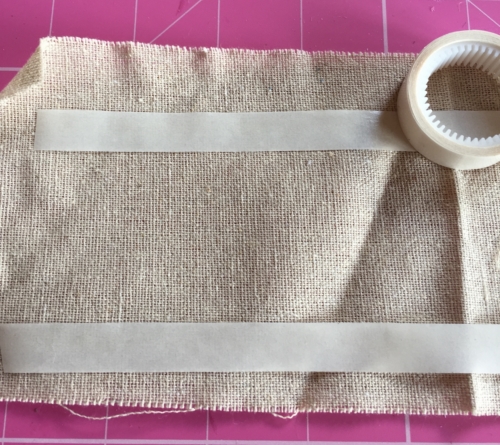
Easy to remove the backing from this tape and wrap around the jar, it affixes perfectly.

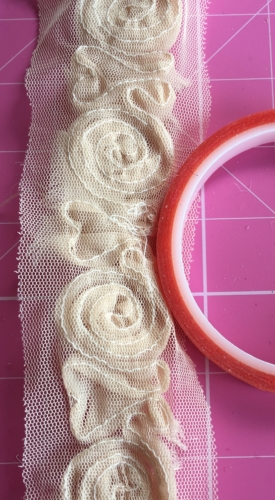
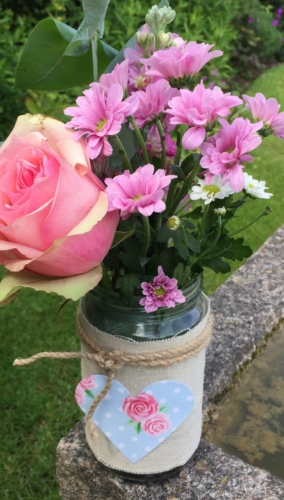
To adhere the textured ribbon I selected Extreme Double-Sided Tape, 1/4″ Permanent. This is extremely tacky and ideal for so many surfaces.
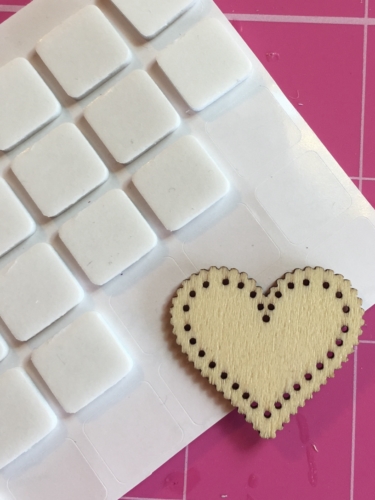
For an additional decoration piece, I chose a mini wooden heart and to keep it in place I used 3D Foam Square, White Regular. Perfect!
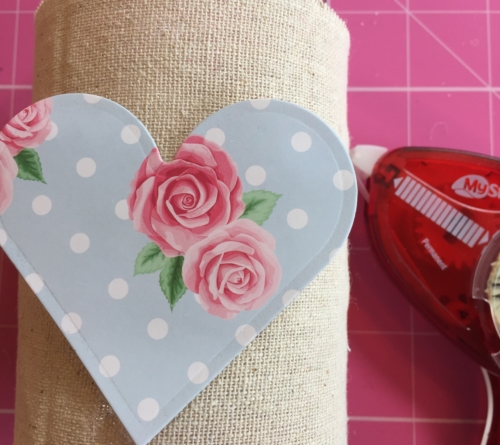
I chose to decorate a second jar, again with cotton and this time a die cut heart affixed with MyStik® Permanent Strips. You can decorate as little or as much as you wish, it’s fun to put your personal stamp on a plain jar.
The finished jars with some flowers from the garden.
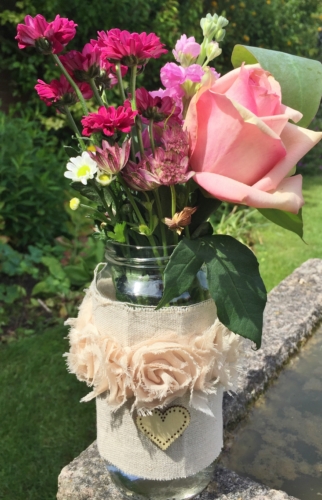
Perhaps place them on garden tables if you are having a barbecue or on your kitchen window sill to bring the garden into your home.
Thanks for stopping by today and don’t forget to check out all the great products on the website.

Products used:
3D Foam Squares White Regular
Crafty Power Tape
MyStik® Permanent Strips
HomeHobby by 3L®:
Extreme Double-Sided Tape 1/4″
Others:
Dies: Spellbinders® Paper Arts (Classic Hearts)
Ribbon, Scrap Paper, Natural Cotton, Ribbon, Twine, Mini Wooden Heart