Hi Everyone!
I’m so excited to be joining Scrapbook Adhesives by 3L® as their guest designer for the next three months! With the wide range of adhesives I’m eager to dive right in with you today and get started.
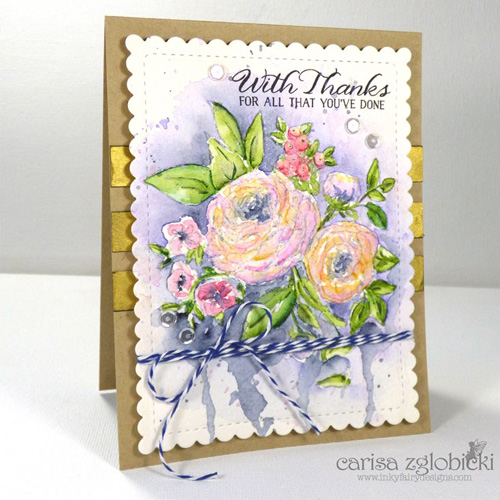
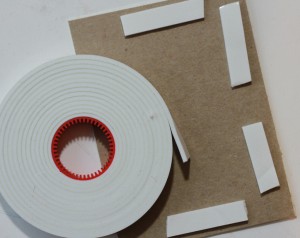
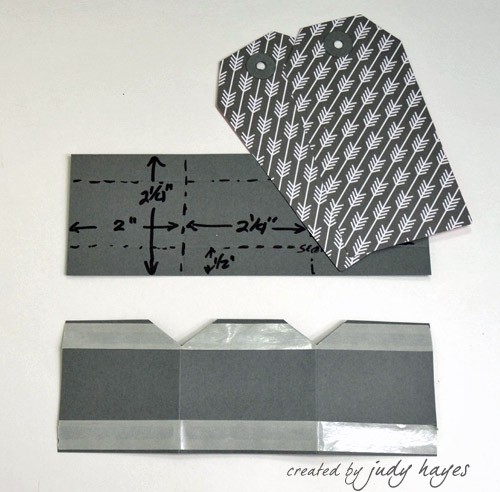
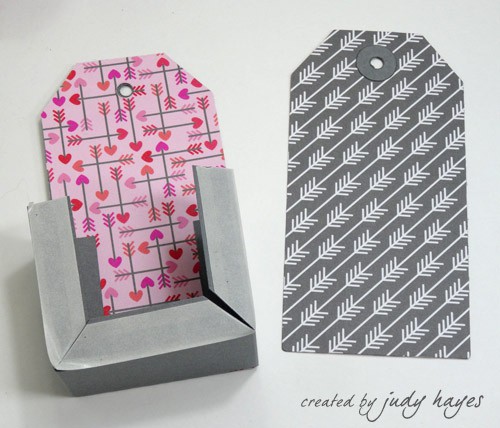
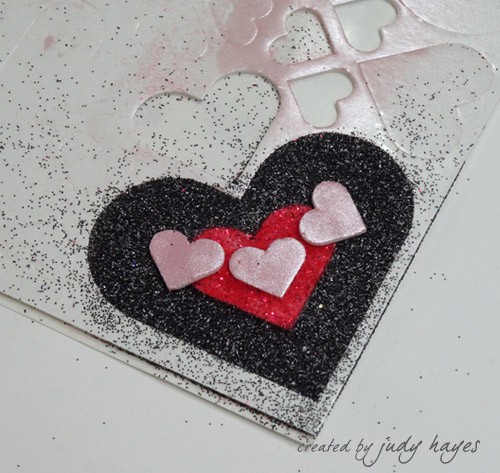
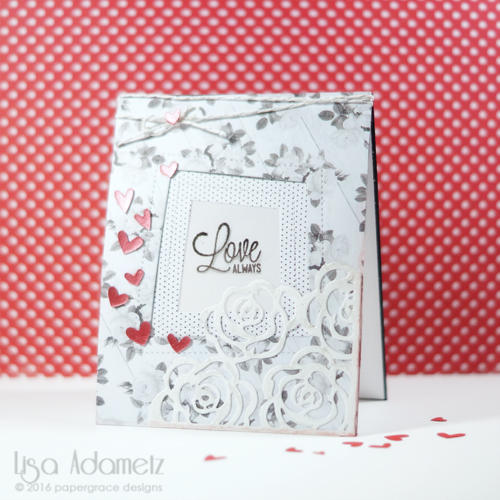
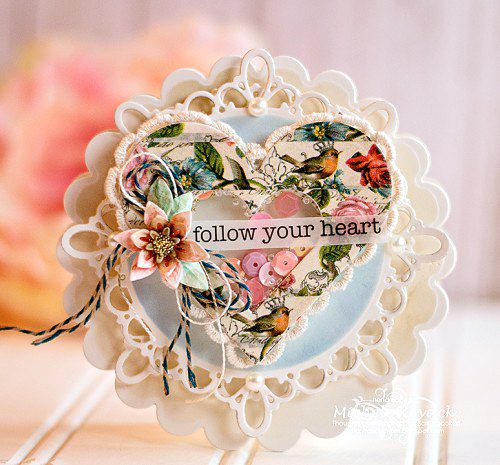
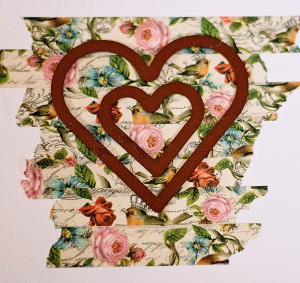
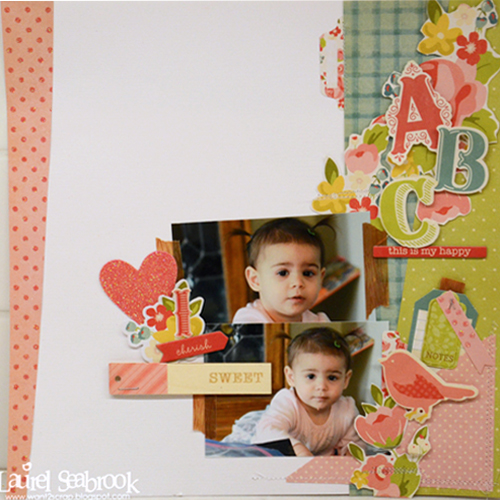
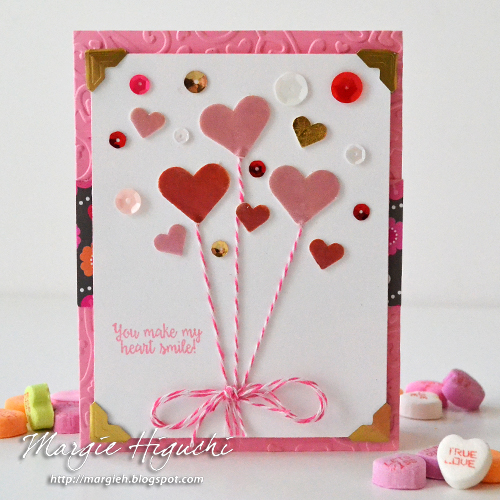
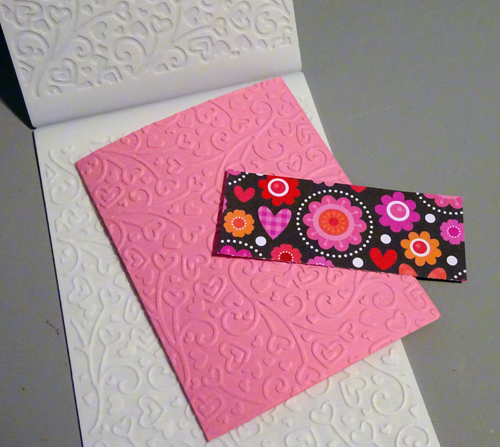
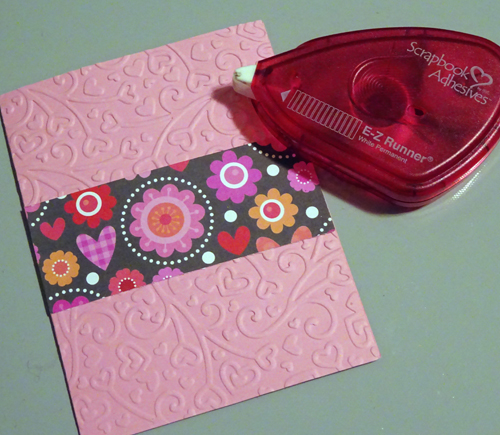
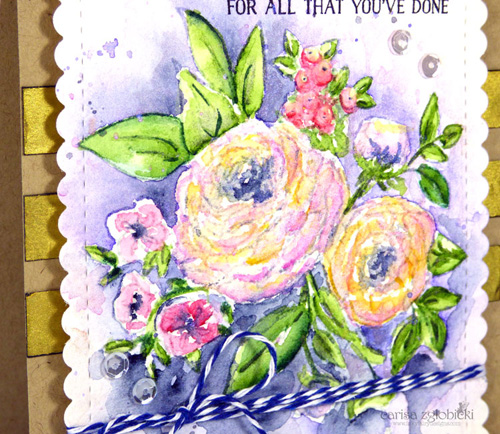
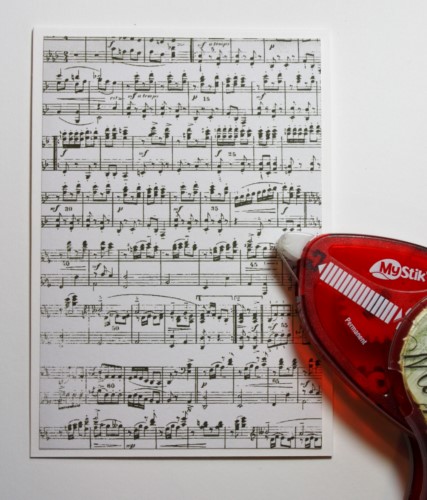
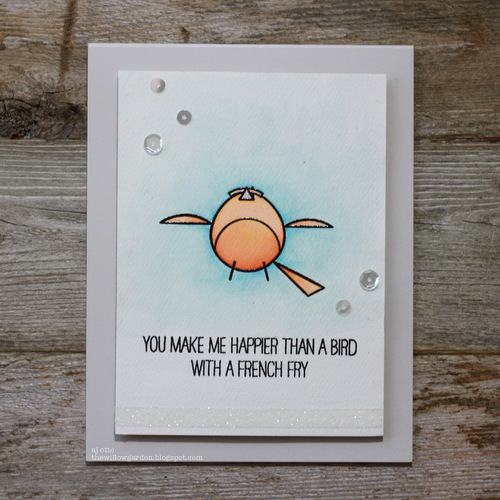
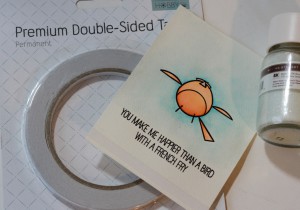
Today I wanted to give my watercolor panel something unique for a backdrop so I placed adhesives on my black cardstock strips, using Premium Double-Sided Tape 1/2″. After I removed the backing, I sprinkled Pigment Powder Gold on top. I love the subtle shimmer! It burnishes easily with my fingers and no residue falls off. To adhere the shimmery strips to my card base, I used E-Z Runner® Ultra Permanent – perfect size!
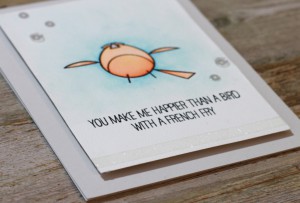
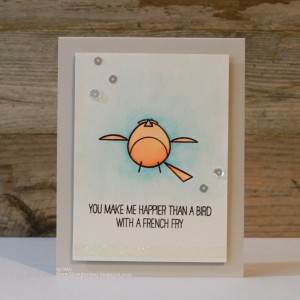
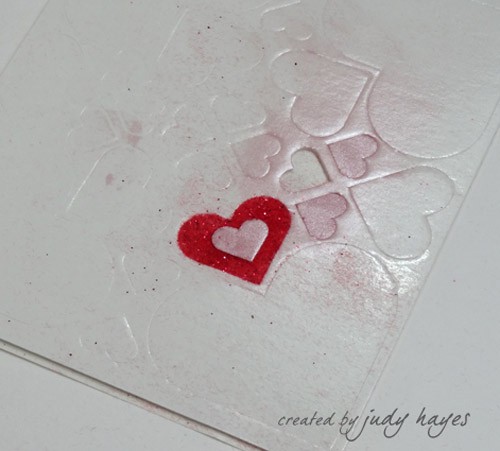
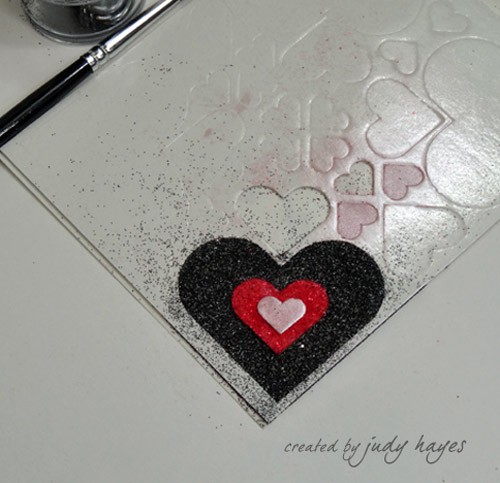
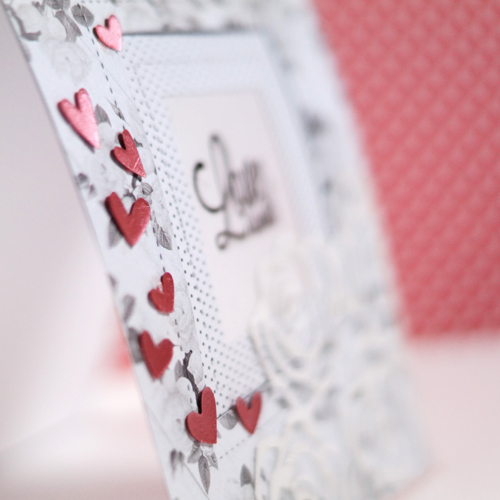
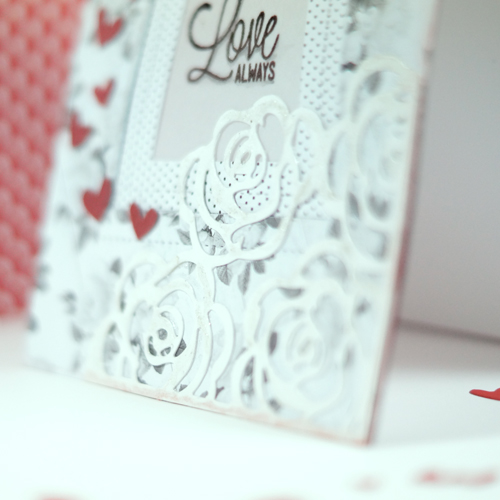
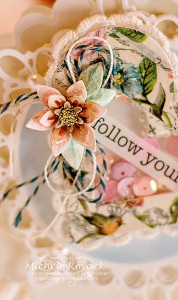
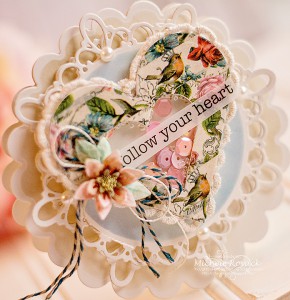
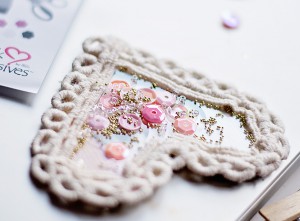
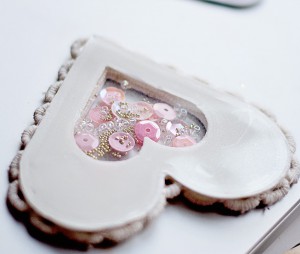
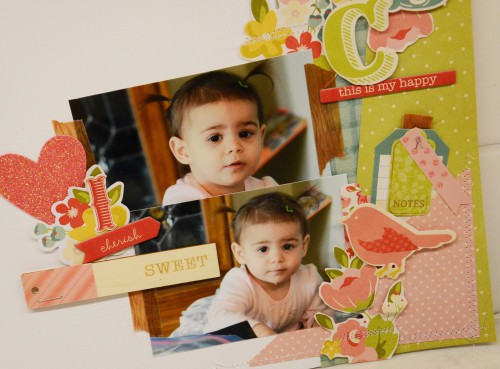
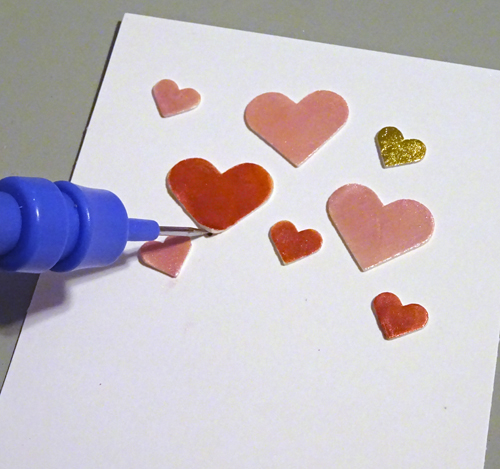
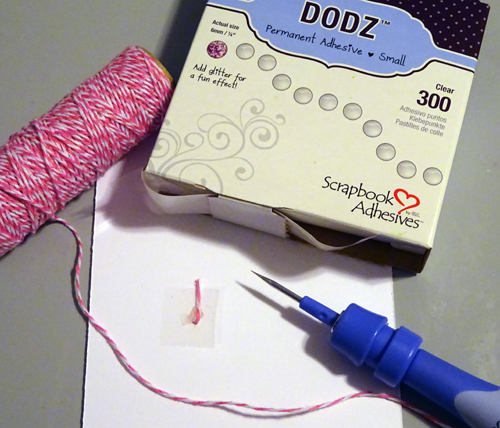
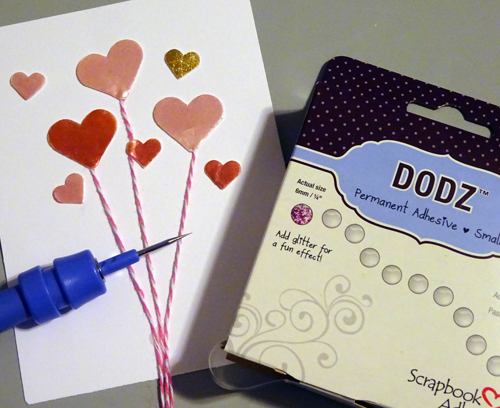
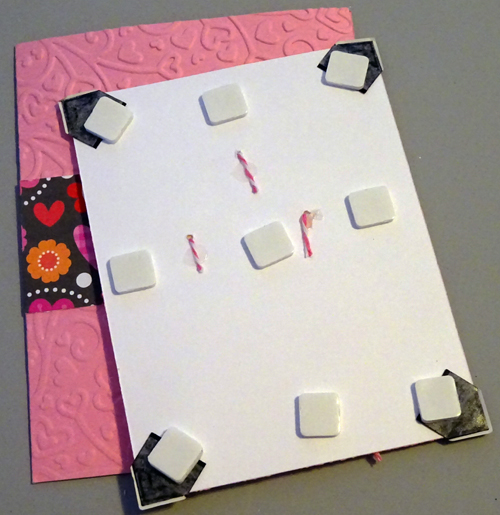
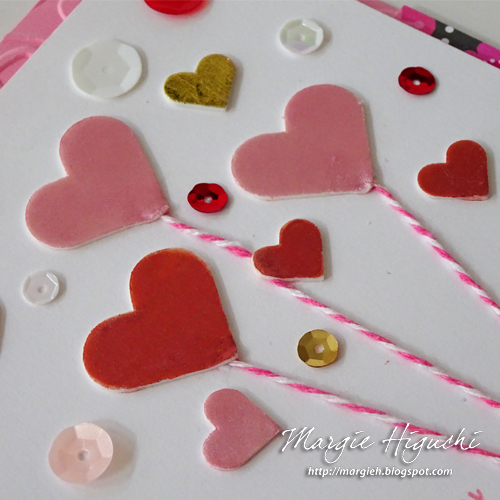
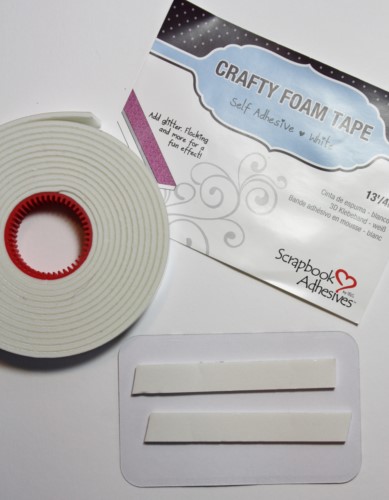
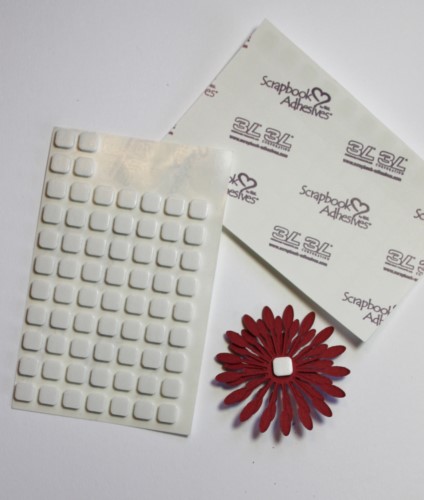
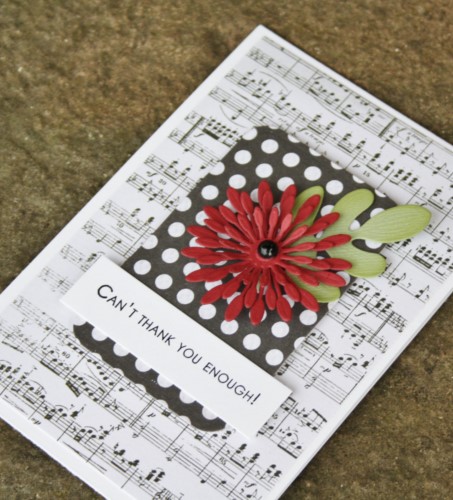
I love this close up because you can see the shimmer so clearly behind my focal panel. I used 3D Foam Squares which are great for popping up my watercolor panel and hides any slight warping from all the water used to paint the image! I also used Dodz Adhesive Dots Small to adhere my sequins and Twine because they are perfect size for the smaller embellishments!
I hope you enjoyed my first post and thank you so much for stopping by! I look forward to creating more with these fabulous products and sharing with you over the next three months.
Until next time, Happy Crafting!
Carisa Zglobicki
Supplies:
- Premium Double Sided Tape 1/2″
E-Z Runner® Ultra Permanent
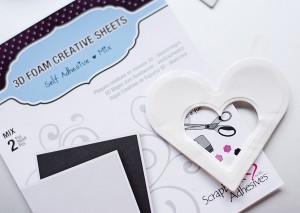
3D Foam Squares- White Mix
Dodz Adhesive Dots Small


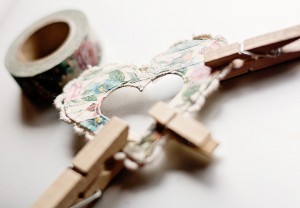
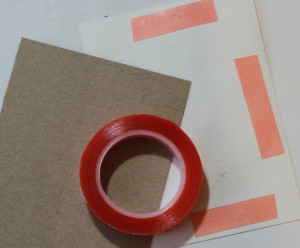 My watercolor paper always warps a bit, so I end up placing a piece of cereal box or something similar to the backside of the panel. For this I use the