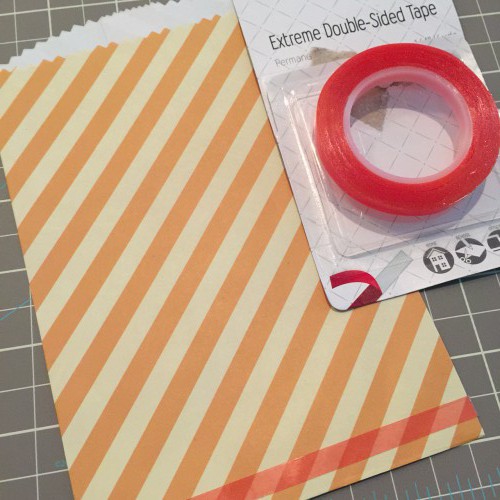
Heya! Do you love stripes? I personally think stripes will NEVER go out of style. And do you know what is even better than stripes…creating your own striped paper with our Double-Sided Tapes!
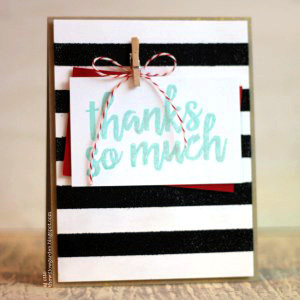
I love being able to create my own patterns using our tapes, whether it’s with glitter or foil. I thought I would give our HomeHobby by 3L Premium Double-Sided Tape 1/2″ Permanent a little love creating my own HEAT embossed background. 🙂
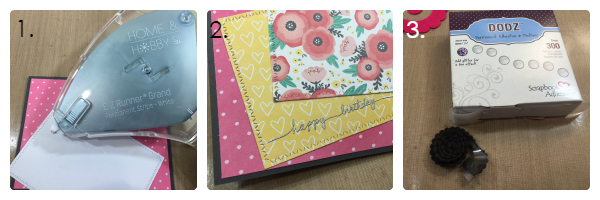
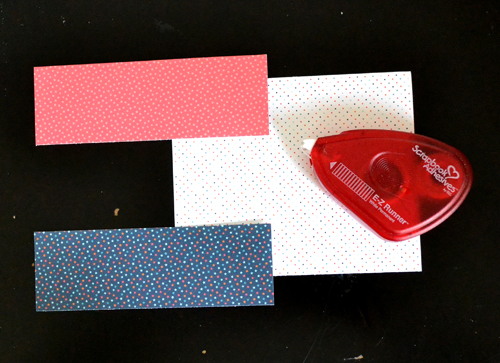
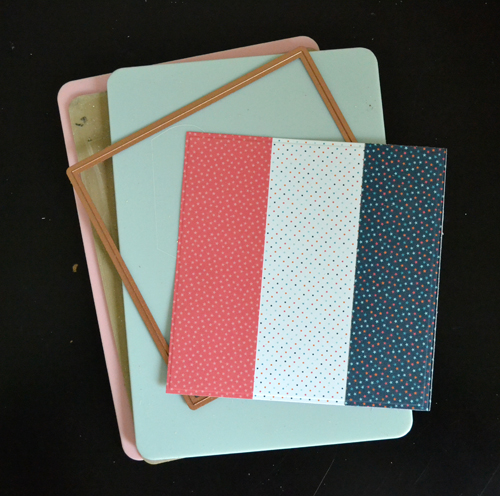
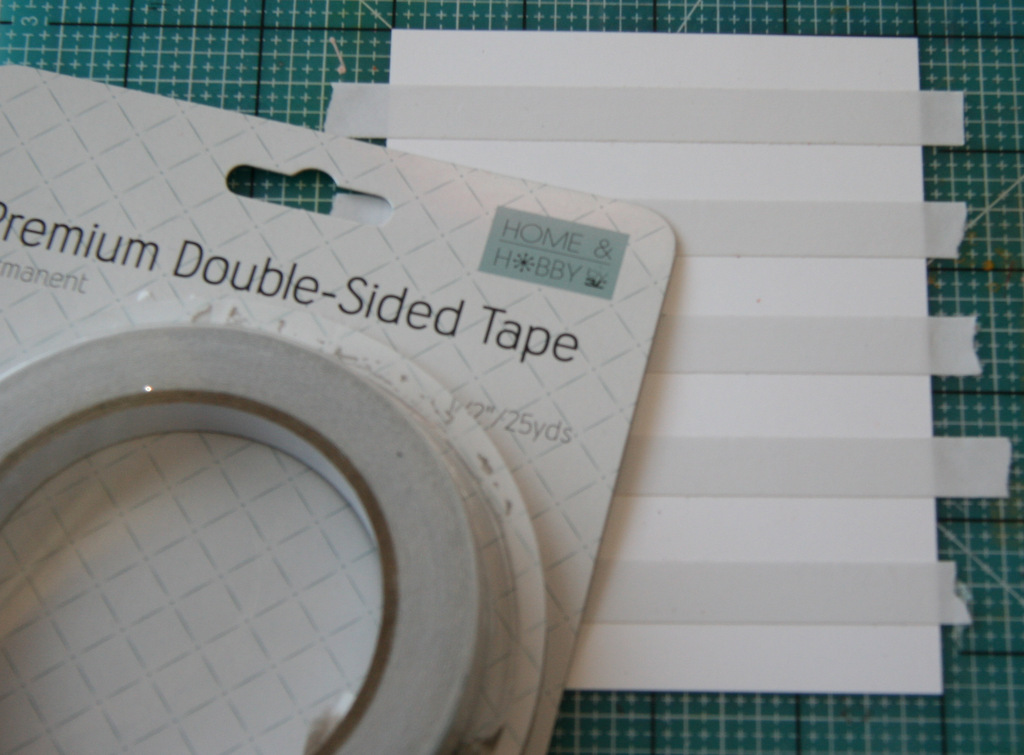 To get started, line your card stock up on your guidelines. I placed the first strip about 1/2″ from the top, and then placed the remaining every 1/2″.
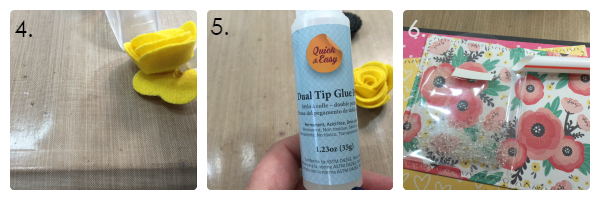
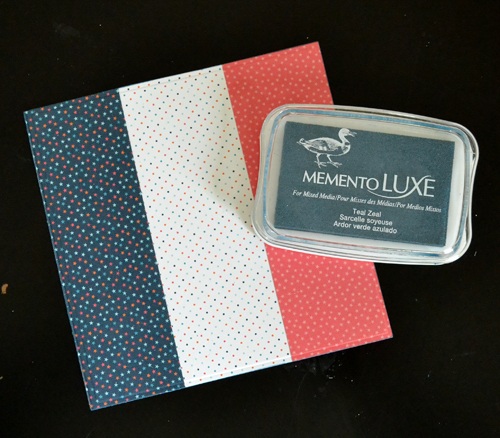
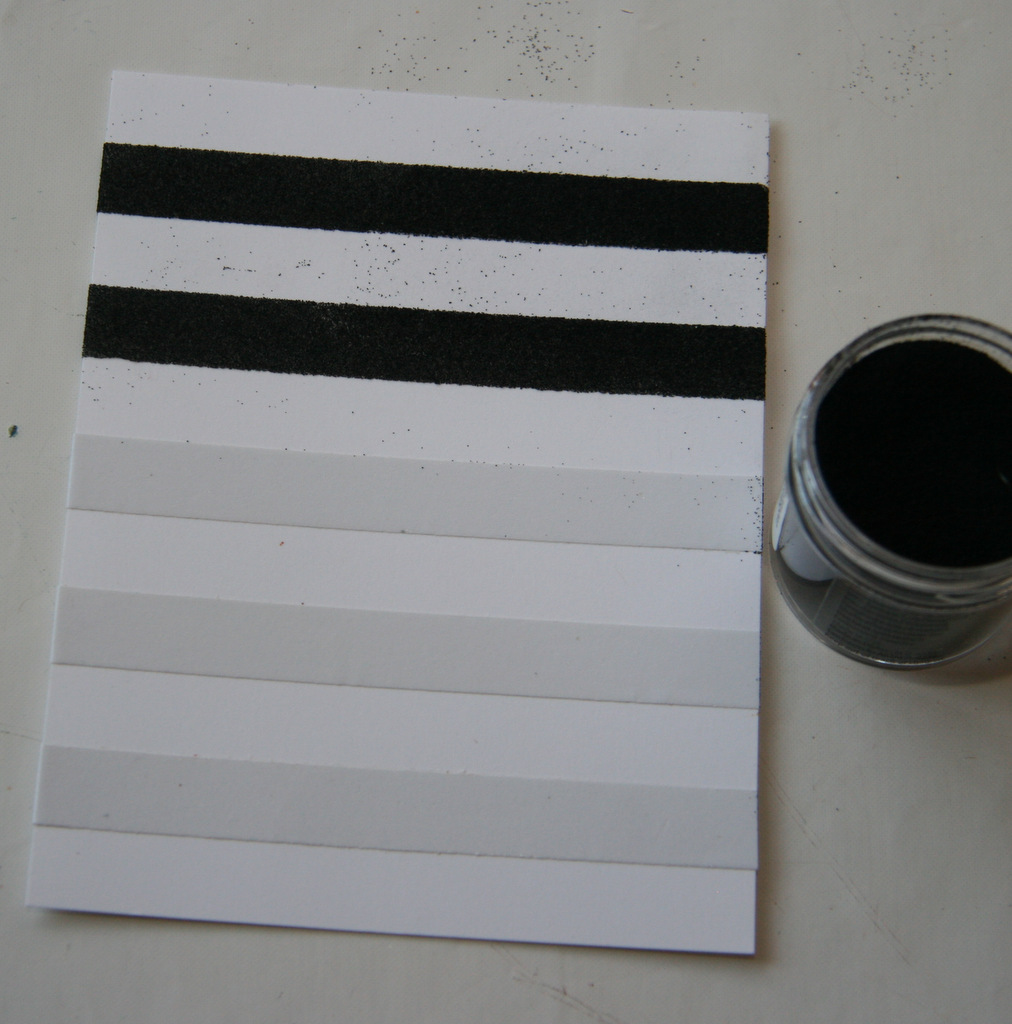 Working a few strips at a time, remove the backing, and cover generously with your embossing powder, then heat set. Continue until your background is complete.
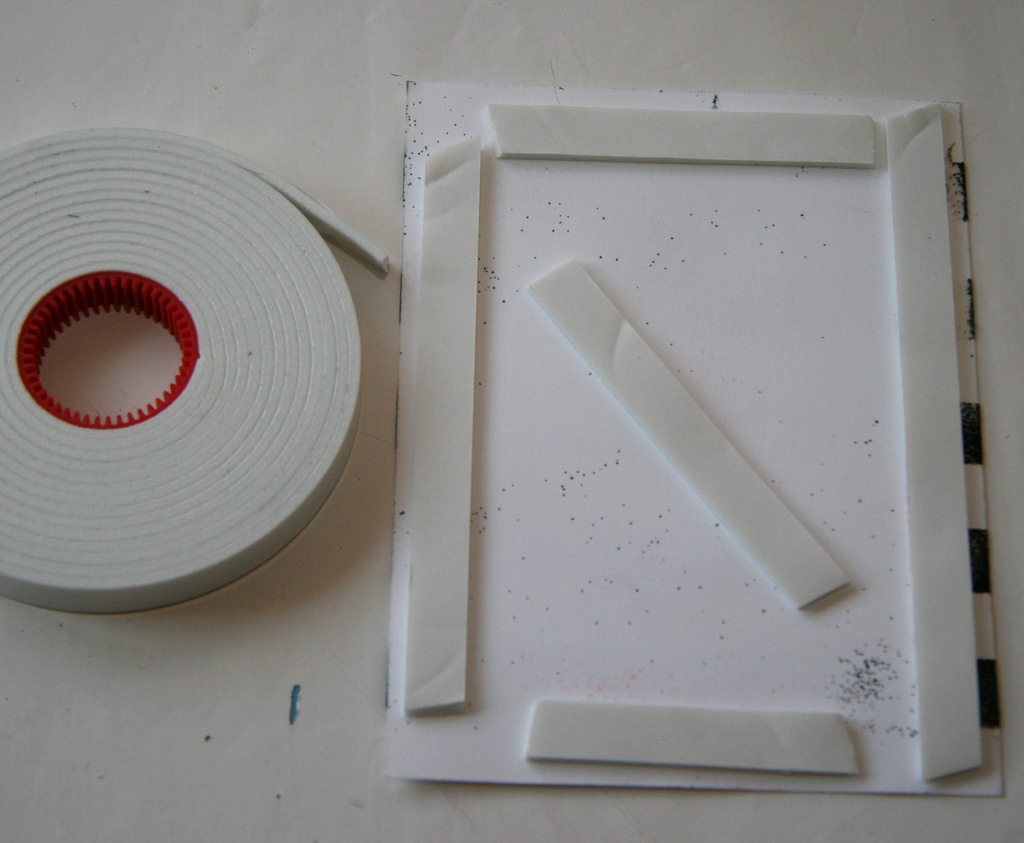
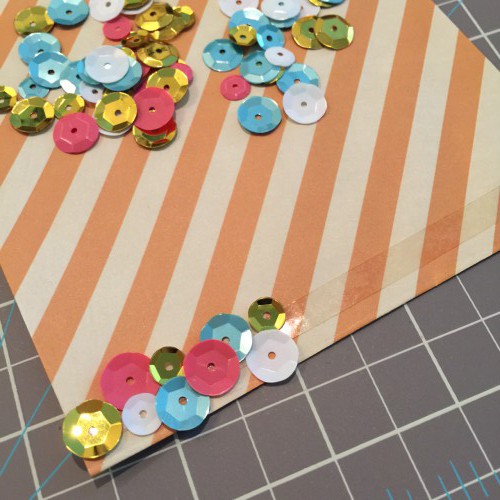
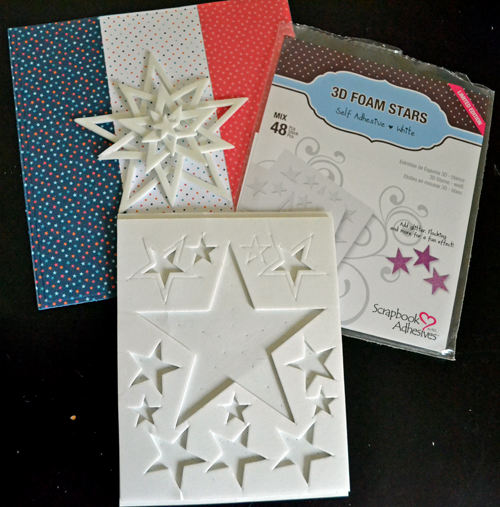
Flip over your panel and place a few strips of Crafty Foam Tape to pop up on your card base.
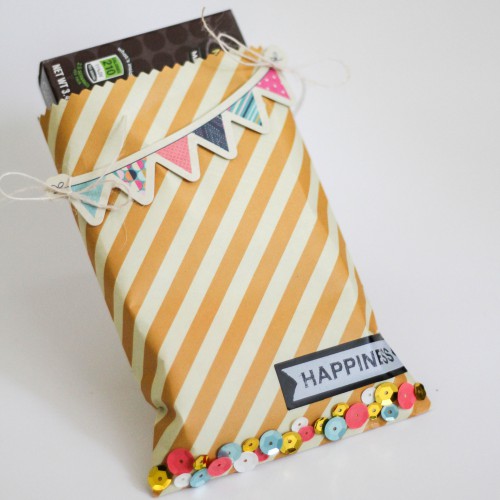
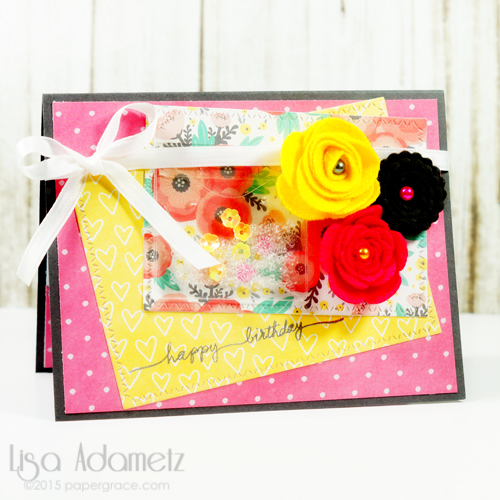
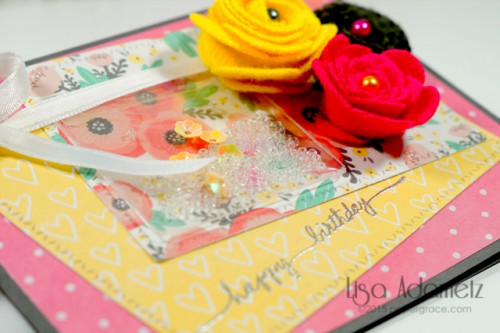
I finished off my card with a stamped sentiment popped up using 3D Foam Squares and a layer of red to add some pop of color, along with some twine and a mini clothes pin.
I just love this size tape for creating backgrounds- Think of all the possibilities! 🙂
Enjoy- AJ 🙂
Scrapbook Adhesives by 3L® Products used: 3D Foam Squares, Crafty Foam Tape, HomeHobby: Premium Double-Sided Tape 1/2″Permanent
other: My Favorite Things stamps, ink; Imagine Crafts Embossing Powder, twine, Wink Of Stella pen, card stock, mini clothes pin