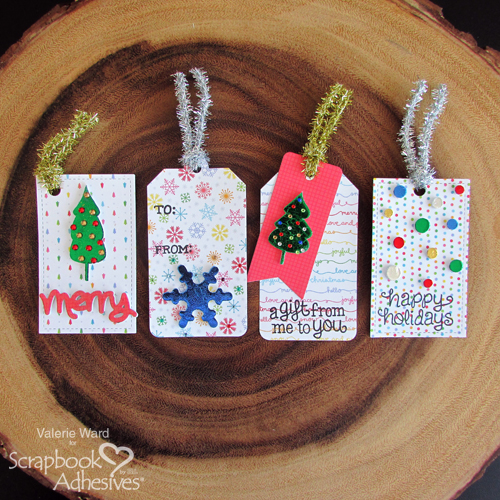
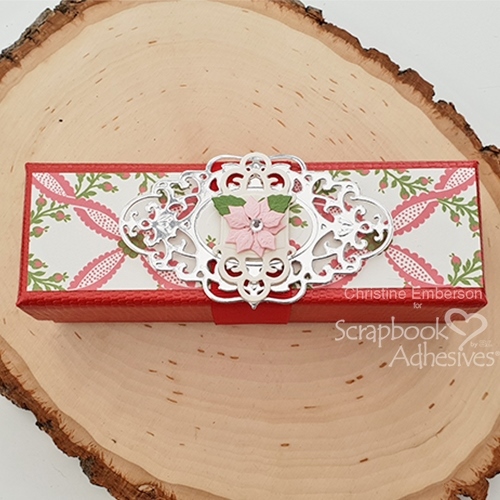
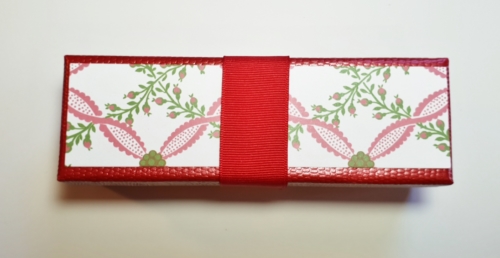
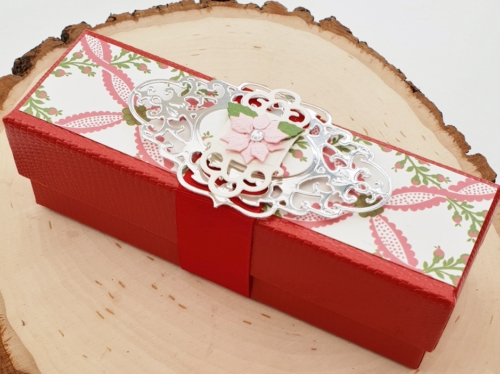
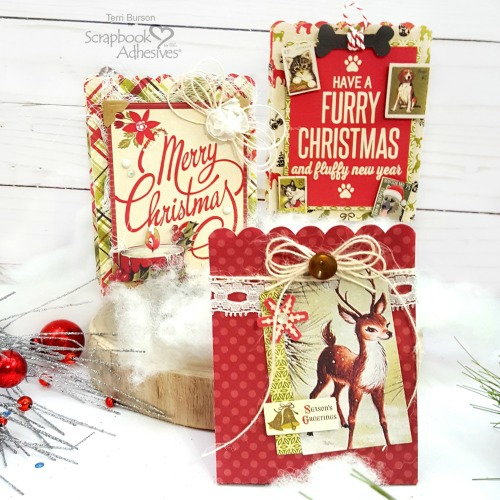
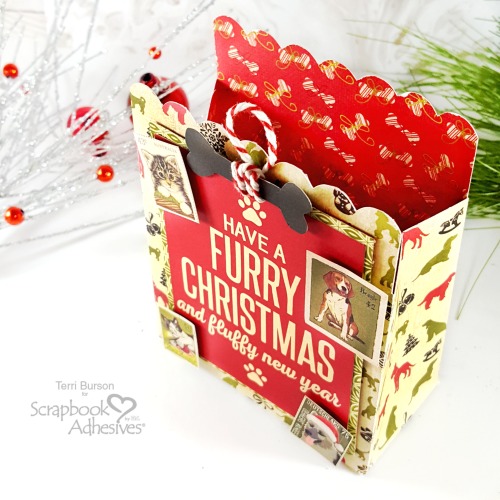
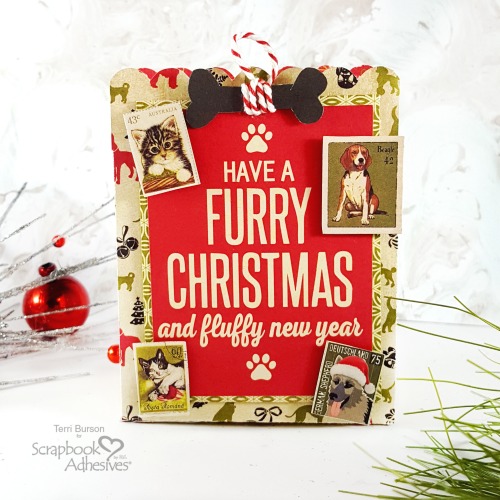
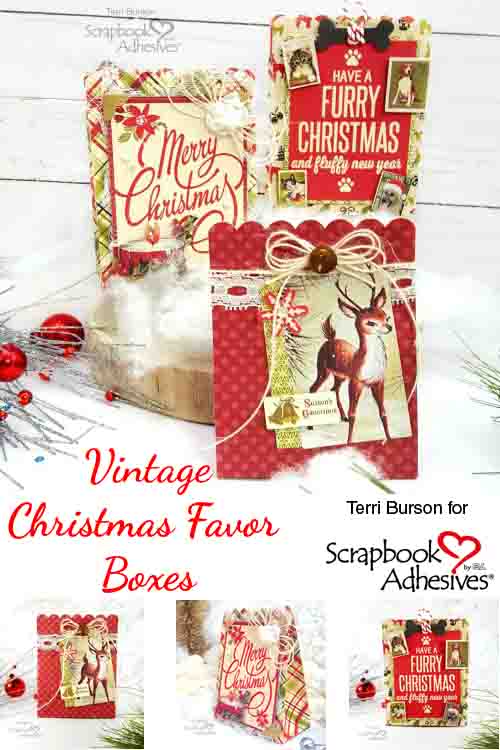
The holiday season is here and I have a trio of Vintage Christmas Favor Boxes to share with you today. Hello crafters, Terri here. Grab a hot cup of cocoa and join me for a few minutes, as I share creative tips to make these adorable boxes! These are perfect for gift giving to co-workers, friends, or at holiday parties.
Choose Vintage Elements
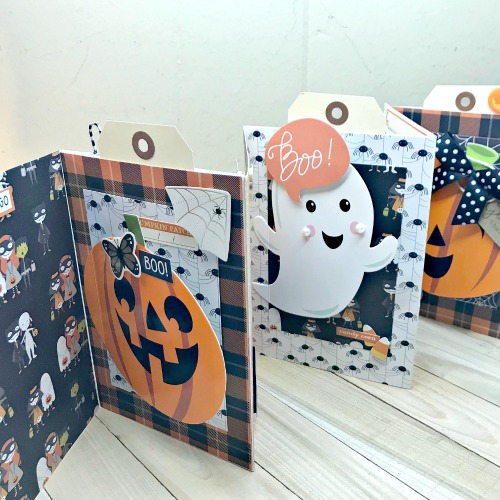
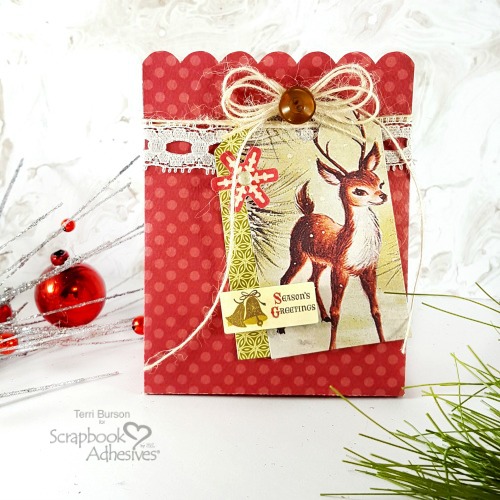
When choosing a theme for your favor boxes, the paper collection is key! This is why I’m creating with the Authentique Nostalgia paper collection today. It’s filled with vintage and nostalgic images, as well as items to appease pet lovers.
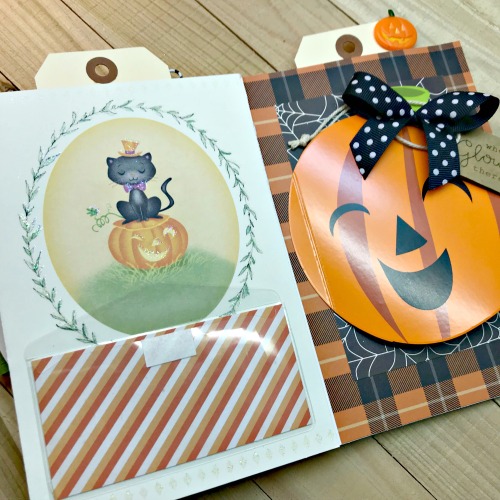
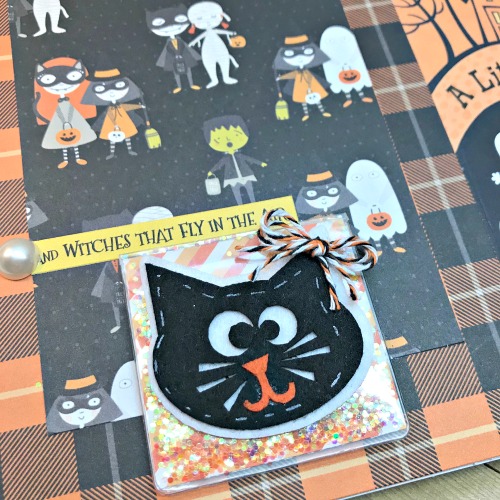
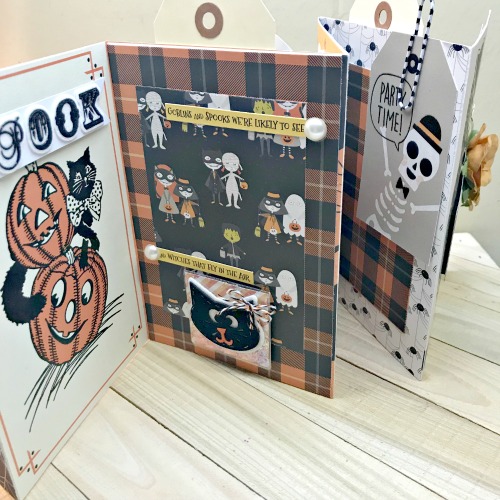
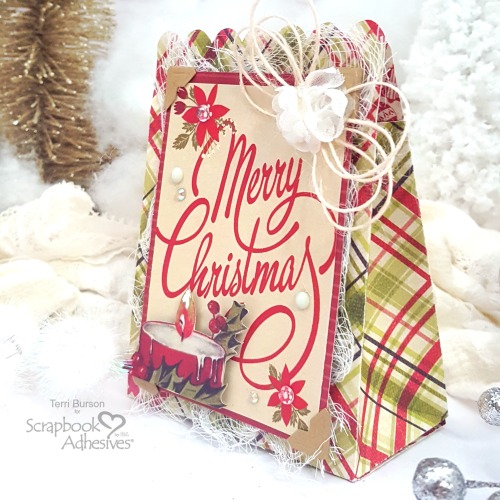
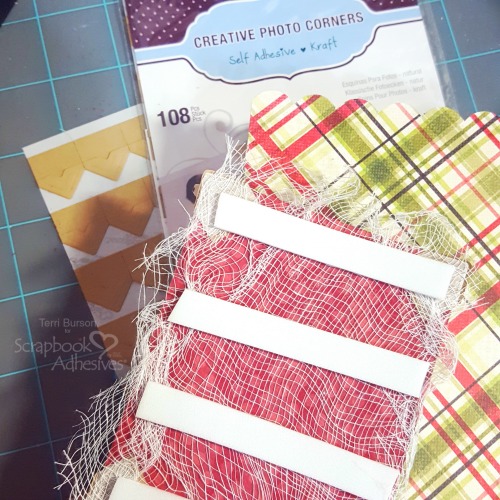
Choosing your vintage style embellishments are important too. They complement and complete your theme. I suggest you select timeless elements such as lace, ribbon, buttons, string and cheesecloth. Cheesecloth is used for more than just making cheese. It’s a staple in many craft rooms and it’s origins can be traced to Bangladesh. History says Marco Polo found this in India and brought it back to European countries. Cheesecloth later made it’s way to the United States, courtesy of European immigrants. You didn’t know you were getting a history lesson today, did you?
Choose The Right Adhesive
Scrapbook Adhesives by 3L® has many adhesives that get the job done. I rely on my E-Z Runner® Grand Refillable Dispenser and E-Z Runner® Grand Ultra Strong Refill. It’s quick, dependable and ready to go with a quick swipe.
Add Dimension To Your Favor Boxes
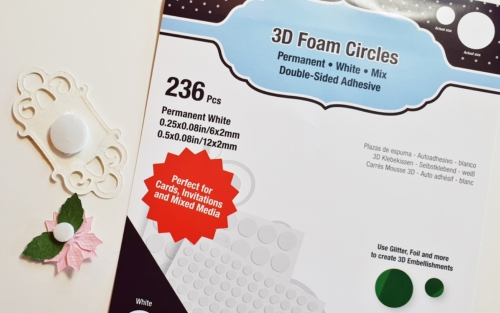
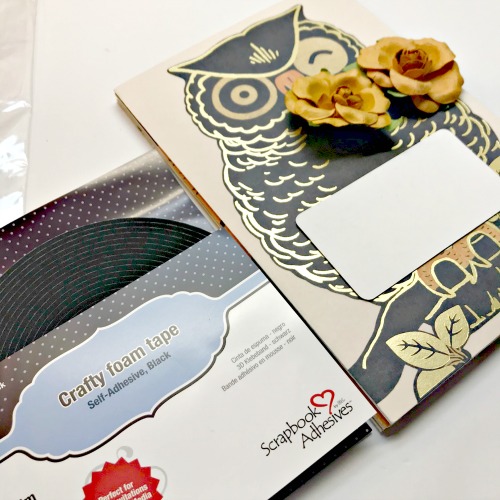
For my fussy cut images I use the 3D Foam Circles Black Mix. They’re great for popping up your elements and because they’re dark in color, they’re not as noticeable from a side view. I love the versatility of these die cut boxes! You can find out more about the file that I used on my blog, the link is below.
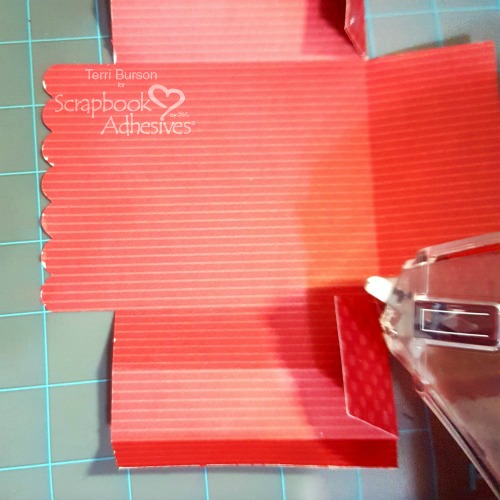
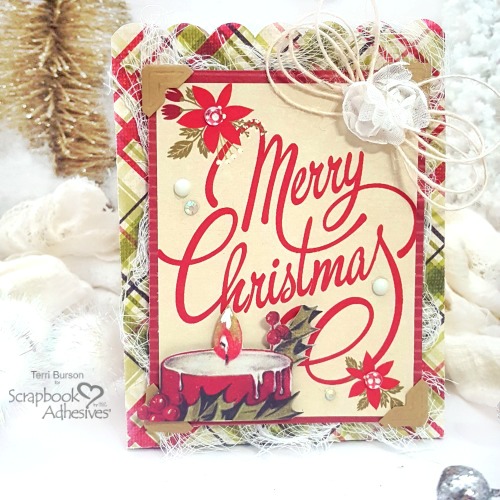
For the Merry Christmas box, I created a panel and applied Creative Photo Corners Kraft. The cheesecloth is adhered to the back with the E-Z Runner® Grand Refillable Dispenser using the E-Z Runner® Grand Ultra Strong Refill. As you can see from this side angle below, I sealed this box closed with the same adhesive.
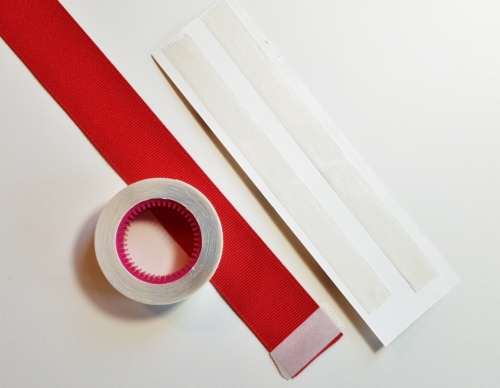
I love using the Crafty Foam Tape White to secure my panels. I can cut longer strips to fit the panel size. It brings dimension, balance and doubles as a strong base when adding more embellishments.
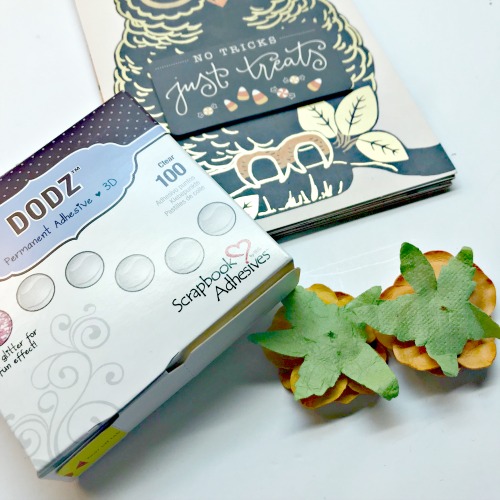
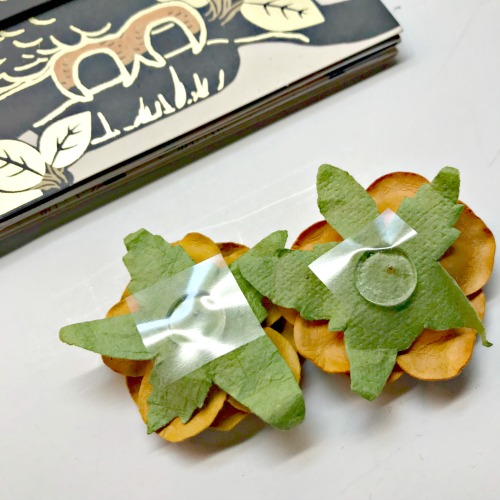
Lastly, I used my Adhesive Dots Medium to secure my string and floral ribbon embellishment, and my Adhesive Dots Micro to adhere my tiny sequins and gems.
There are so many creative ways to use your adhesives and Scrapbook Adhesives by 3L® offers so many choices. Trying new-to-you adhesives can open up a whole new world and really get your creative juices flowing!
If you’d like to know more about the design file for this box, visit my blog at Waving My Wand, where you’ll find product links as well. Thanks so much for popping in!
Terri
- Creative Time: 30 minutes
Skill Level: Intermediate
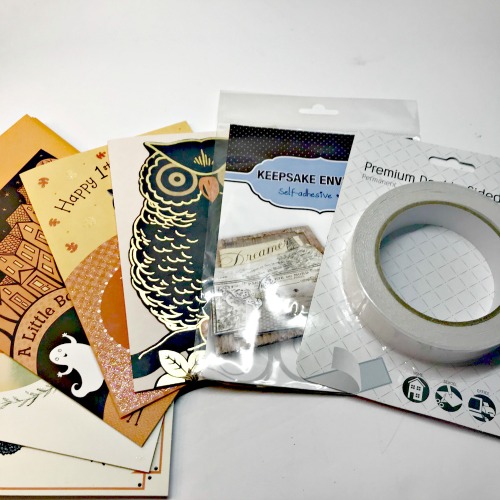
Scrapbook Adhesives by 3L®:
E-Z Runner® Grand Refillable Dispenser
E-Z Runner® Grand Ultra Strong Refill
3D Foam Circles Black Mix
Creative Photo Corners Kraft
Crafty Foam Tape White
Adhesive Dots Medium
Adhesive Dots Micro
Other: Cricut Explore Die Cut Machine, Cricut cut files, scissors, We R Memory Keepers trimmer, Buttons Galore sequins and gems, May Arts Ribbon and burlap string
Pin it!
Visit our Website and Blog!
Sign up for our Newsletter so you never miss a contest or giveaway!