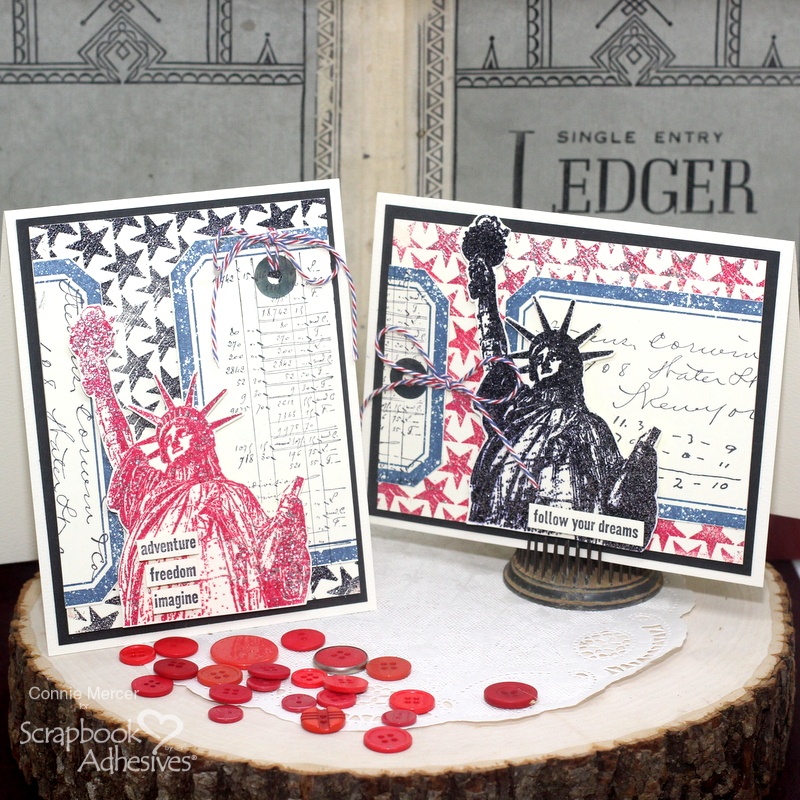
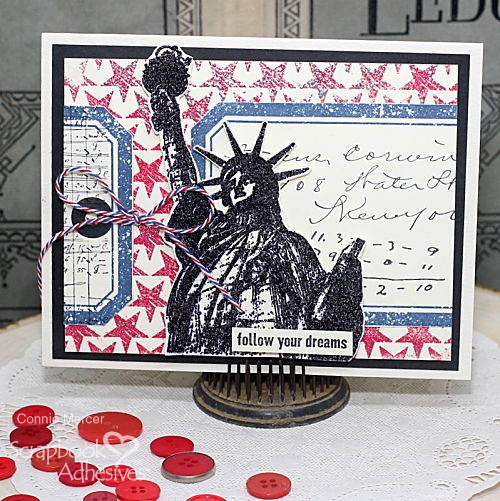
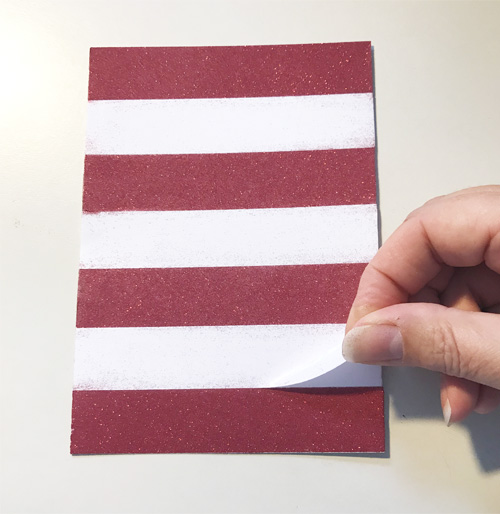
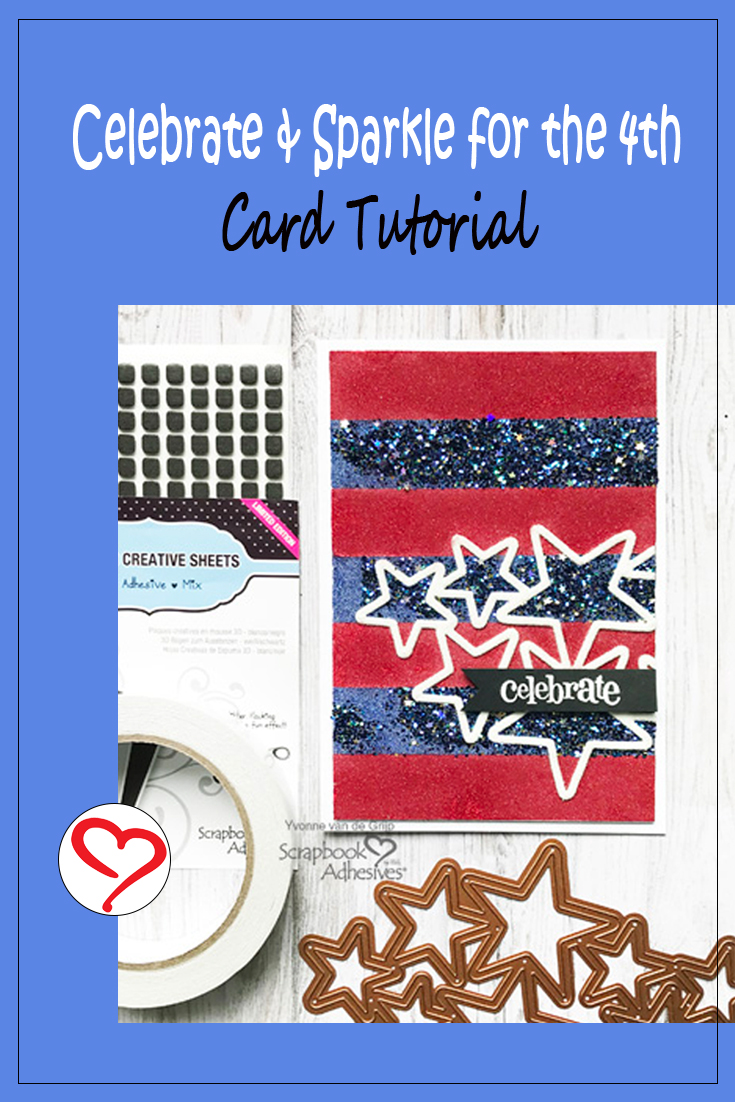
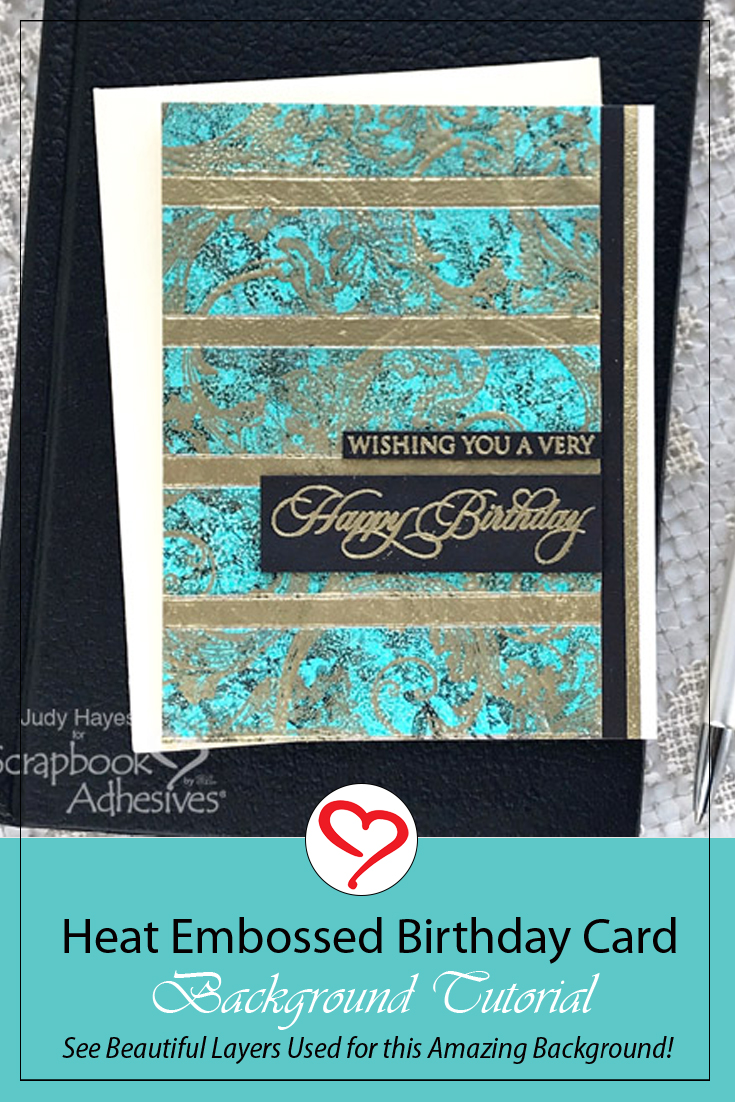
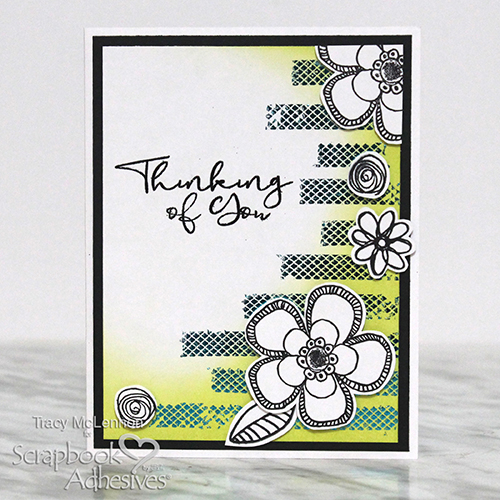
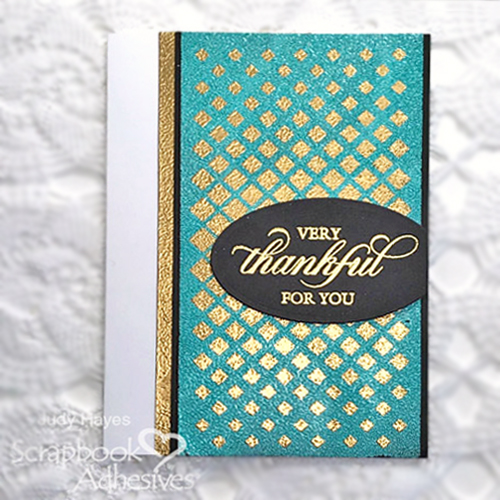
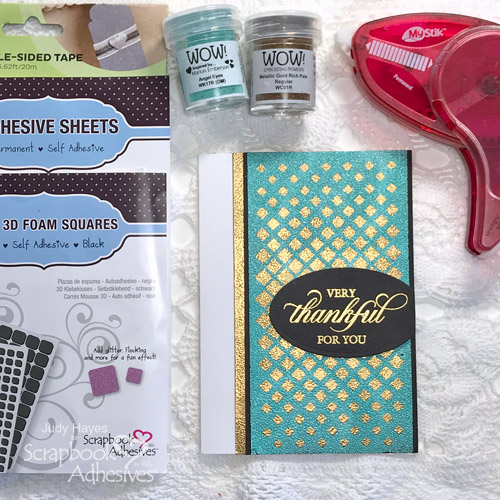
Hello everyone! Judy here today with a Thankful for You Card made with embossing powder. This time I applied embossing powder through a stencil onto paper covered with Adhesive Sheets. It’s a pretty cool technique!
Thankful Card Heat Embossing Steps
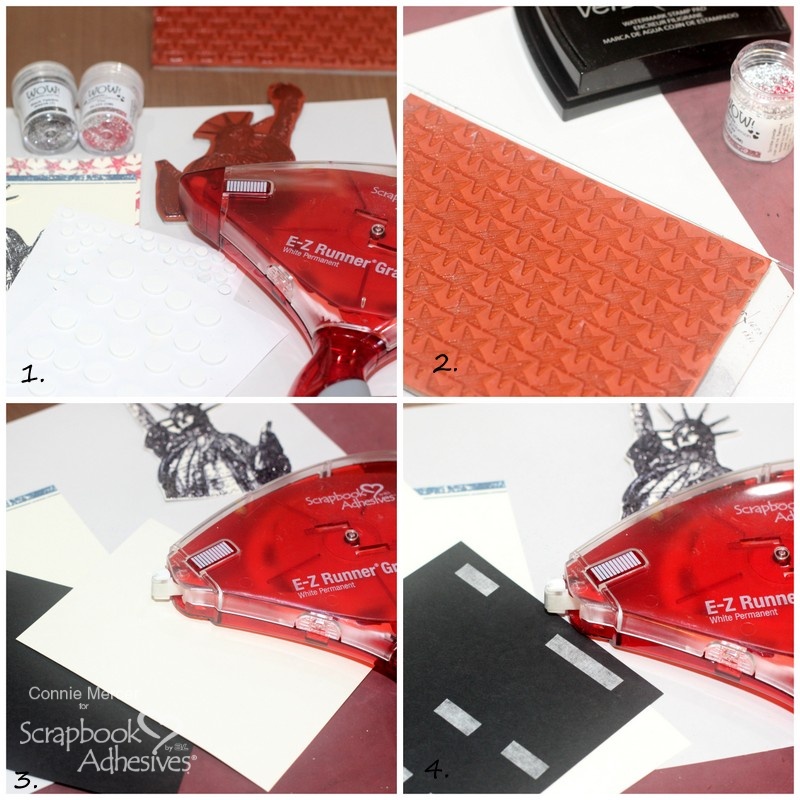
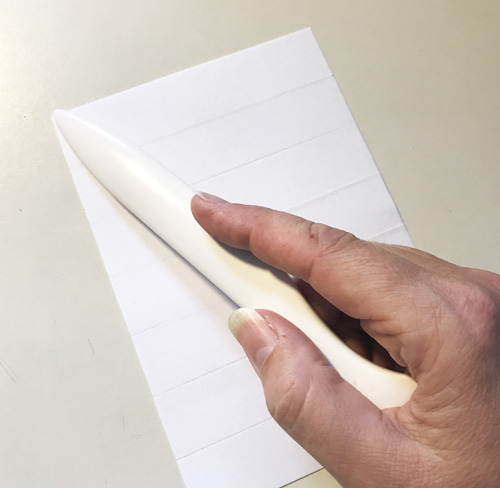
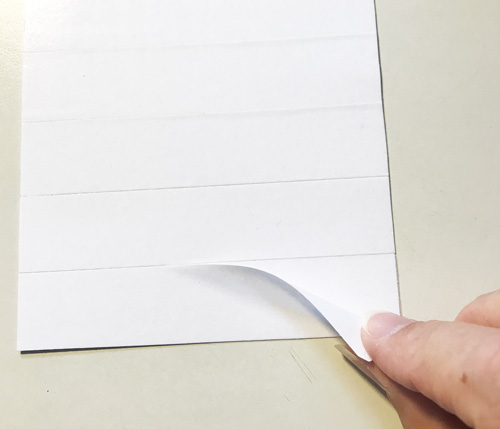
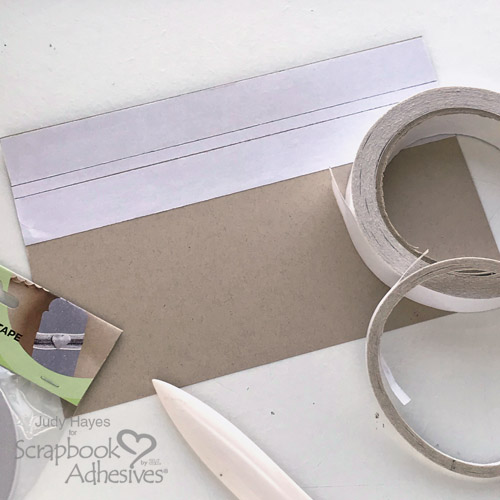
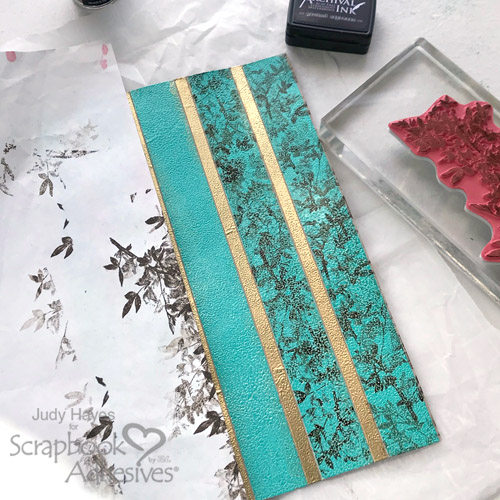
To make the embossed piece with gold and turquoise, apply Adhesive Sheets 4×6 inch to black cardstock that is cut to the size of the stencil. With a bone folder, burnish the Adhesive Sheet to bond to the cardstock. Then remove the liner and place the stencil on the adhesive. Replace the liner sheet back over the stencil and press the stencil to secure.
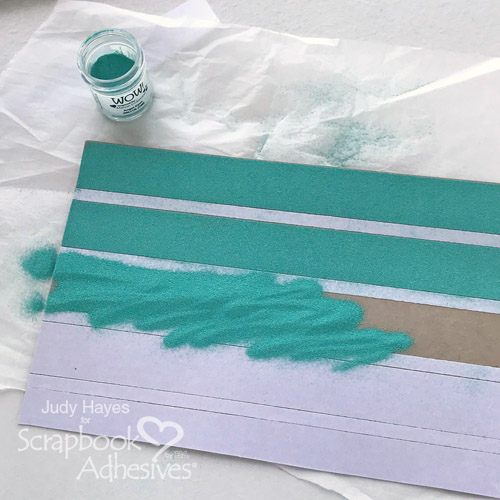
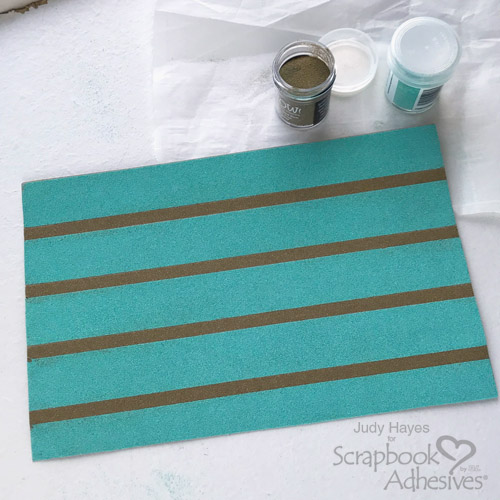
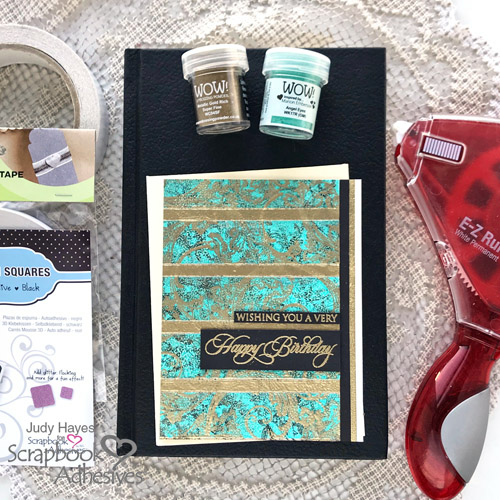
Next, apply gold embossing powder over the stencil and tap off the excess. Designer’s Tip: use a brush to gently remove embossing powder off the stencil.
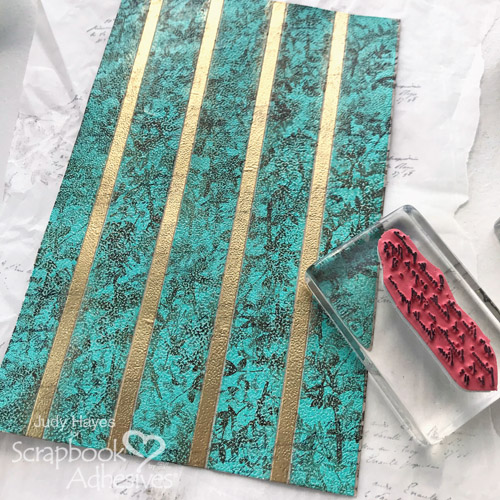
Carefully pull the stencil away from cardstock. Slowly pull the stencil without pulling the adhesive off the paper. Then sprinkle turquoise embossing powder over the remaining exposed adhesive and tap off excess.
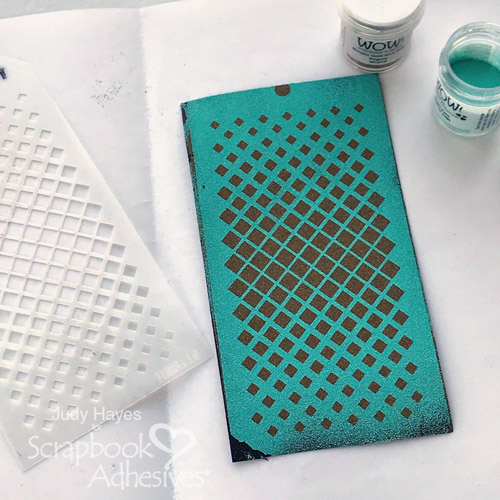
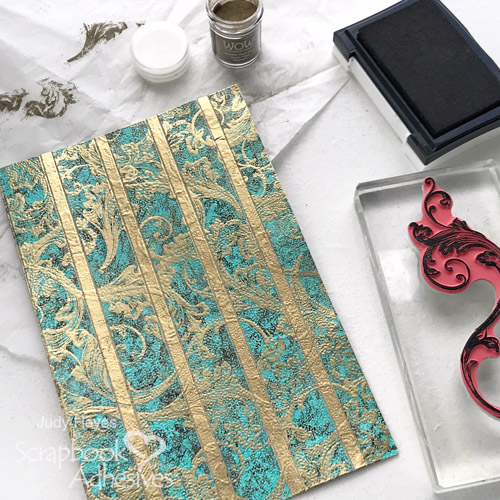
The above photo shows the embossing powders before heat embossing. I touched up with more adhesive and turquoise embossing powder to fix the bare corner. Now to melt the powders with a heating tool.
Creating Layers
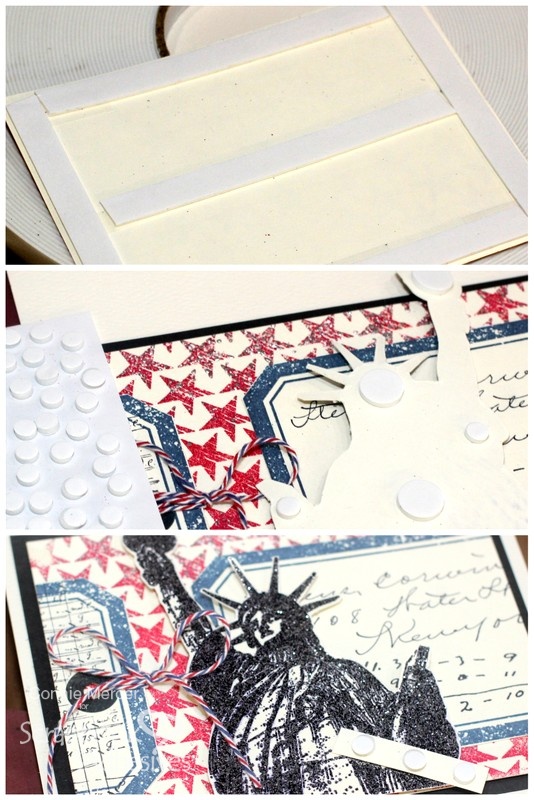
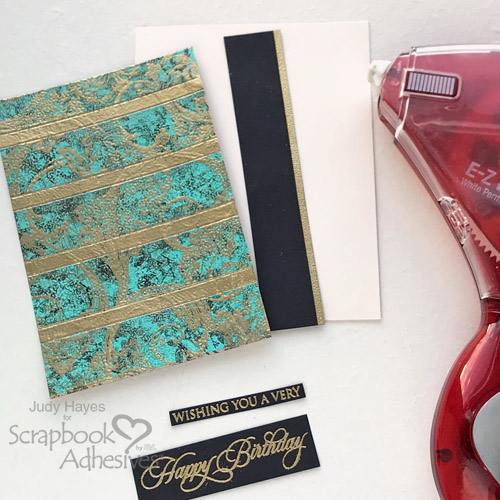
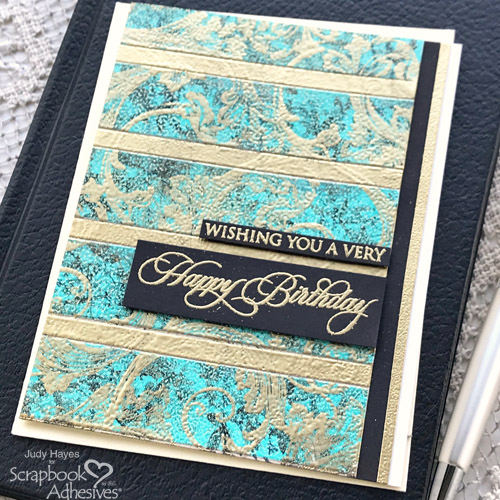
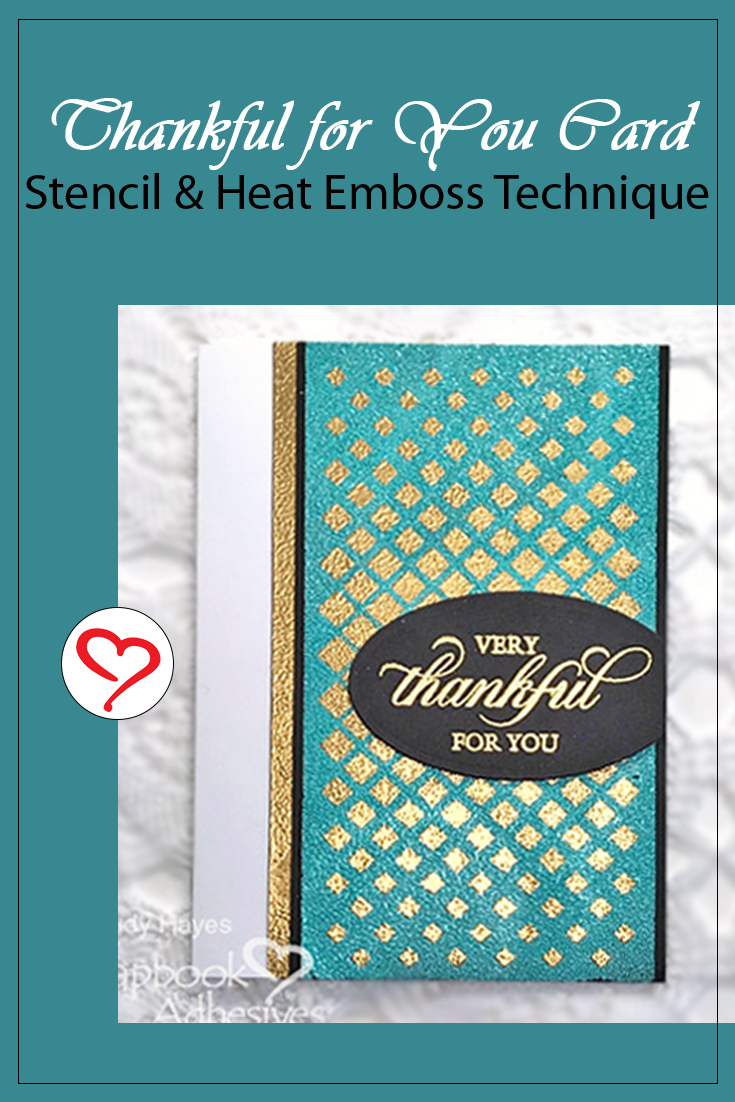
Cut the embossed piece to 3 x 5.375-inches and secure it to black cardstock using MyStik® Permanent Strips Dispenser.
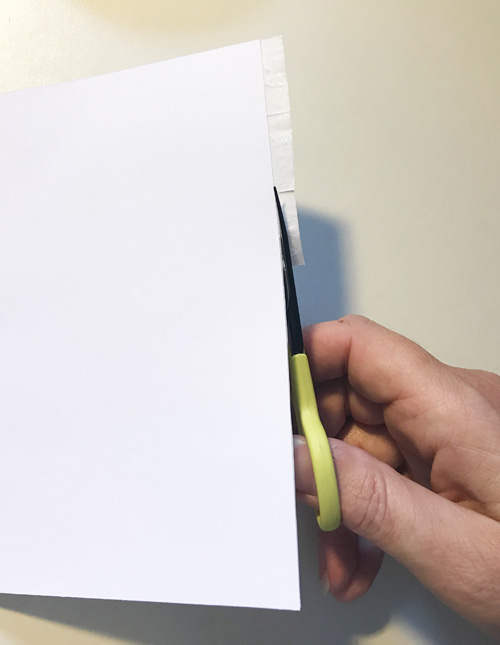
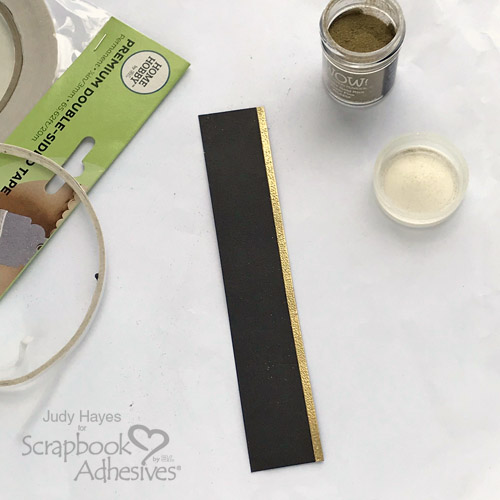
For the gold border, I applied Premium Double-Sided Tape 1/4in left edge of black cardstock with the embossed piece. Remove the liner, cover with gold embossing powder and heat emboss it. Trim the edges as seen in the card. Then adhere it to the front of a white card base with MyStik® Permanent Strips Dispenser.
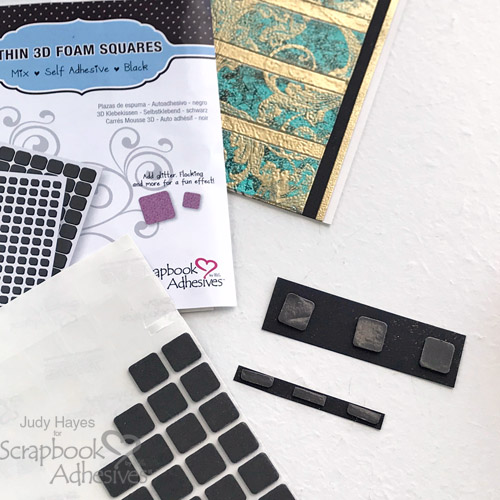
Lastly, stamp the Thankful card sentiment on black cardstock and heat embossed it with gold embossing powder. Die-cut the sentiment with an oval shape. Place the oval on the card with Thin 3D Foam Squares Black Mix. I also trimmed the oval even with the card edge for a finished look.

Just another way to use stencils and I really like how it turned out! I hope this Thankful Card inspired you to try this technique.
A note about the choice of stencils…it’s best to choose one that doesn’t have intricate pieces that aren’t joined on all edges. They may be harder to remove from adhesive.
Thanks for Visiting!
Judy Hayes
Creative Time: 30 Minutes
Skill Level: Intermediate
Materials Needed
Scrapbook Adhesives by 3L®
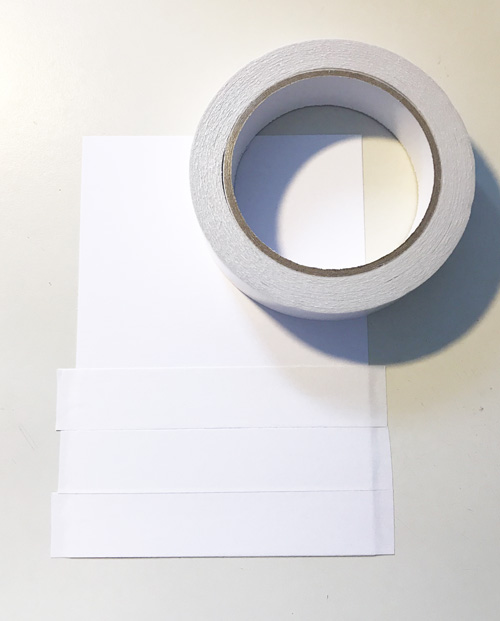
- Adhesive Sheets 4×6 inch
- MyStik® Permanent Strips Dispenser
- Thin 3D Foam Squares Black Mix
- Premium Double-Sided Tape 1/4in by HomeHobby™ by 3L
Other:
Embossing Powder: Wow! Embossing Powder (Angel Eyes and Gold Rich Pale Regular); Craft Die: Spellbinders Paper Arts (Standard Ovals Die); Stencil and Stamp: Stampers Anonymous (Tim Holtz Mini Stencil/119 from Set 39) and Penny Black (Beautiful Heart Stamp Set); Black and White Cardstock
Save It to Pinterest!
Visit our Website and Blog!
Sign up for our Newsletter so you never miss a contest or giveaway!